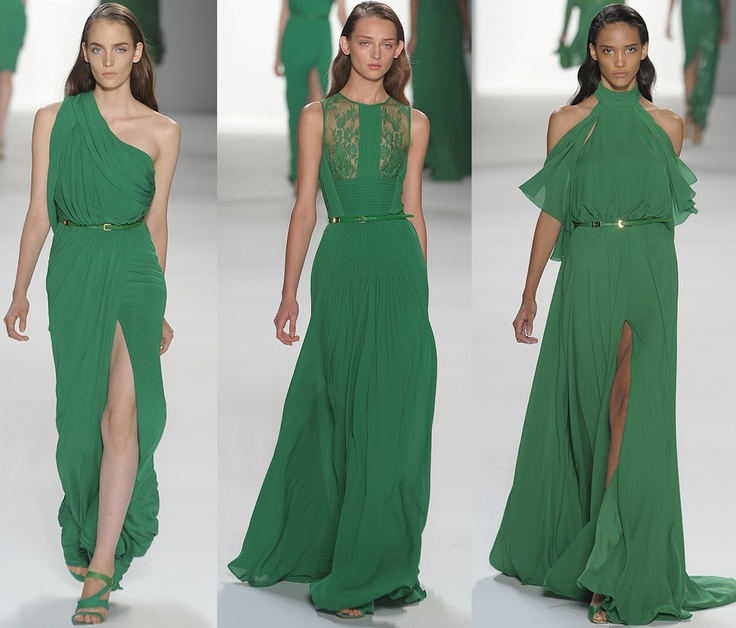
Emerald is the Pantone color of the year (color swatch 17-5641 to be exact). The color is dripping into all fields: home décor, accessories, clothes, weddings, etc. If Emerald isn’t your thing, other shades of green are also in this season like Mint (big trend in bridal), Pistachio and Army Green. It’s about being on trend, so try something new on the green color wheel but it’s also about sticking to what you are comfortable with. The best thing about Emerald is that is looks great on blondes, red heads and brunettes. You can ease the color into your style by just painting your nails or go all out with a bright dress. My style is traditional with some drama/edge mixed in, so I’m more likely to work the color in with my accessories. In this tutorial I’ll show you how to make a rosette necklace using Emerald colored fabric for a standout accessory. Directions and materials needed are located at the bottom of the post.
Here are my top picks for incorporating Emerald into your everyday style:
- Essie’s Going Incognito Nail Color
- Sephora’s Pantone Universe Graphic Lift Liquid Eyeliner in Emerald – Keep the rest of your makeup simple and fresh, swipe on the green liner and add a dap of pinkish colored lip gloss.
- Emerald Earrings – Add a pop of color to any outfit
- Equipment’s Signature Fern Green Shirt (shown below)- Wear this with a dark wash jeans and leopard flats. I’m LOVING the mix of leopard with emerald (just look at the outfit I wore in my bridal headpiece tutorial). You can find the belt I had on at Target.
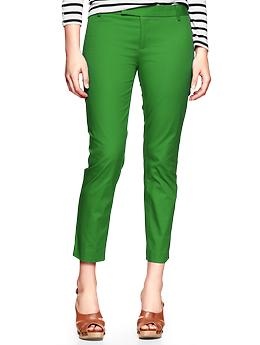
- Gap’s Slim Cropped Pant in Extremely Green (shown below)- Add a classic white tee.
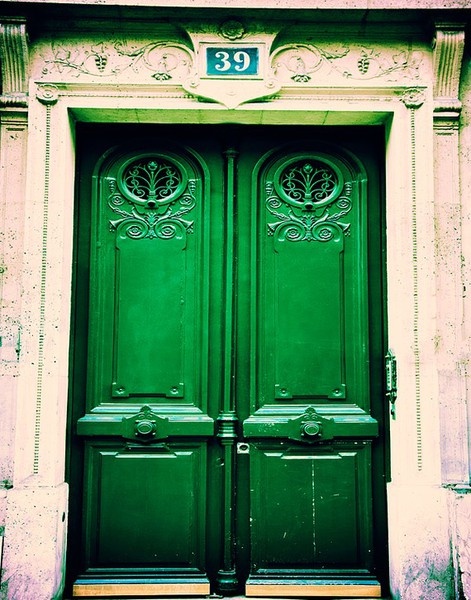
- Interior Paint Colors – Benjamin Moore in Grassy Fields 2034-30, Behr in Chlorophyll 460B-6 or Formal Garden 450B-6
- Check out my board on Pinterest for more Emerald inspiration.


How to make DIY Rosette Chain Necklace:
Materials:
- ½ yard of fabric
- 1 sheet of felt
- Good Chain
- 2 Large Gold Hoops
Tools:
- Pilers
- Scissors
- Hot Glue Gun
- Sharpie
- 1 piece of 8.5 x 11 paper
Steps:
- Cut a strip of fabric about 1.5″ wide and 20″ long. This makes a rosette about a 1.5” in diameter. The longer the fabric the bigger the rosette.
- Tie a knot at one end (if there is excess, trim off close to the knot).
- Tuck the knot back on itself and begin to roll the fabric around it, folding and twisting the fabric strip in, towards the center of the rosette. Keep folding and twisting in circles. Use a little dab of glue every now and then to secure the fabric twists.
- When you have a rosette of desired size, leave about 1” of fabric at the end and twist to underneath the rosette and secure with glue. For the rosette that is going to attach to the large gold hoop, loop the end through the hoop and secure fabric strip with glue to the back of the rosette.
- Once you have made the amount of rosettes you want arrange them on a piece of paper and create a pattern by drawing an outline of your rosettes. Cut out the pattern.
- Trace pattern onto felt and cut out along the inside of the edges.
- Dab glue underneath of your flowers and press heavily onto the felt.
- Attach the chain.
Tips:
- Dont worry about the rough edges of the fabric, I think it adds a good texture to the rosette.
- I bought the felt before I decided to use green fabric; I would suggest choosing a piece of felt close to the color of fabric you are using so that it is less noticeable.
