Here is another viewer request! I got asked what makeup I wear on a daily basis, so this week’s video I run you through my favorite products. I swear this routine only takes me 10 minutes to do. Links to the products are below or you can check out my collection on Luvocracy where I curated all the products for you to easily purchase.
Here is a full list of the products I use:
Prep:
- MAC Fast Response Eye Cream
- Smashbox Photo Finish Foundation Primer Light
- MAC Paint Pot in Painterly
Face, Eyes & Lips:
- MAC Studio Fix Fluid Foundation
- MAC Eyeshadow in Sable
- Bobbi Brown Long-Wear Gel Eyeliner in Black Ink
- MAC Pro Longwear Concealer
- MAC Mineralize Skinfinish Natural Powder
- Benefit Hula Bronzer
- MAC Blush in Melba (the color I show in the video is discontinued but Melba is a good alternative)
- MAC Cream Colour Base in Hush
- L’Oreal Voluminous Power Volume 24H Mascara
- Sephora Collection Jumbo Liner 12H Wear Waterproof
- MAC Dervish Lip Pencil
- MAC Tinted Lipglass in Nymphette
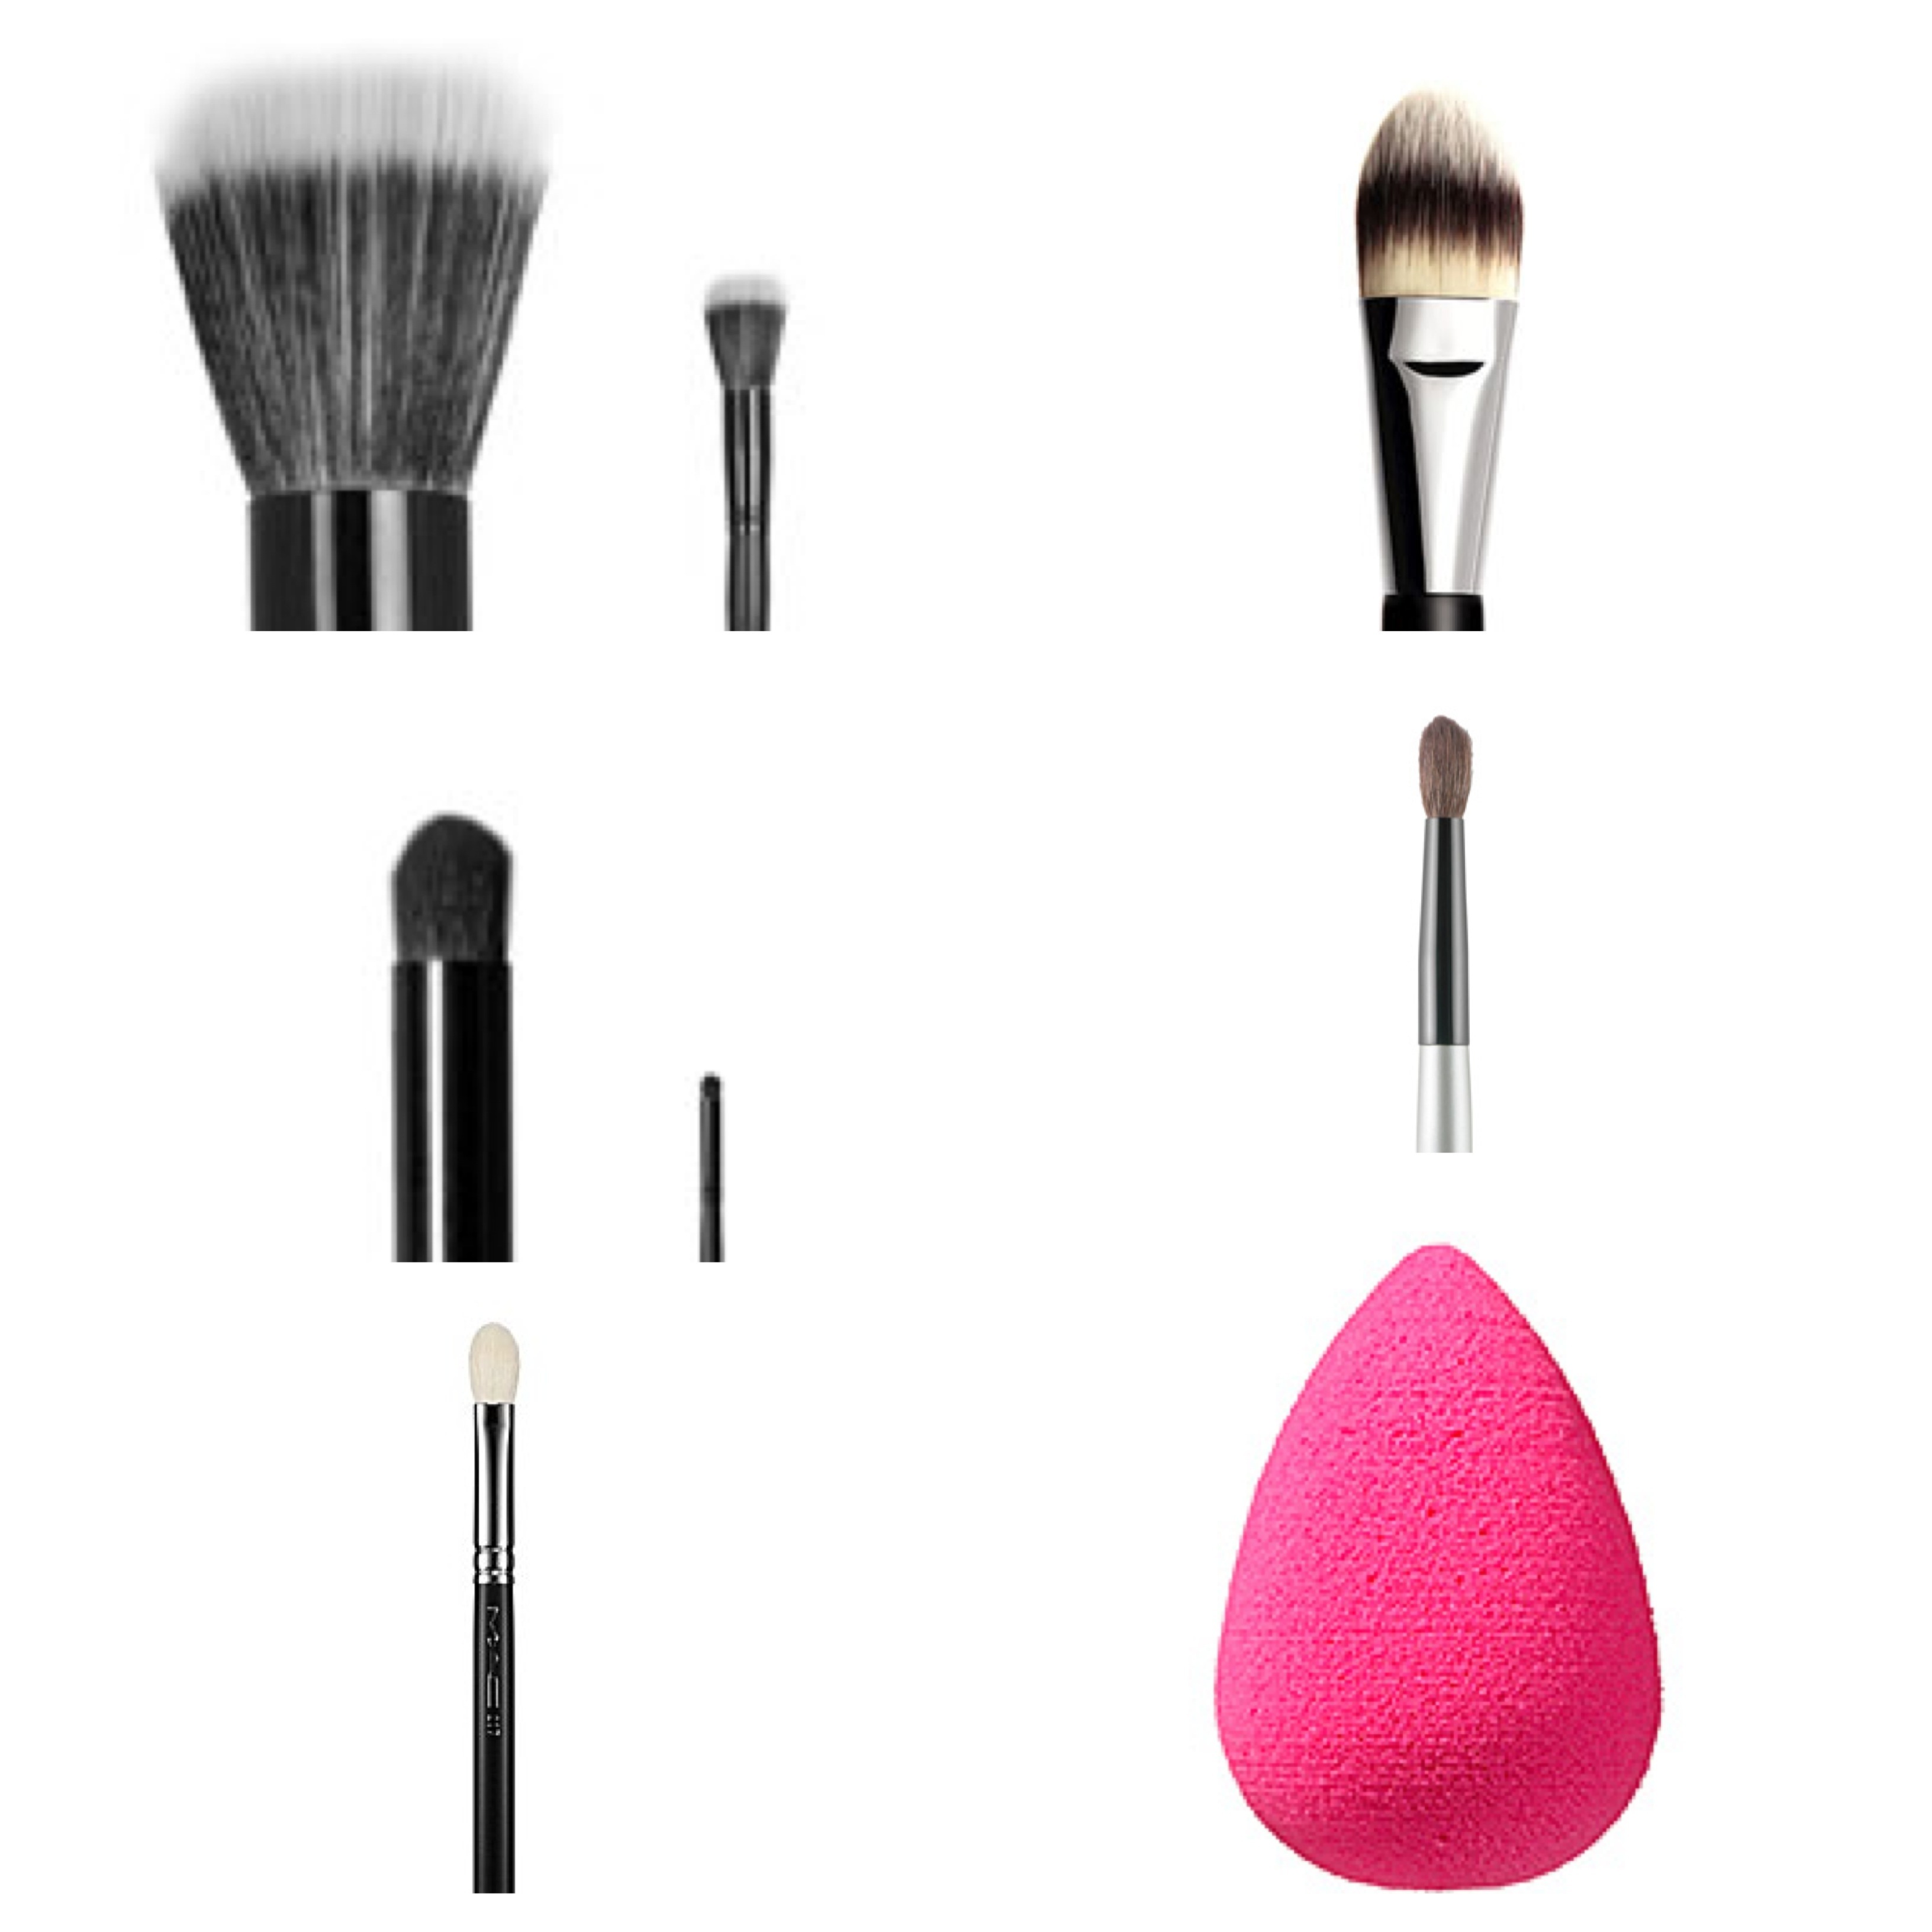
Fun Tools:
- ELF Small Stipple Brush
- Bobbi Brown Ultra Fine Eye Liner Brush
- MAC 224 Tapered Blending Brush (use as concealer brush)
- Beauty Blender