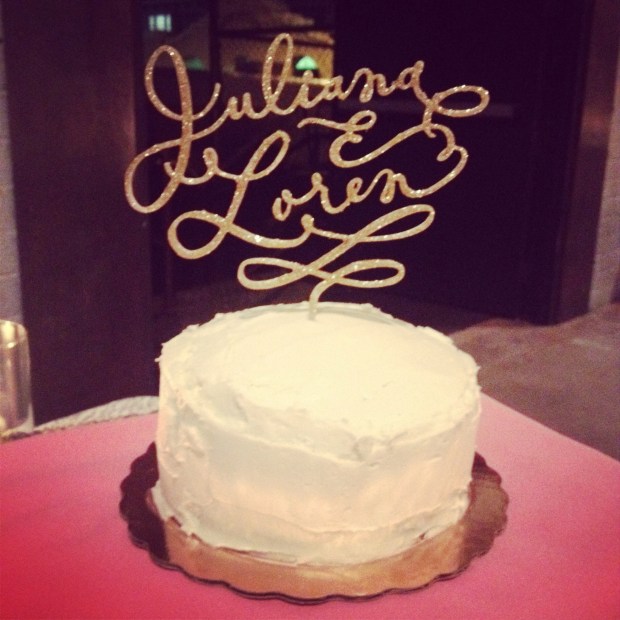
About a month ago I had the pleasure of baking for my friend’s wedding. Baking is a hobby but this was my first time of doing it for almost 200 people at one event. My friend suffers from celiac disease so we worked on plan to make all the desserts gluten free. It was a big undertaking and I definitely put a few miles on my KitchenAid mixer.
The dessert menu for the night:
- Red Velvet Cake with Cream Cheese Frosting
- Cake Pops
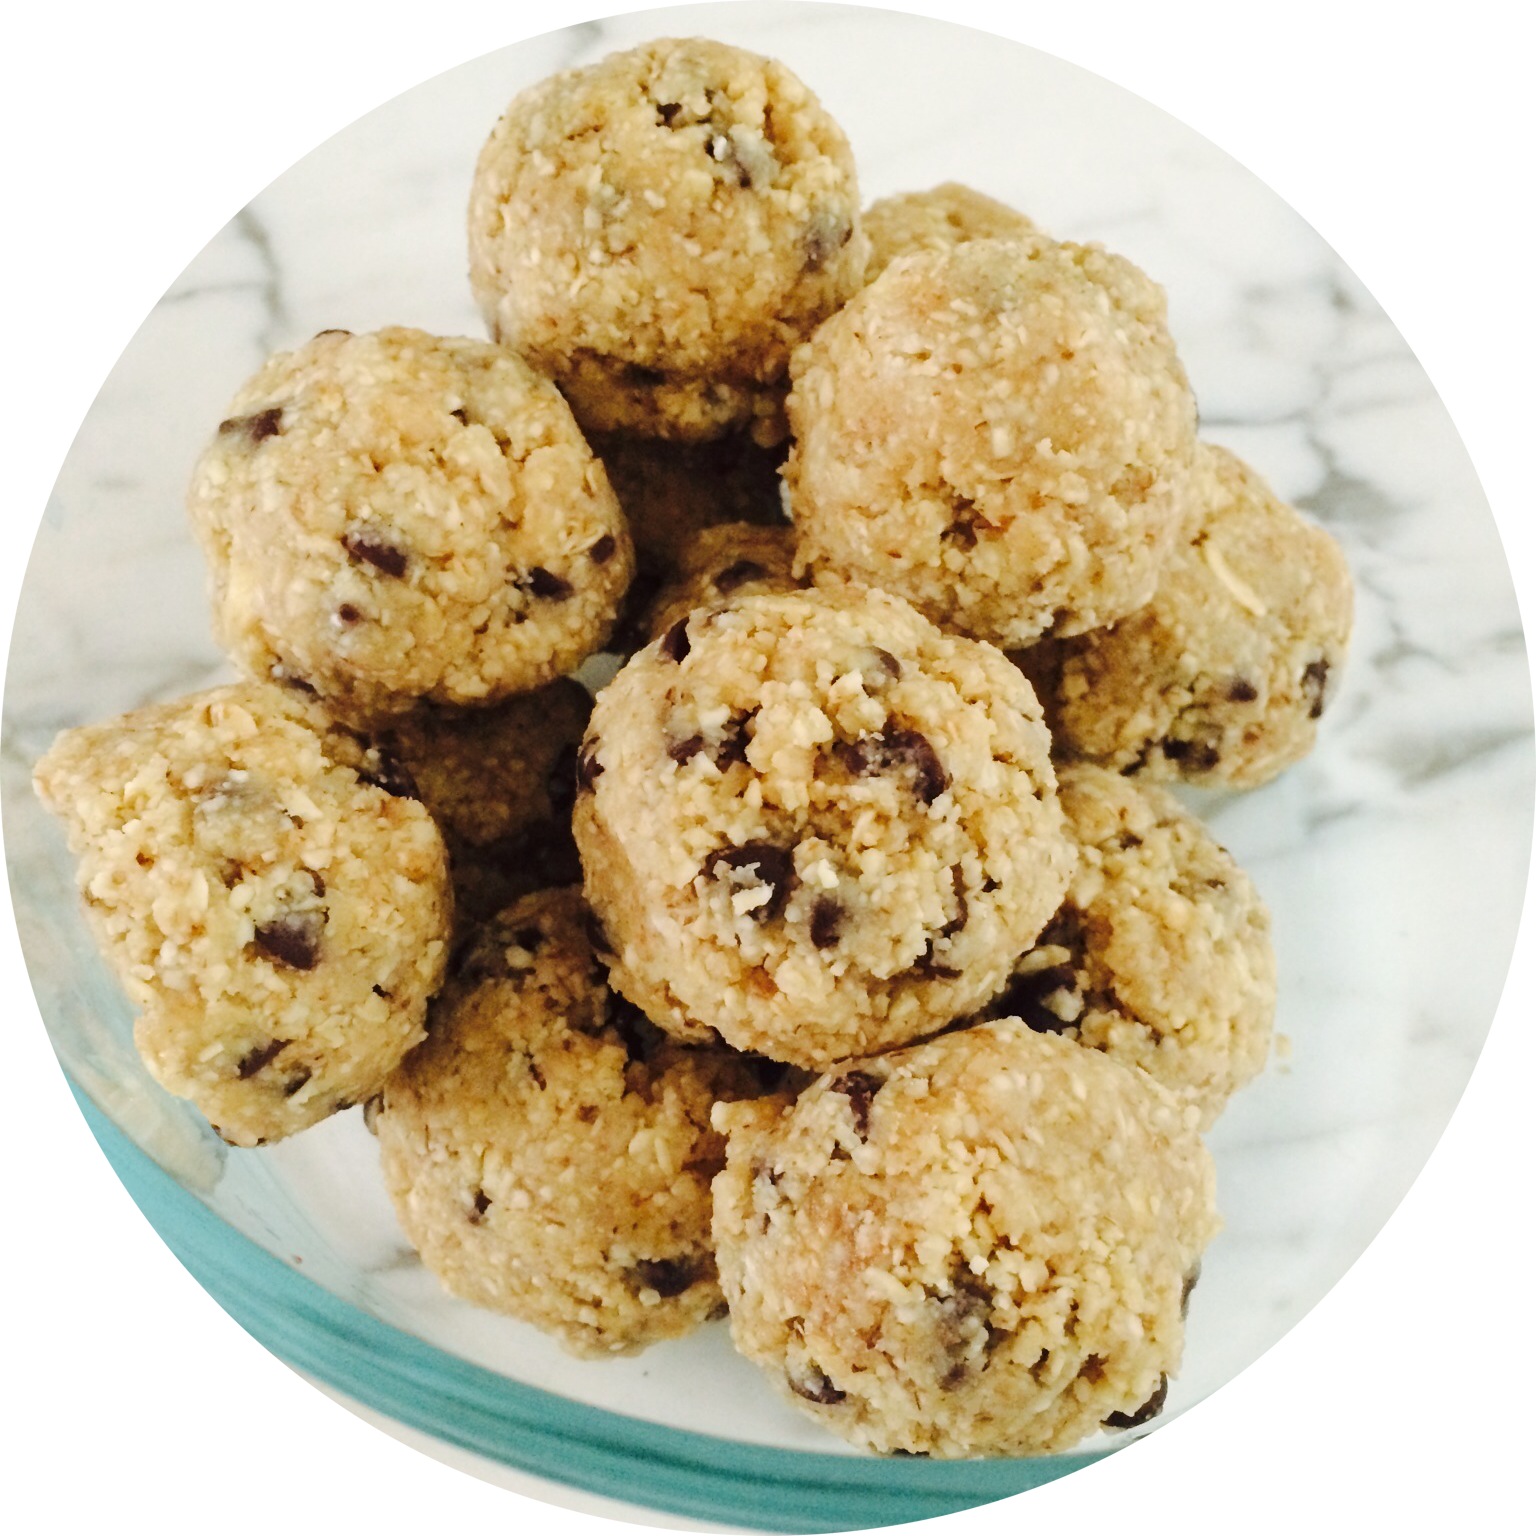
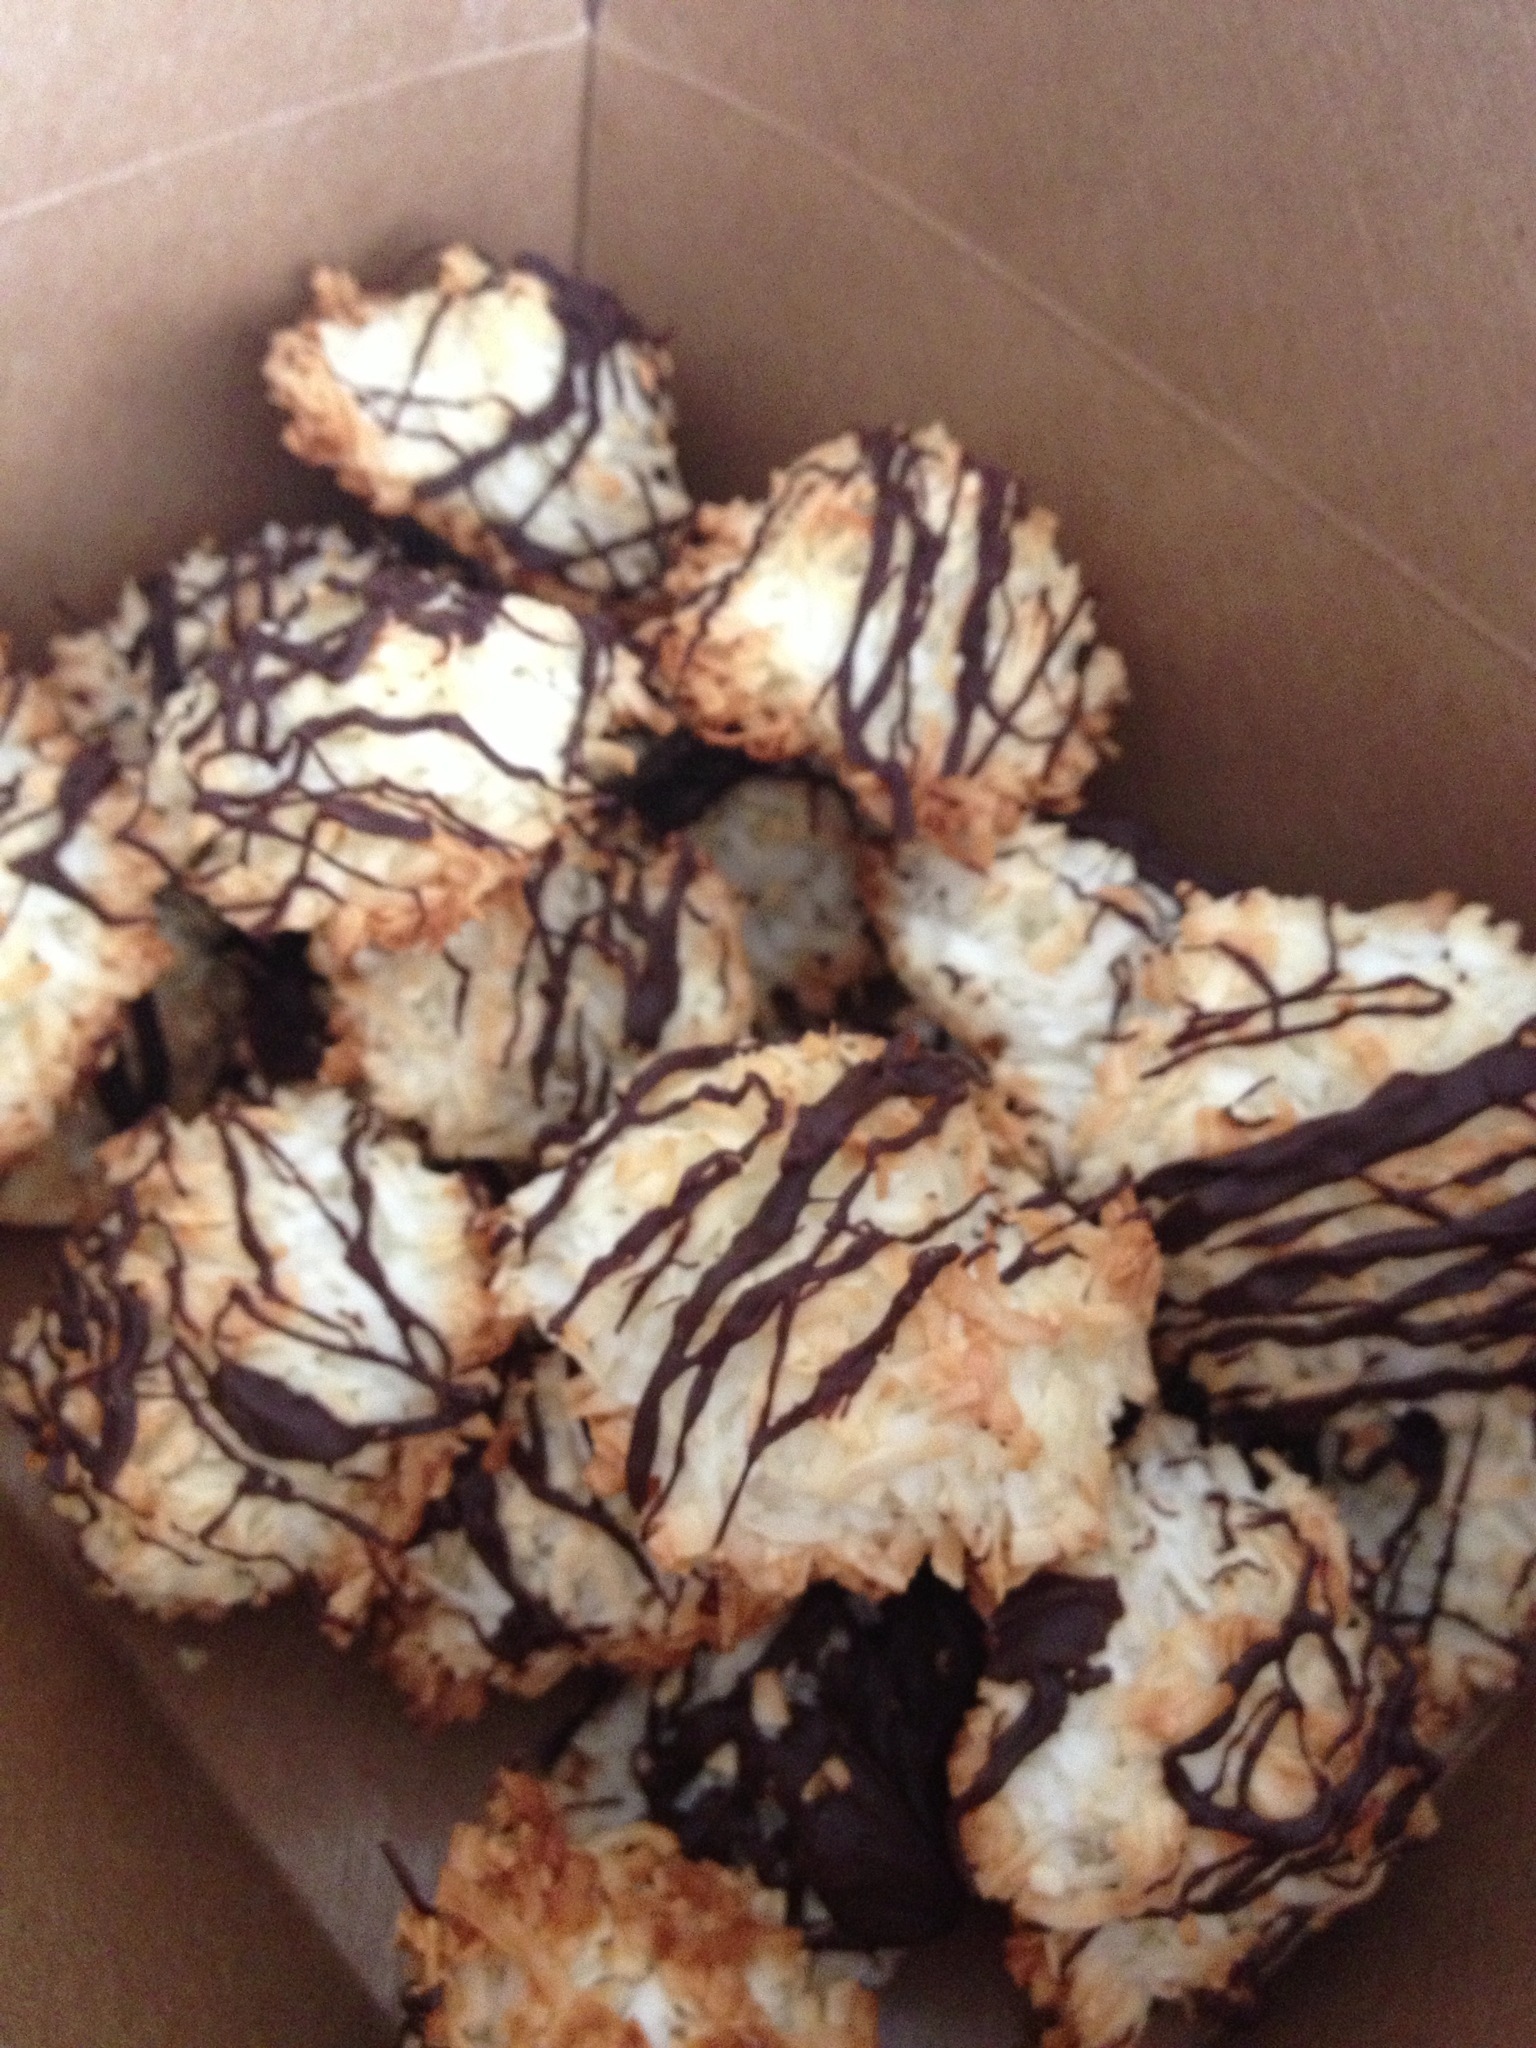
- Coconut Macaroons
- Chocolate Peanut Butter Cups
- Chocolate Caramel Rice Krispy Treats (check the blog next week for this recipe!)
Red Velvet Cake Ingredients:
- 2.5 cups of all purpose gluten free flour
- 1/4 teaspoon xanthan gum
- 2 hefty tablespoons unsweetened coca powder
- 1 teaspoon of salt
- 1 teaspoon of baking soda
- 2 tablespoons Apple Cider Vinegar
- 1 cup almond milk
- 2 eggs
- 1.5 cups of sugar
- 1 teaspoon of vanilla
- 1/4 teaspoon of red food coloring gel
- 1.5 cups vegetable oil
Cream Cheese Frosting Ingredients:
- 1 bar of cream cheese (8oz)
- 1 stick of butter
- 2-3 cups of confection sugar
Cake Directions:
- Preheat oven to 350 degrees. Fill muffin pan with liners.
- In a small bowl pour in almond milk and apple cider vinegar. Do not stir, set aside in order for it to develop into “buttermilk.”
- In a medium bowl whisk together the flour, coca powder, salt, baking soda and xanthan gum.
- In a mixer on medium speed, beat together the eggs, vegetable oil and sugar until blended together.
- Add vanilla and food color to mixer and blend together.
- In 3 batches mix in flour mixture, alternating with 2 batches of the “buttermilk” mixture.
- Bake for about 15 minutes (for mini muffin pan) or until toothpick comes out clean.
Frosting Directions:
- In a mixer beat together cream cheese and butter.
- Add one cup of confection sugar at a time, mixing in between. The amount of sugar you add depends on your taste level of sweetness.
- The frosting can be made up to 3 days in advance and stored in the fridge.