Pumpkin Muffins

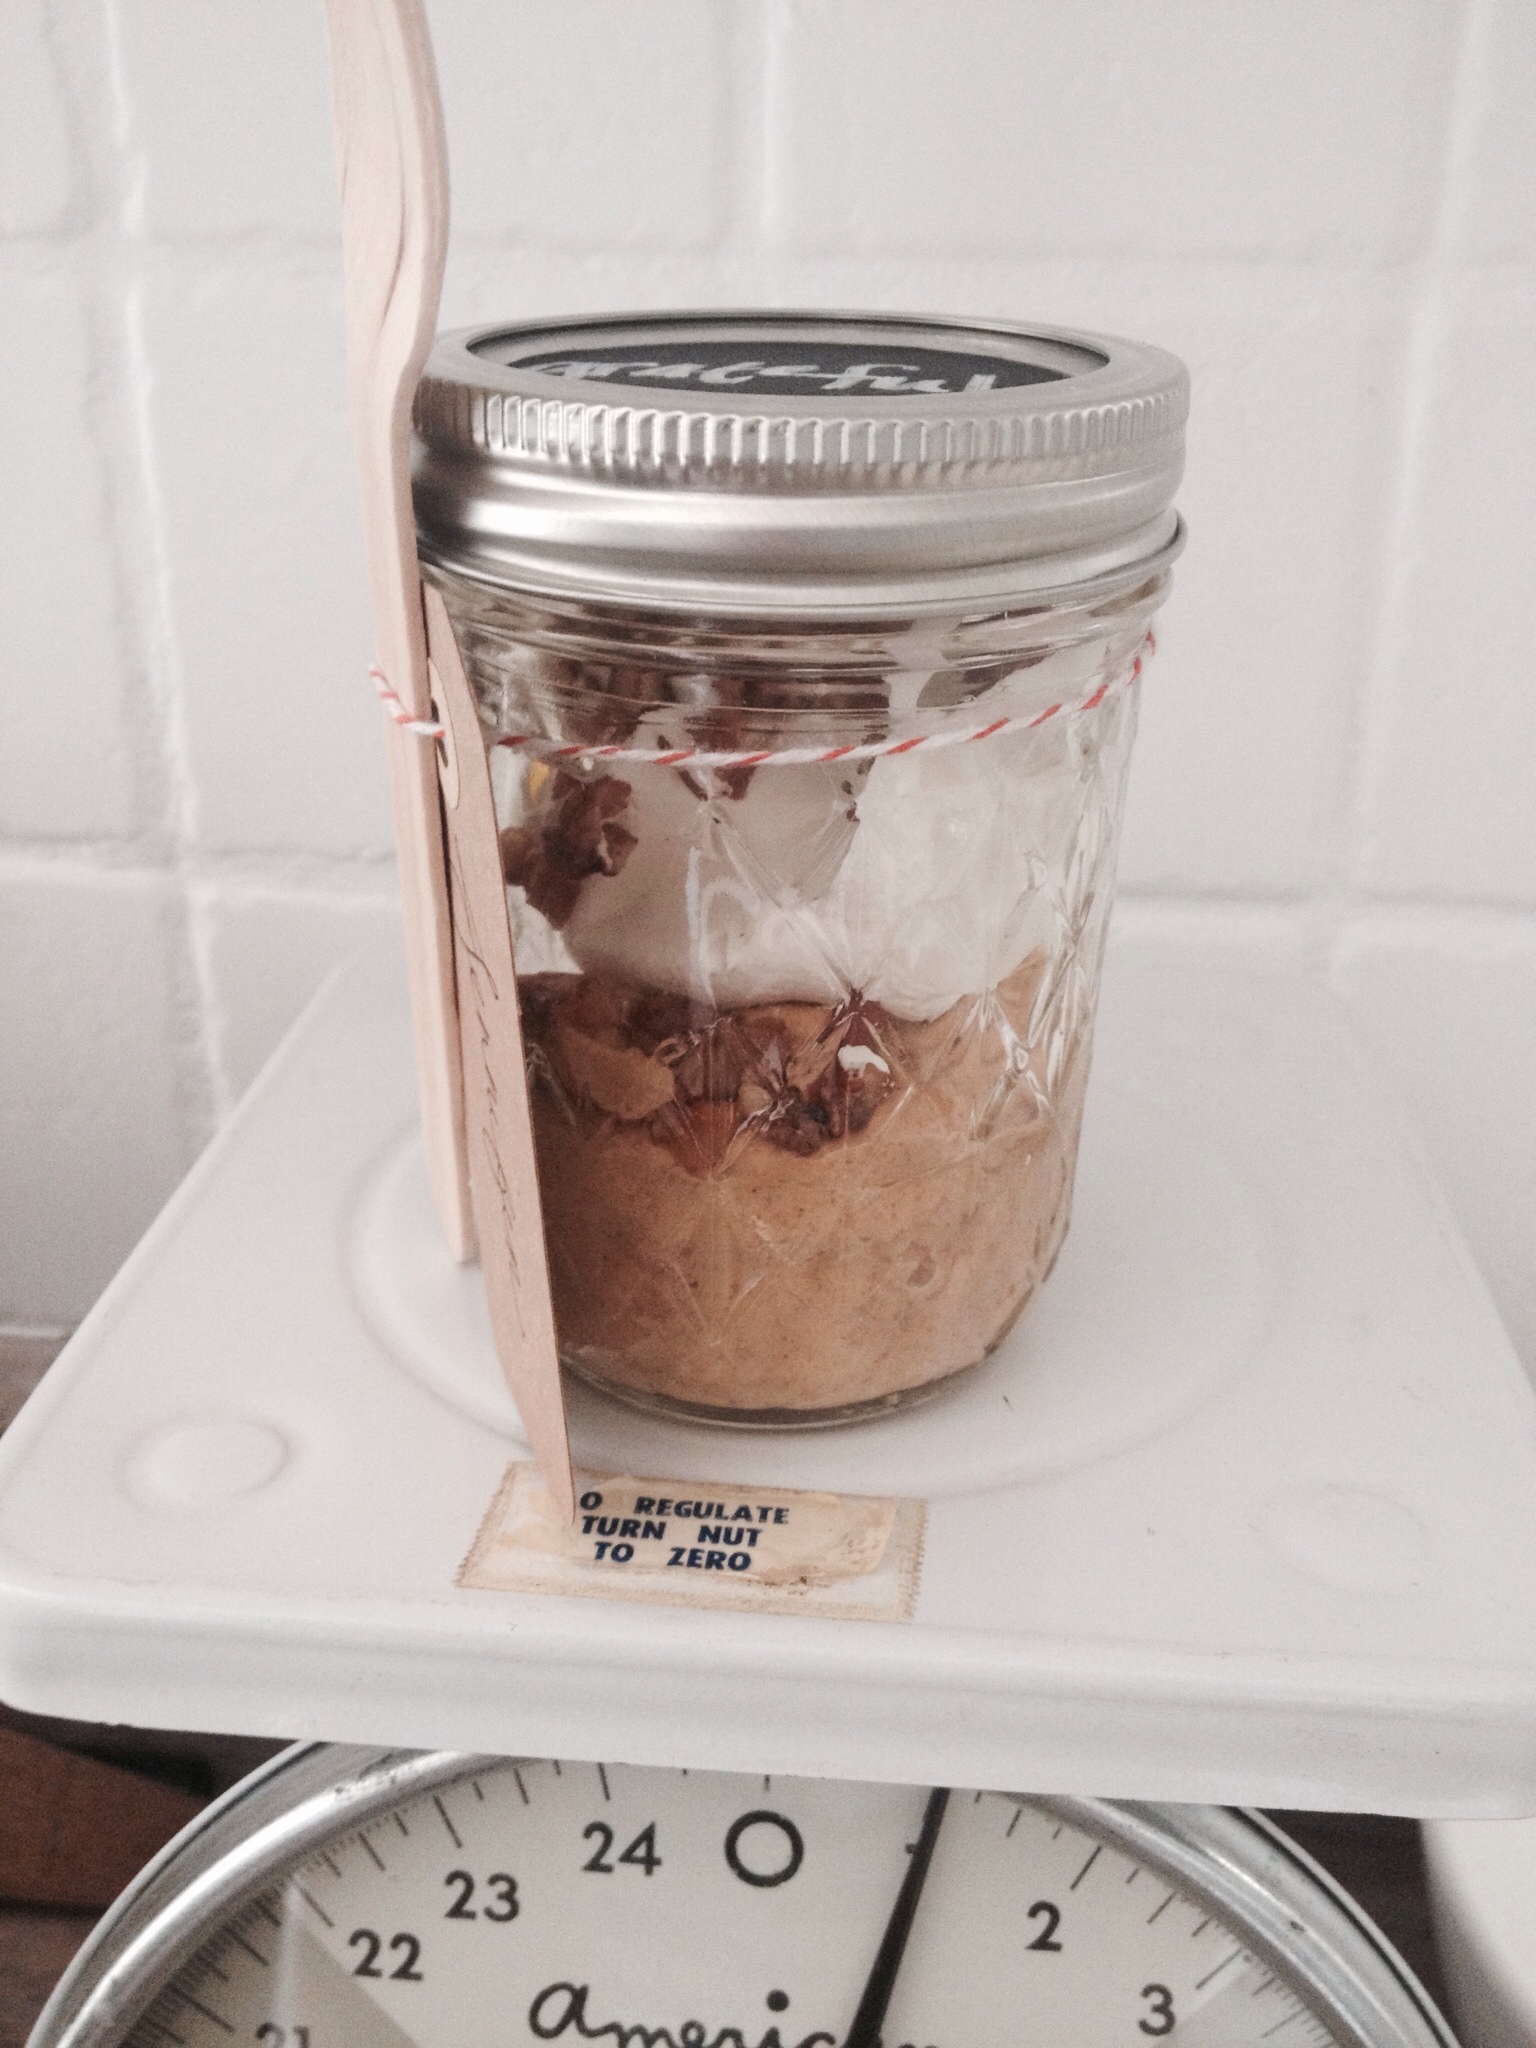
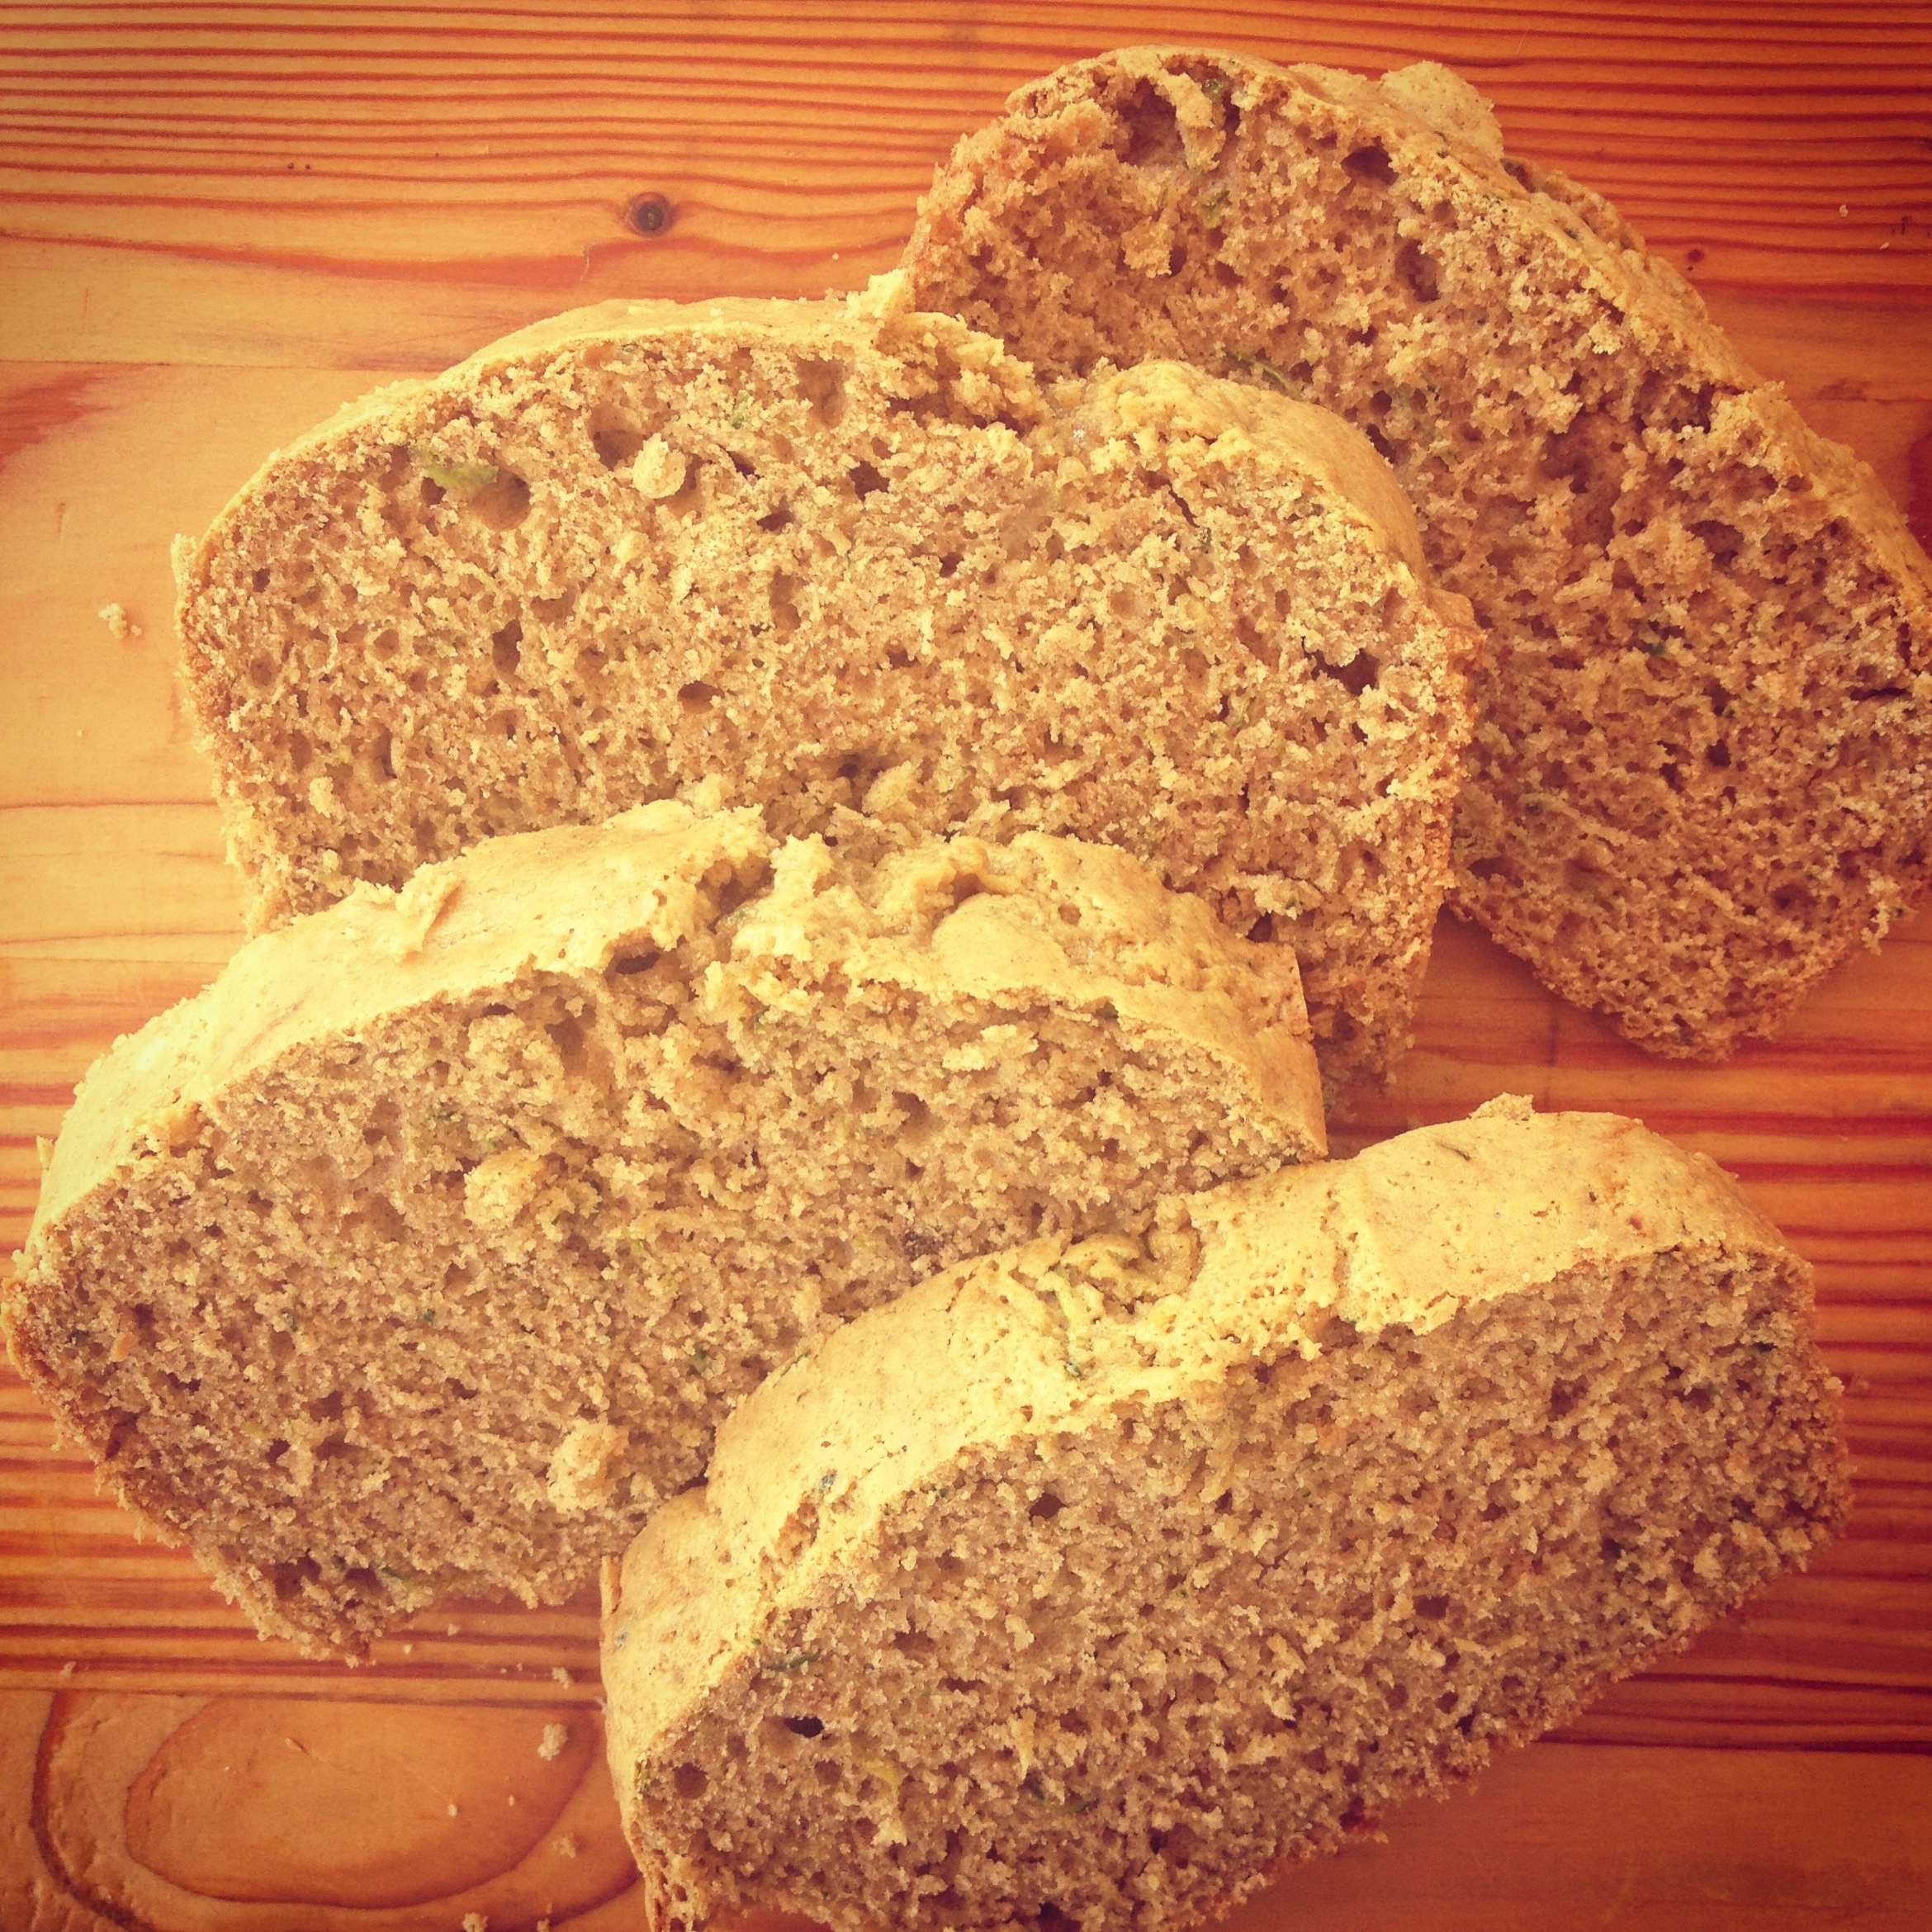
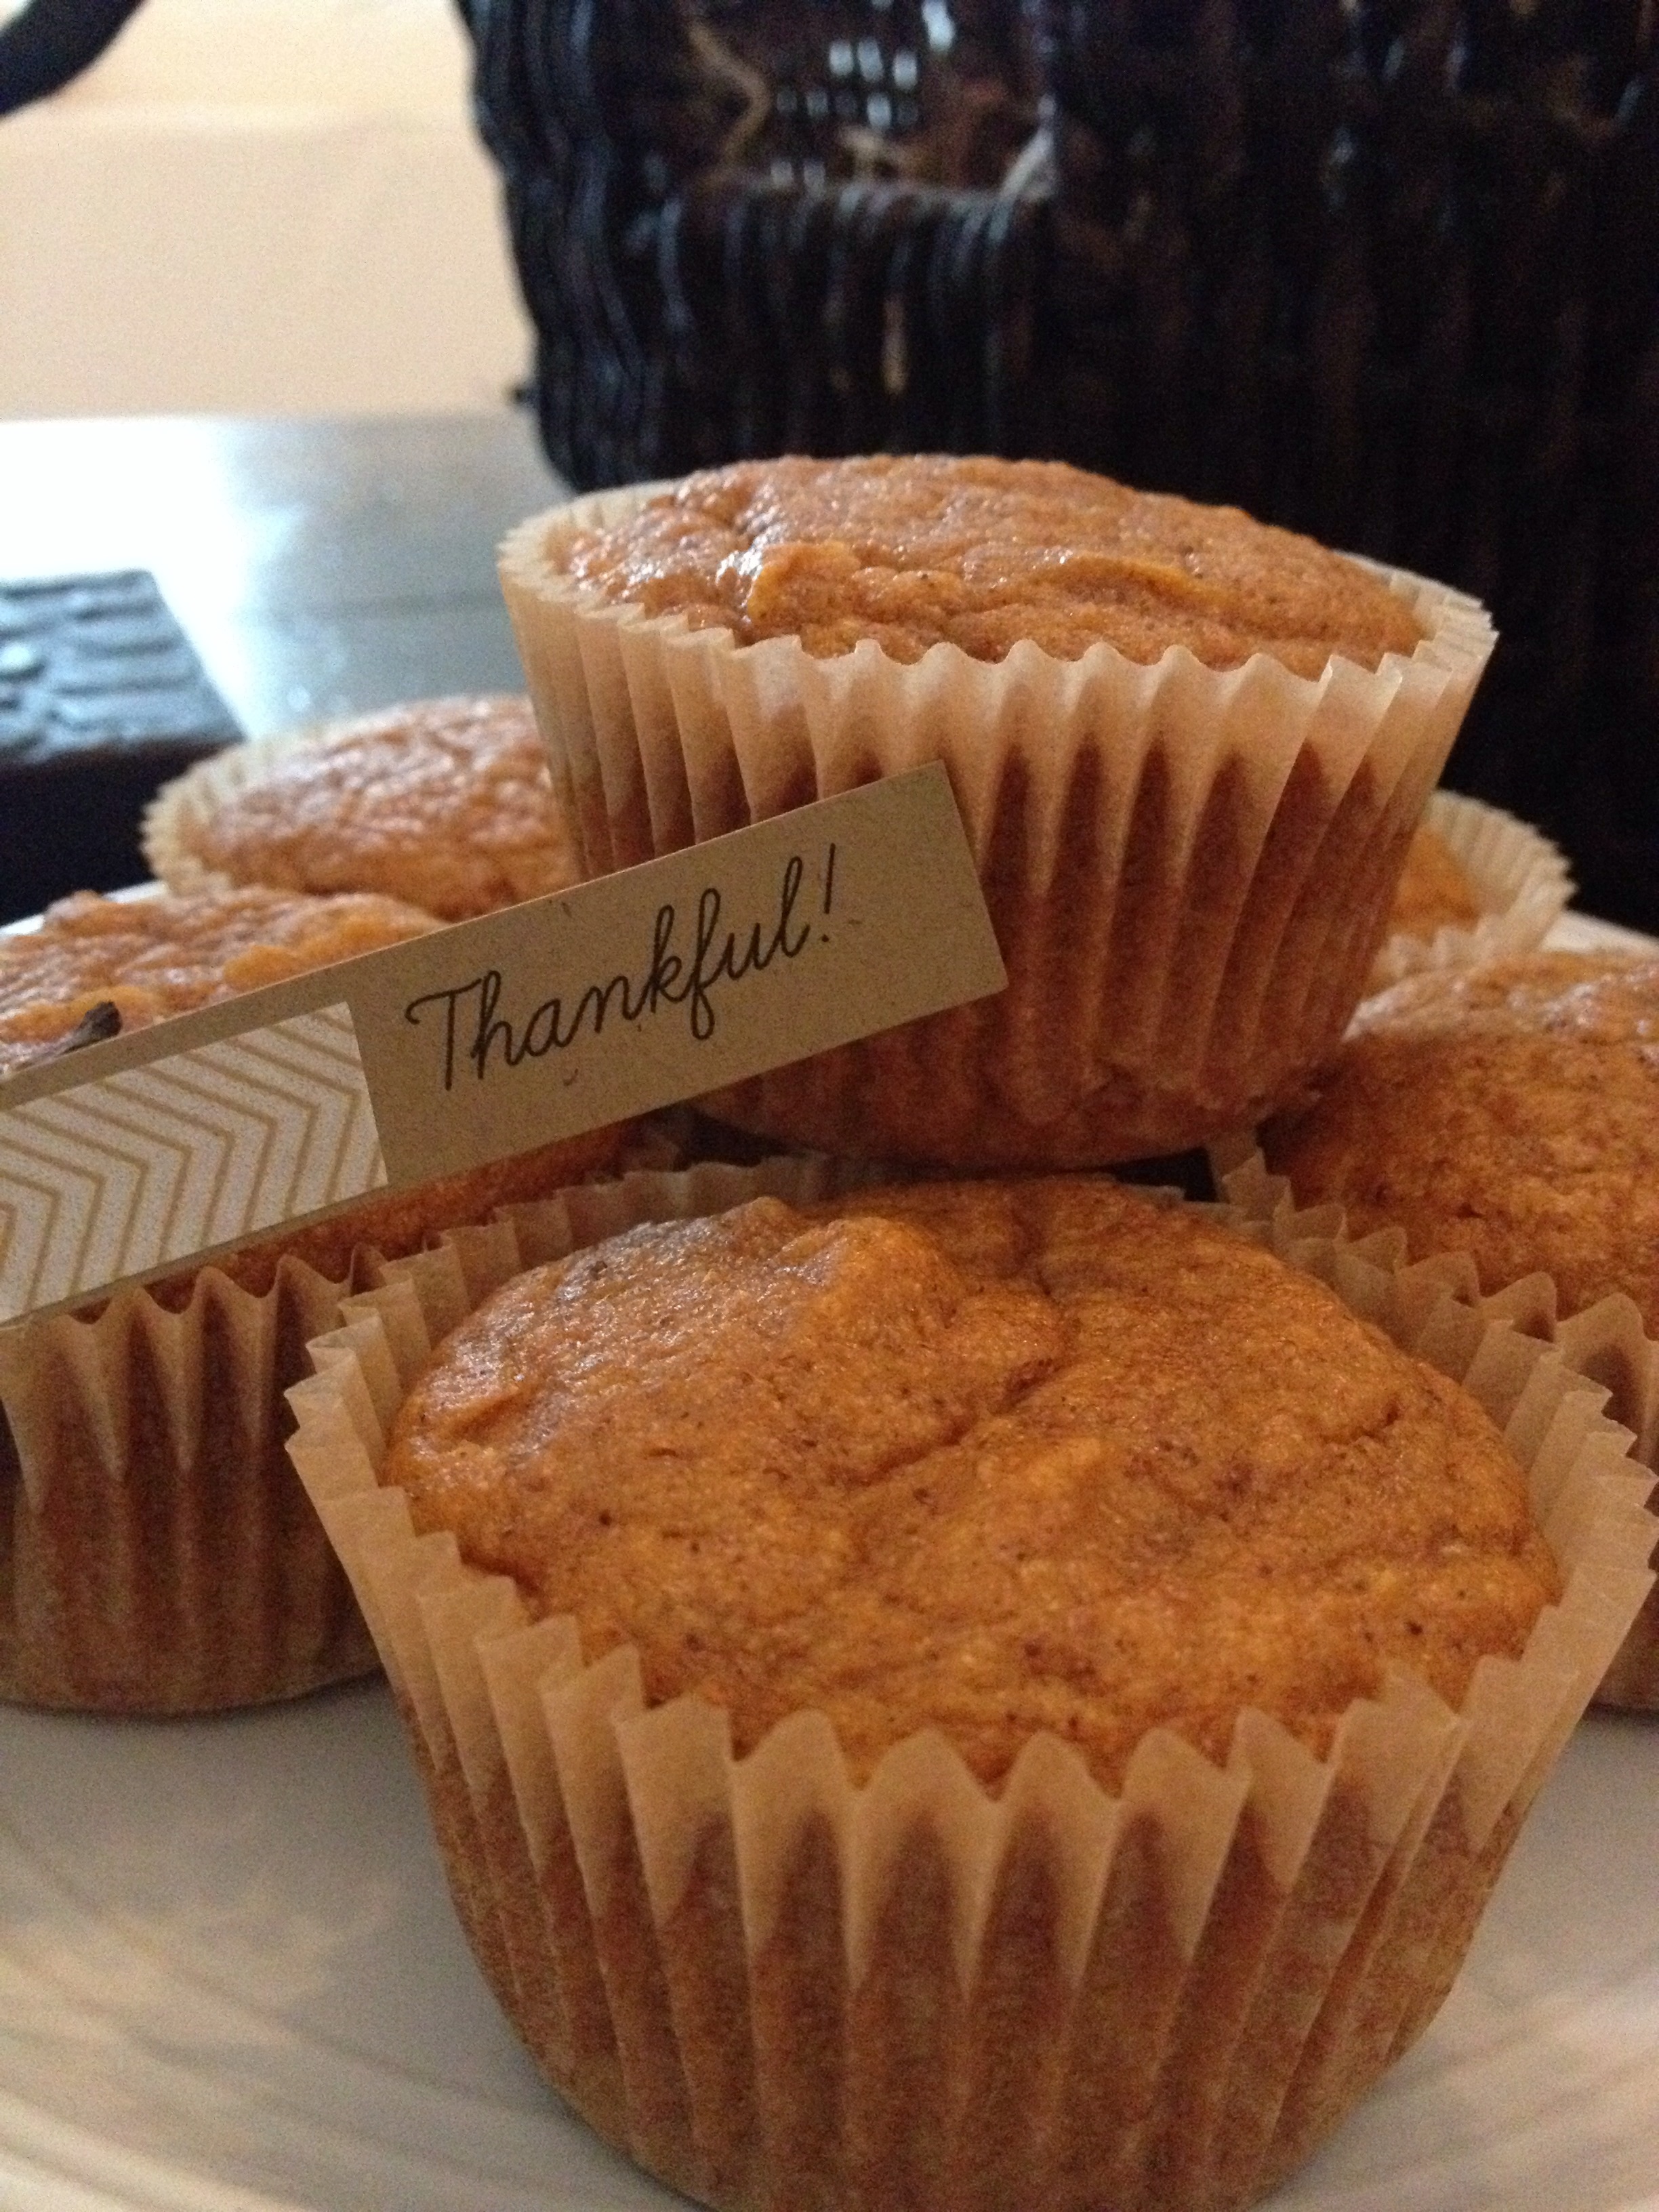
Every year my parents host Thanksgiving, it’s always a huge crowd of friends (since our family is on the east coast) with an abundance of food & drinks. Our one family friend always brings these delicious pumpkin muffins and I’m always dying for the recipe. This year, they were so gracious to share the recipe since we decided to travel to North Carolina where my parents recently got a house and do Thanksgiving on the beach. It was my duty to make the muffins and I hope I did them justice (with just a few little tweaks to make them gluten free). Let’s just say I had to hide them because I’m worried there won’t be any left for Thanksgiving tomorrow! Enjoy!

20131127-134306.jpg

Makes 24 muffins

Ingredients:

  • 2 cups all purpose gluten free flour
  • ½ teaspoon salt
  • ½ teaspoon baking soda
  • 1 teaspoon baking powder
  • 1 teaspoon cinnamon
  • 1 teaspoon ground cloves
  • 1 teaspoon nutmeg
  • 2 cups sugar
  • 2 eggs
  • 2 cans of pumpkin puree
  • ¾ cup butter at room temperature
  • 1/2 cup Walnuts (optional)

Directions:

  1. Preheat oven to 325°. Prepare muffin tins with liners.
  2. In a medium bowl whisk together the flour, salt, baking powder, baking soda, cinnamon, ground cloves & nutmeg.  Set aside.
  3. In the mixer, beat together sugar with butter on medium speed until just blended.
  4. Add eggs one at a time beating well after each addition. Continue beating until mixture is very light and fluffy.
  5. Beat in pumpkin puree.
  6. On low speed, beat in flour mixture until combined.
  7. Stir in nuts.
  8. Pour batter into muffins tins.
  9. Bake muffins for 25-30 minutes until toothpick comes out clean.
Advertisement

Deconstructed Pumpkin Pie

Last year in Martha Stewart Living magazine I saw a recipe for pumpkin mousse and always wanted to try it out but never got around to it. Recently, I got a request from a YouTube viewer to do a pumpkin recipe for fall and thought it would be the perfect time to test out the pumpkin mousse. I didn’t end up using Martha’s recipe because it called for gelatin and I didnt want to use that, but I found a recipe just as good and made some minor changes. You can definitely make this recipe in a bowl but thought it would be fun to put in small mason jars. They can act as favors and/or place cards at your next dinner party. You all know I’m a huge fan of double duty items when it comes to entertaining.

20131113-154135.jpg

20131113-154155.jpg

Materials:

  • Mason Jars
  • Twine
  • Tags

Ingredients:

  • 1 can pumpkin puree (15 oz)
  • ½ can condensed milk (14 oz)
  • 2 ½ cups heavy cream
  • 2 tablespoons light brown sugar
  • 2 teaspoons ground cinnamon
  • ¼ teaspoon ground nutmeg
  • ¼ teaspoon ground clove
  • Cool Whip
  • Cinnamon Candied Pecans
  • Gluten Free Graham Cracker Crumbs

Directions:

  1. Place the pumpkin puree, condensed milk, ½ cup of heavy cream, sugar, cinnamon, nutmeg, and clove into a medium saucepan and stir over medium heat.
  2. Simmer for 5 minutes.
  3. Transfer the mixture to a mixing bowl and allow the mixture to cool completely and cover with plastic wrap.
  4. Place in the refrigerator for 2 to 4 hours. You could make this part of the mixture the night before and let it chill.
  5. Smash cinnamon candied pecans in plastic bag with rolling pin. Set aside.
  6. Place the chilled pumpkin mixture and remaining 2 cups of cream into a stand mixer and whip until it thickens..
  7. Fill pastry bag with mousse and squeeze into mason jar. You can also just spoon it in, but you will get cleaner sides with the pastry bag.
  8. Add layer of graham cracker crumbs.
  9. Add layer of Cool Whip.
  10. Top off with layer of the crushed cinnamon candied pecans.

Pumpkin Mousse Recipe adapted from Spoon Fork Bacon. 

Farmer’s Market Essentials

I’m so excited to finally make it to the farmer’s market this morning! I put air in my bike tires, a stop at Starbucks (hence the new mug holder added to the bike) and I’m on my way! On the shopping list is items to make pickled vegetables. I received the Food in Jars book for my birthday and I’ve been dying to test out some of the recipes.
Farmer's Market Essentials

Homemade Peanut Butter Cups

20131104-152914.jpg

This no bake dessert packs so much goodness in one little bite. I prefer to make these mini because they are so rich, especially if you are using dark chocolate. I have a lot of pregnant friends right now and this dessert seems to be satisfying those sweet tooth cravings.

Makes 24 mini cups

Ingredients:

  • 1/4 cup of butter
  • 3/4 cup of chunky peanut (or almond) butter
  • 3/4 cup of gluten free graham cracker crumbs
  • 1/4 cup of sugar
  • 1 cup dark (or semisweet) chocolate chips
  • 1/4 cup of milk (I use almond milk)
  • Sea Salt

Steps:

  1. Line muffin tin with papers.
  2. In microwave safe bowl, melt the butter and peanut butter together for 45 seconds. Stir until smooth. Add graham crackers crumbs and sugar, mix to combine.
  3. Distribute mixture evenly between prepared muffin cups (using an ice cream scoop helps this process). Tap muffin pan on counter to help settle the mixture in the tins. Freeze for 5 minutes to set peanut butter layer.
  4. Combine chocolate chips and milk in a microwave safe bowl and heat in 25 second intervals until chocolate is melted. Stir until smooth.
  5. Distribute evenly over top of peanut butter layer. Tap muffin pan on counter to help settle the chocolate in the tins.
  6. Wait 2 minutes for chocolate to cool a little, then sprinkle with sea salt. Chill until firm. Store covered in fridge or freezer.

Recipe adapted from Blue Eyed Bakers

How to Make Cake Pops

These delicious cake pops are much easier to make than they look. I promise you no one will have just one. I figured about 4 cake pops equal 1 cupcake, so don’t feel so bad when you go for seconds, or thirds….right!?!

20130903-143802.jpg

20130906-084855.jpg

Gluten Free Zucchini Bread

20130629-082111.jpg

My mom has this recipe book that is older than I am. The cover is burnt off, the pages are torn and spilled on but it contains some of the best tasting recipes. I have been craving the Zucchini bread that she always made when I was younger, so I got the recipe and altered it for my gluten free lifestyle (plus I cut out some of the sugar and oil as well).

Ingredients:

  • 1.5 cup sugar
  • 2 cups (about 3 medium sized) shredded zucchini
  • 3 cups gluten free flour
  • 1/2 teaspoon xanthan gum
  • 3 eggs
  • 1 tablespoon vanilla extract
  • 1/2 cup coconut oil
  • 1 1/2 teaspoon salt
  • 1/4 teaspoon baking powder
  • 1 teaspoon baking soda
  • 1 teaspoon cinnamon

Directions:

  1. Heat oven to 325 degrees.
  2. Using a food processor, shred the zucchini.
  3. Mix all ingredients together with an electric mixer and then evenly distribute into loaf pan. Bake 1 hour.

Mom’s recipe book!

Coconut Macaroons

As promised here is the recipe for the Coconut Macaroons I made yesterday. The kraft takeout boxes were the perfect transportation for the macaroons to the BBQ party.

20130602-094153.jpg

Ingredients:

  • 3 large egg whites
  • 1/2 cup sugar
  • 1/4 teaspoon salt
  • 1 package (14 ounces) unsweetened flaked coconut
  • Semi-Sweet Chocolate Chips (about 4 ounces)

Directions:

  1. Preheat oven to 350 degrees. Line baking sheet with parchment paper (or coat generously with nonstick cooking spray).
  2. In a large bowl, whisk together egg whites, sugar, and salt until frothy. With a fork, stir in coconut until moistened.
  3. Drop mixture by packed level tablespoons onto prepared sheet (cookies will not spread). Bake until lightly golden, 20 to 25 minutes.
  4. Melt chocolate chips in microwave (20 second intervals) and then drizzle over macaroons.

Original recipe from Martha Stewart (I use unsweetened coconut vs. sweetened)

Wedding DIY: Takeout Boxes

I got some requests to do more wedding DIY tutorials and I was super happy to comply!

I’m a big advocate on trying to make weddings greener and not have as much waste. For this week’s video, I saw these biodegradable kraft takeout boxes and thought they were a great way to send guests home with leftover wedding cake. How many times have you seen uneaten slices just sitting on the tables!?!

These takeout boxes are not only for weddings, use them at dinner parties to send guests home with leftovers so that you never have to worry about getting your Tupperware returned to you.

I’ve also included a recipe for my signature Gluten Free Oatmeal Cookies that you can use to fill your boxes and turn them into wedding favors.

Don’t forget to SUBSCRIBE to the YouTube channel, so close to the 1,000 goal!

Materials:

  • Tags – Michaels
  • “Thanks” Stamp  -Target

20130509-220218.jpg

20130509-220148.jpgUse at Thanksgiving and other dinner parties to send home leftovers with your guests

20130509-220203.jpgAdd your wedding monogram

Spinach & Artichoke Wonton Cups

I love this recipe because it takes the messiness out of eating a dip since you have the spinach and artichoke filling in individual cups.  I haven’t found gluten free wontons yet, so if you want to make this gluten free, forget the wonton cups and just serve the filling with tortilla chips. If you do this I suggest making it a bit more creamier by adding additional greek yogurt. Plus, it’s a much lighter version of a traditional spinach & artichoke dip.
20130321-125421.jpg

Ingredients:

  • 1 Package of frozen chopped spinach, defrosted and drained
  • 1 Can of artichokes in water, drained and chopped
  • 1/4 cup Vegan Mayo
  • 1/3 cup Greek Yogurt
  • 1 Tablespoon Frank’s hot sauce
  • 1 clove of garlic, minced
  • 1 lemon, zest only
  • 1/2 Grated Parmesan Cheese
  • Salt & Pepper to taste
  • Wonton Wrappers (these are not gluten free)

Directions:

  1. Preheat oven to 350 degrees. Using a muffin pan, place a wonton into each tin and press down to form the cup shape (they don’t have to be perfect). Bake for 12-15 minutes or until the wonton tips are a light brown. You can make these wonton cups a few days in advance, just store in a zip lock bag. 
  2. Make sure the chopped spinach and artichokes are drained well. Use a paper towel to press out any excess water.
  3. Mix all filling ingredients together in large bowl.
  4. Fill wonton cups with mixture. Don’t fill the cups more than 30 minutes in advance otherwise the wontons will get soggy.

Adapted from this original recipe.

Fresh Herb & Onion Dip

It’s March Madness, perfect time for snacking on chips and dips. Honestly,  if I could live off of chips & dips I would, but I can’t…This dip is perfect for a party and works well served with potato chips. I made slight variations to the original recipe, adding in more fresh herbs and using Vegan mayo, but regular mayo will would perfectly.  Also, any recipes lately that ask for sour cream I’ve been substituting with greek yogurt as a healthier alternative. Sorry, I don’t have photos to post!

Ingredients: 

  • 2 Tablespoons of Olive Oil
  • 1 1/2 cups Yellow Onions, diced
  • 1/4 teaspoon Sea Salt
  • 1 1/2 cups Sour Cream (or Greek Yogurt)
  • 3/4 cup Vegan Mayo
  • 2 Tablespoons fresh Parsely, finely chopped
  • 2 Tablespoons fresh Chives, finely chopped
  • 2 Tablespoons fresh Dill, finely chopped
  • 1/4 teaspoon Garlic Powder
  • 1/4 teaspoon Black Pepper
  • 1/2 teaspoon Sea Salt

Directions:

  1. Add oil in a saute pan over medium heat, add onions and salt. Cook the onions until they are caramelized, about 20 minutes. Remove from heat and set aside to cool.
  2. In a bowl, mix the rest of the ingredients, and then add the cooled onions.
  3. Put dip in refrigerator to chill for an hour or make it the night before the party. Serve with potato chips. 

Recipe adapted from What’s Cooking Chicago?