5-Minute Soft Curl Tutorial

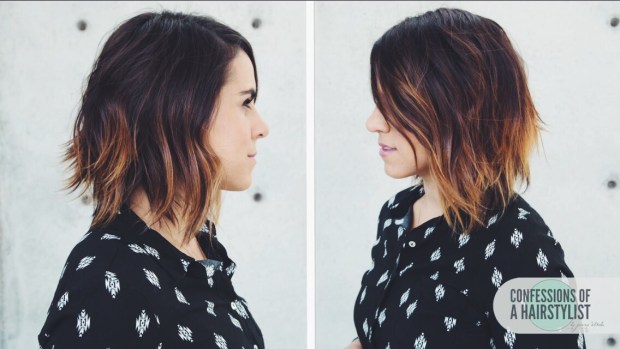
Ask and you shall receive. Thank you for the comments on the YouTube channel, here is a new hair tutorial!

– TUTORIAL –

Steps:

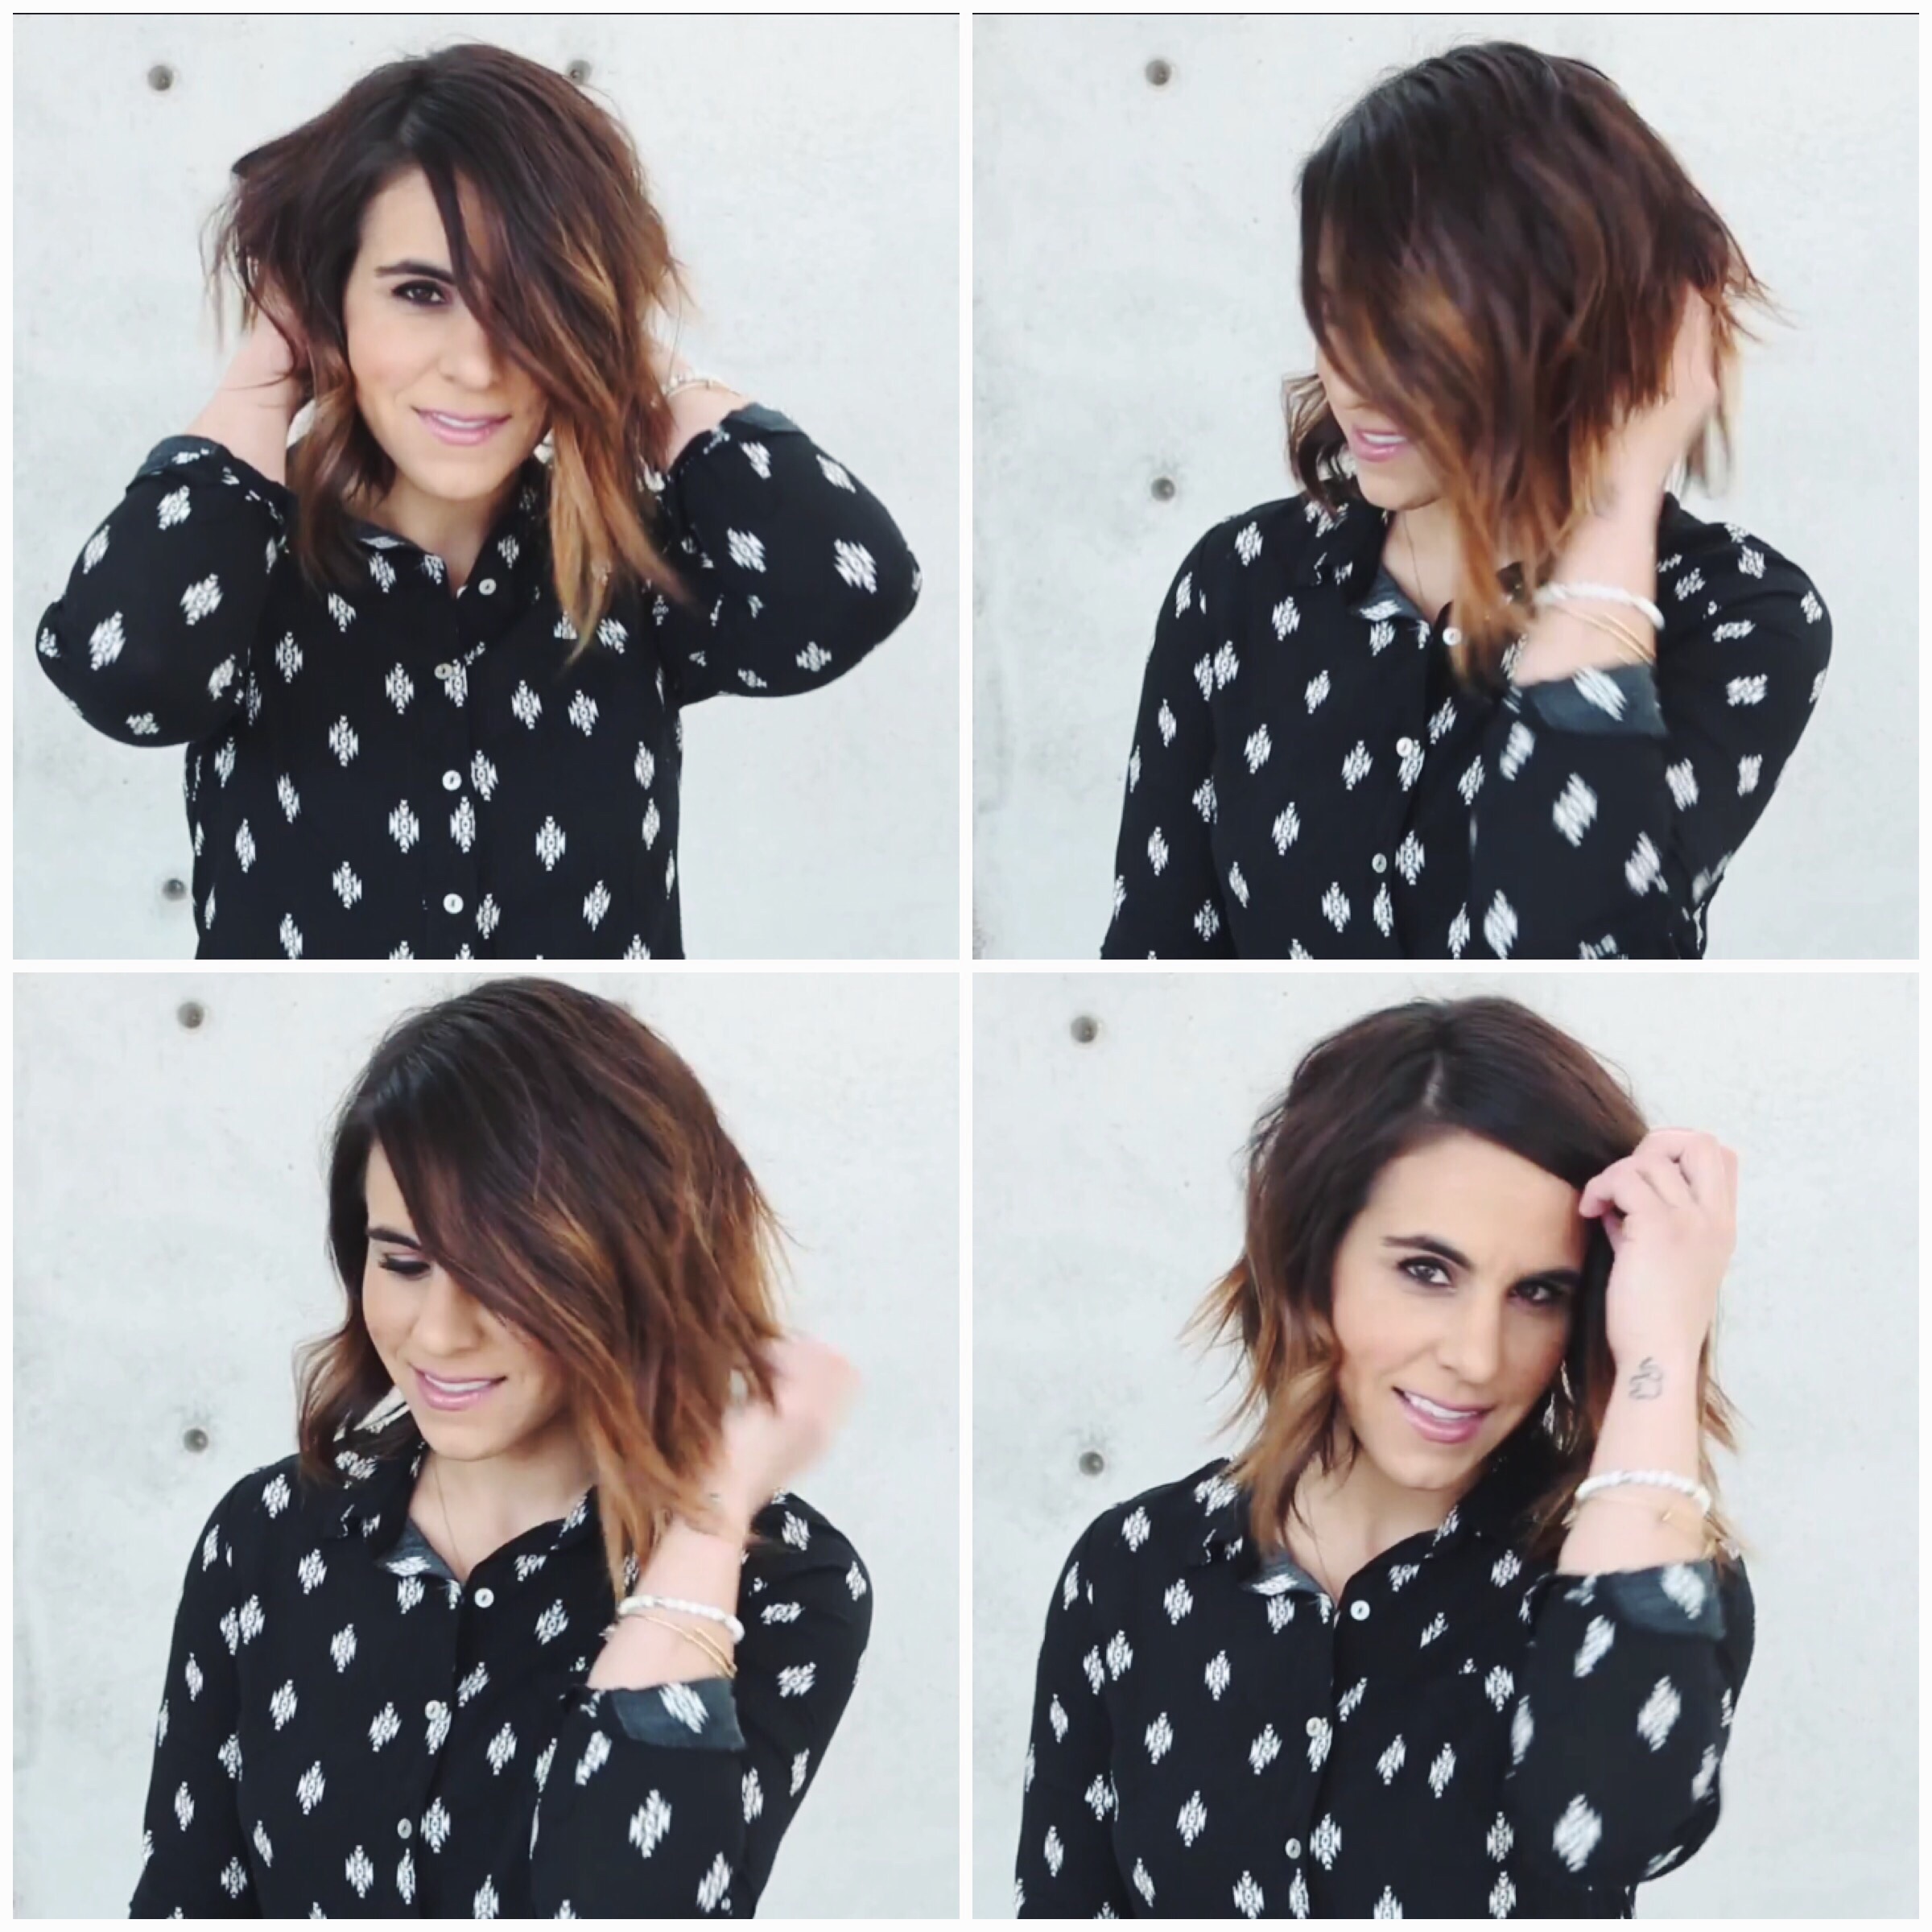
  • AFTER  you blow dry your hair:
    1. Separate your hair into sections.
    2. Style Sexy Hair 450 Headset Head Defense – Spray onto hair right before curling.
    3. Using a 1 inch iron by Hot Tools, grab a section of hair (about 1-2 inches thick) and position the curling iron an inch away from the roots, curl and leave the ends free (don’t curl about .5-1 inch of hair at the end). Continue this around the entire head, curling the hair in the same direction.
    4. When done curling, finish with Style Sexy Hair Spray Clay to create texture and separation.

    – PIN THIS – 

Advertisement

How to Create a No Sew Bow

I hope everyone had a wonderful Memorial Day! I definitely took advantage of the long weekend, soaked up some sun and did a whole lot of nothing. It was some much needed downtime and a good recharge but now it’s back to work (thank goodness it is a short week, right!?!).

As a continuation of my Summer Wedding DIY series, I’ll show you how to create a no sew bow. These are great styling accessories for your bridal party, ring bearer, flower girl or other wedding decor. You can create a no sew bow in just 6 easy steps. Head over to my Pinterest board for more ideas on how to incorporate bows into your event.

Thank you to all who helped me to reach the 1,000 subscriber goal on the YouTube channel! I’m so grateful. Please share a comment and let me know what tutorials you would like to see in the future.


How to create a no sew bow:

  1. Cut a piece of ribbon 12.5 inches long (this will make a bow about 6 inches long).
  2. Cut another piece of ribbon 3 inches long.
  3. Take your 12.5 inch long piece of fabric, fold the ends together and secure with a drop of hot glue.
  4. Take your 3 inch long piece of fabric, fold in the sides and secure with a drop of hot glue.
  5. Pinch together the middle of the larger piece of ribbon to form the bow.
  6. Glue the smaller piece of fabric around the middle.

Images:

Bow shoes via Martha Stewart Weddings

Bow Necklace via BHLDN

Bow Hair Accessory via Pinterest

DIY Tulle Tutus

I think this may be the cutest craft ever. I seriously can’t get enough of these tutus. Watch the tutorial and you’ll see what I mean. Don’t forget to SUBSCRIBE to the YouTube Channel!!

Materials:

Tools:

  • Scissors (find a similar leopard pair of scissors here)
  • Tape Measure

Total cost: $12

Time: 30 minutes

Steps:

  1. Cut elastic 2 inches shorter than flower girls waist measurements.
  2. Use fabric glue to hold the elastic together.
  3. Cut tulle into 2 foot long pieces.
  4. Wrap the elastic around your leg to hold it into place.
  5. Take one piece of tulle and hold it in half. Thread the tulle under the elastic, leading with the folded end.
  6. Take the two ends of the tulle on top, pull them through the folded end (loop). Continue pulling down and use the index finger from your other hand to place the knot and tighten as you pull. Repeat this step until tutu is complete. Trim ends if needed.

Tips:

  • I also suggest doing a few cross stitches on the elastic for extra hold.
  • Adjust the length of the skirt but cutting longer stripes of tulle.
  • Perfect for flower girls, birthdays, baby showers, etc.
  • Tulle is available in a wide variety of colors so it is easy to match the wedding color palette. I used the glitter tulle for one of the tutus I made and I need to warn you, that the glitter gets EVERYWHERE. If you do want to use it, I suggest doing the craft outside, or avoiding using the glitter tulle altogether so that you aren’t constantly cleaning it up.

Also, if you like working with tulle check out my other tutorial on how to make a tulle headpiece.

DIY Bridal Tulle Headpiece

With wedding season fast approaching, many brides-to-be are looking for unique ways to customize their big day. In this tutorial I’ll show you how to create a Tulle Headpiece that can either be worn by the bride, flower girls or wedding party. This is a great way to call out the bride for a bachelorette party as well (especially if you aren’t into the typical bachelorette decor).

Materials:

Tools:

  • Scissors (find a similar leopard pair of scissors here)
  • Hot Glue Gun
  • Ruler

Total cost: Under $10

Time: 20 minutes

Steps:

  1. Cut 12 pieces of tulle into 8 inch strips.
  2. Cut 6 inch piece of twine and set aside.
  3. Layer pieces of tulle on top of each other, alternating directions.
  4. Fold tulle in half and pinch the bottom together, secure with twine.
  5. Secure tulle to headband with a drop of hot glue and hold in place until dry.

Tips: 

  • I prefer to use tulle with texture like the birdcage type or I mixed regular tulle with a swiss dot style in the video.
  • If you are going to use a comb you will only need 6-8 pieces of tulle depending on the fullness you want.
  • Using a straight edge/square shape tulle will give you a more avant garde look, using rounded edge/circle shape tulle will give you more of a rosette style.
  • Have the bride where it the Bachelorette party and/or bridal shower in order to call out the bride-to-be.
  • Consider making versions for the bridesmaids or flower girls, tulle comes in various colors that will match the wedding color palette.

Leave a comment and let me know if there are other tutorials you would like to see!

Heidi Style

Thank you pinterest for the hair inspiration this weekend.

20121022-131314.jpg

1. Divide hair into 4 sections, separating the front from the back on either side.

2. Braid each section starting, 4 braids total. Note: the braid that will be across the top, start the braid higher up, closer to the roots. 

3. Pull the end of one braid to the beginning of the next braid, going in the same direction all around the head

4. Bobby pin the end of each braid into the start of the braid beside it. Be sure to hide those bobby pins so that it looks like one braid all the way around!!

Originally pinned by: http://treasuresandtravels.squarespace.com/blog/2012/6/21/tutorial-braided-crown.html