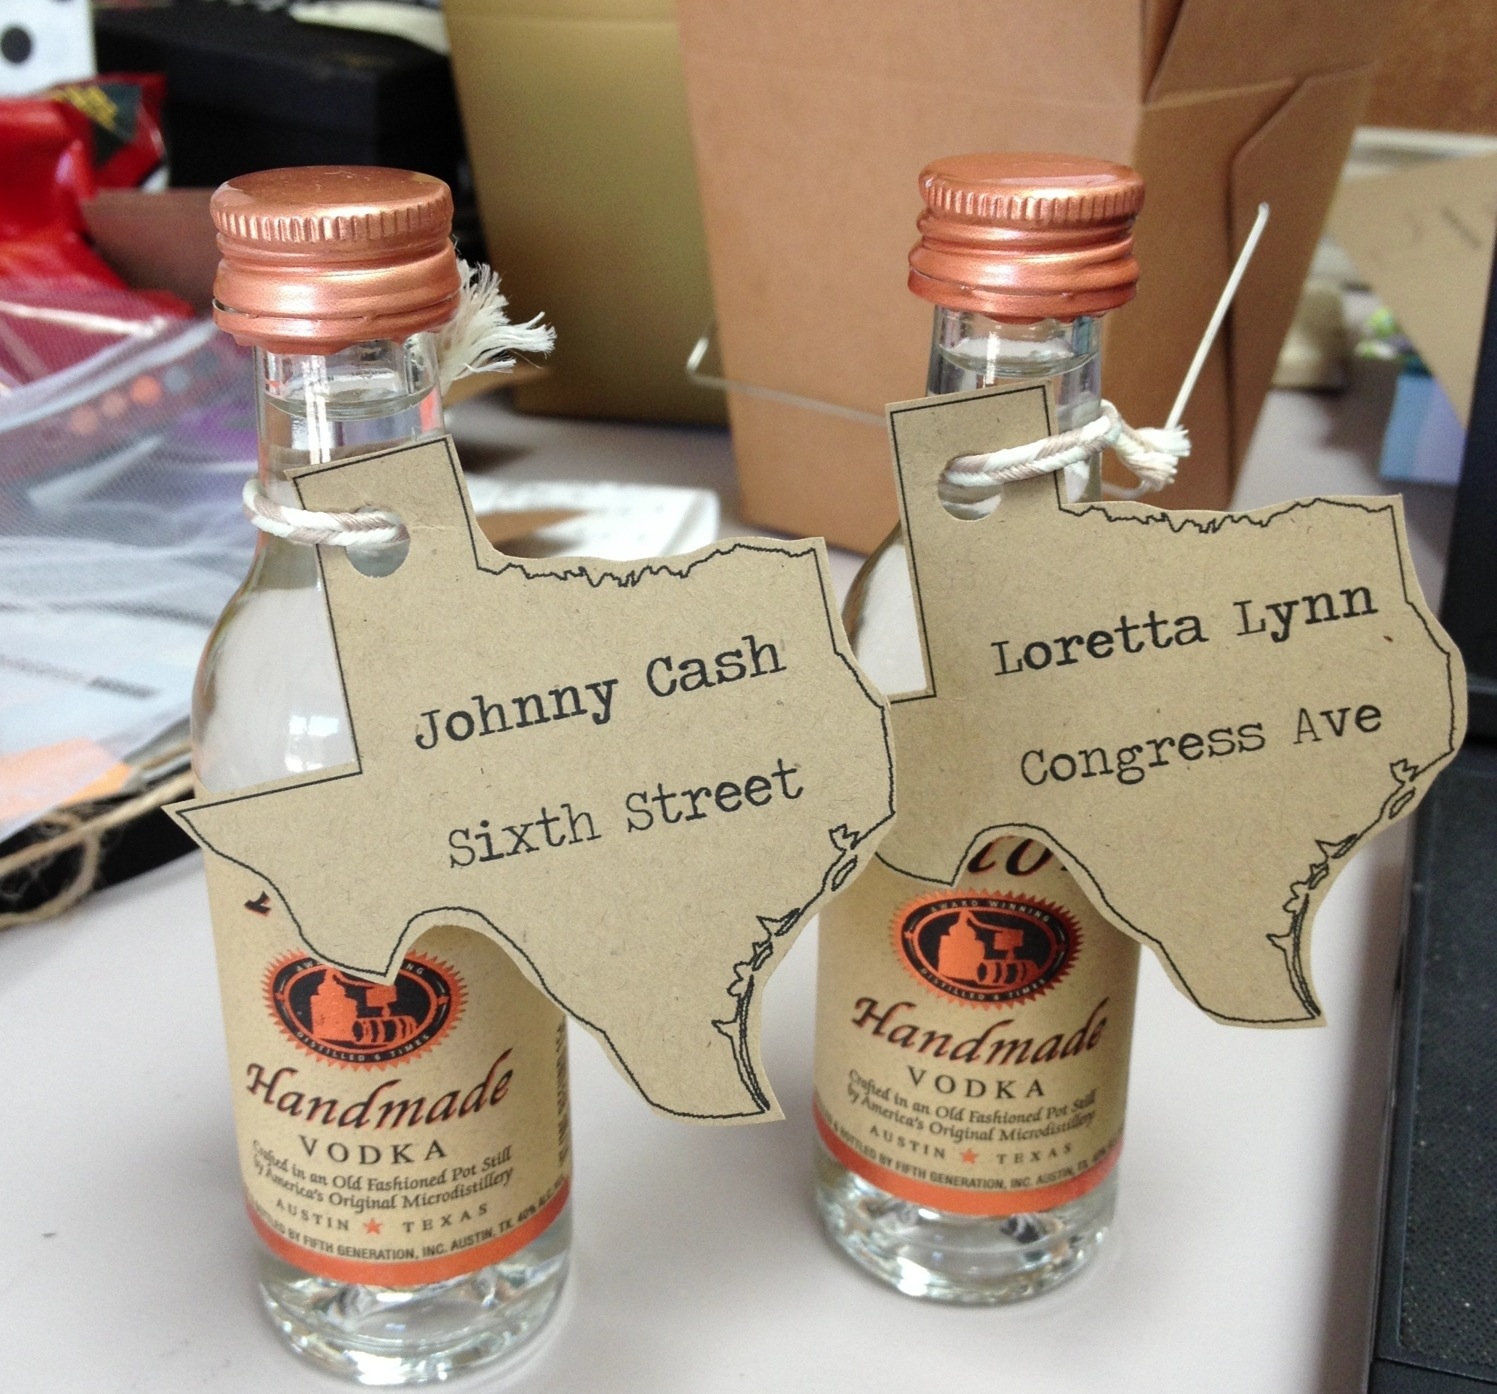
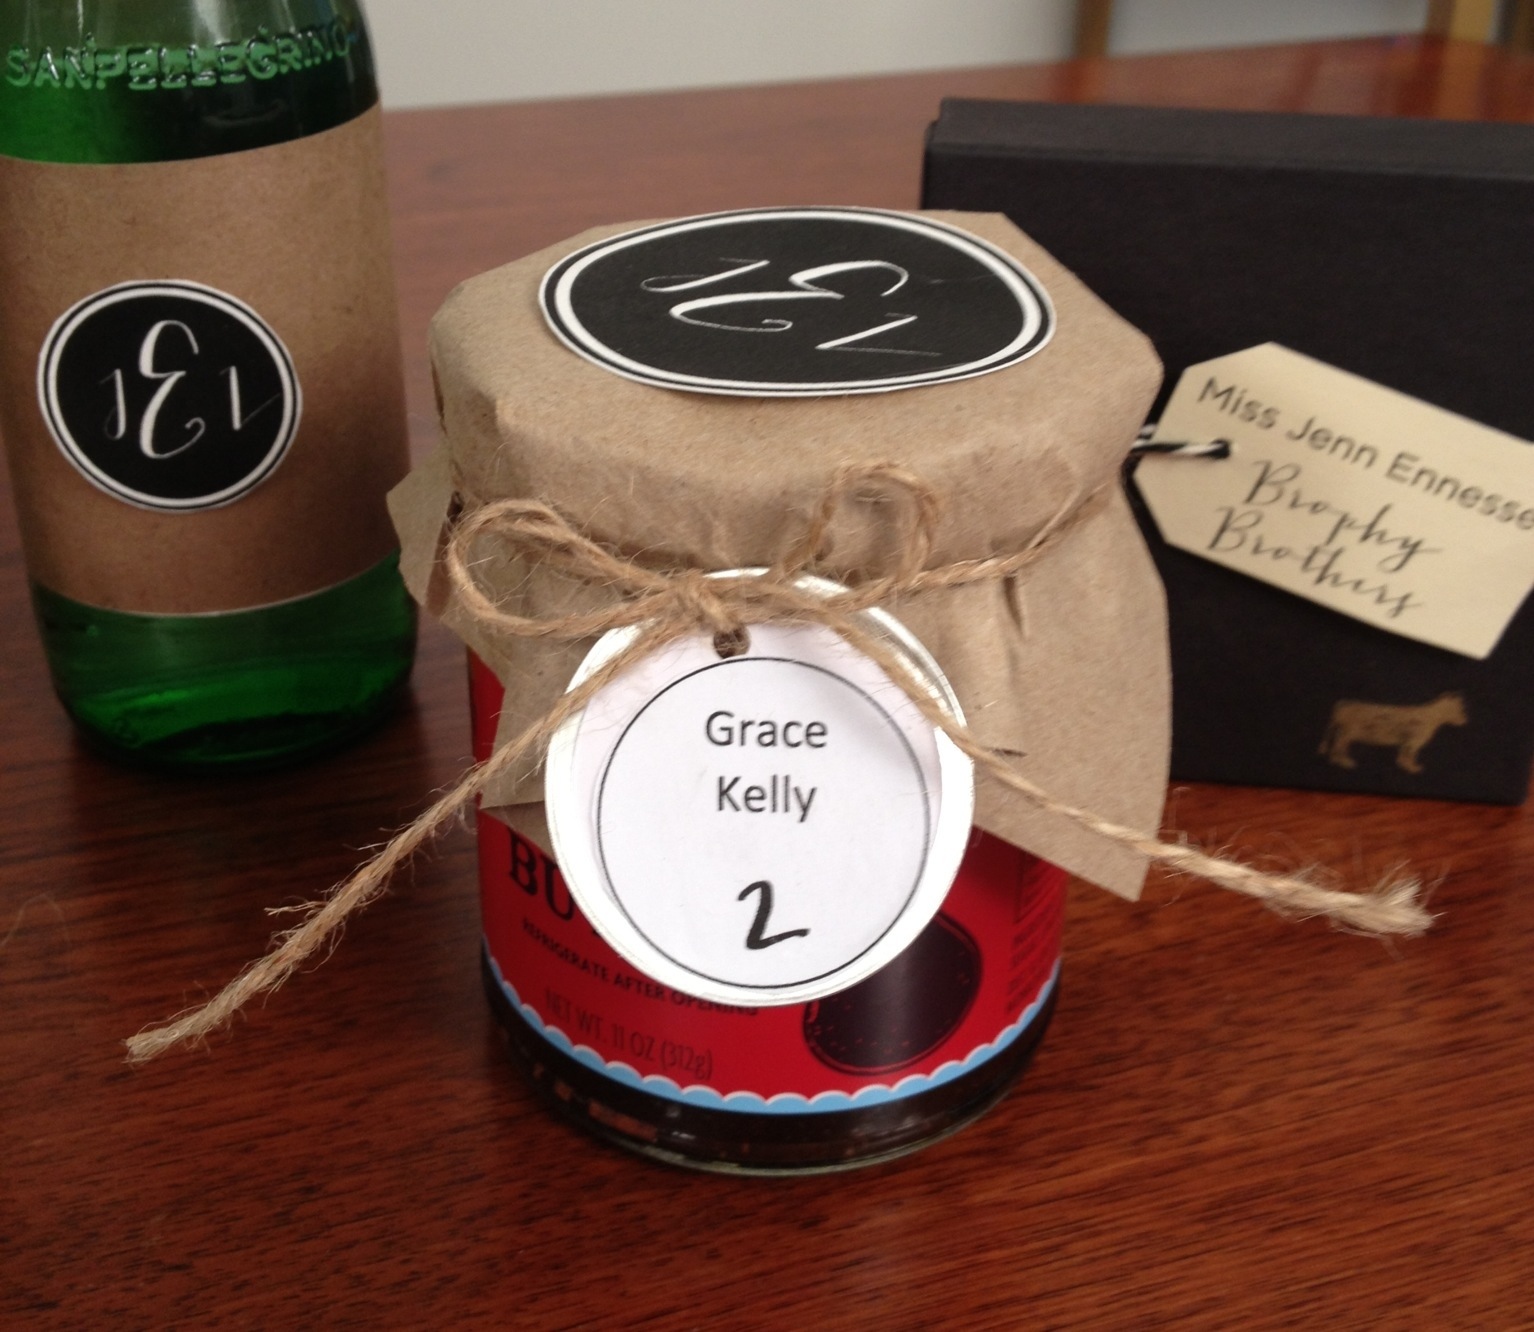
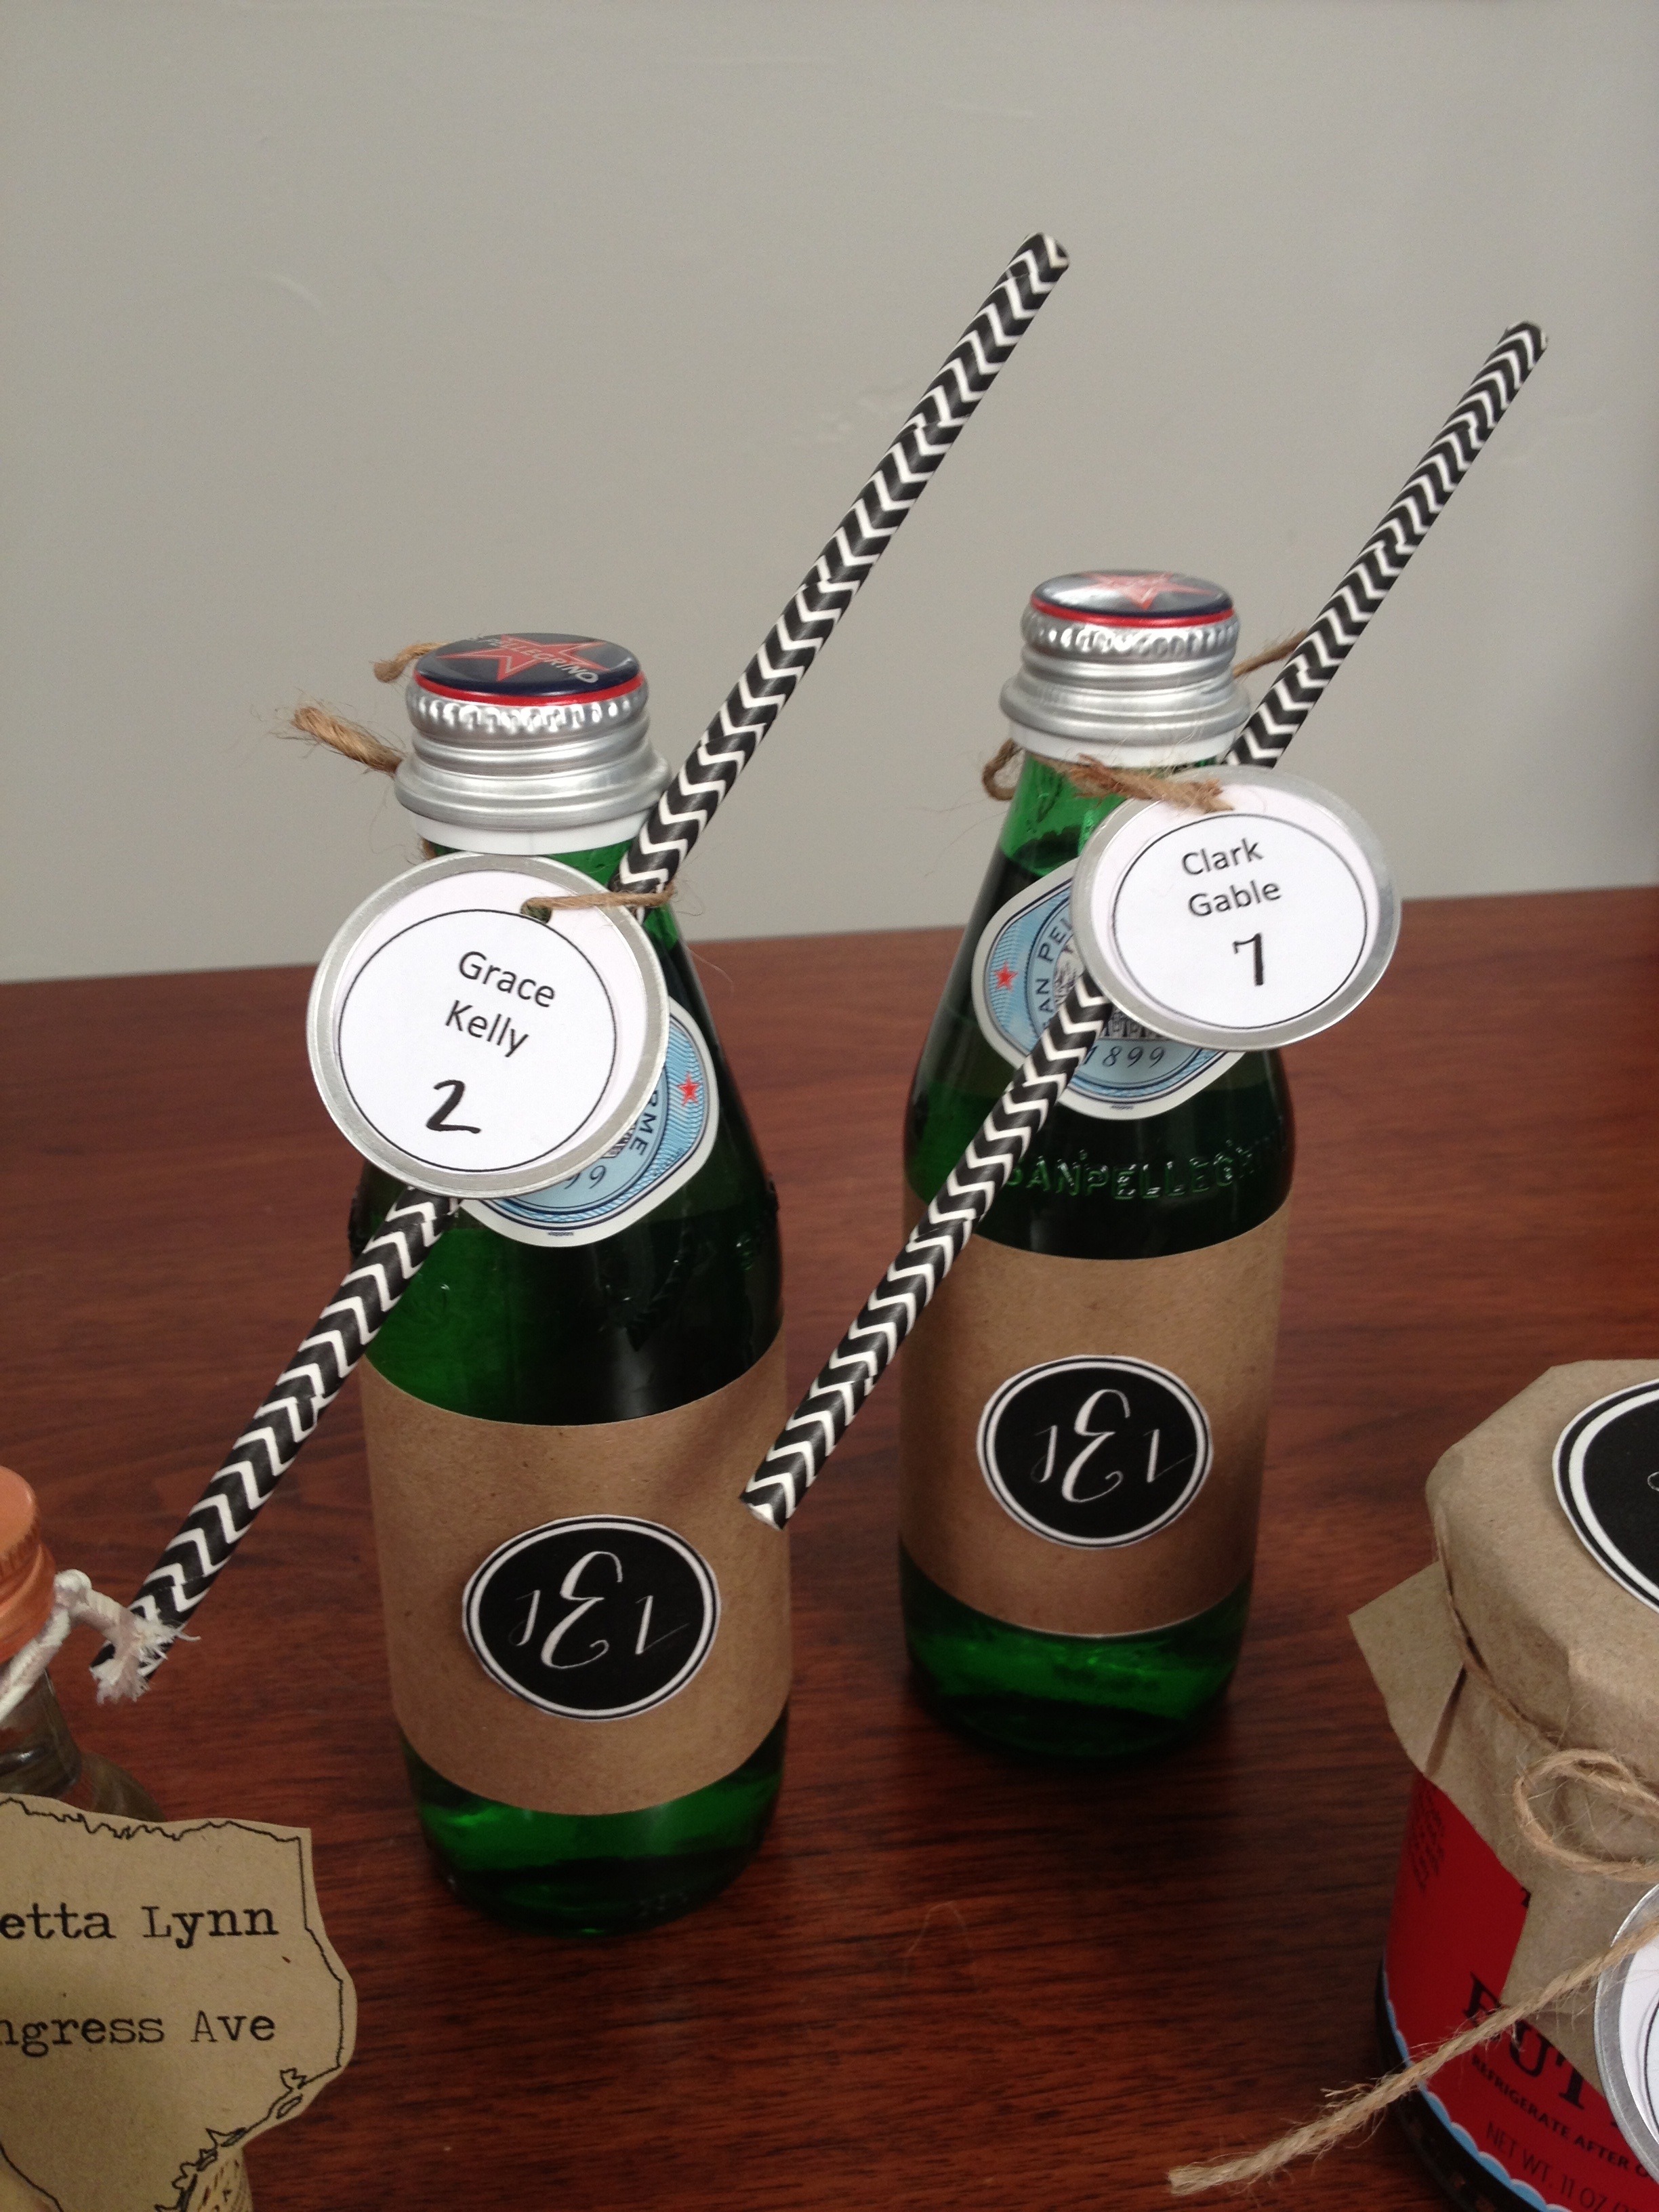
Keeping with the theme on trying to make weddings greener and not having a lot of paper waste, I really like the idea of doing “double duty” escort cards. The concept is to combine your escort cards and favors into one takeaway. These also work well for groomsmen or bridesmaids gifts, favors at bridal showers or name cards at dinner parties. Check out the video for additional ideas and have you subscribe to the YouTube channel yet? A new video posts every Friday!
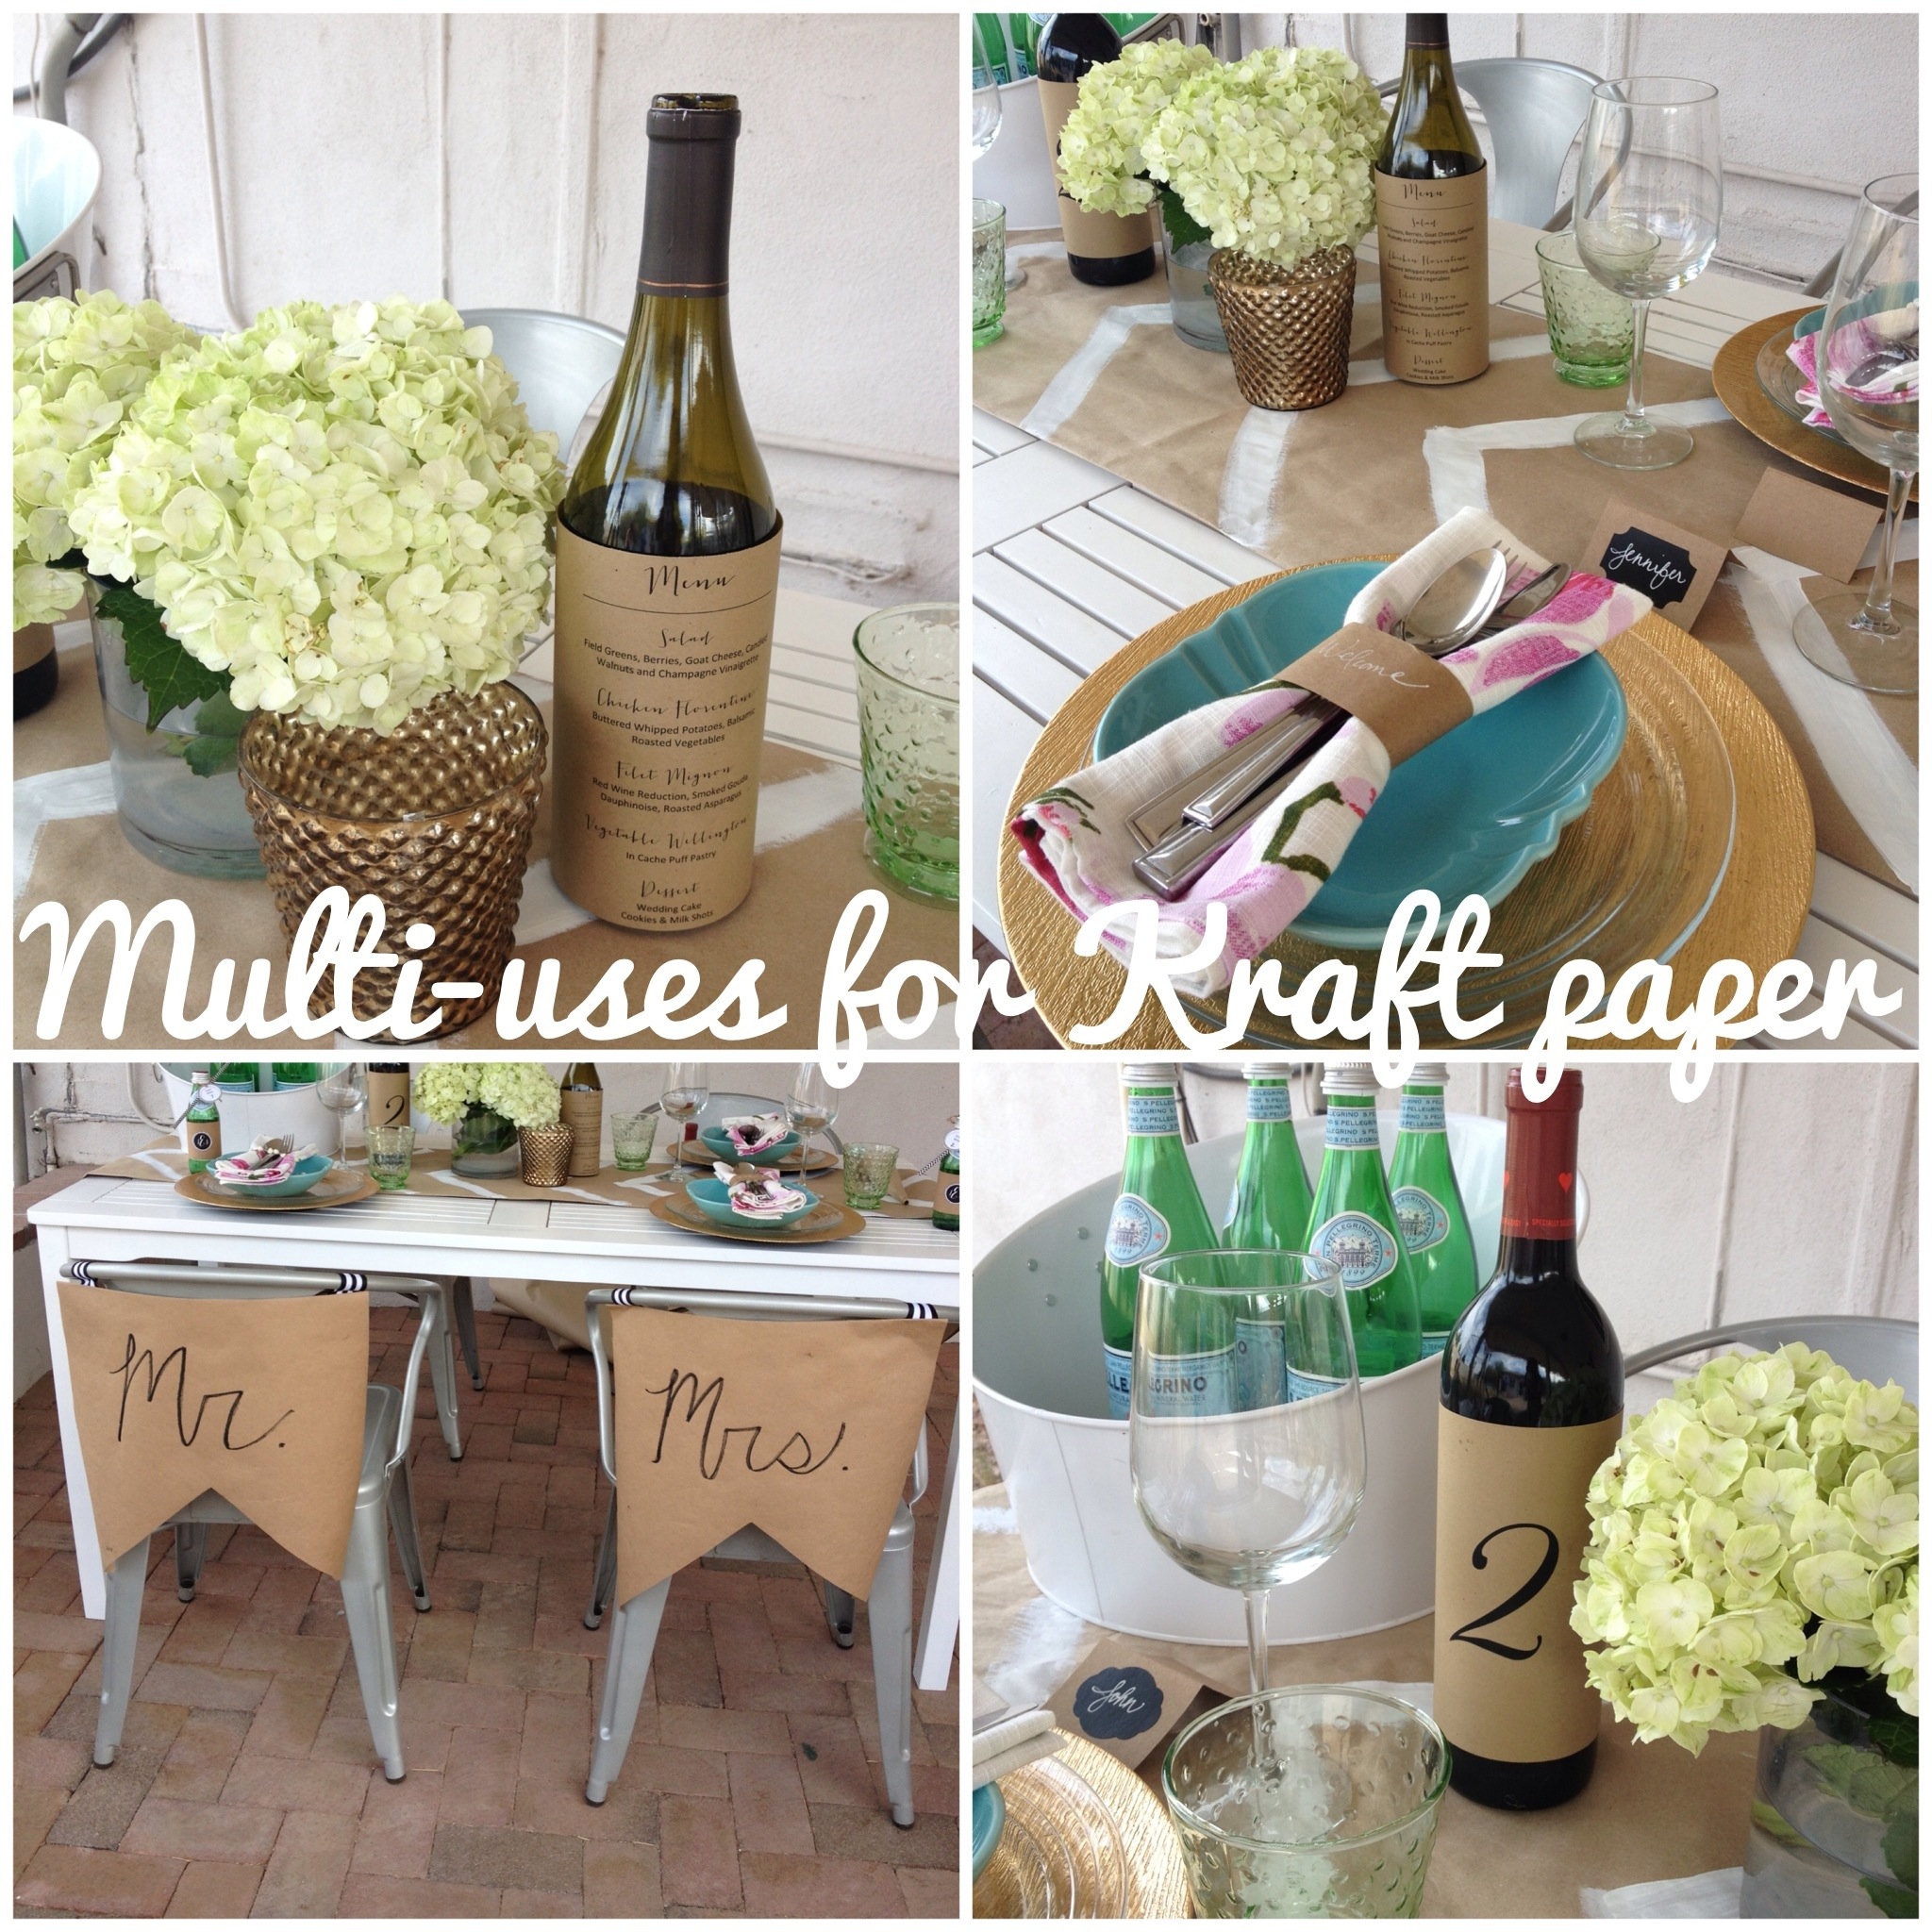
Can you believe it’s June 1st already? I know I say this every year but I really mean it, time is flying by! Summer is rolling in and outdoor entertaining is ramping up. To keep things simple, I wanted to share some ideas on easy ways to style your summer event with Kraft paper. The best thing about Kraft paper is that it has multiple uses, is inexpensive (I picked up my roll at the Dollar Store), easy to clean-up and recyclable. Check out the video for different uses which include wrapping wine bottles with your menus, creating custom napkin ring holders or a painted table runner.
Get more inspiration and places to purchase kraft items by checking out my Pinterest board.
I hope everyone had a wonderful Memorial Day! I definitely took advantage of the long weekend, soaked up some sun and did a whole lot of nothing. It was some much needed downtime and a good recharge but now it’s back to work (thank goodness it is a short week, right!?!).
As a continuation of my Summer Wedding DIY series, I’ll show you how to create a no sew bow. These are great styling accessories for your bridal party, ring bearer, flower girl or other wedding decor. You can create a no sew bow in just 6 easy steps. Head over to my Pinterest board for more ideas on how to incorporate bows into your event.
Thank you to all who helped me to reach the 1,000 subscriber goal on the YouTube channel! I’m so grateful. Please share a comment and let me know what tutorials you would like to see in the future.
How to create a no sew bow:
Cut a piece of ribbon 12.5 inches long (this will make a bow about 6 inches long).
Cut another piece of ribbon 3 inches long.
Take your 12.5 inch long piece of fabric, fold the ends together and secure with a drop of hot glue.
Take your 3 inch long piece of fabric, fold in the sides and secure with a drop of hot glue.
Pinch together the middle of the larger piece of ribbon to form the bow.
Glue the smaller piece of fabric around the middle.
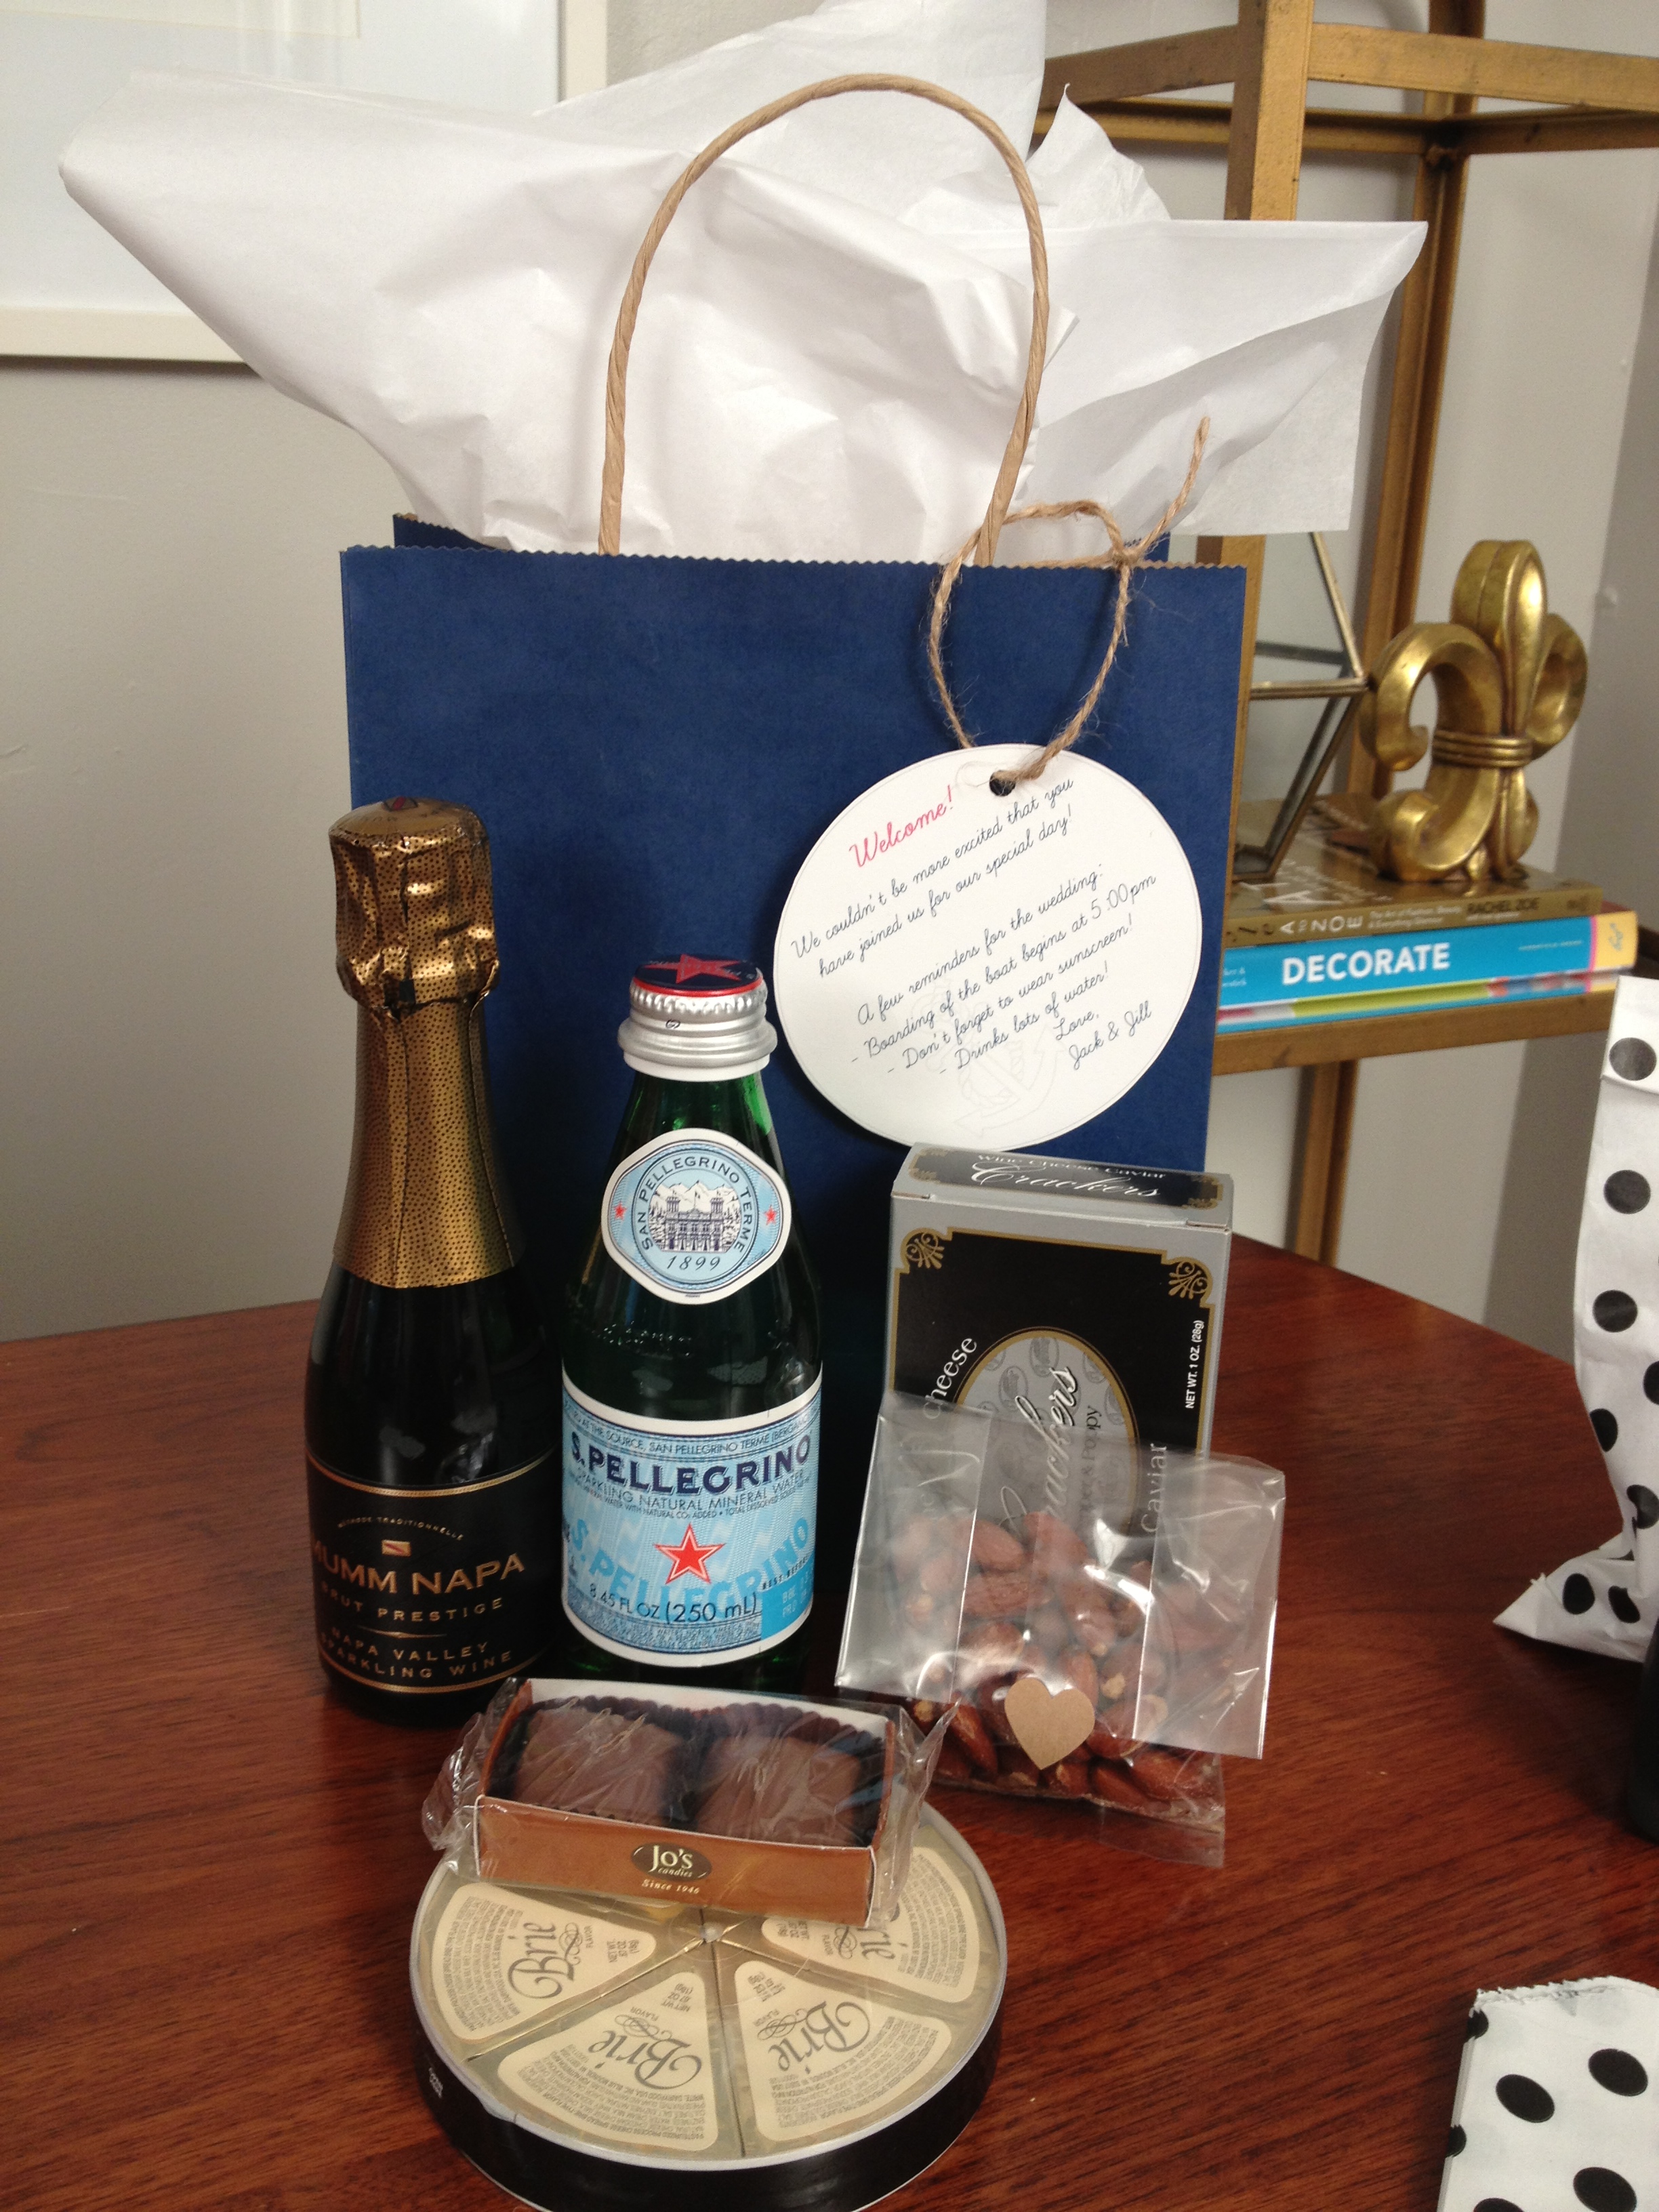
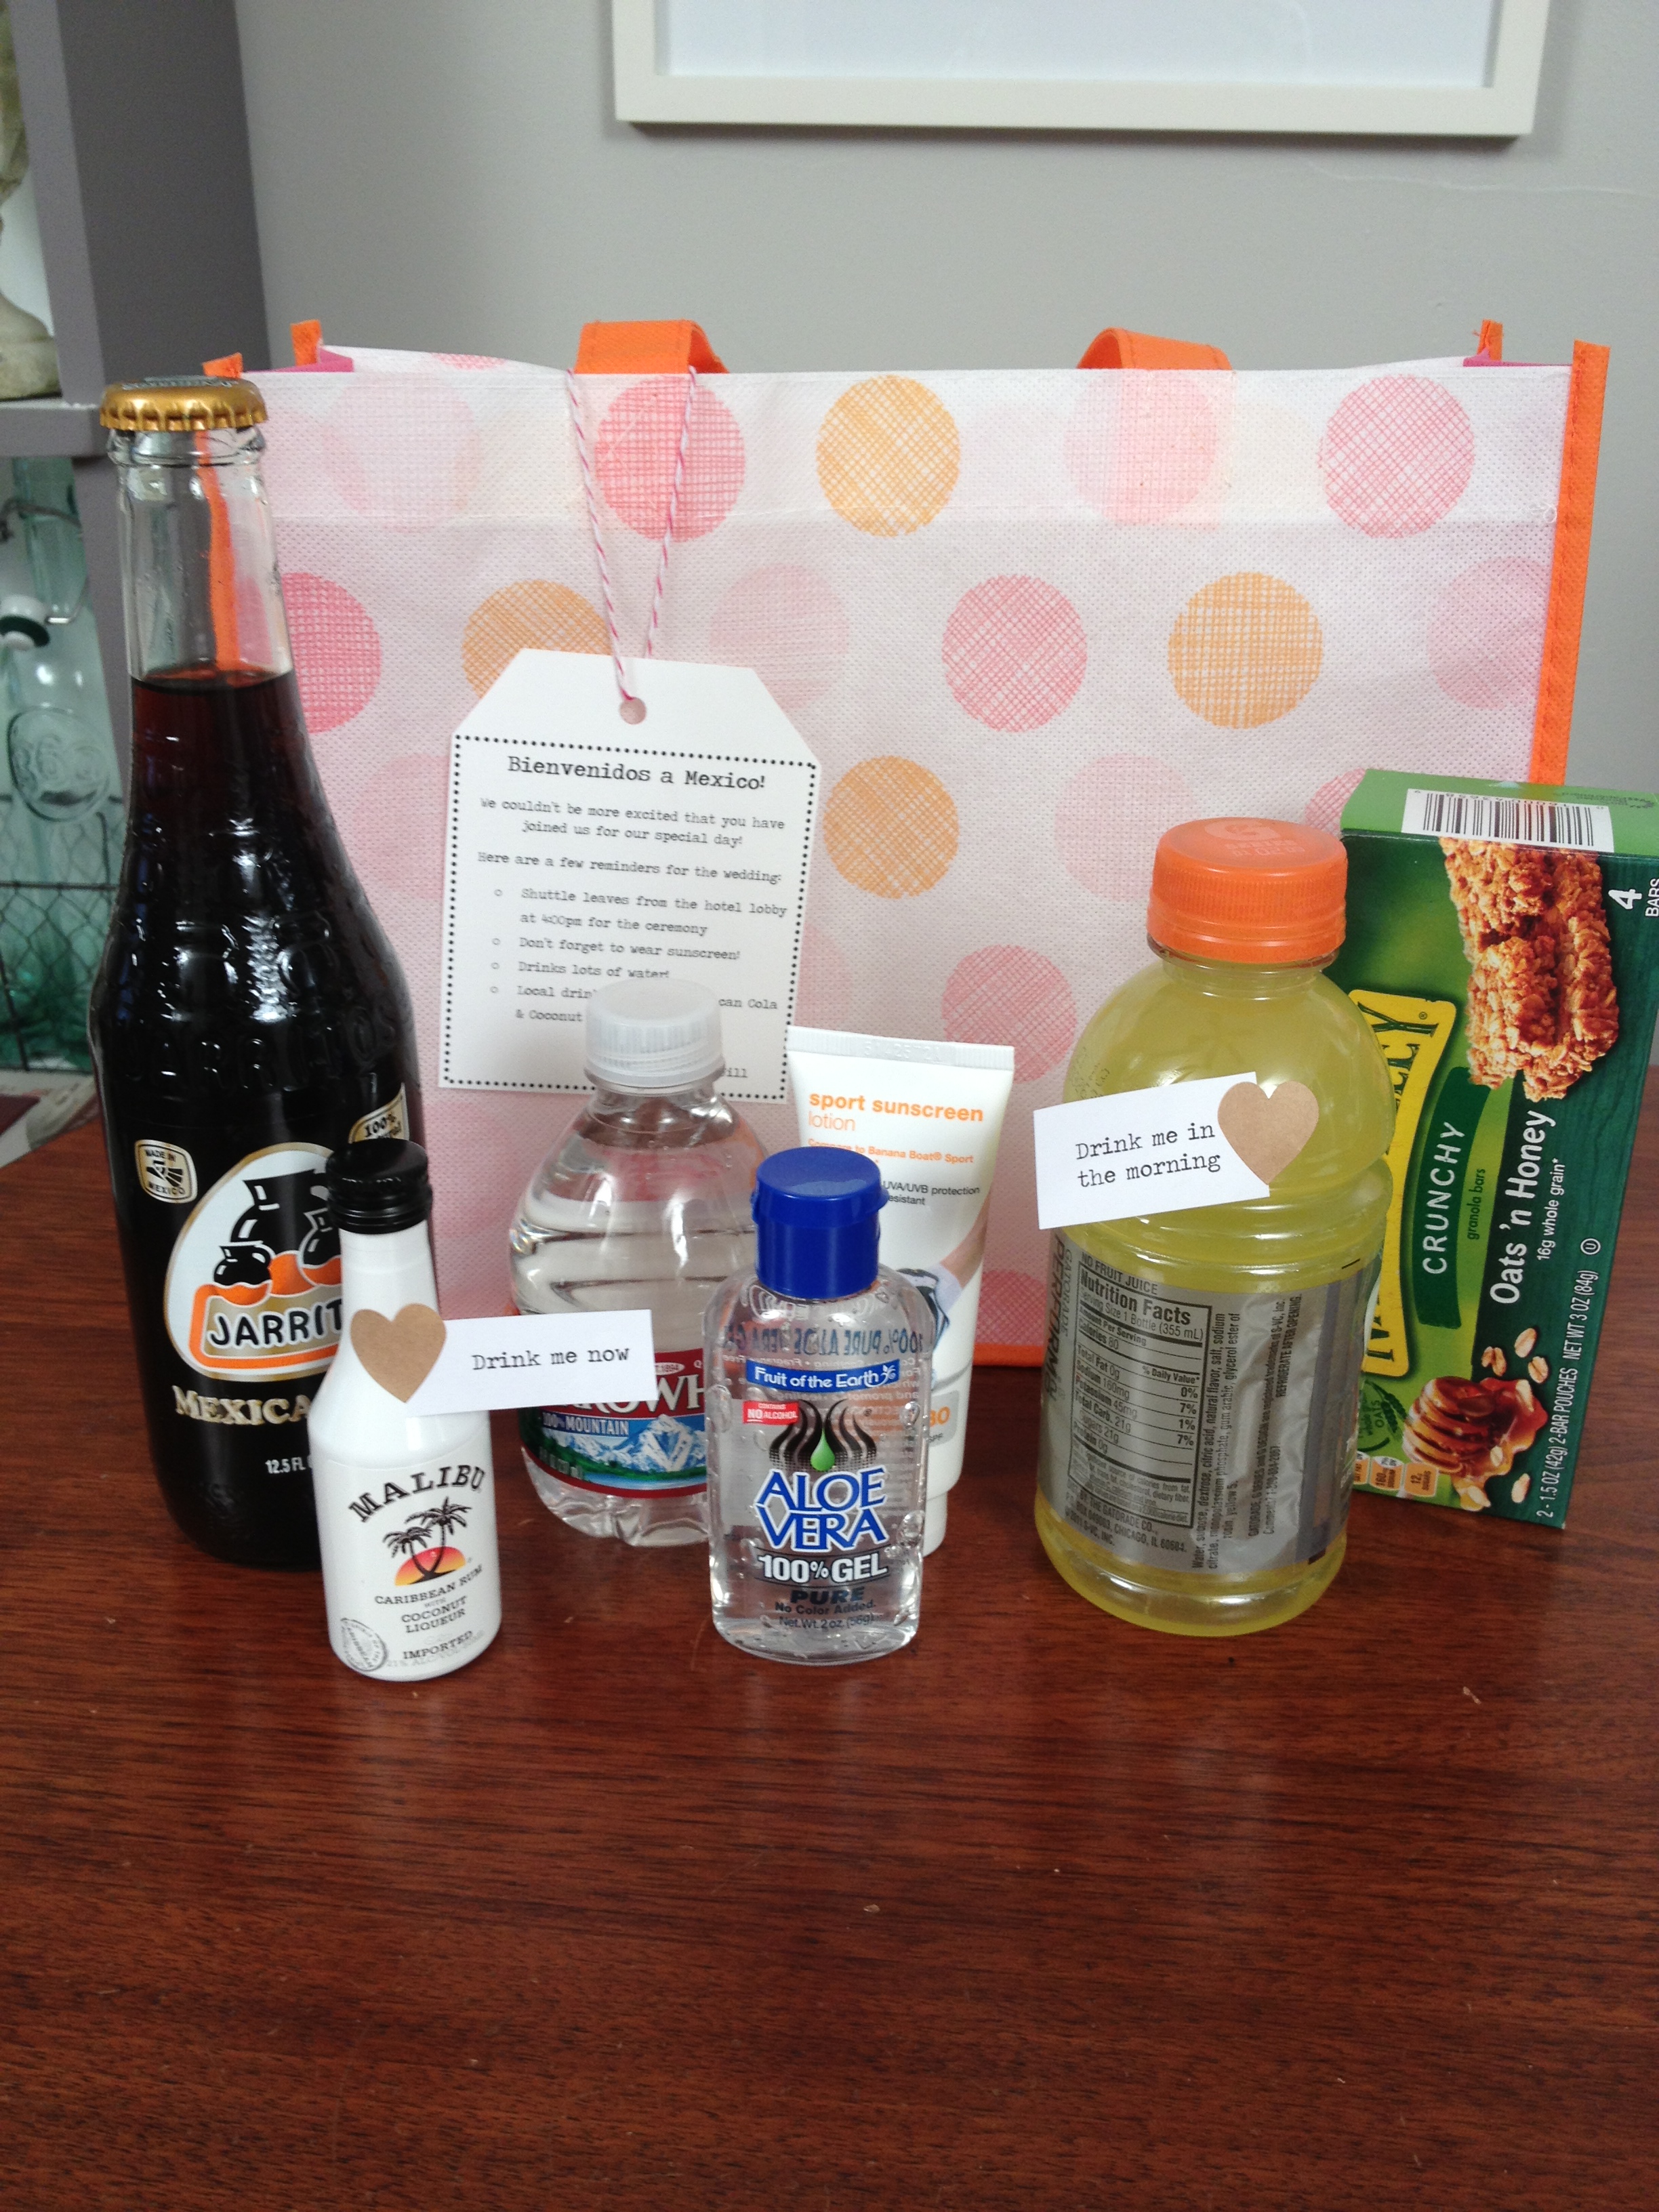
I can’t think of a better way to thank guests for sharing in your big day then to create a welcome bag upon their arrival. This week’s video will show you some easy ways to customize the bags based on your wedding’s theme or destination.
Tip: Include specific notes for your guests such as a weekend itinerary, area attractions, transportation details or other visitor information.
Resources:
Target – $1 section for toiletries
World Market – miniature versions of food and drinks
Thank you to my cousin Courtney for requesting this DIY tutorial! Courtney is finishing up her freshman year of college in North Carolina and her friends are moving out of the dorms in May. She wanted to know some easy and inexpensive ways to decorate her new apartment. I think a lot of college students already own a cork board, so in this video I’ll show you a few ideas on how to give it a face lift with paint, fabric and rope.
Leave a comment below or post a photo on instagram and tag @likehearted to show other ways you have re-purposed your cork board.
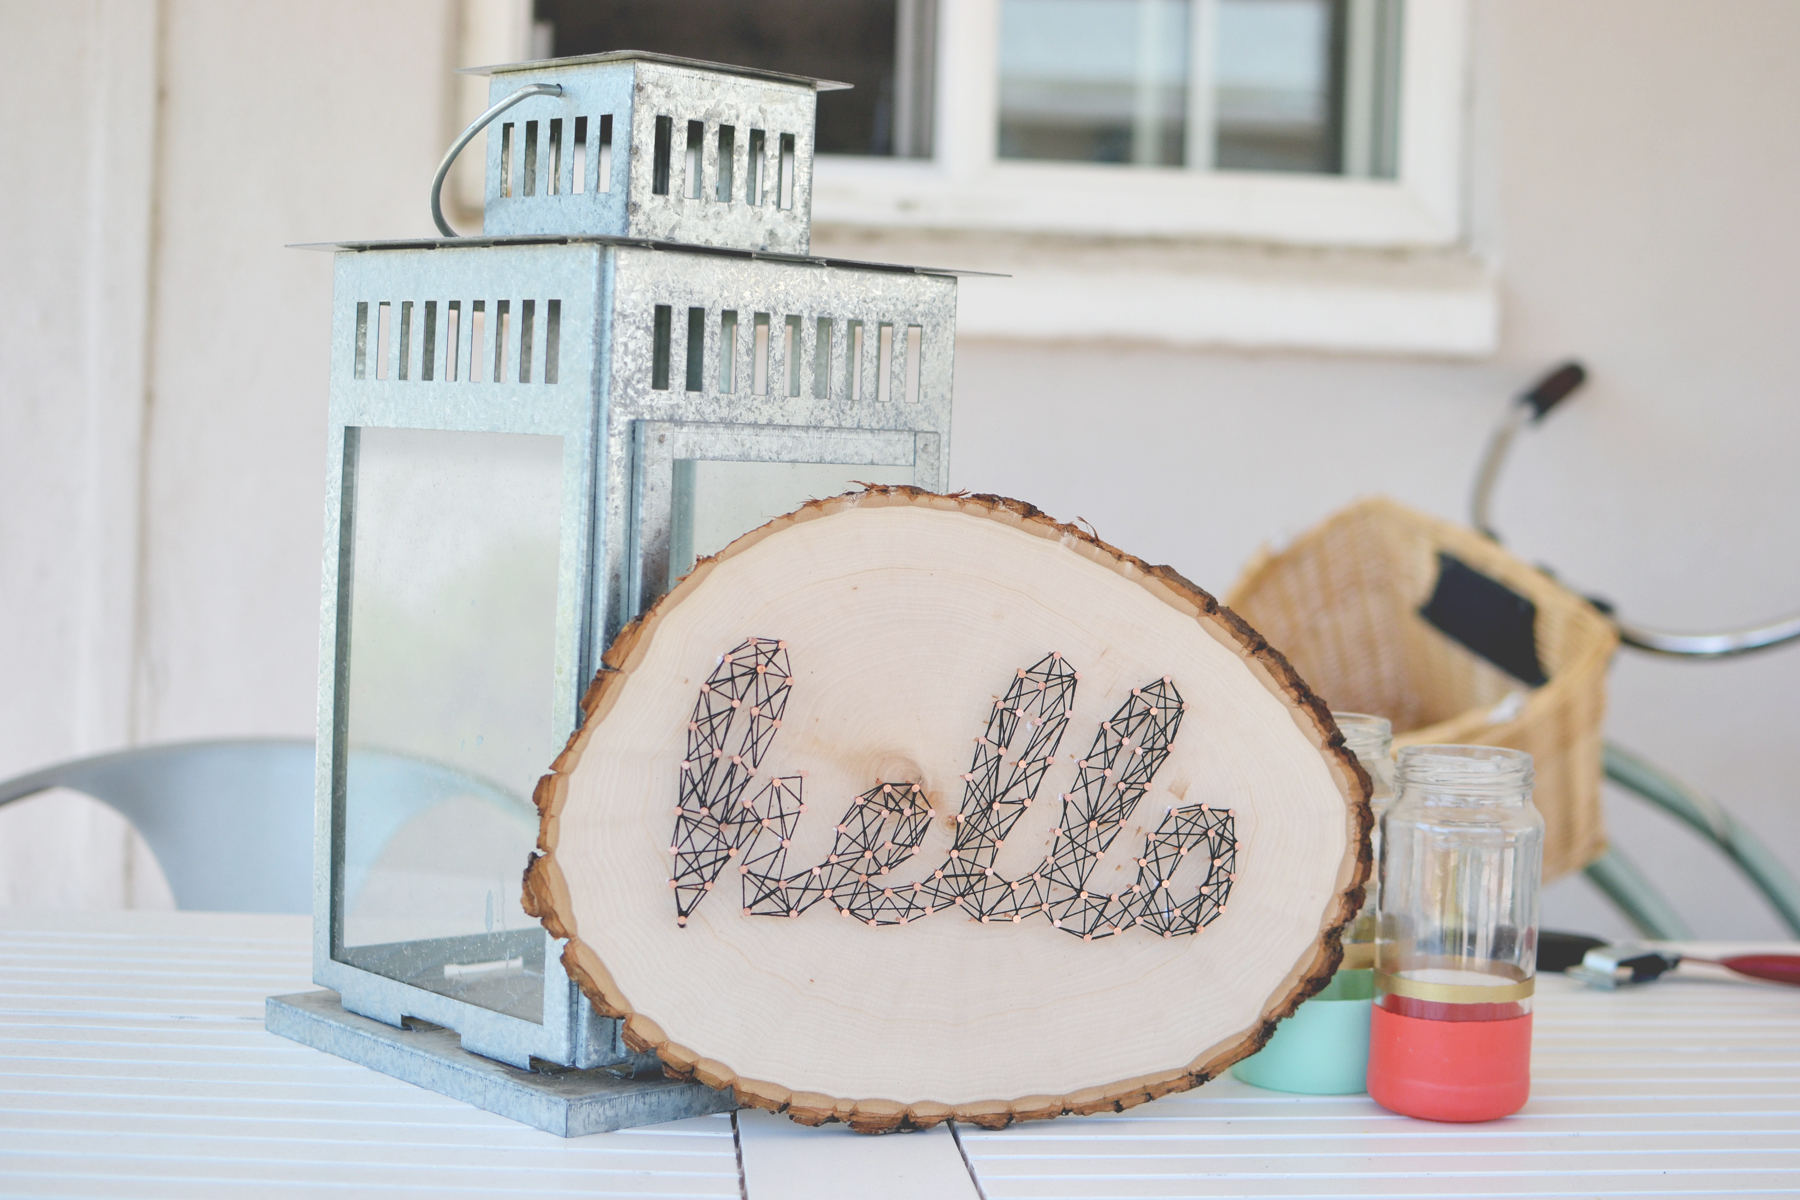
String art is popping up in a lot of different places lately. It first became popular as decorative art in the late 60′s, but I love the modern twists on it these days. This simple craft can easily be customized to make unique art for your home. If for some reason you don’t feel like tackling this project on your own, you can purchase the one I made in the video on my Etsy Store. But I would really love to see what you all create, so instagram a photo and tag @likehearted!
Also, want to send a thank you to The Gentlemen Ether for new music in the video!
Other creative ways to utilize the craft: decorative signage for a wedding, table numbers or even a name sign for a nursery.
Make a template on your computer of the word or shape you plan on using. I downloaded Pacifico and made the template in a word doc using a font size of 375.
Cut out the template and align on wood board, use scotch tape to keep it in place.
Begin to outline the word/shape with nails, placing them about 1/2” apart.
To start threading tie one end of the string to a nail, then outline the word/shape. Wrapping around the nail head as you go.
Tear away the paper template.
Start wrapping the string around the nails creating a zigzag pattern. Continue to do this until you have filled in the entire word/shape.
I have a ranch style house and the decor can be described as modern rustic, with the primary colors being gray and white. I love Restoration Hardware, but it is totally out of my budget, so I mostly refer to the store for just inspiration. A lot of their living and dining pieces come in a Grey Acacia Finish (pictured below) and since I enjoy refinishing furniture I tried to take a stab at recreating the RH look. I think it is a handy painting technique to know how to do if you like rustic, shabby chic, vintage styles.
Restoration Hardware Inspiration
Grey Acacia Finish
Monastery Dining Table
Weathered Oak Gallery
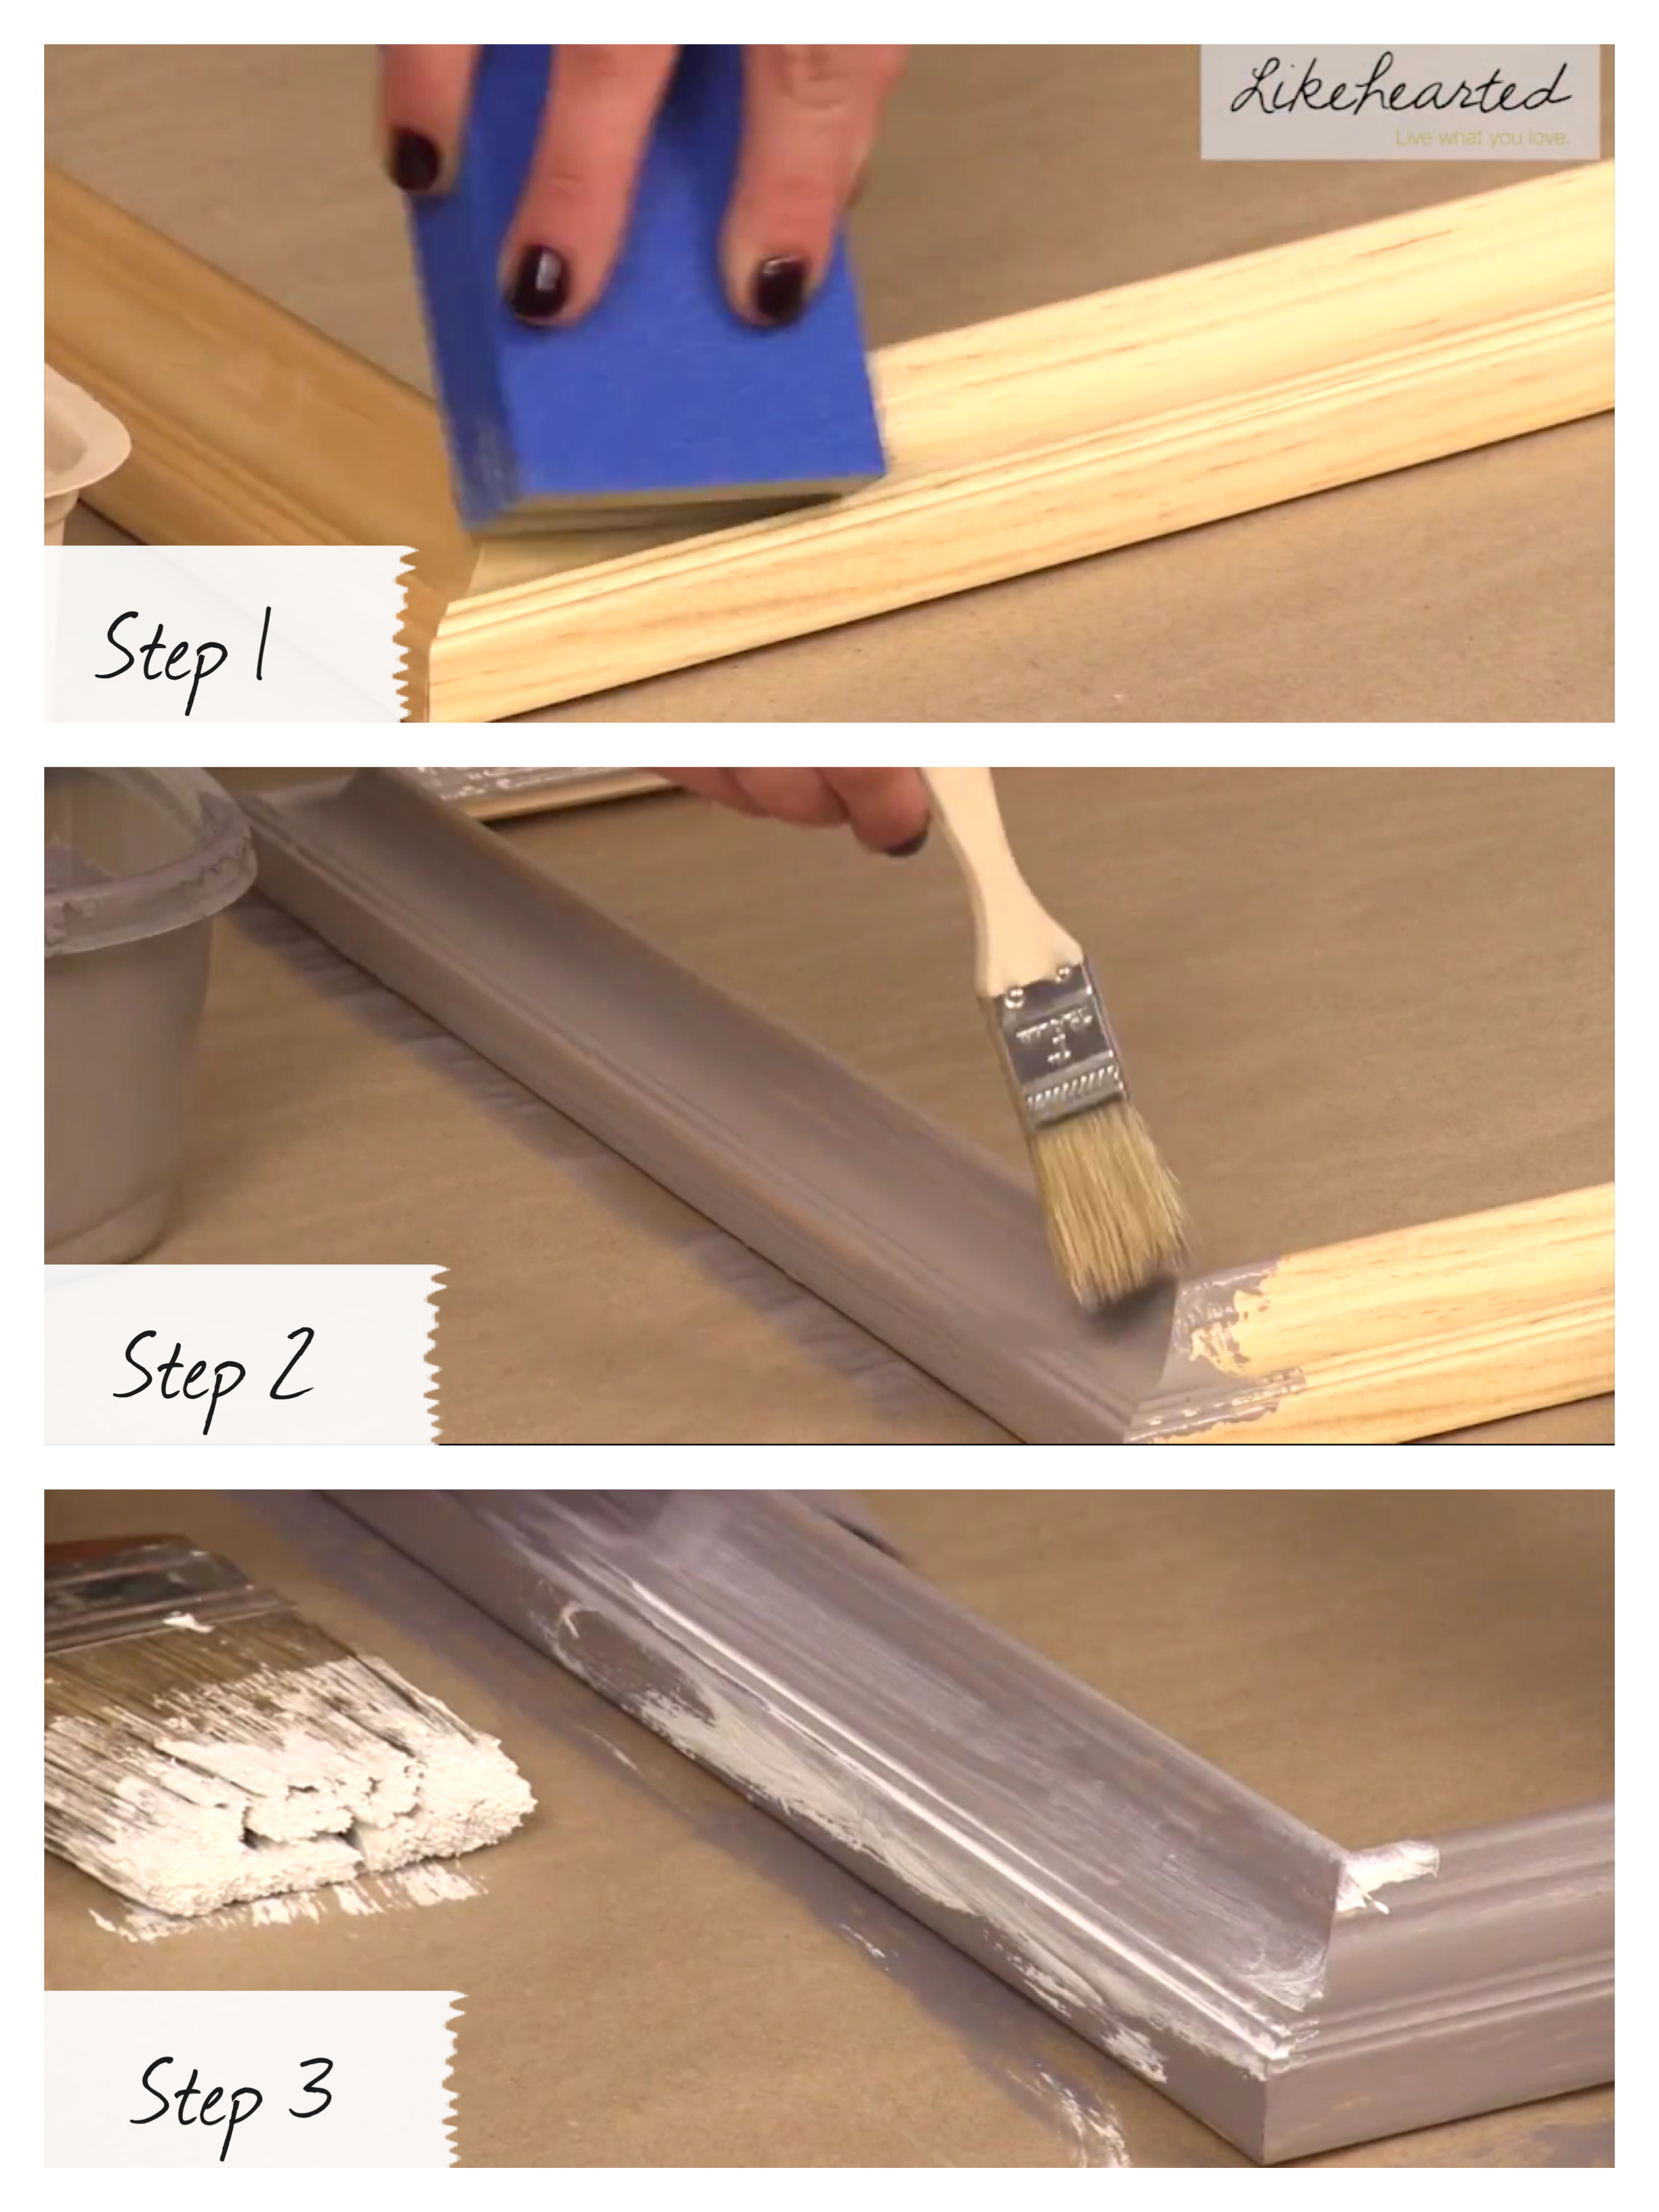
The best part about the graywash technique is that it can be used on any type of wood furniture. In the video I did it on a frame to create accessory displays. I’ll do another post of how to create the accessory displays with chicken wire or twine.
If needed sand the frame to take away any varnish.
To create the graywash – mix together 1 part gray paint and 1 part glaze.
Use a bristle (chip) brush apply the gray paint to the frame. Use a different dry bristle (chip) brush to remove excess paint. Keeping with the rustic look the paint doesn’t need to fully cover the frame, just depends on how much of the oak wood you want to show through. Personally, I didn’t want much of the light wood to show through. Let is dry and apply second layer if needed.
To really create the weathered look add a white glaze mixture: mix 1 part white paint to 1/4 part glaze. Using your regular paint brush paint on the white glaze mixture then remove excess with a damp rag. Continue this process until you achieve your desired look.
This past Wednesday I shot a series of tutorials on items to create for your home. I’m all about bargain shopping, recreating high end looks at affordable prices and giving a face lift to things you currently own. Hopefully you all will enjoy my ideas and it will give you inspiration to create something of your own. Subscribe to the channel to be one of the first to see the series, new videos up every Friday!
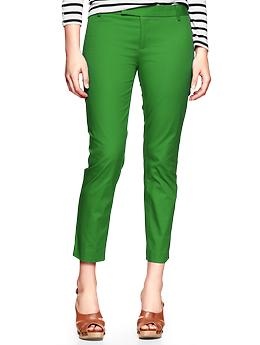
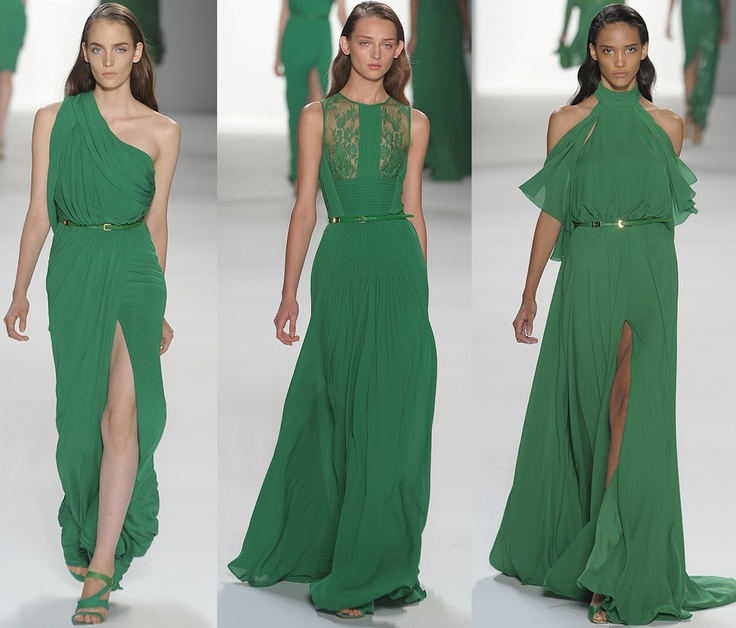
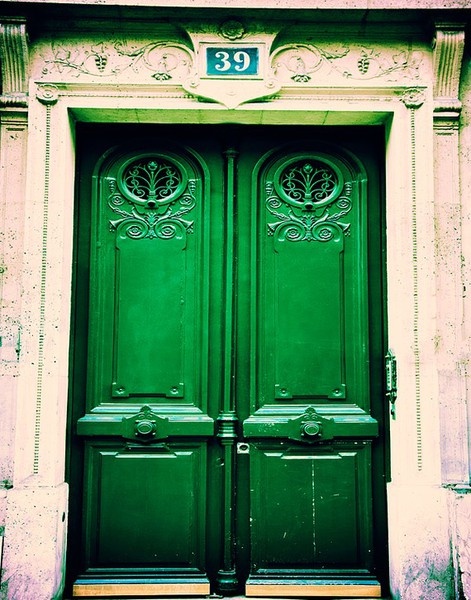
Emerald is the Pantone color of the year (color swatch 17-5641 to be exact). The color is dripping into all fields: home décor, accessories, clothes, weddings, etc. If Emerald isn’t your thing, other shades of green are also in this season like Mint (big trend in bridal), Pistachio and Army Green. It’s about being on trend, so try something new on the green color wheel but it’s also about sticking to what you are comfortable with. The best thing about Emerald is that is looks great on blondes, red heads and brunettes. You can ease the color into your style by just painting your nails or go all out with a bright dress. My style is traditional with some drama/edge mixed in, so I’m more likely to work the color in with my accessories. In this tutorial I’ll show you how to make a rosette necklace using Emerald colored fabric for a standout accessory. Directions and materials needed are located at the bottom of the post.
Here are my top picks for incorporating Emerald into your everyday style:
Interior Paint Colors – Benjamin Moore in Grassy Fields 2034-30, Behr in Chlorophyll 460B-6 or Formal Garden 450B-6
Check out my board on Pinterest for more Emerald inspiration.
How to make DIY Rosette Chain Necklace:
Materials:
½ yard of fabric
1 sheet of felt
Good Chain
2 Large Gold Hoops
Tools:
Pilers
Scissors
Hot Glue Gun
Sharpie
1 piece of 8.5 x 11 paper
Steps:
Cut a strip of fabric about 1.5″ wide and 20″ long. This makes a rosette about a 1.5” in diameter. The longer the fabric the bigger the rosette.
Tie a knot at one end (if there is excess, trim off close to the knot).
Tuck the knot back on itself and begin to roll the fabric around it, folding and twisting the fabric strip in, towards the center of the rosette. Keep folding and twisting in circles. Use a little dab of glue every now and then to secure the fabric twists.
When you have a rosette of desired size, leave about 1” of fabric at the end and twist to underneath the rosette and secure with glue. For the rosette that is going to attach to the large gold hoop, loop the end through the hoop and secure fabric strip with glue to the back of the rosette.
Once you have made the amount of rosettes you want arrange them on a piece of paper and create a pattern by drawing an outline of your rosettes. Cut out the pattern.
Trace pattern onto felt and cut out along the inside of the edges.
Dab glue underneath of your flowers and press heavily onto the felt.
Attach the chain.
Tips:
Dont worry about the rough edges of the fabric, I think it adds a good texture to the rosette.
I bought the felt before I decided to use green fabric; I would suggest choosing a piece of felt close to the color of fabric you are using so that it is less noticeable.
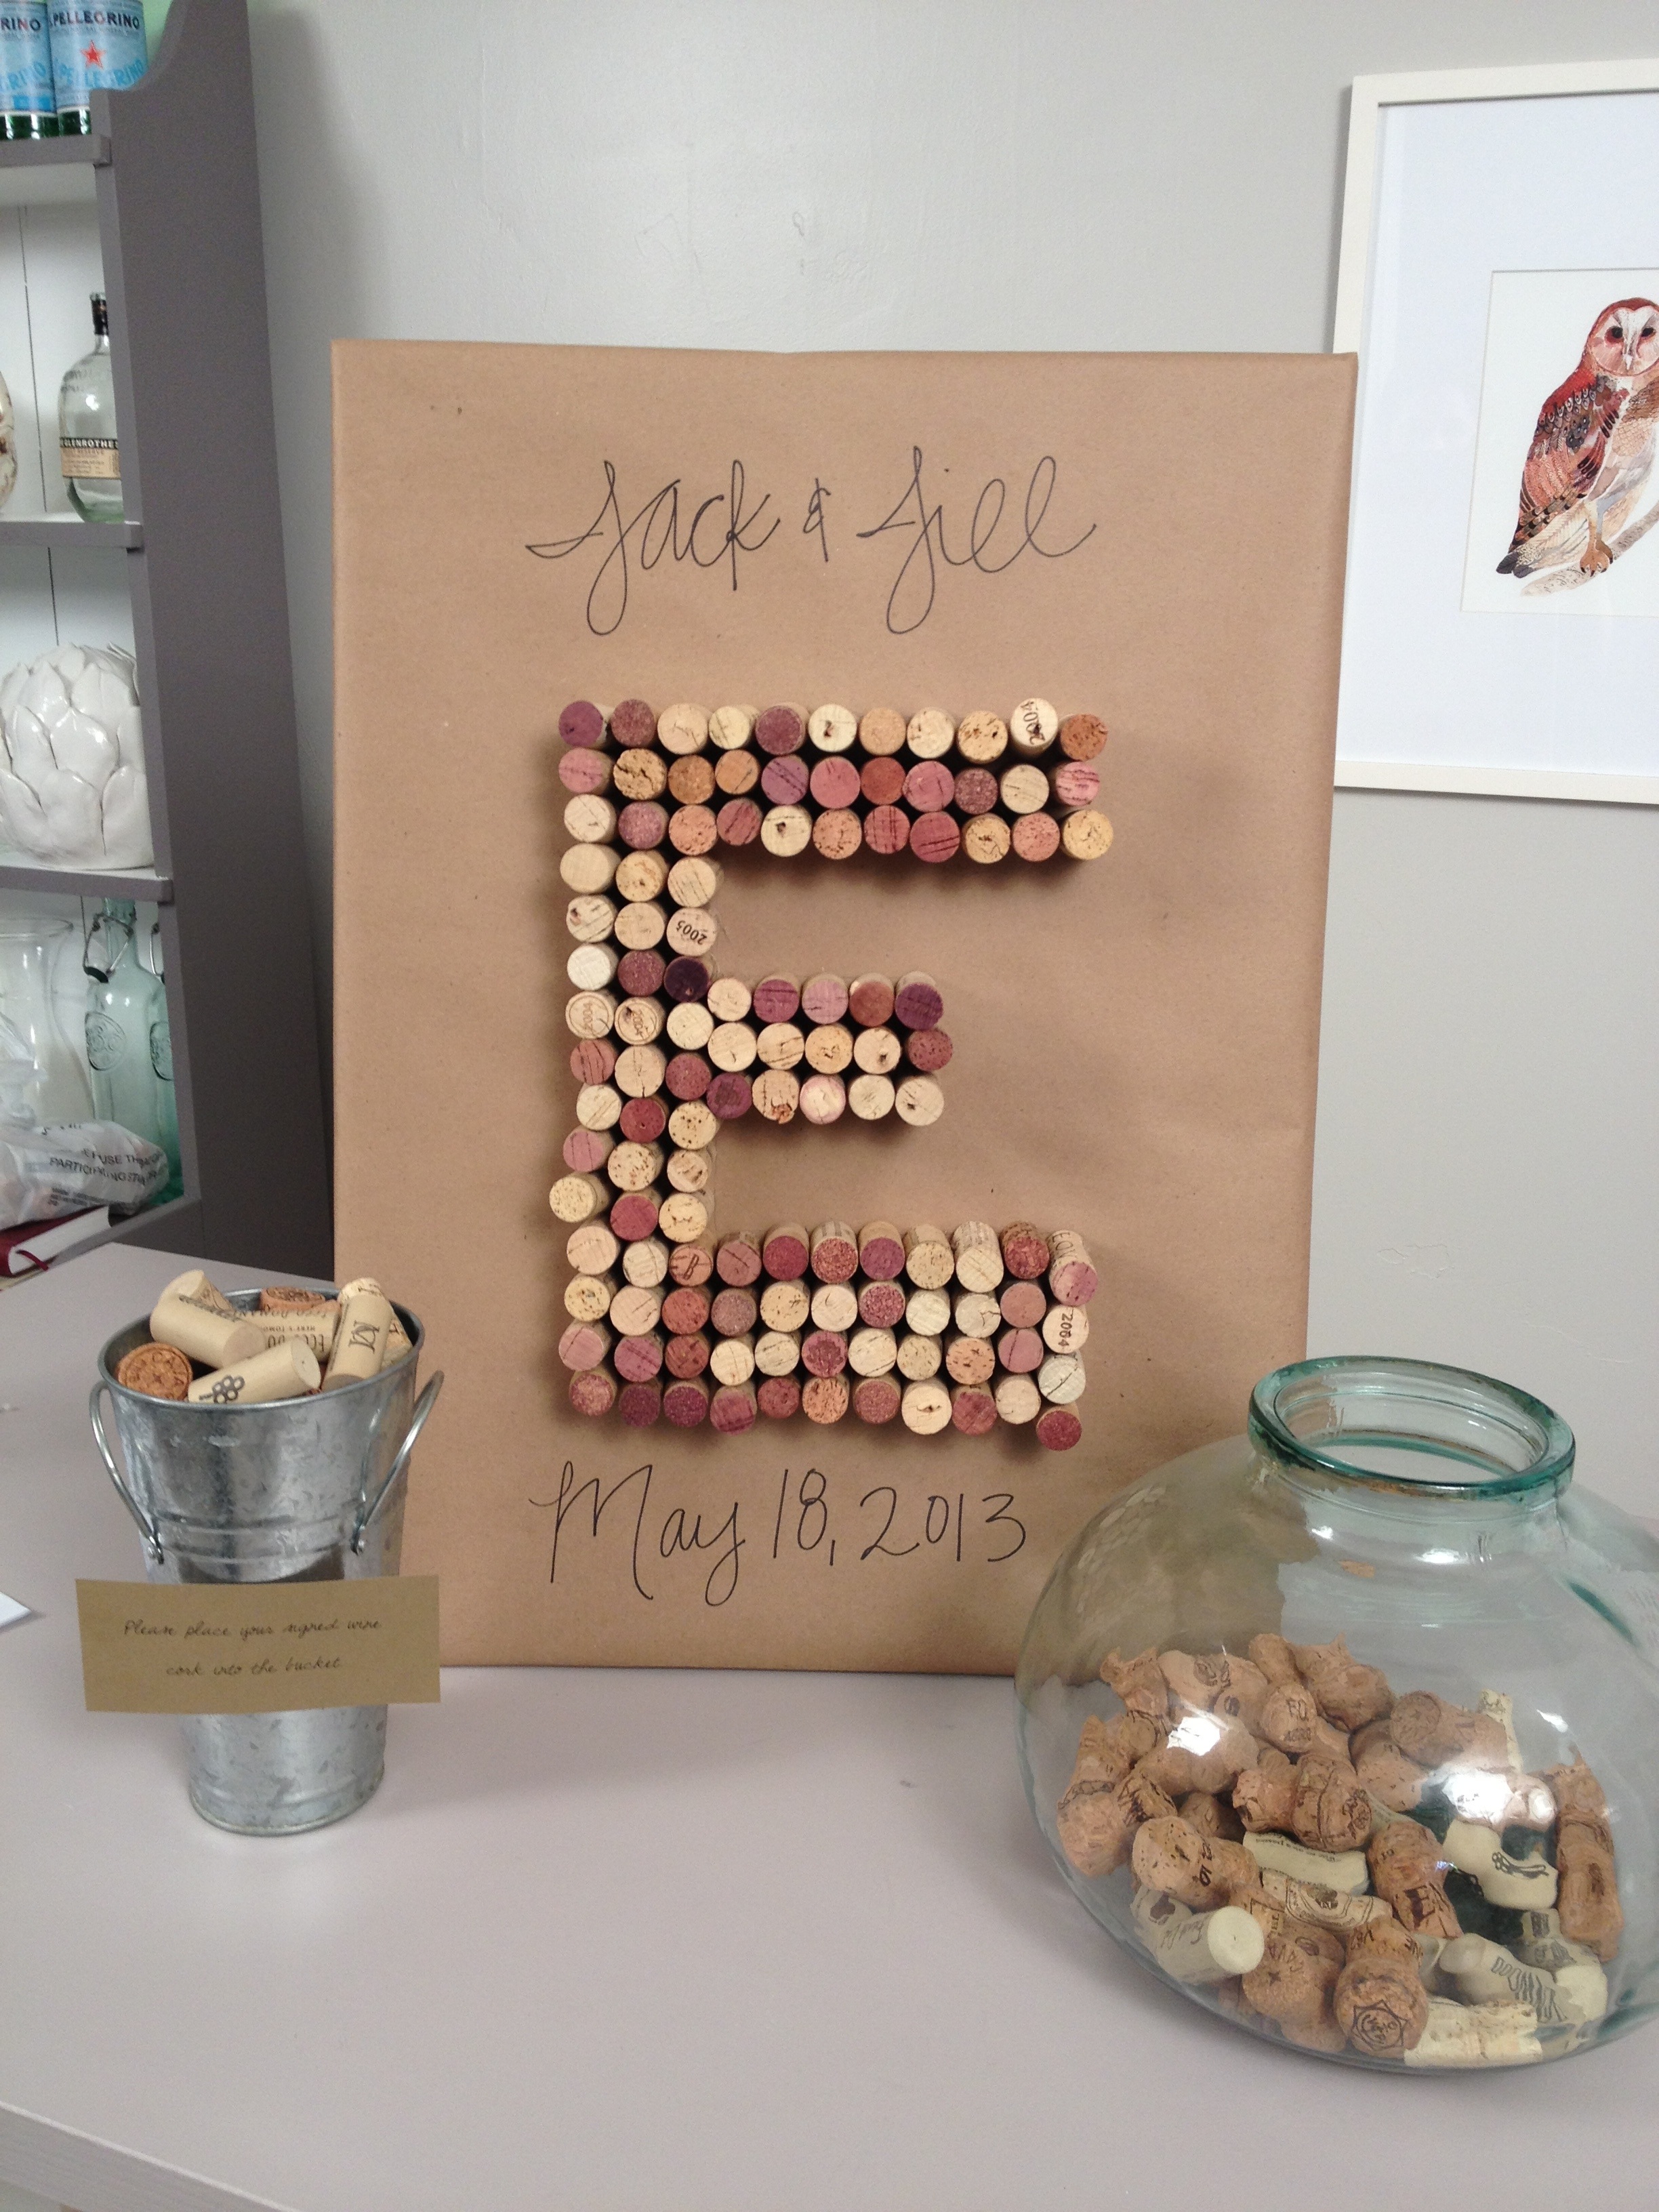
Instead of having a traditional guestbook that is going to sit on a bookshelf and collect dust, my theory is to turn it into something that can be on display and viewed daily. Hopefully these ideas will inspire you to do something unique for your big day.
Option 1: Lip & Mustache Silhouettes
Check out the photo booth tutorial on how to make the lip and mustache silhouettes, you can do any shape that matches the wedding theme: bow ties, hearts, birds, leaves, flowers, etc. Arrange the shapes in an interesting pattern to create a piece of custom artwork for the bride and groom’s home.
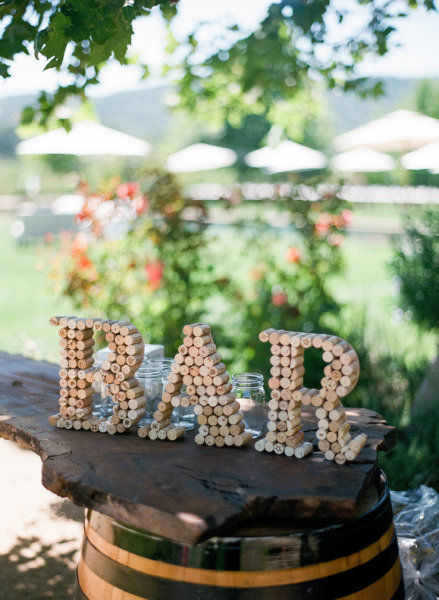
Option 2: Wine Corks
If the bride and groom are wine lovers or the wedding is taking place at a vineyard, have the guests sign wine corks. I wrapped a canvas in kraft paper and then hot glued wine corks into the first letter of the bride & groom’s last name or make free standing letters. Either way it’s a great decorative accent to the home.
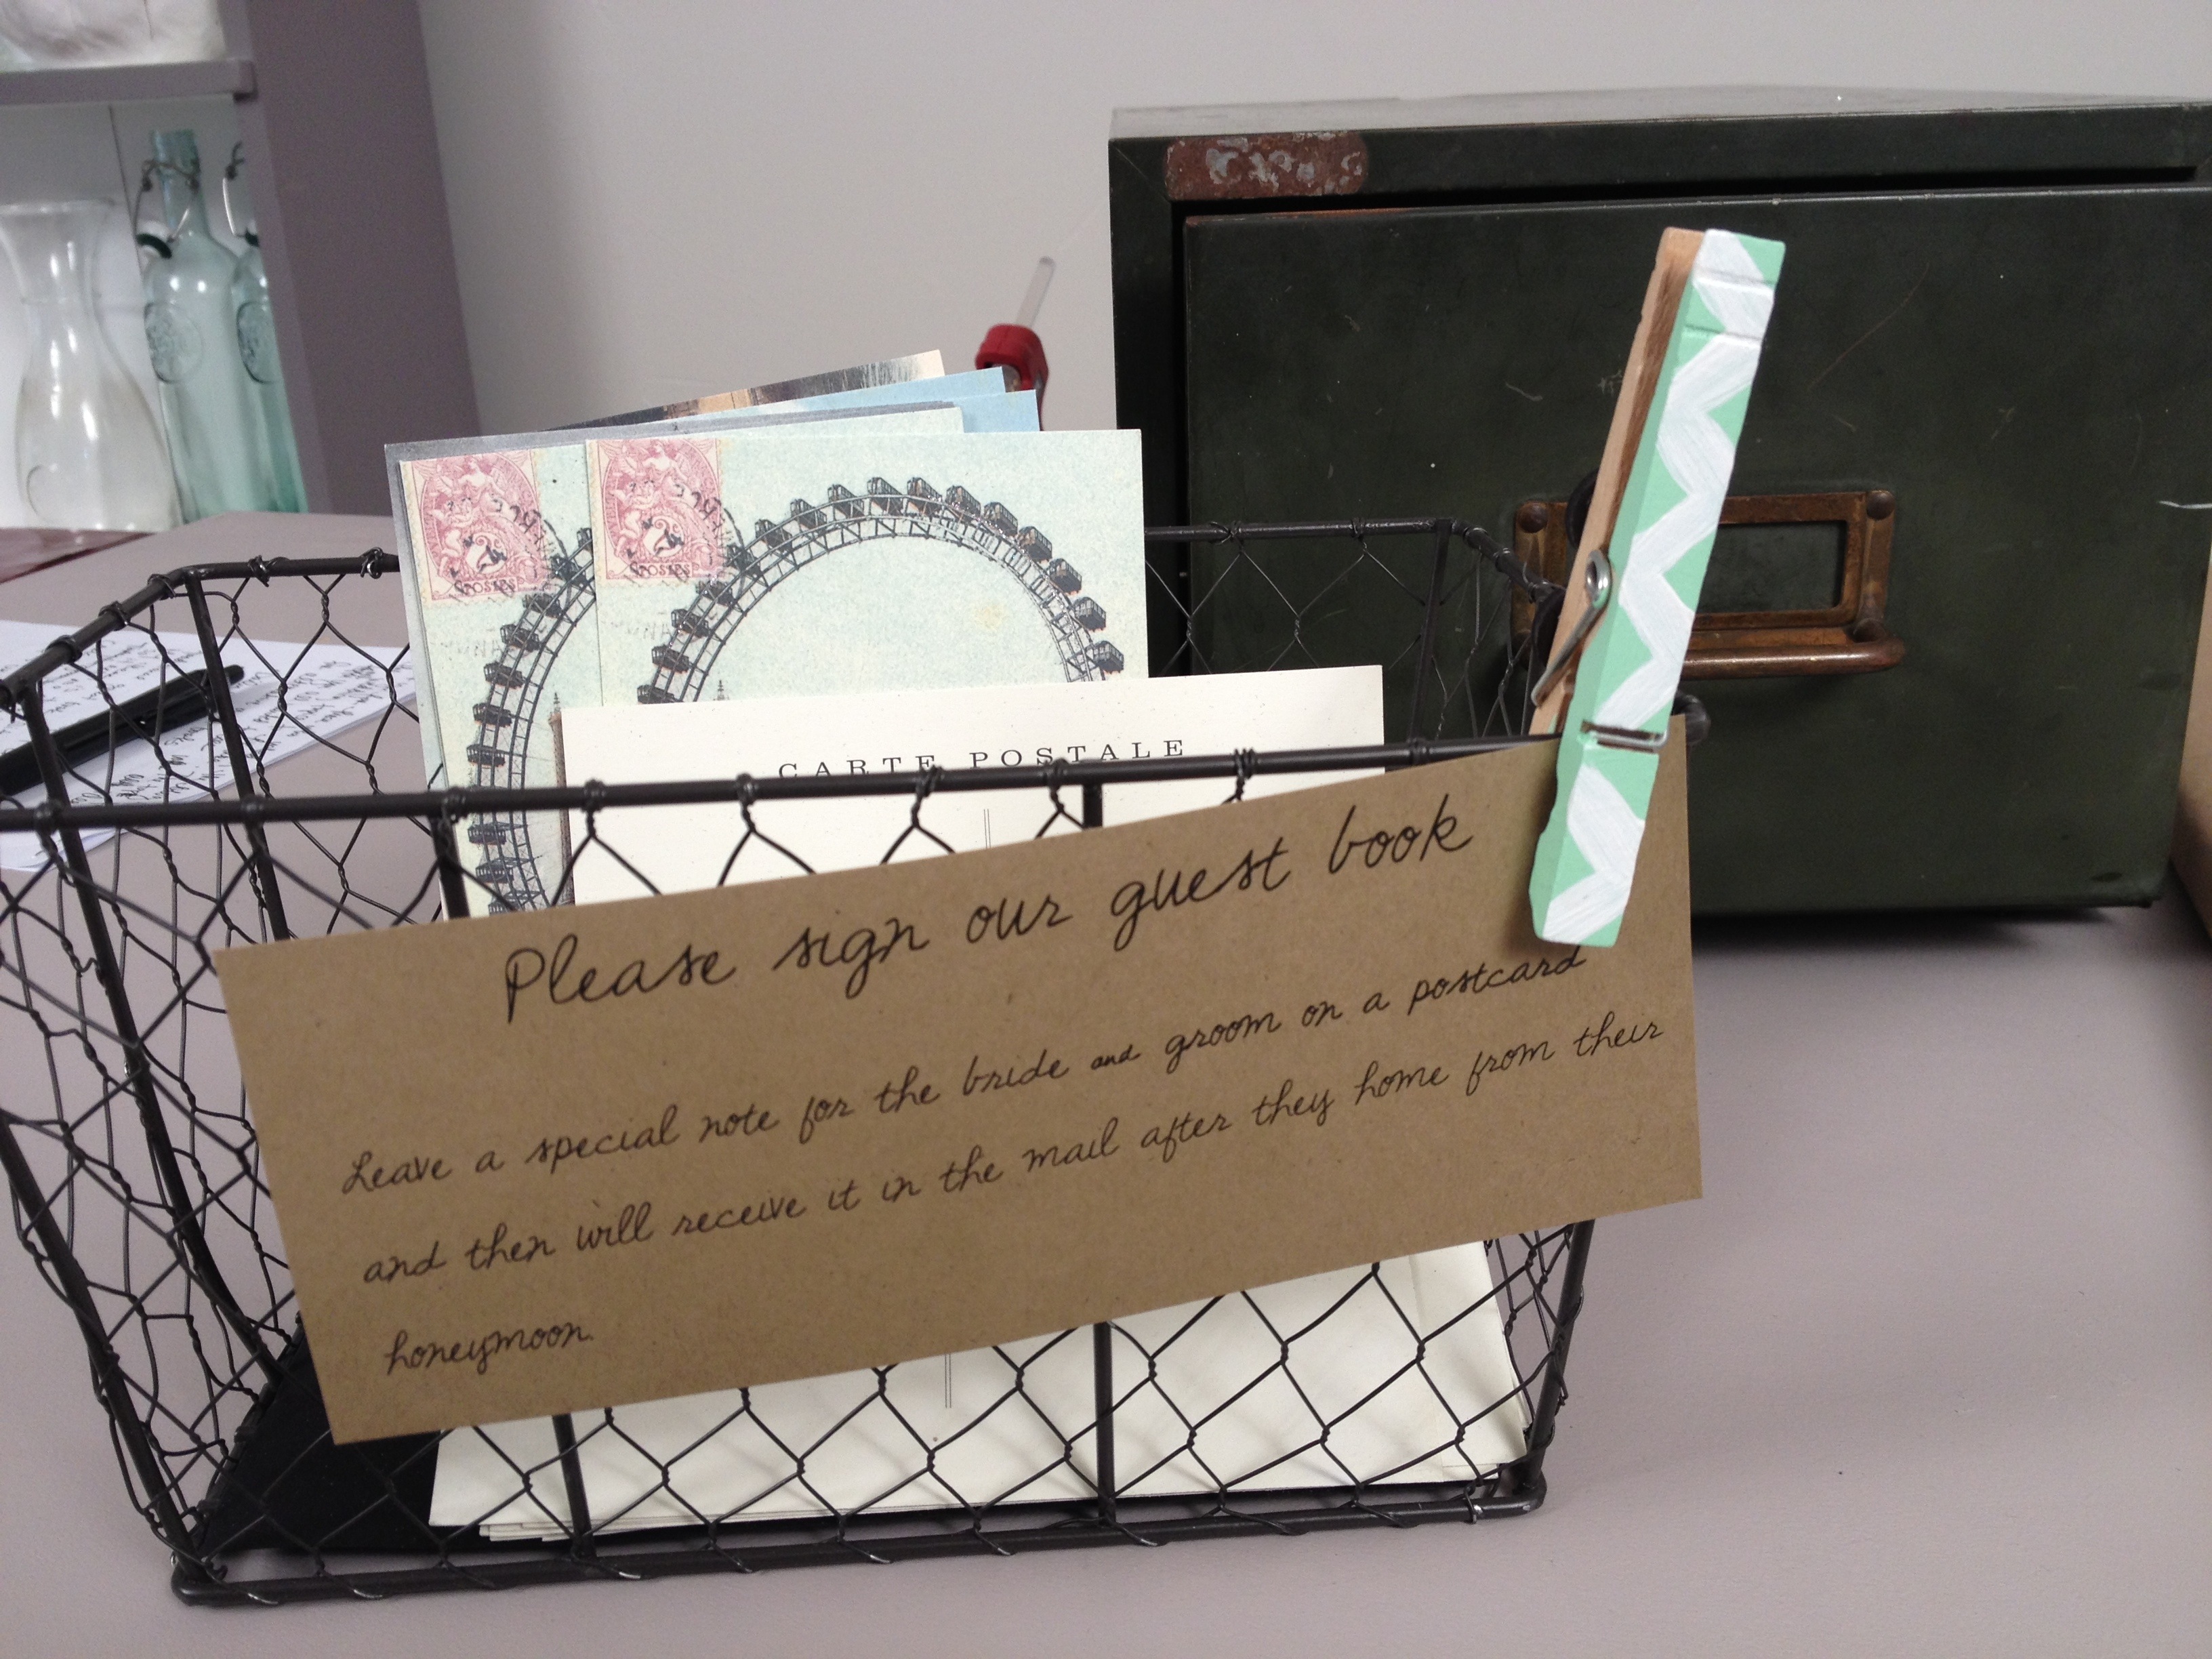
If the theme of the wedding is more rustic, consider having your guests sign vintage postcards. After the wedding have your maid-of-honor drop them off at the post office so that when the bride & groom return from the honeymoon their mailbox is filled with well wishes from the guests. Plus, who doesn’t love snail mail? If you are looking for vintage postcards then check out this awesome Etsy shop.