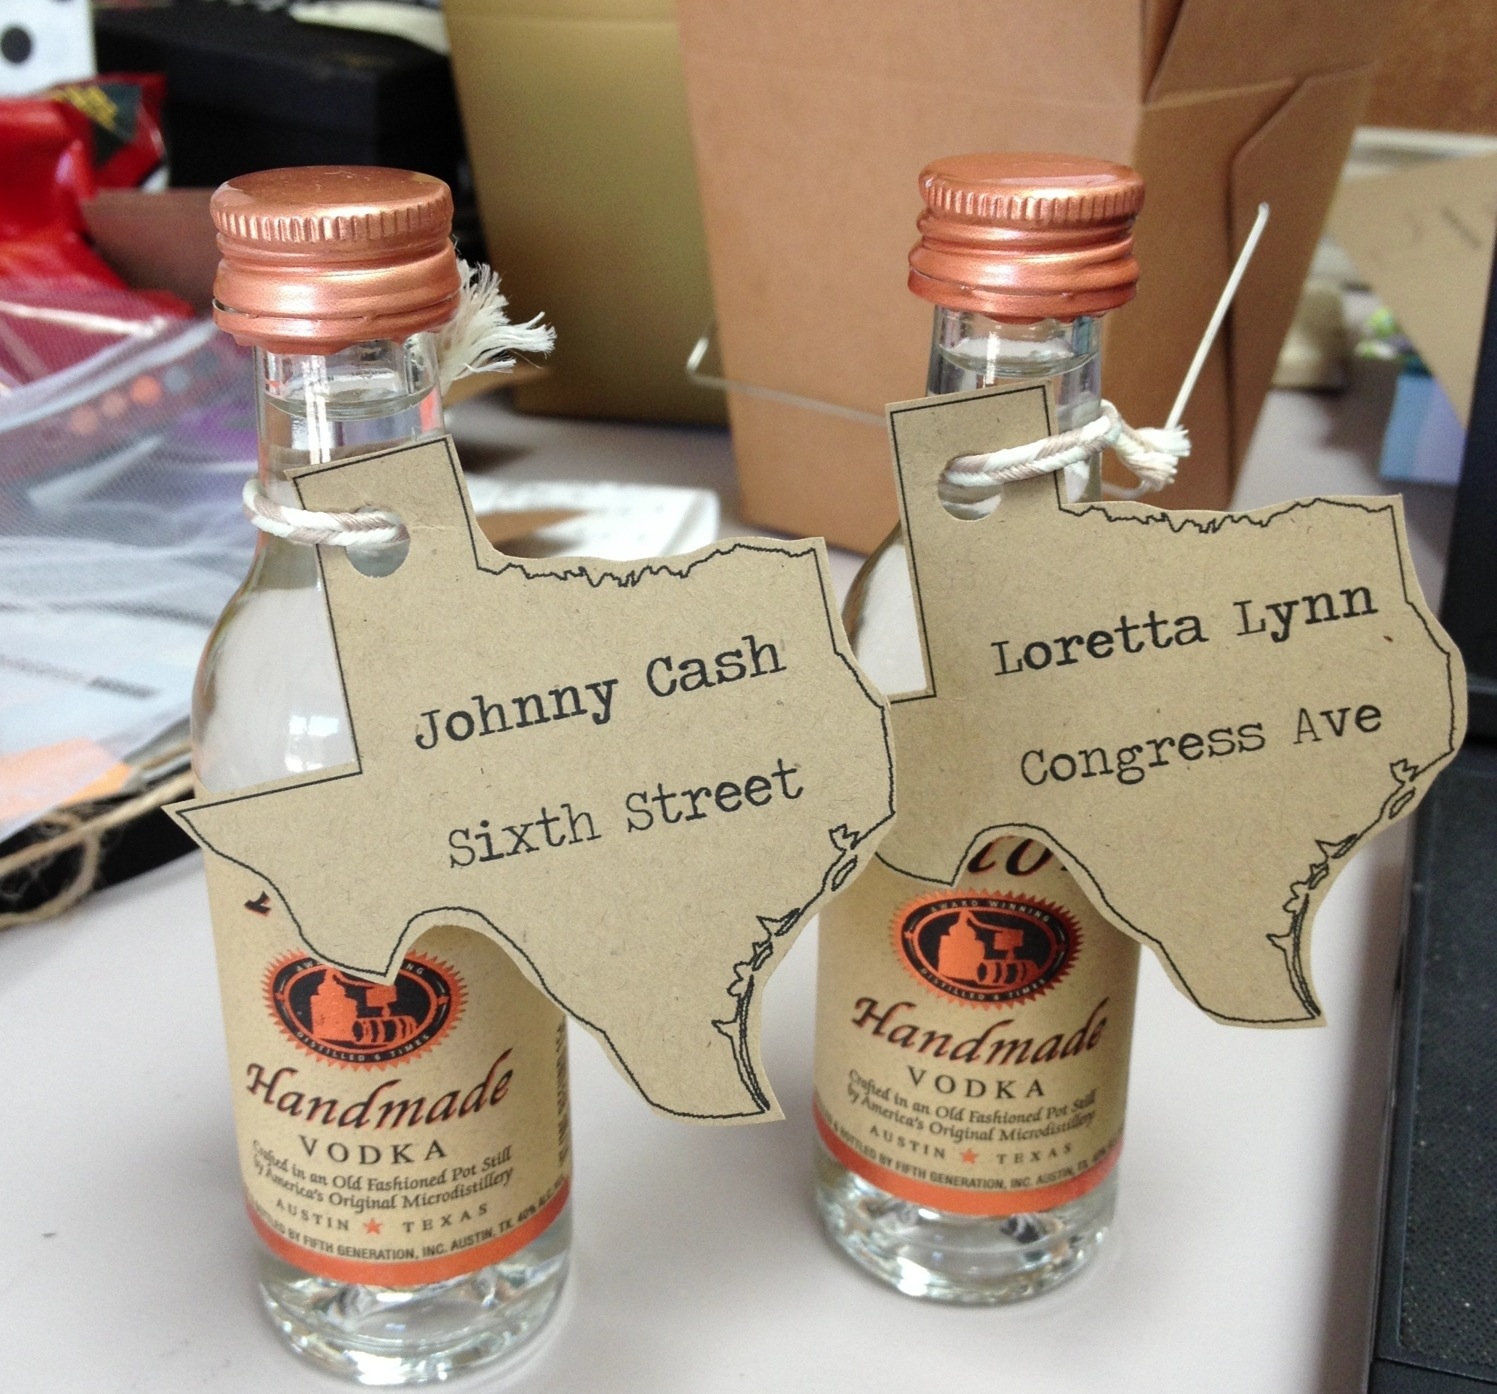
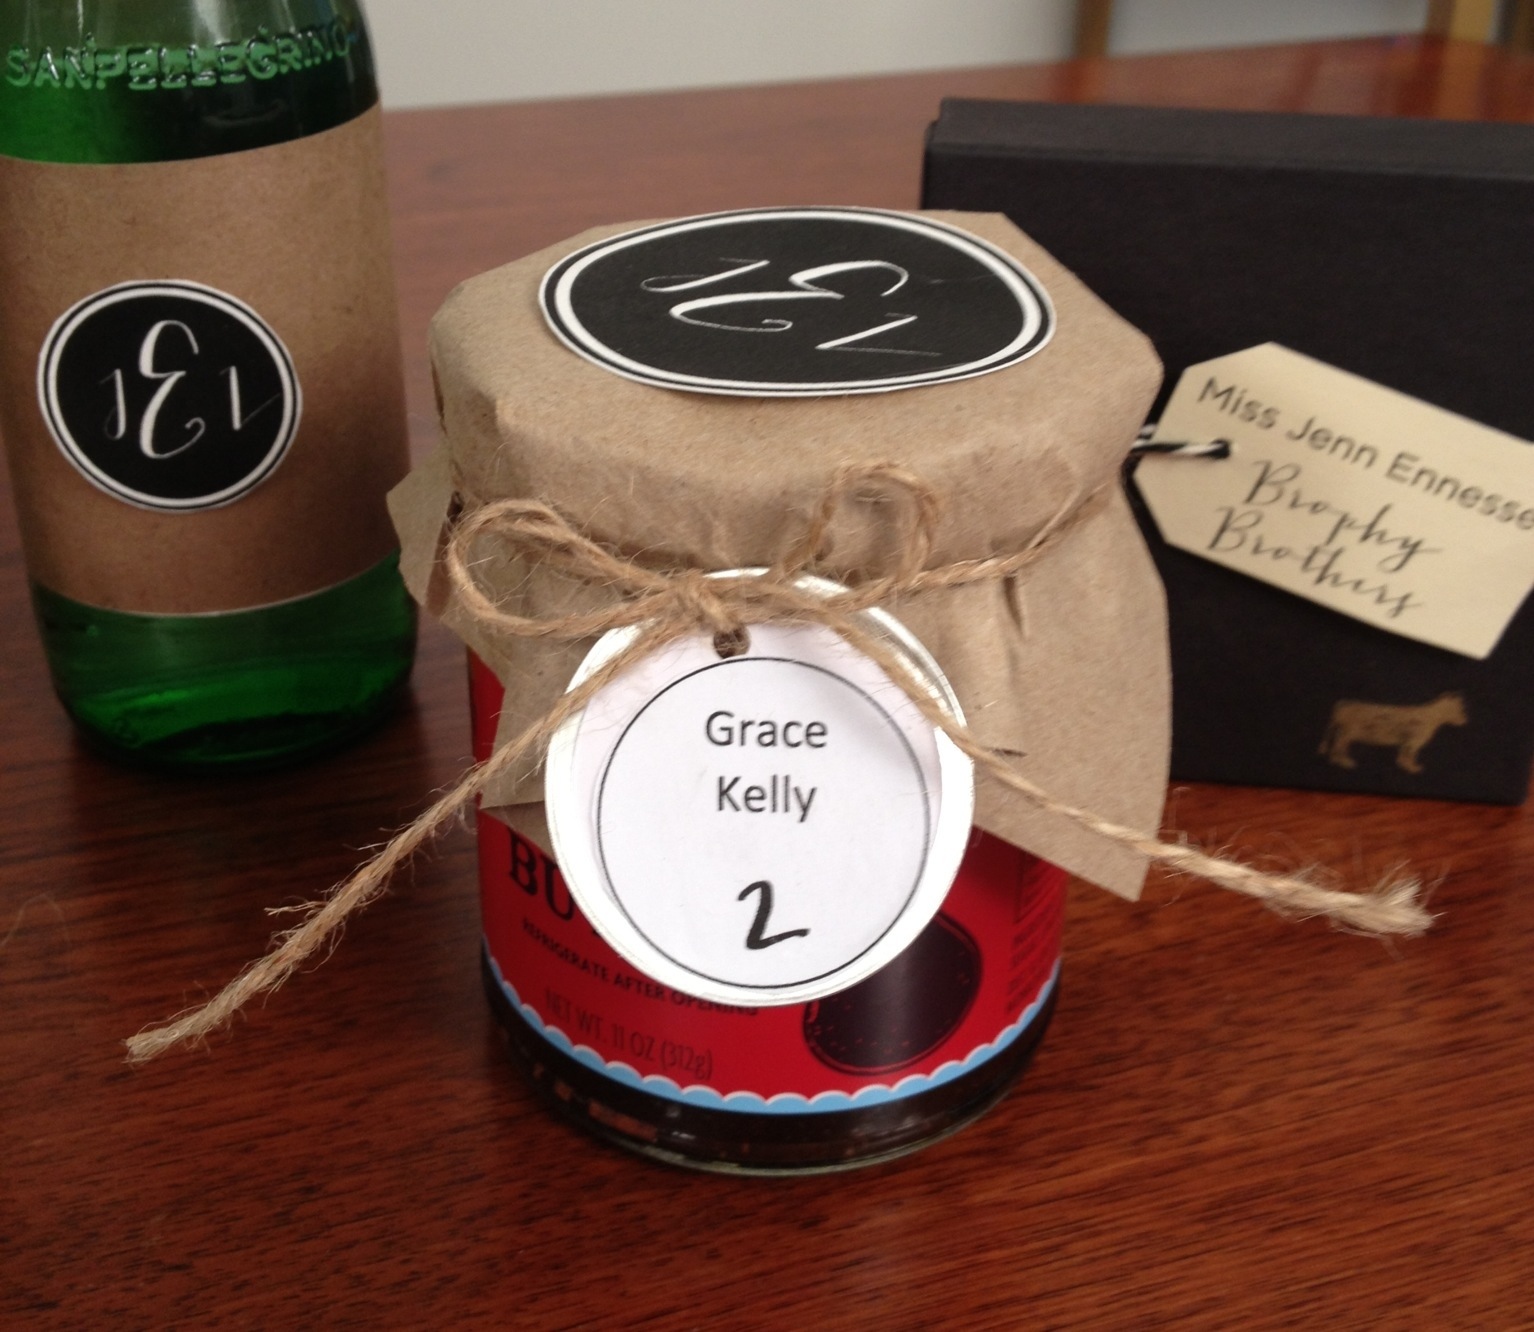
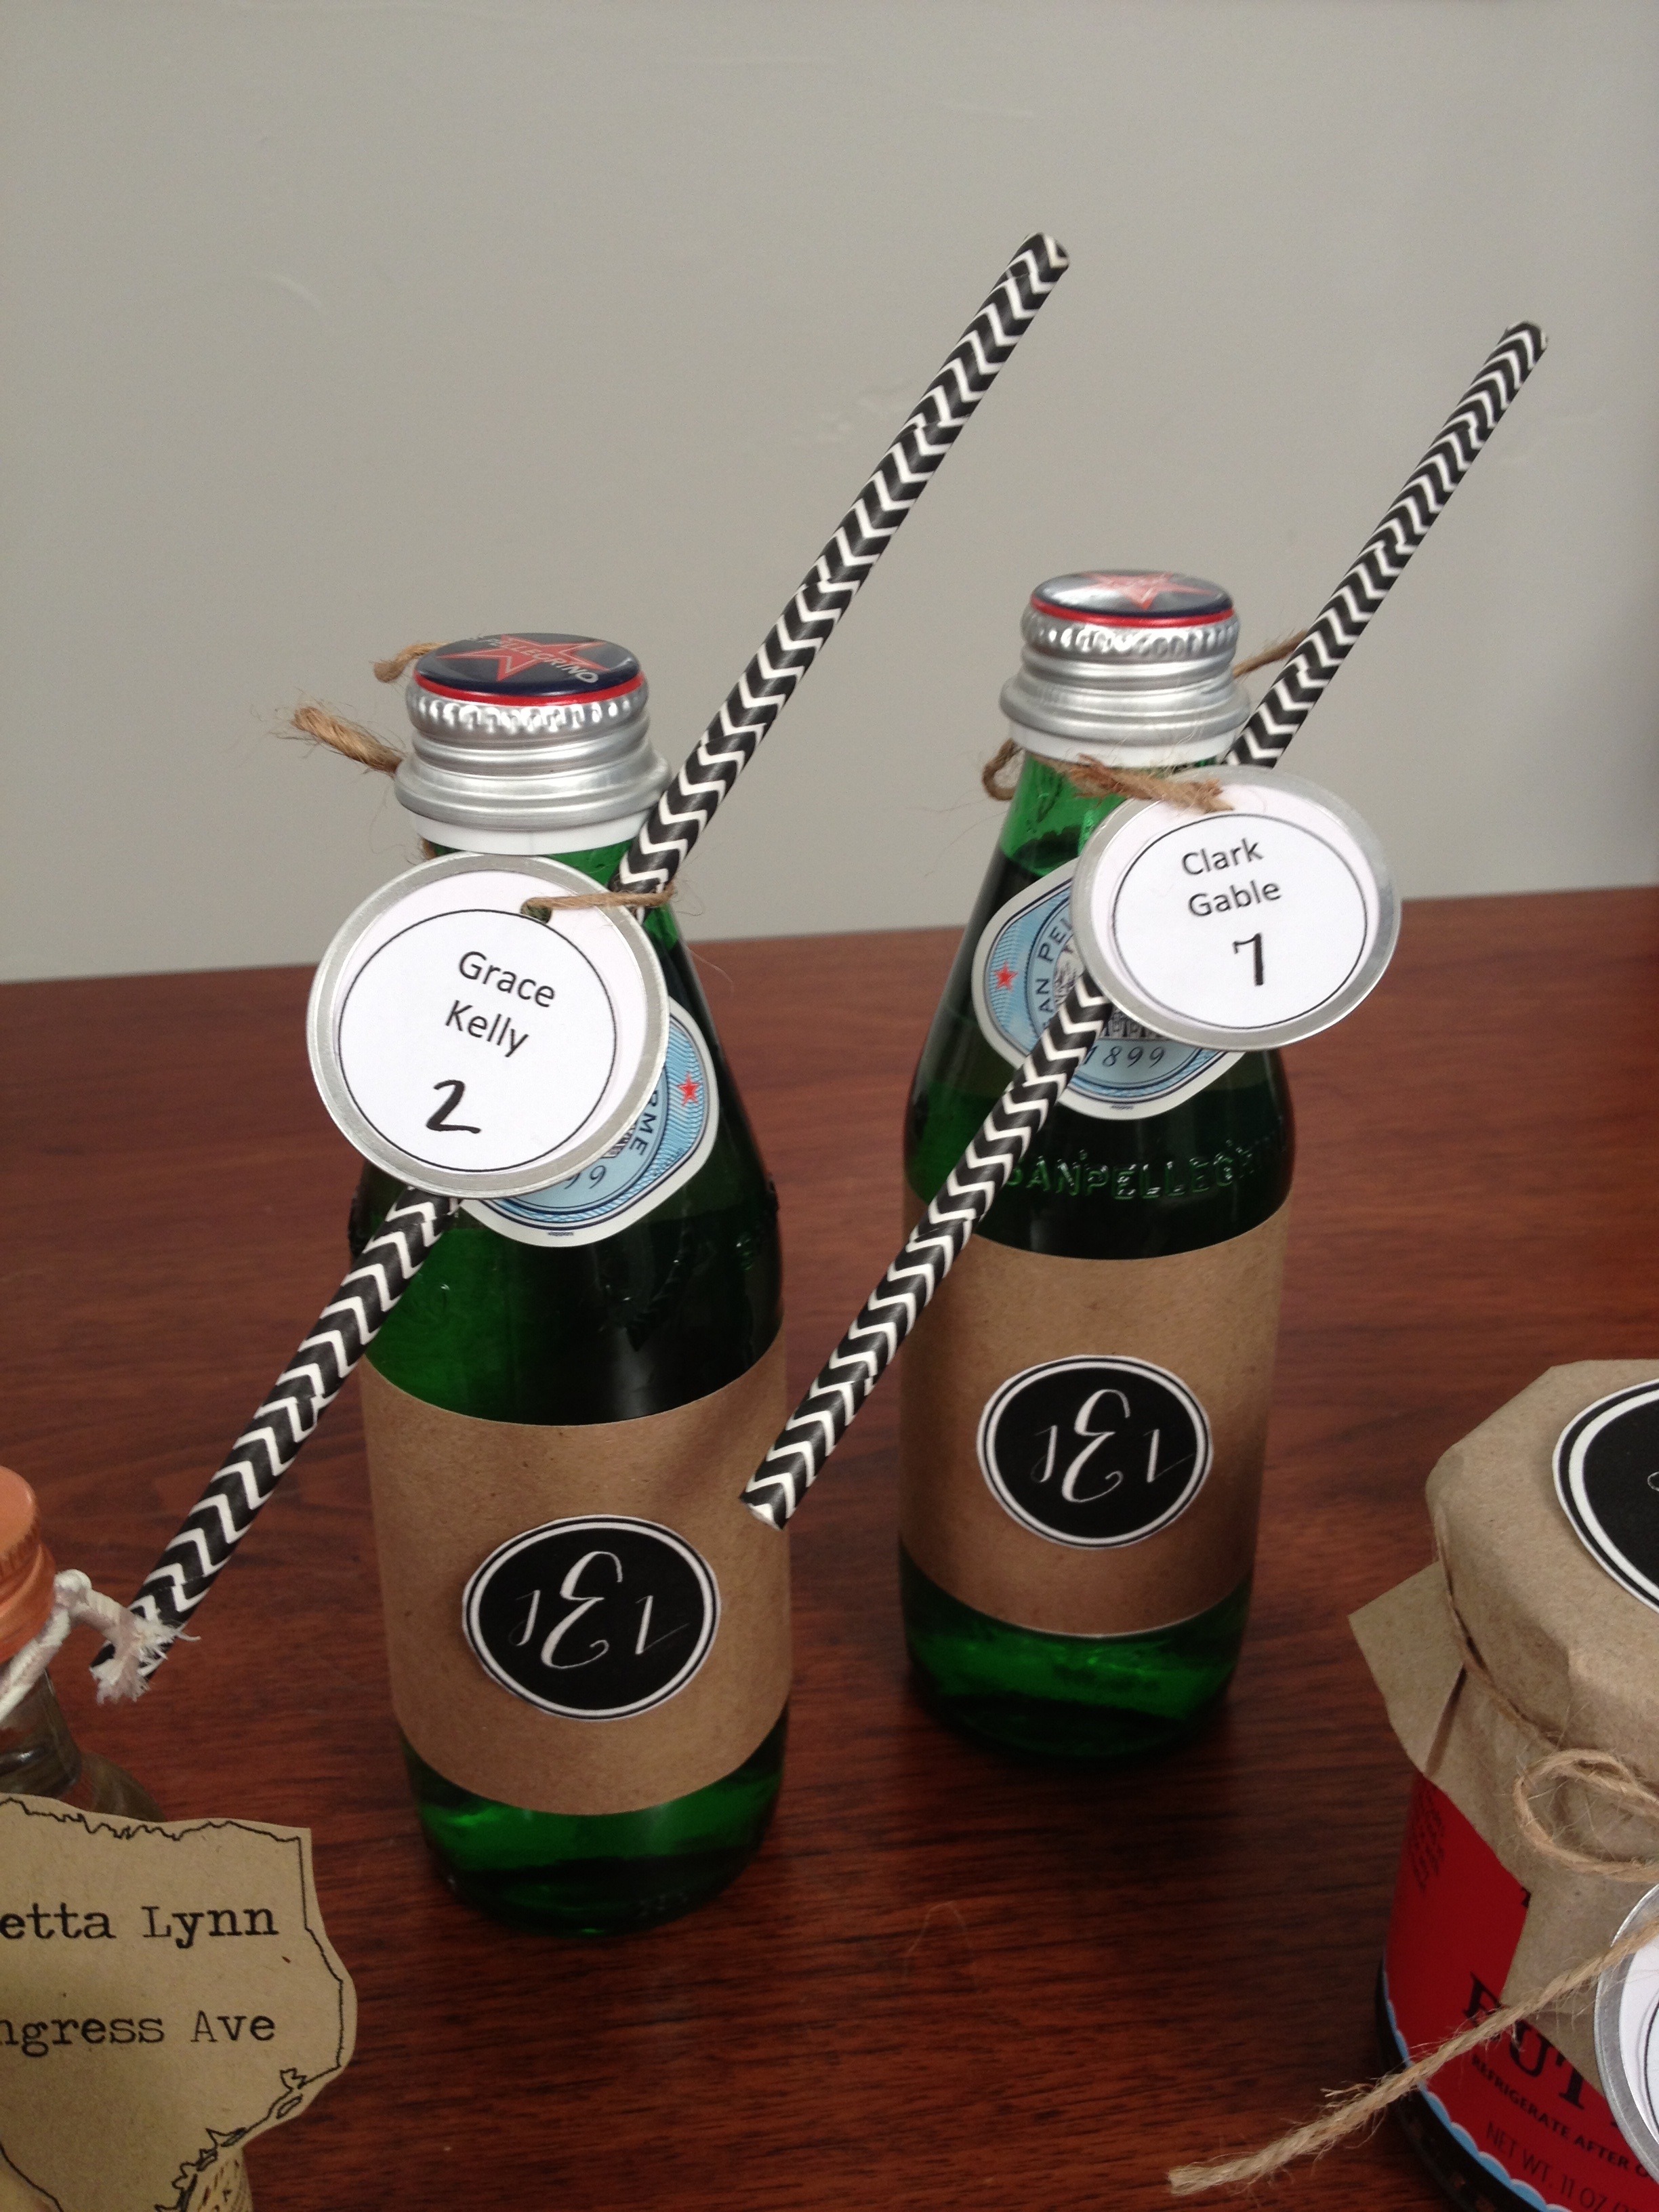
Keeping with the theme on trying to make weddings greener and not having a lot of paper waste, I really like the idea of doing “double duty” escort cards. The concept is to combine your escort cards and favors into one takeaway. These also work well for groomsmen or bridesmaids gifts, favors at bridal showers or name cards at dinner parties. Check out the video for additional ideas and have you subscribe to the YouTube channel yet? A new video posts every Friday!
I hope everyone had a wonderful Memorial Day! I definitely took advantage of the long weekend, soaked up some sun and did a whole lot of nothing. It was some much needed downtime and a good recharge but now it’s back to work (thank goodness it is a short week, right!?!).
As a continuation of my Summer Wedding DIY series, I’ll show you how to create a no sew bow. These are great styling accessories for your bridal party, ring bearer, flower girl or other wedding decor. You can create a no sew bow in just 6 easy steps. Head over to my Pinterest board for more ideas on how to incorporate bows into your event.
Thank you to all who helped me to reach the 1,000 subscriber goal on the YouTube channel! I’m so grateful. Please share a comment and let me know what tutorials you would like to see in the future.
How to create a no sew bow:
Cut a piece of ribbon 12.5 inches long (this will make a bow about 6 inches long).
Cut another piece of ribbon 3 inches long.
Take your 12.5 inch long piece of fabric, fold the ends together and secure with a drop of hot glue.
Take your 3 inch long piece of fabric, fold in the sides and secure with a drop of hot glue.
Pinch together the middle of the larger piece of ribbon to form the bow.
Glue the smaller piece of fabric around the middle.
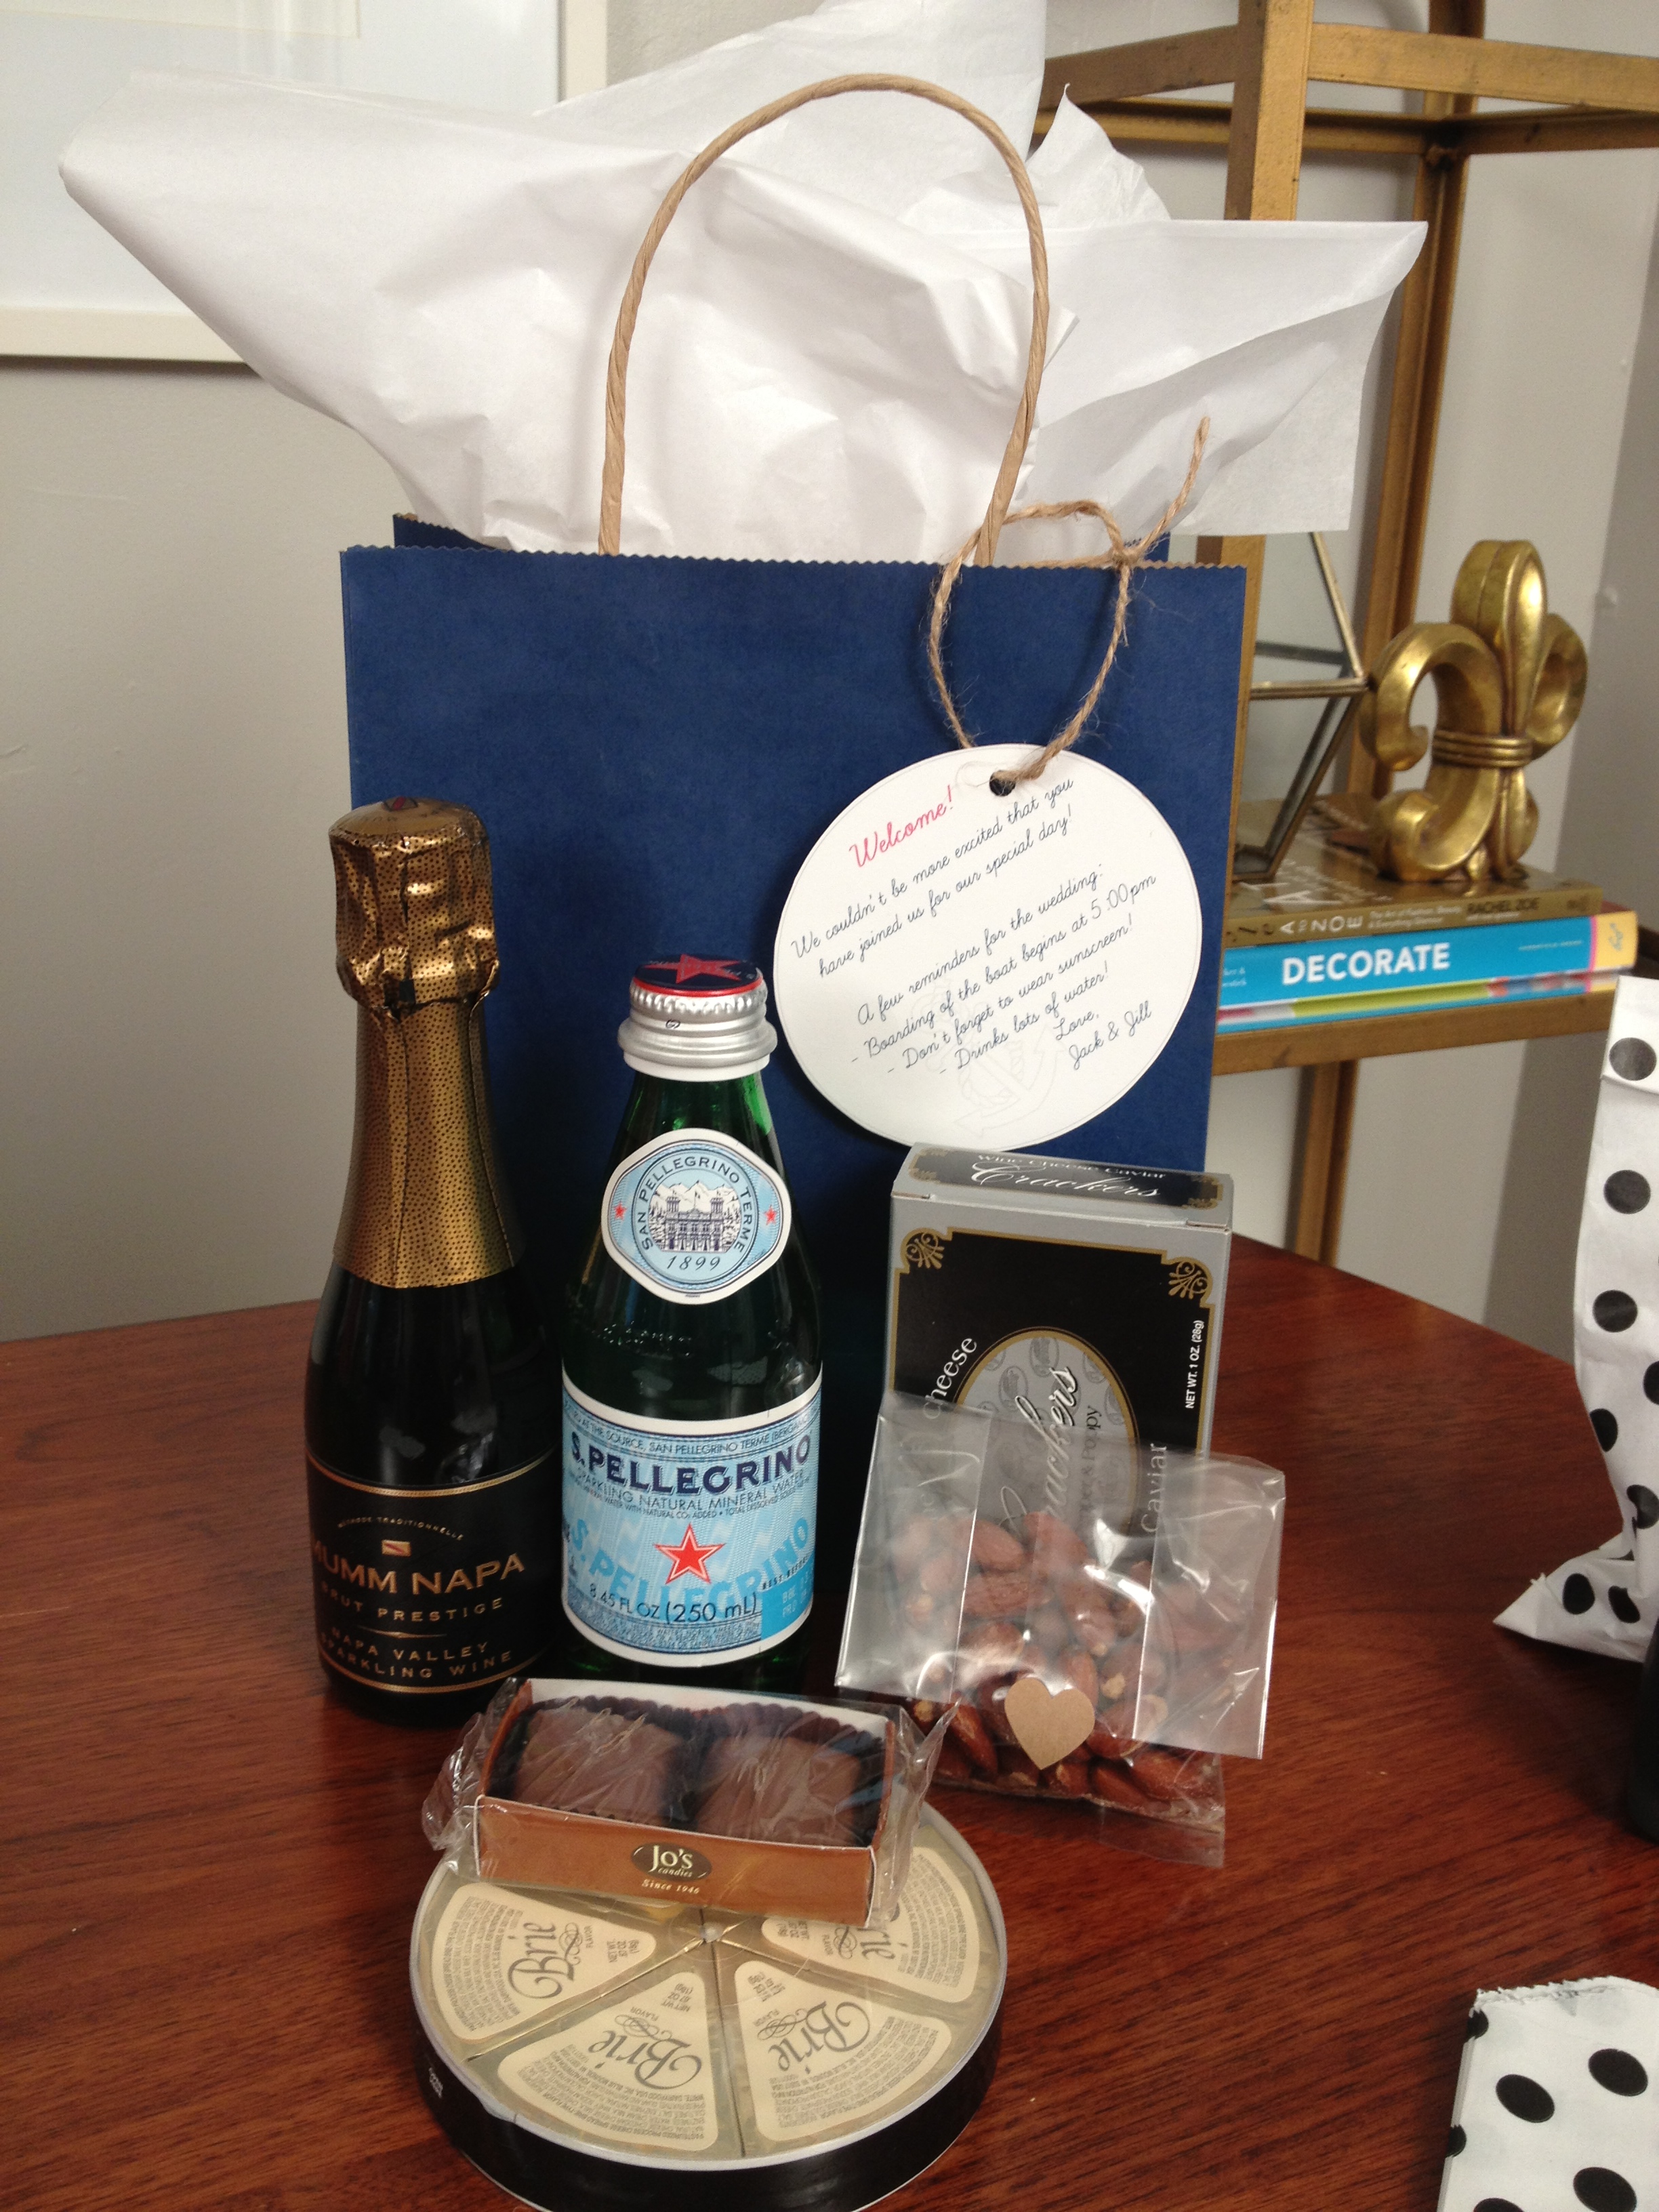
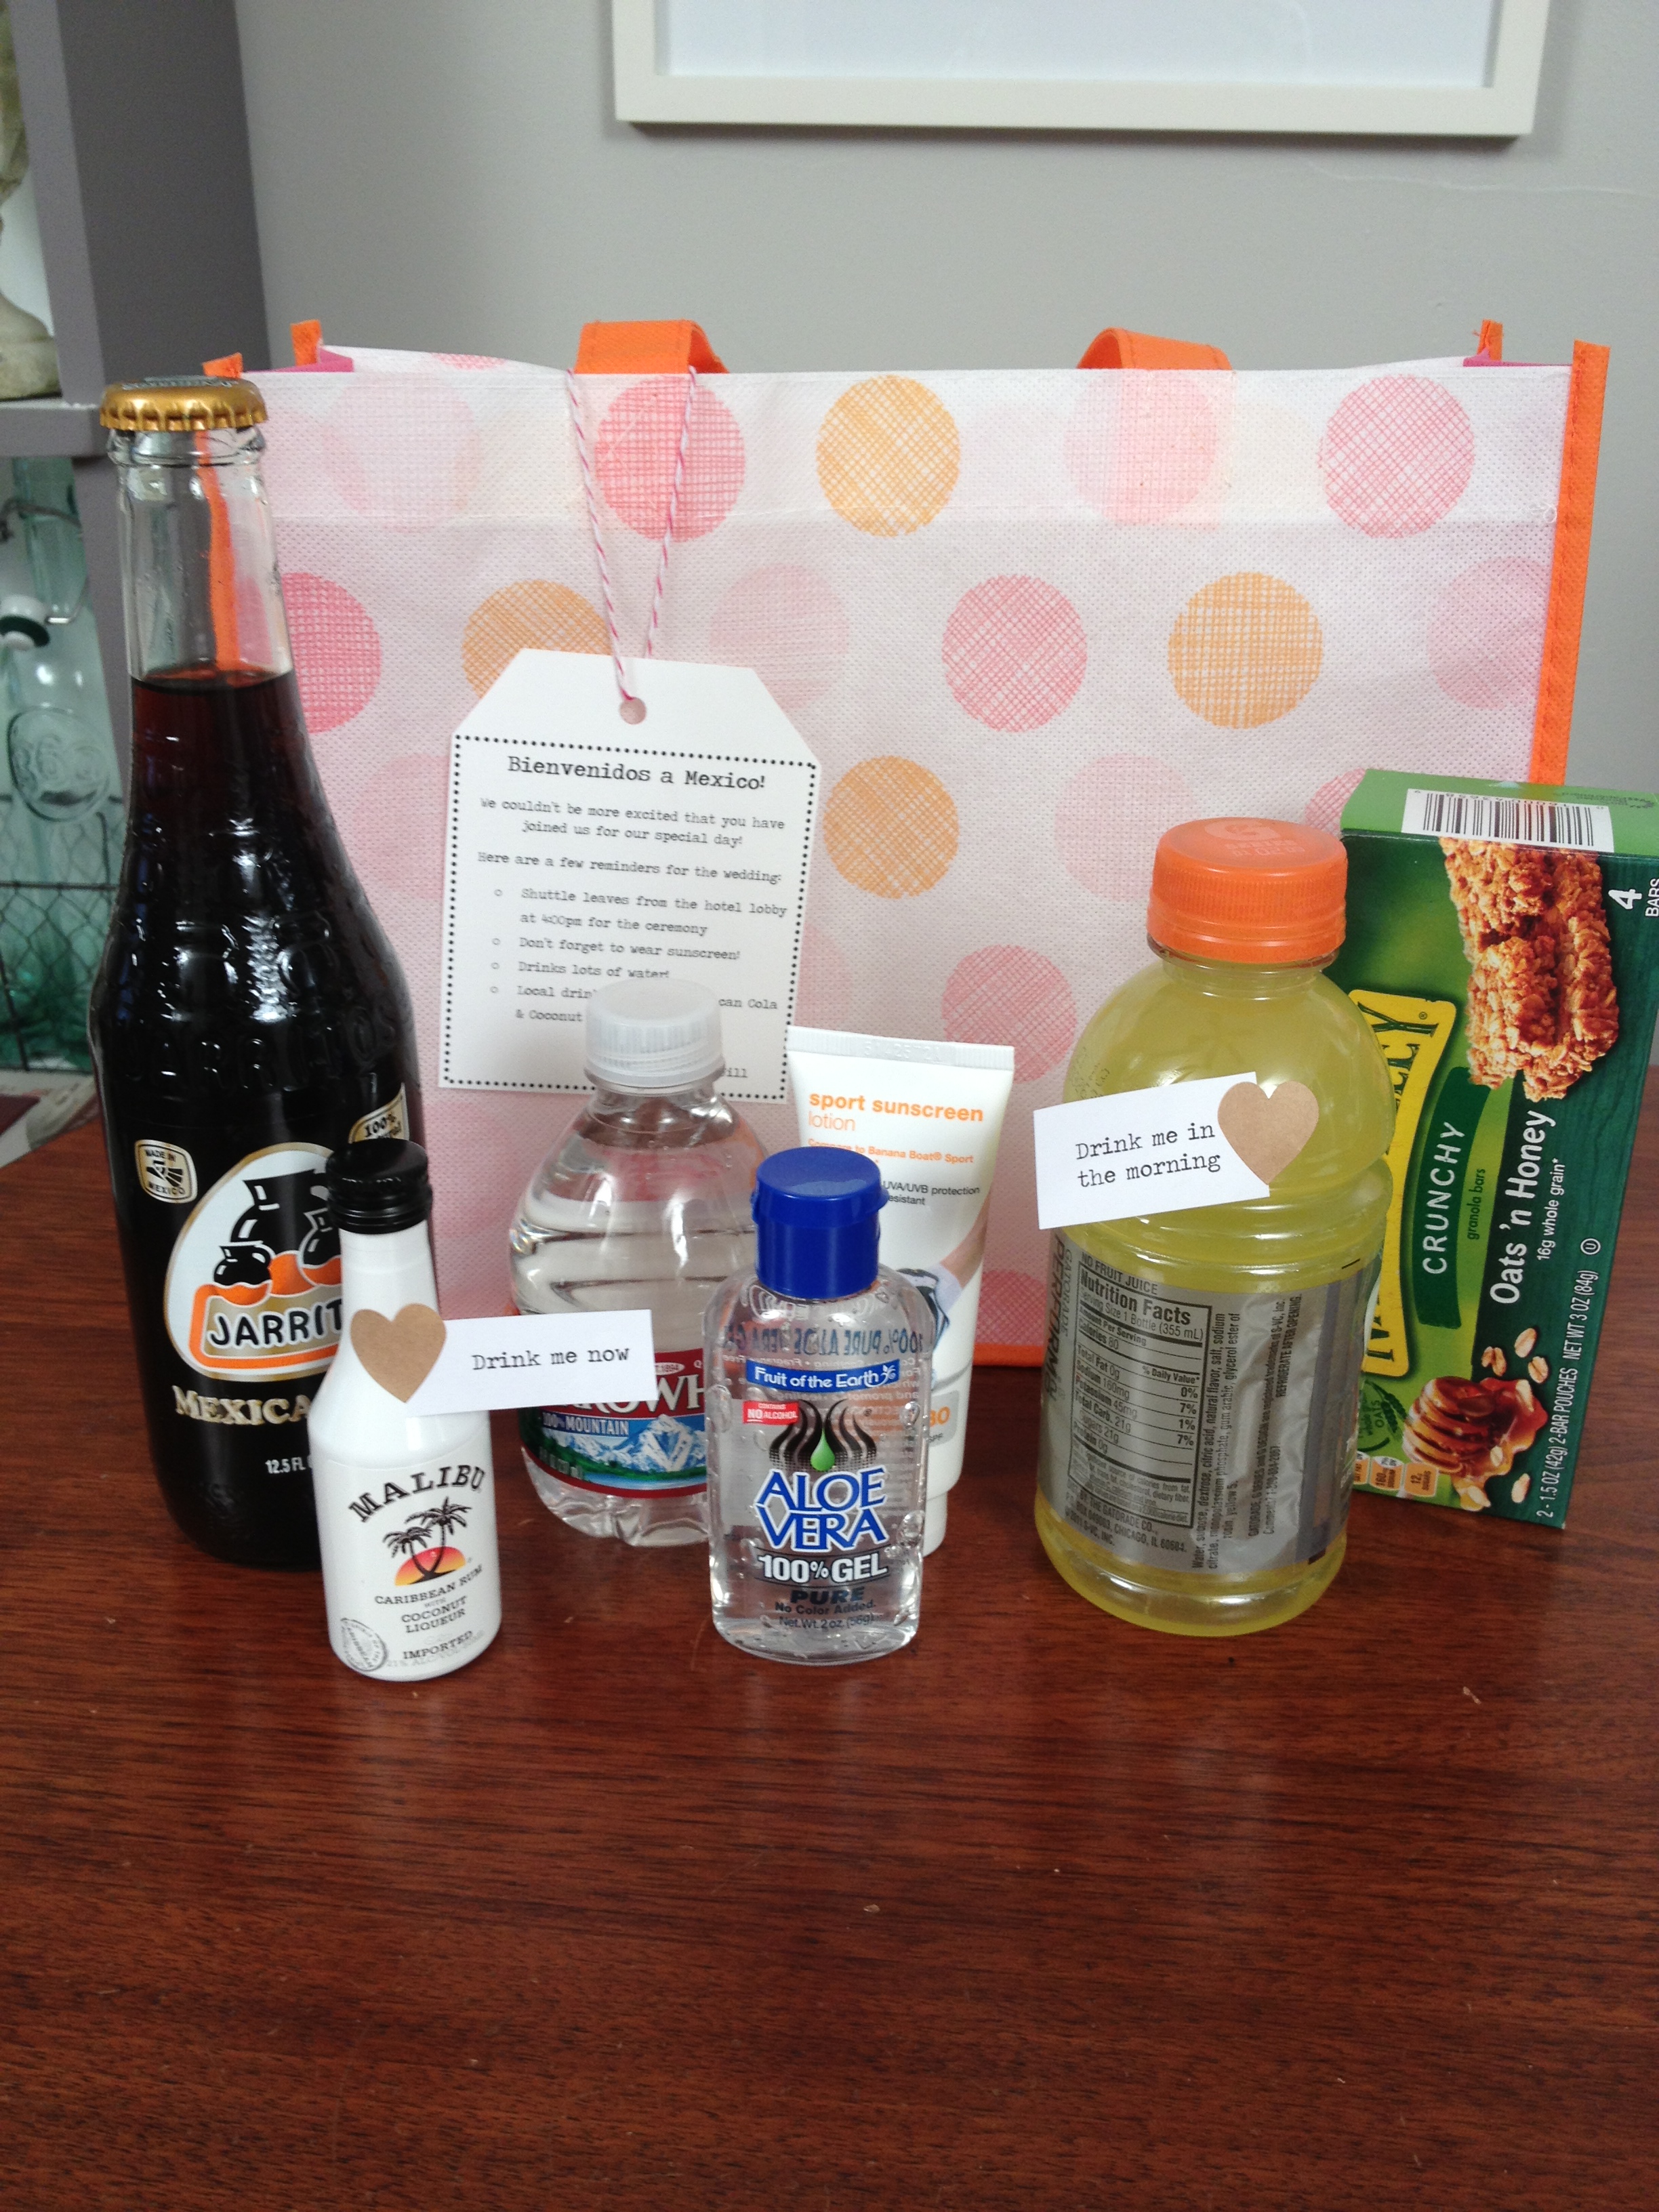
I can’t think of a better way to thank guests for sharing in your big day then to create a welcome bag upon their arrival. This week’s video will show you some easy ways to customize the bags based on your wedding’s theme or destination.
Tip: Include specific notes for your guests such as a weekend itinerary, area attractions, transportation details or other visitor information.
Resources:
Target – $1 section for toiletries
World Market – miniature versions of food and drinks
I’ve seen so many brides purchase these personalized hangers lately, so I decided to take a stab at creating my own. The craft is easier then you think, check out the tutorial and let me know how yours turns out. Thank you to my bride-to-be friends for letting me use their names for the hangers! Oh, don’t forget to subscribe to the YouTube Channel, the goal is to get to 1,000 subscribers!
Create a template. Measure out the length of the hanger and then leave 2.0 inches of space on each end. This will act as your guide as you create the name when wrapping the wire.
Take you wire and measure out 2.5 inches on the start end.
Start to shape the letters. This wire is really flexible so you can just use your hands. If additional help is needed, then use the pliers. I suggest using lowercase script for beginners.
Drill hold bout 1 inch from each end of the hanger.
Trim access wire, add glue to hole in hanger and secure wire into place.
Tips:
Your first time trying this craft will take you about 1 hour. Once you get the hang of shaping the wire, you will cut down on your time tremendously. It’s okay if they craft has a more rustic/handmade feel, it doesn’t have to be perfect!
Paint the hanger (before you start the craft) to match the wedding colors.
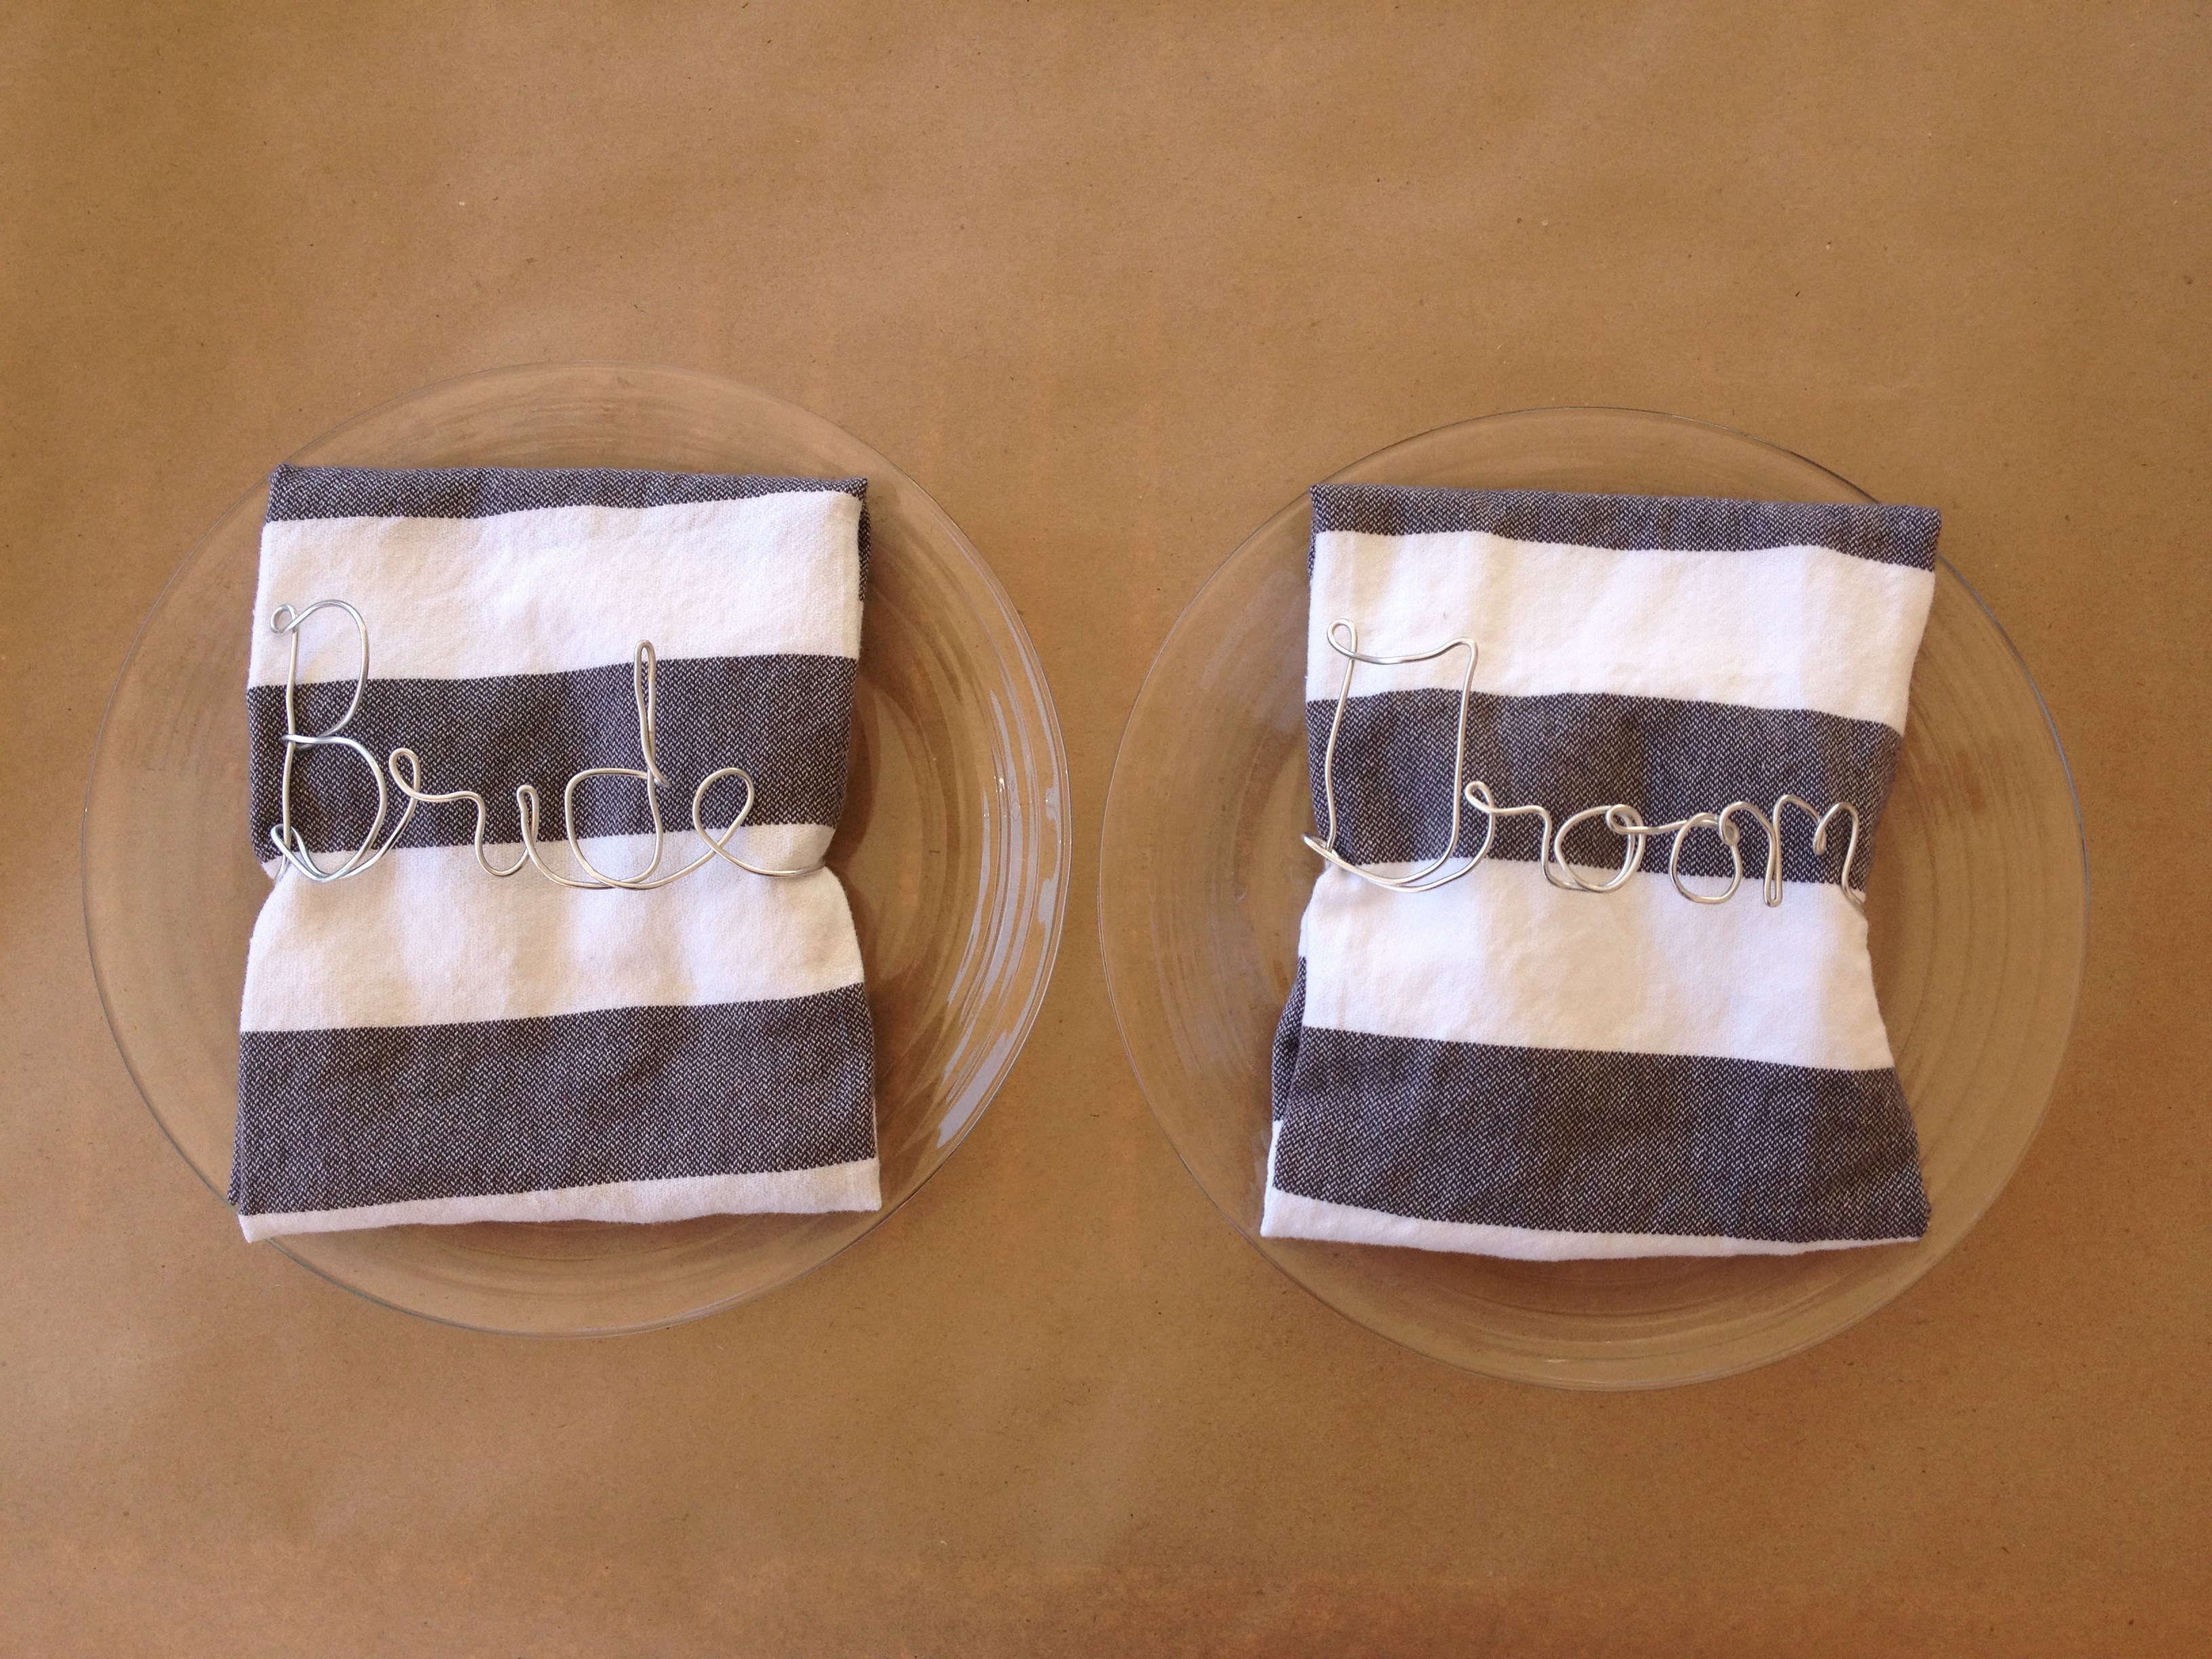
Other Uses:
There was wire left over so I used it to make “place cards” for the bride and groom. Leave a comment and let me know if you have any other ideas for how to use the wire to personalize your big day.
I think this may be the cutest craft ever. I seriously can’t get enough of these tutus. Watch the tutorial and you’ll see what I mean. Don’t forget to SUBSCRIBE to the YouTube Channel!!
Scissors (find a similar leopard pair of scissors here)
Tape Measure
Total cost: $12
Time: 30 minutes
Steps:
Cut elastic 2 inches shorter than flower girls waist measurements.
Use fabric glue to hold the elastic together.
Cut tulle into 2 foot long pieces.
Wrap the elastic around your leg to hold it into place.
Take one piece of tulle and hold it in half. Thread the tulle under the elastic, leading with the folded end.
Take the two ends of the tulle on top, pull them through the folded end (loop). Continue pulling down and use the index finger from your other hand to place the knot and tighten as you pull. Repeat this step until tutu is complete. Trim ends if needed.
Tips:
I also suggest doing a few cross stitches on the elastic for extra hold.
Adjust the length of the skirt but cutting longer stripes of tulle.
Perfect for flower girls, birthdays, baby showers, etc.
Tulle is available in a wide variety of colors so it is easy to match the wedding color palette. I used the glitter tulle for one of the tutus I made and I need to warn you, that the glitter gets EVERYWHERE. If you do want to use it, I suggest doing the craft outside, or avoiding using the glitter tulle altogether so that you aren’t constantly cleaning it up.
Also, if you like working with tulle check out my other tutorial on how to make a tulle headpiece.
With wedding season fast approaching, many brides-to-be are looking for unique ways to customize their big day. In this tutorial I’ll show you how to create a Tulle Headpiece that can either be worn by the bride, flower girls or wedding party. This is a great way to call out the bride for a bachelorette party as well (especially if you aren’t into the typical bachelorette decor).
Scissors (find a similar leopard pair of scissors here)
Hot Glue Gun
Ruler
Total cost: Under $10
Time: 20 minutes
Steps:
Cut 12 pieces of tulle into 8 inch strips.
Cut 6 inch piece of twine and set aside.
Layer pieces of tulle on top of each other, alternating directions.
Fold tulle in half and pinch the bottom together, secure with twine.
Secure tulle to headband with a drop of hot glue and hold in place until dry.
Tips:
I prefer to use tulle with texture like the birdcage type or I mixed regular tulle with a swiss dot style in the video.
If you are going to use a comb you will only need 6-8 pieces of tulle depending on the fullness you want.
Using a straight edge/square shape tulle will give you a more avant garde look, using rounded edge/circle shape tulle will give you more of a rosette style.
Have the bride where it the Bachelorette party and/or bridal shower in order to call out the bride-to-be.
Consider making versions for the bridesmaids or flower girls, tulle comes in various colors that will match the wedding color palette.
Leave a comment and let me know if there are other tutorials you would like to see!