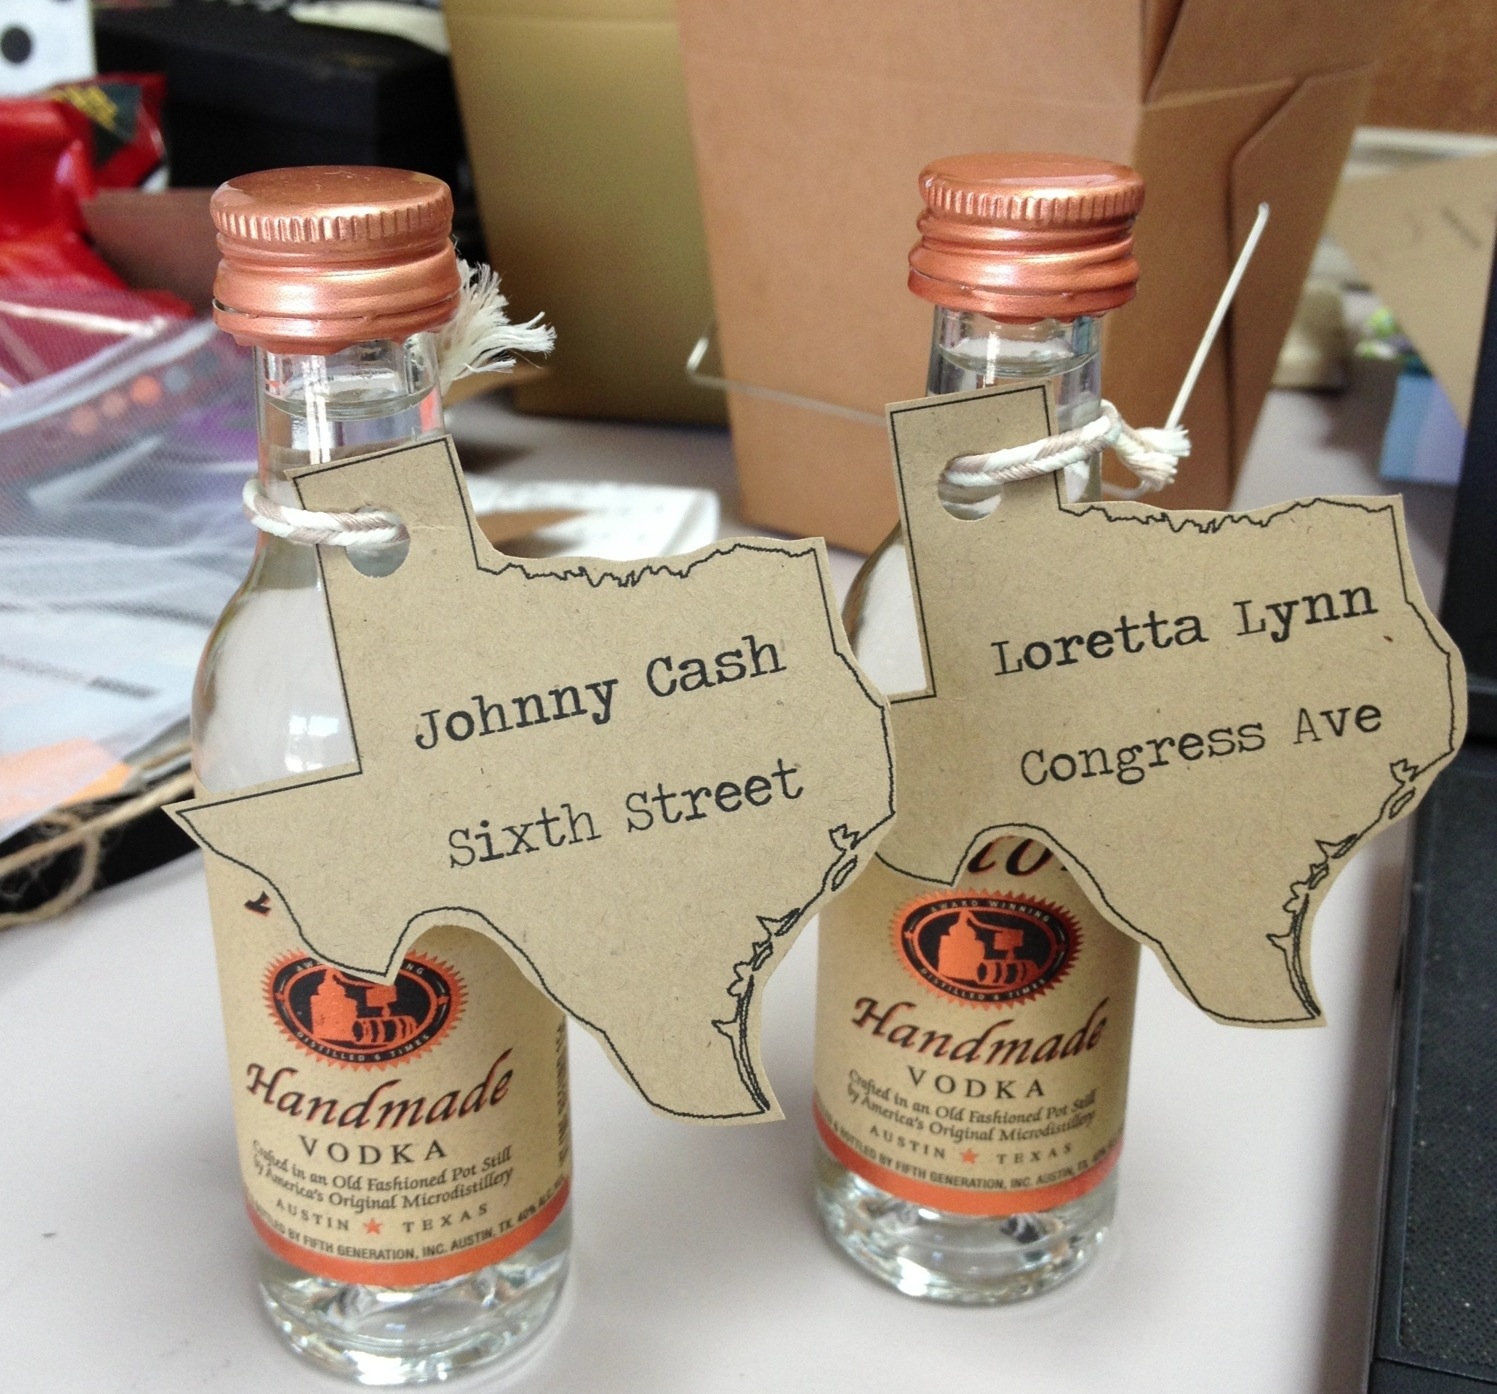
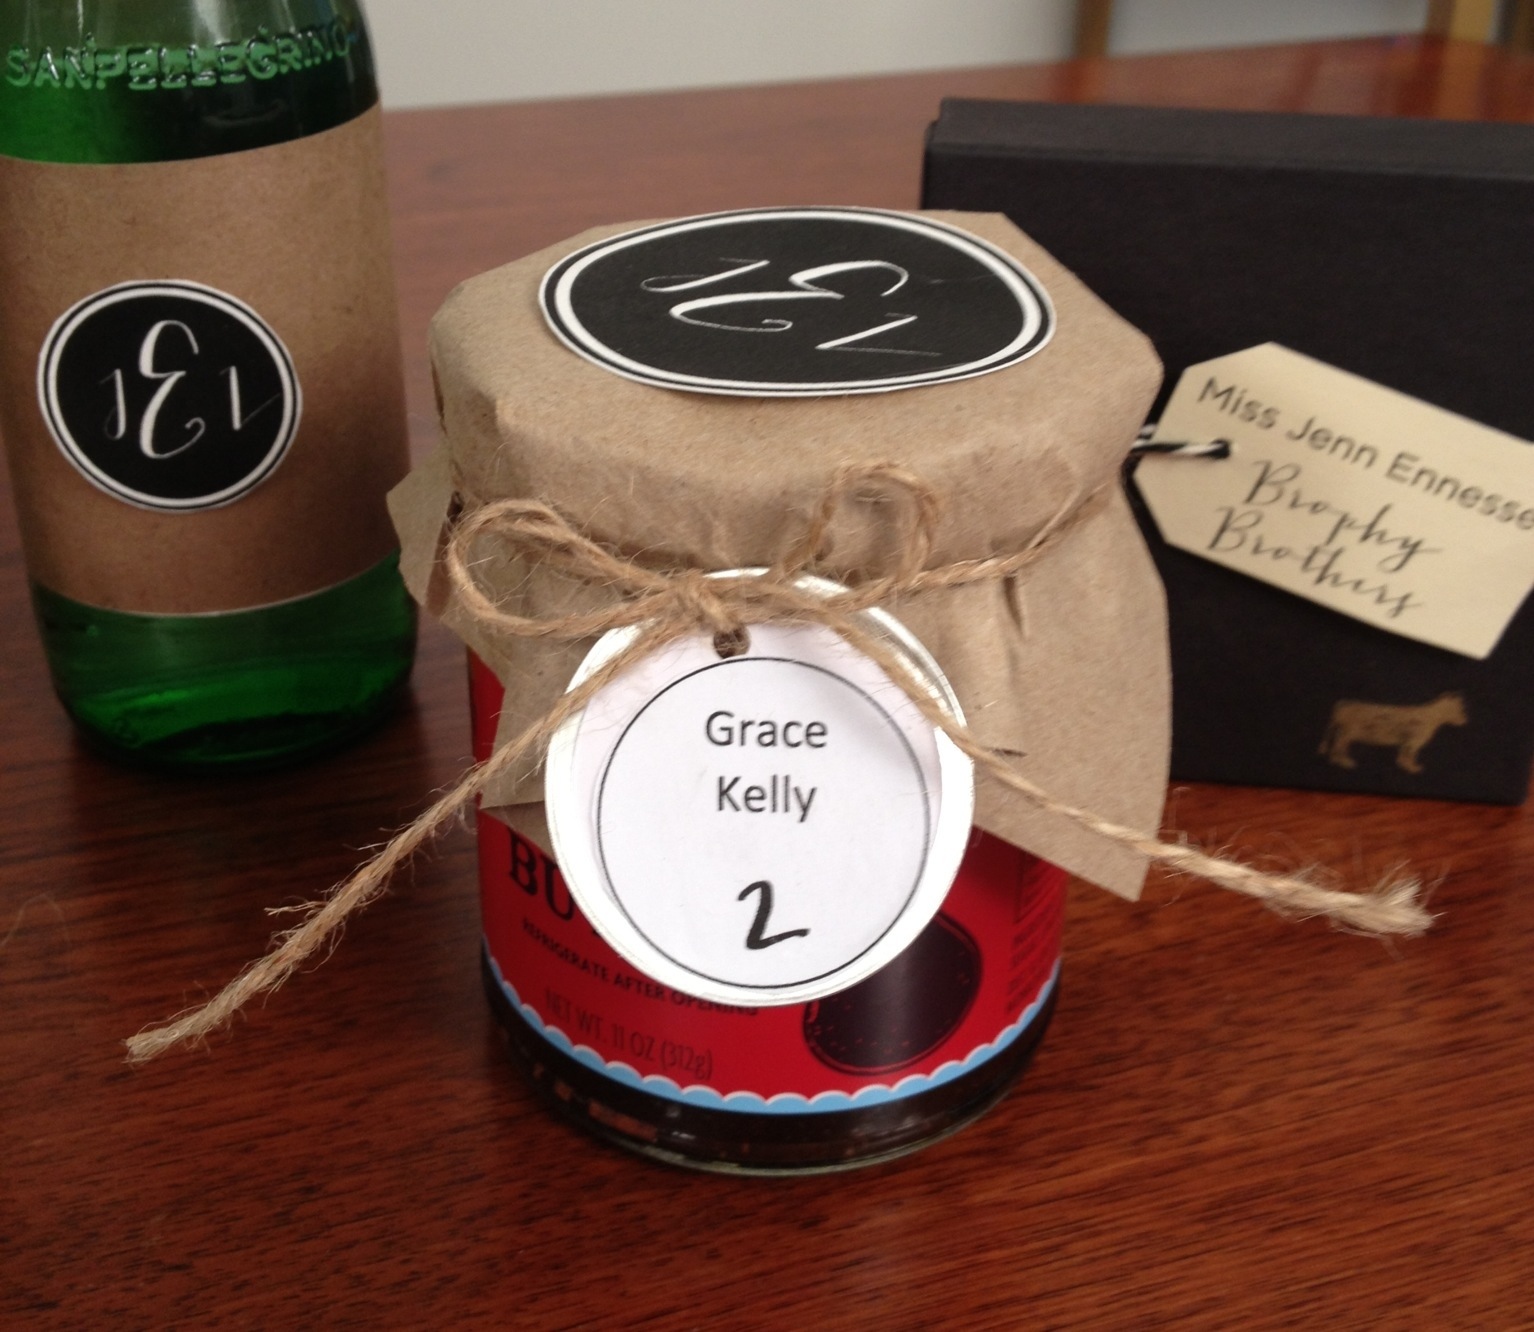
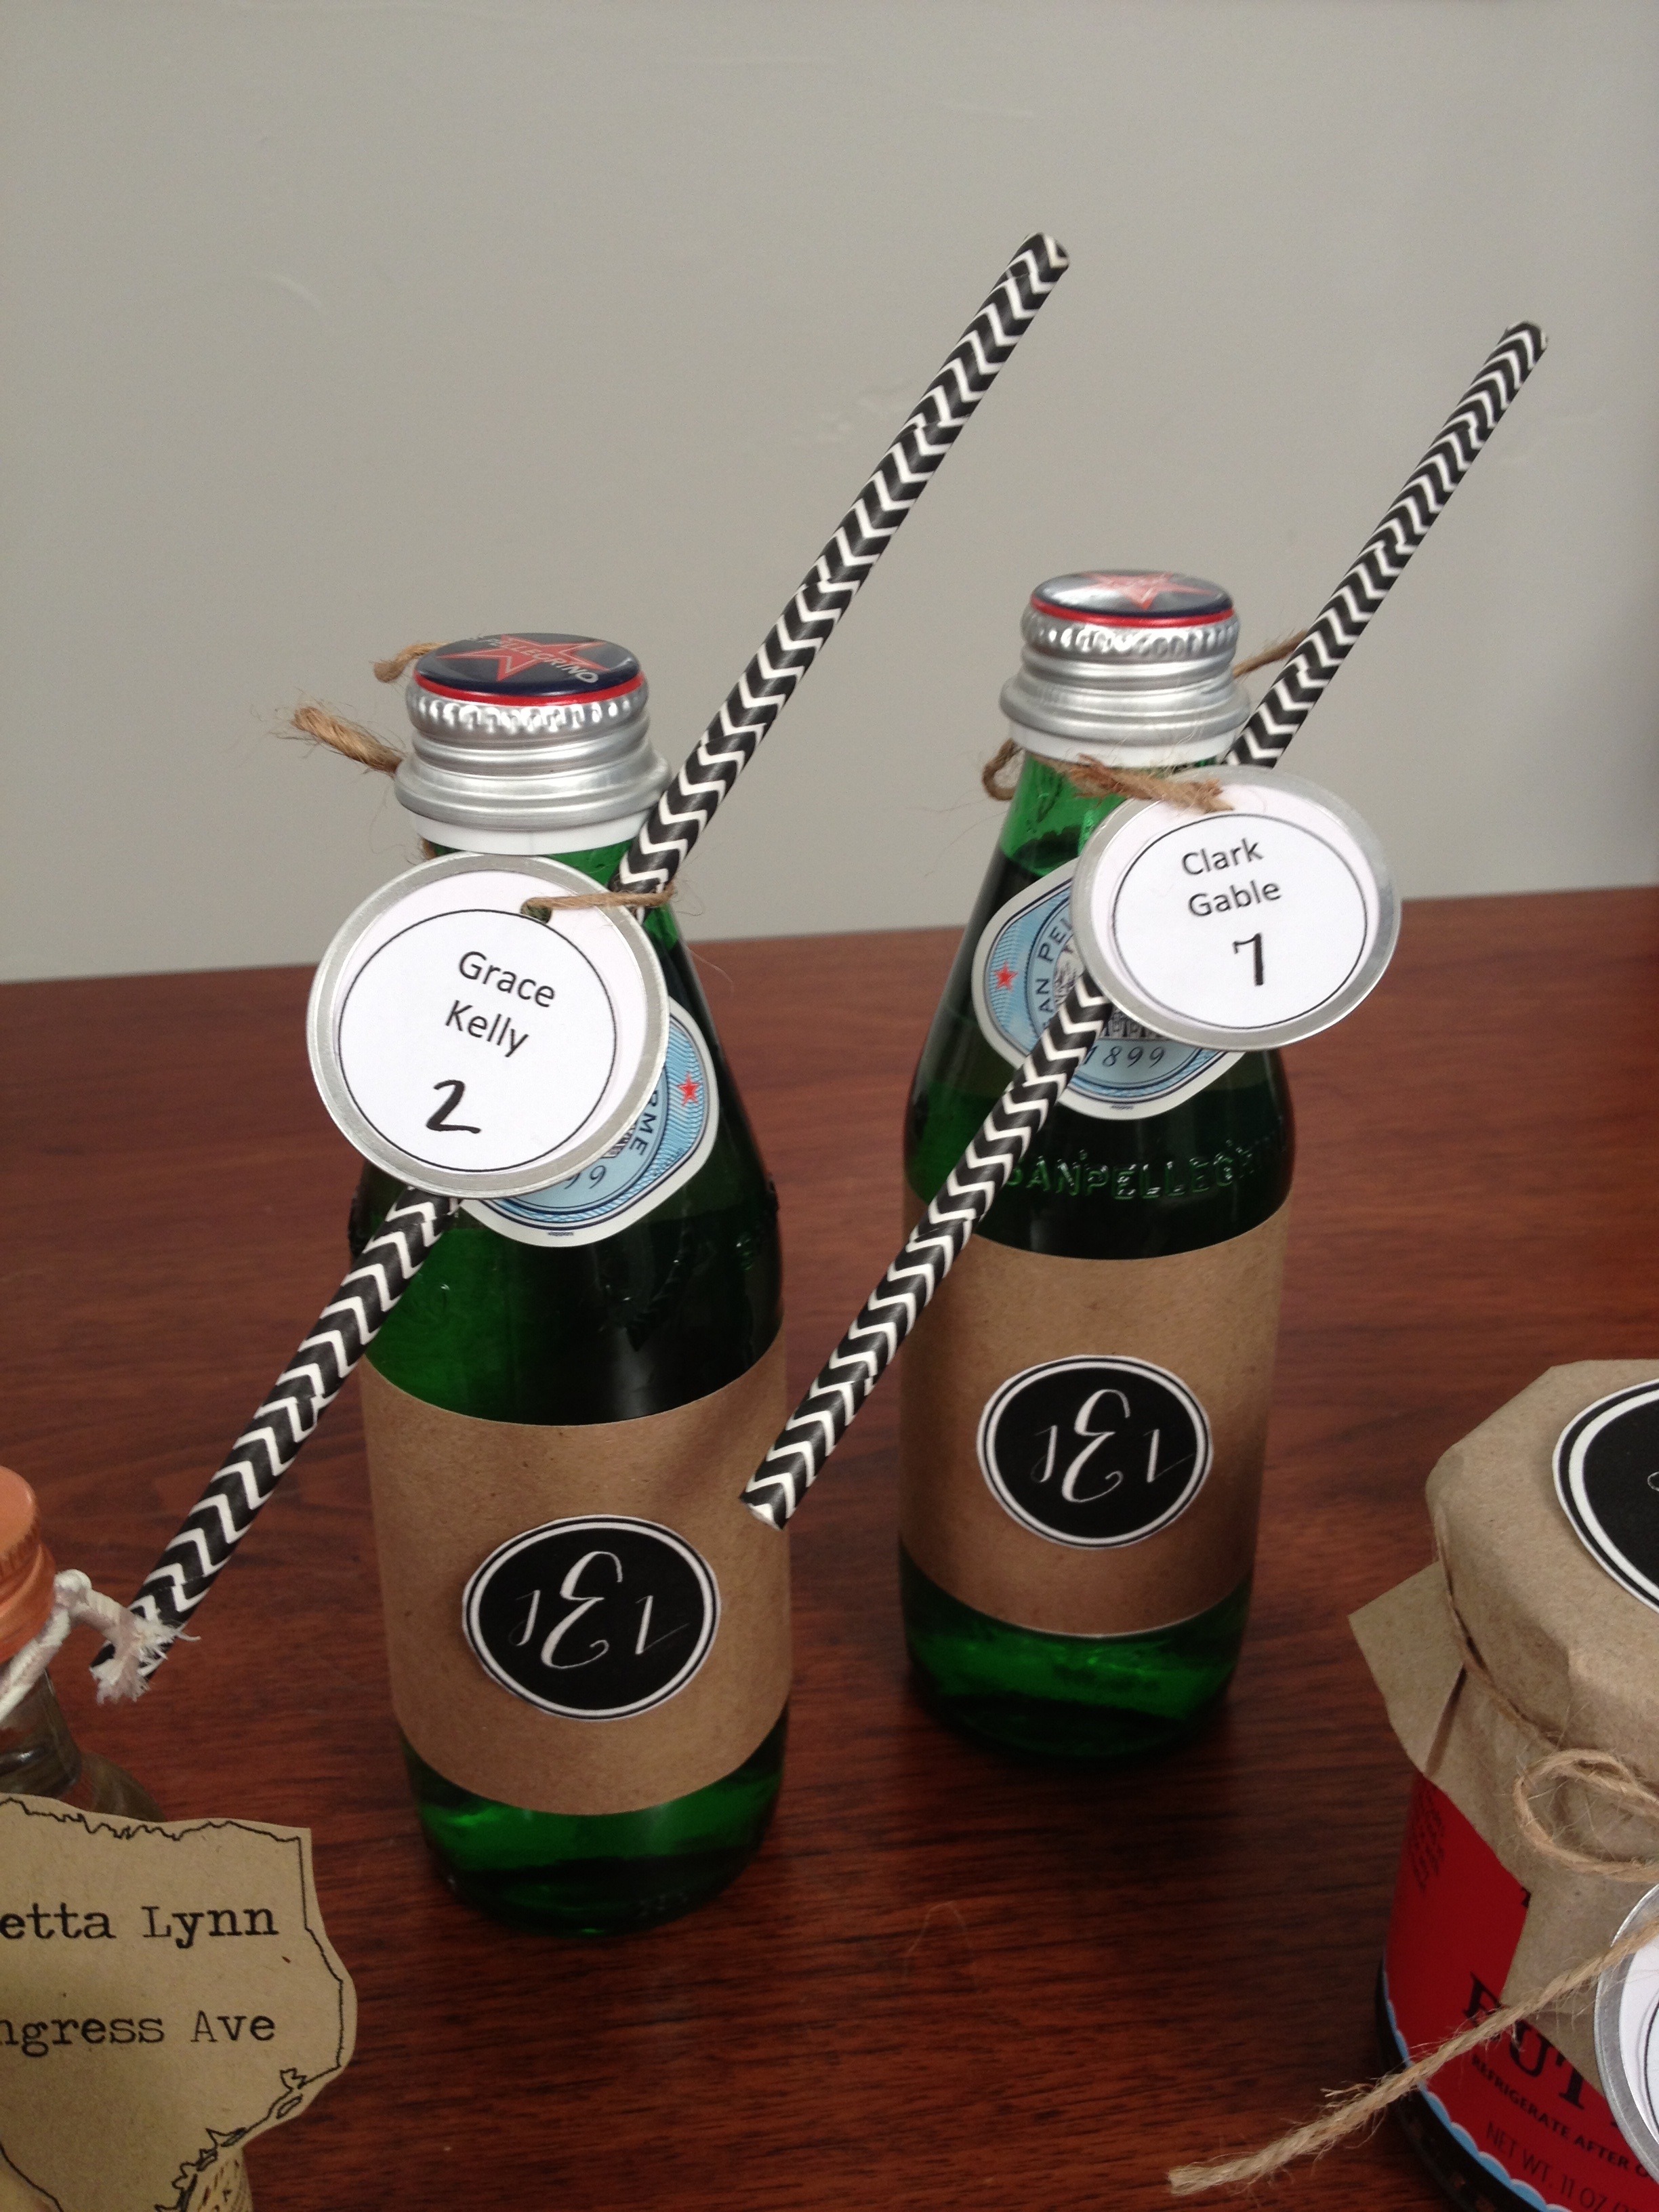
Keeping with the theme on trying to make weddings greener and not having a lot of paper waste, I really like the idea of doing “double duty” escort cards. The concept is to combine your escort cards and favors into one takeaway. These also work well for groomsmen or bridesmaids gifts, favors at bridal showers or name cards at dinner parties. Check out the video for additional ideas and have you subscribe to the YouTube channel yet? A new video posts every Friday!
PIN IT!

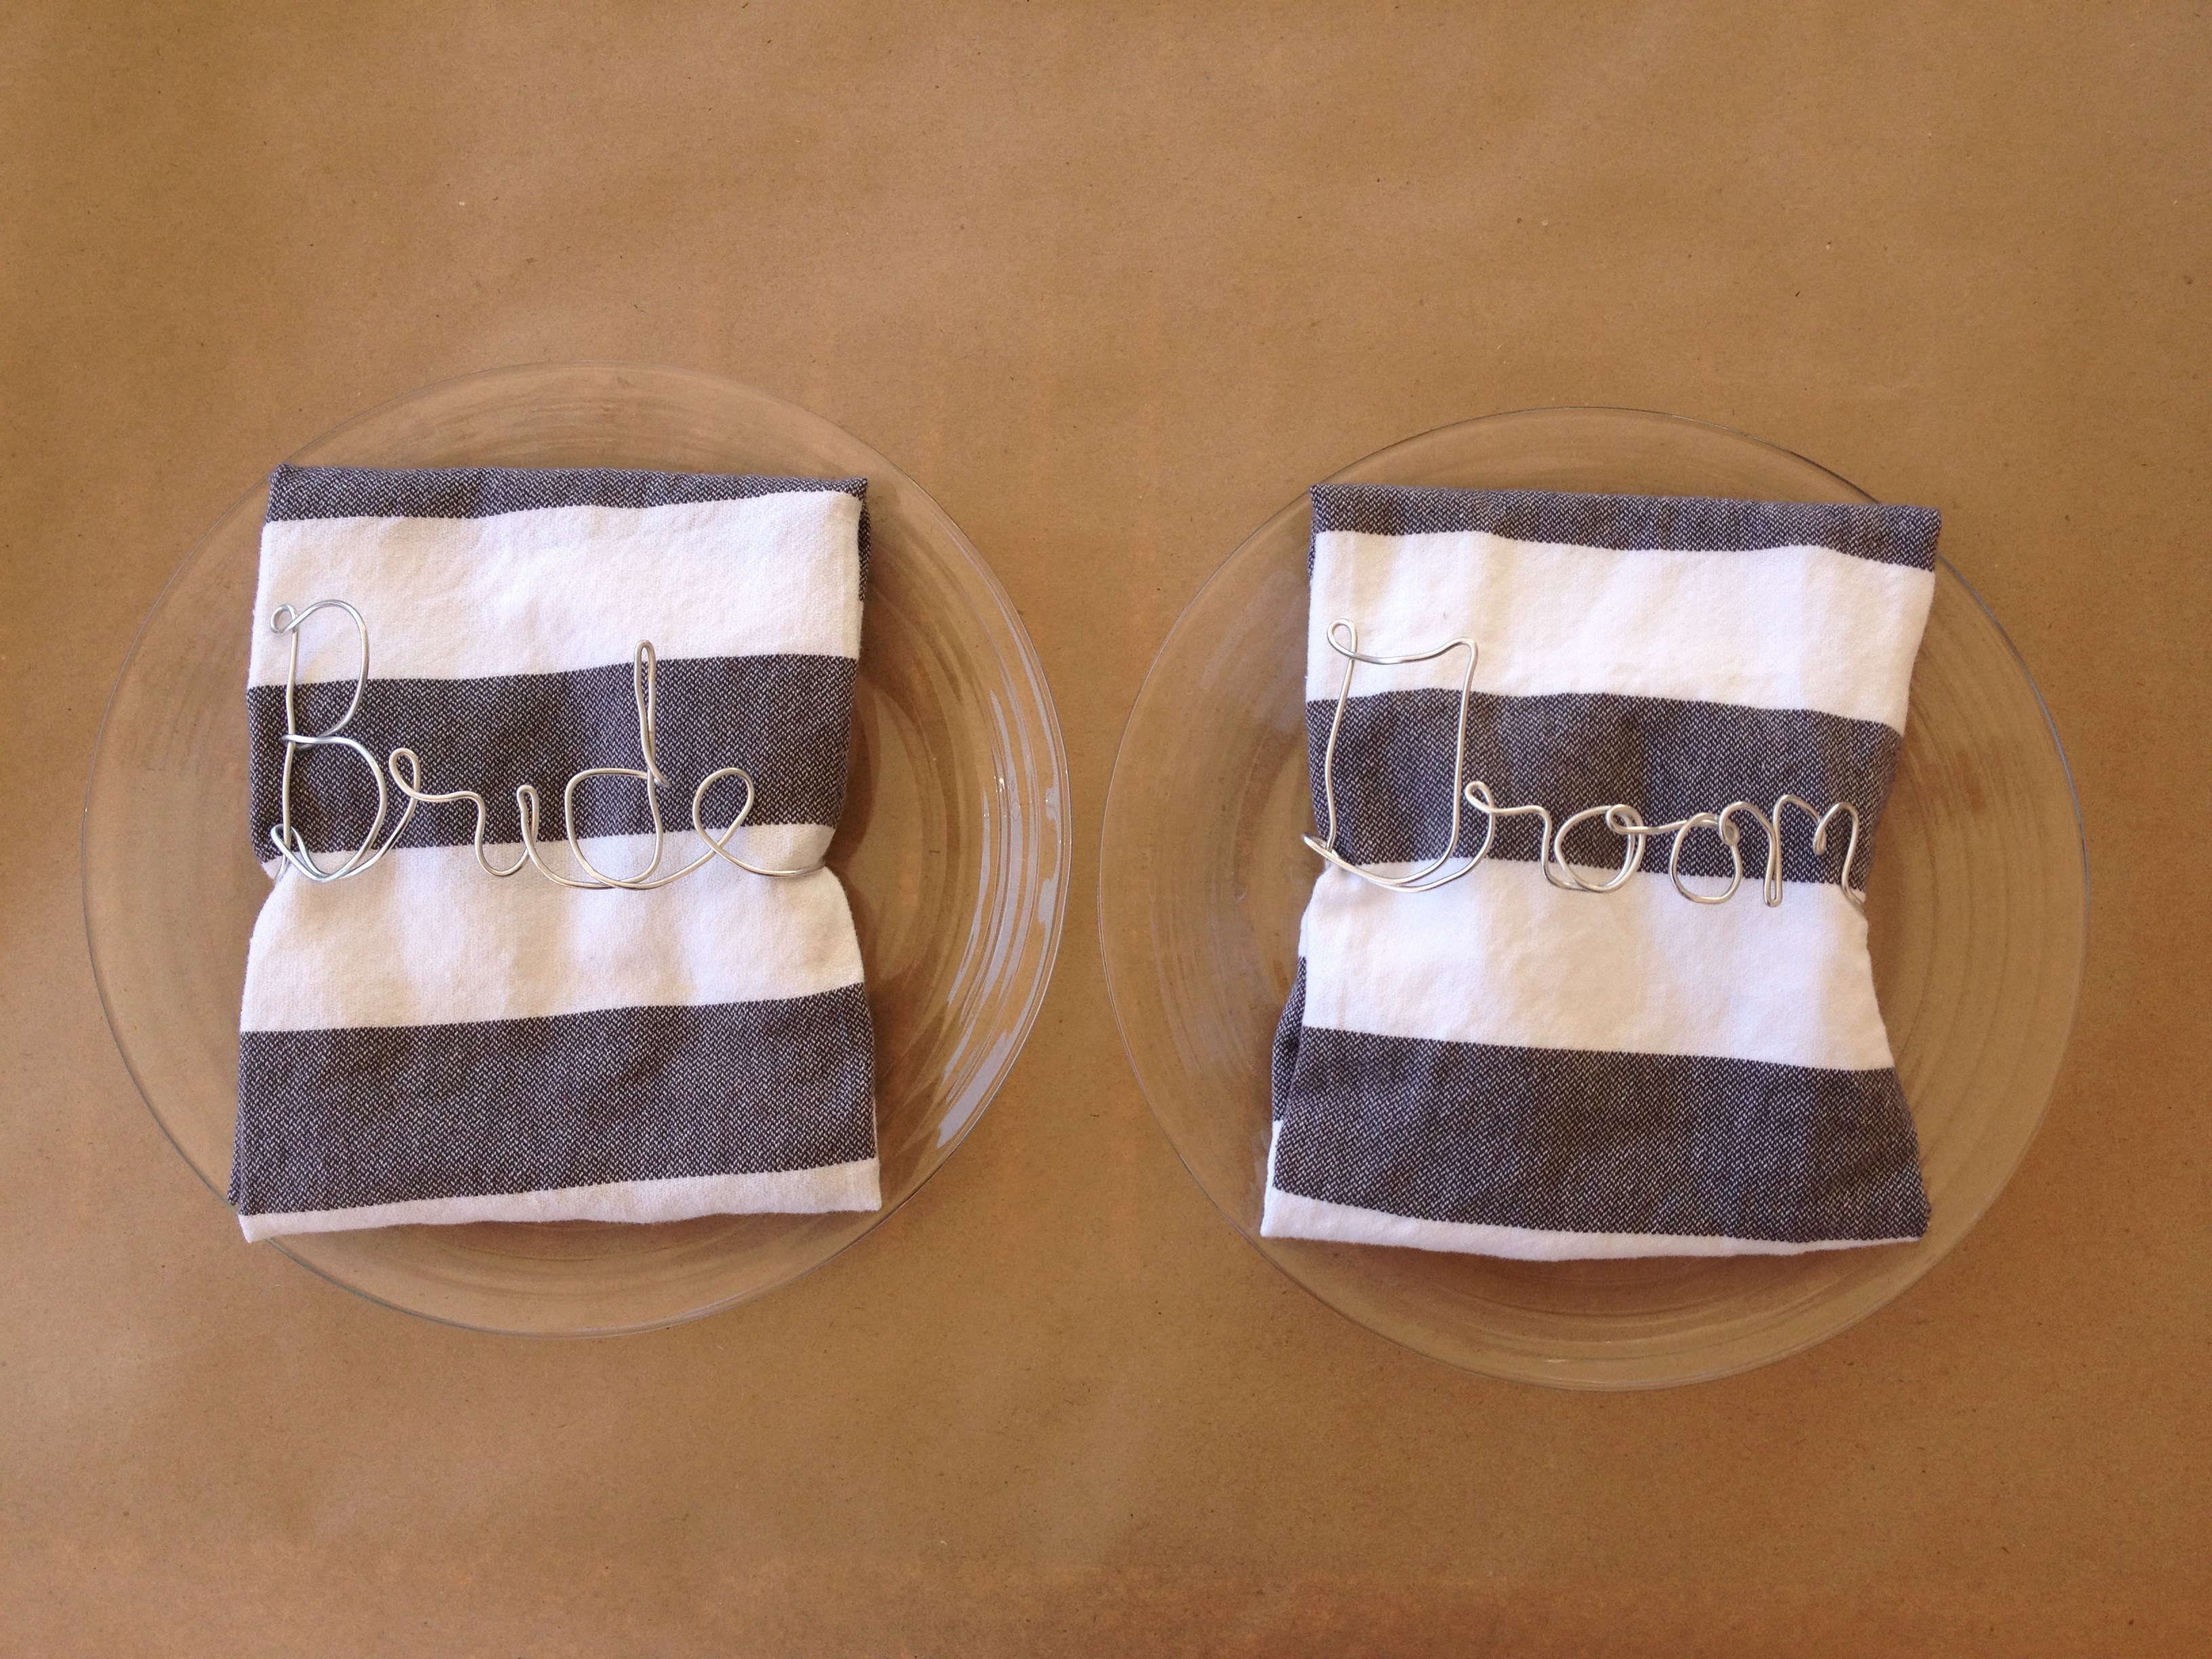
 Materials:
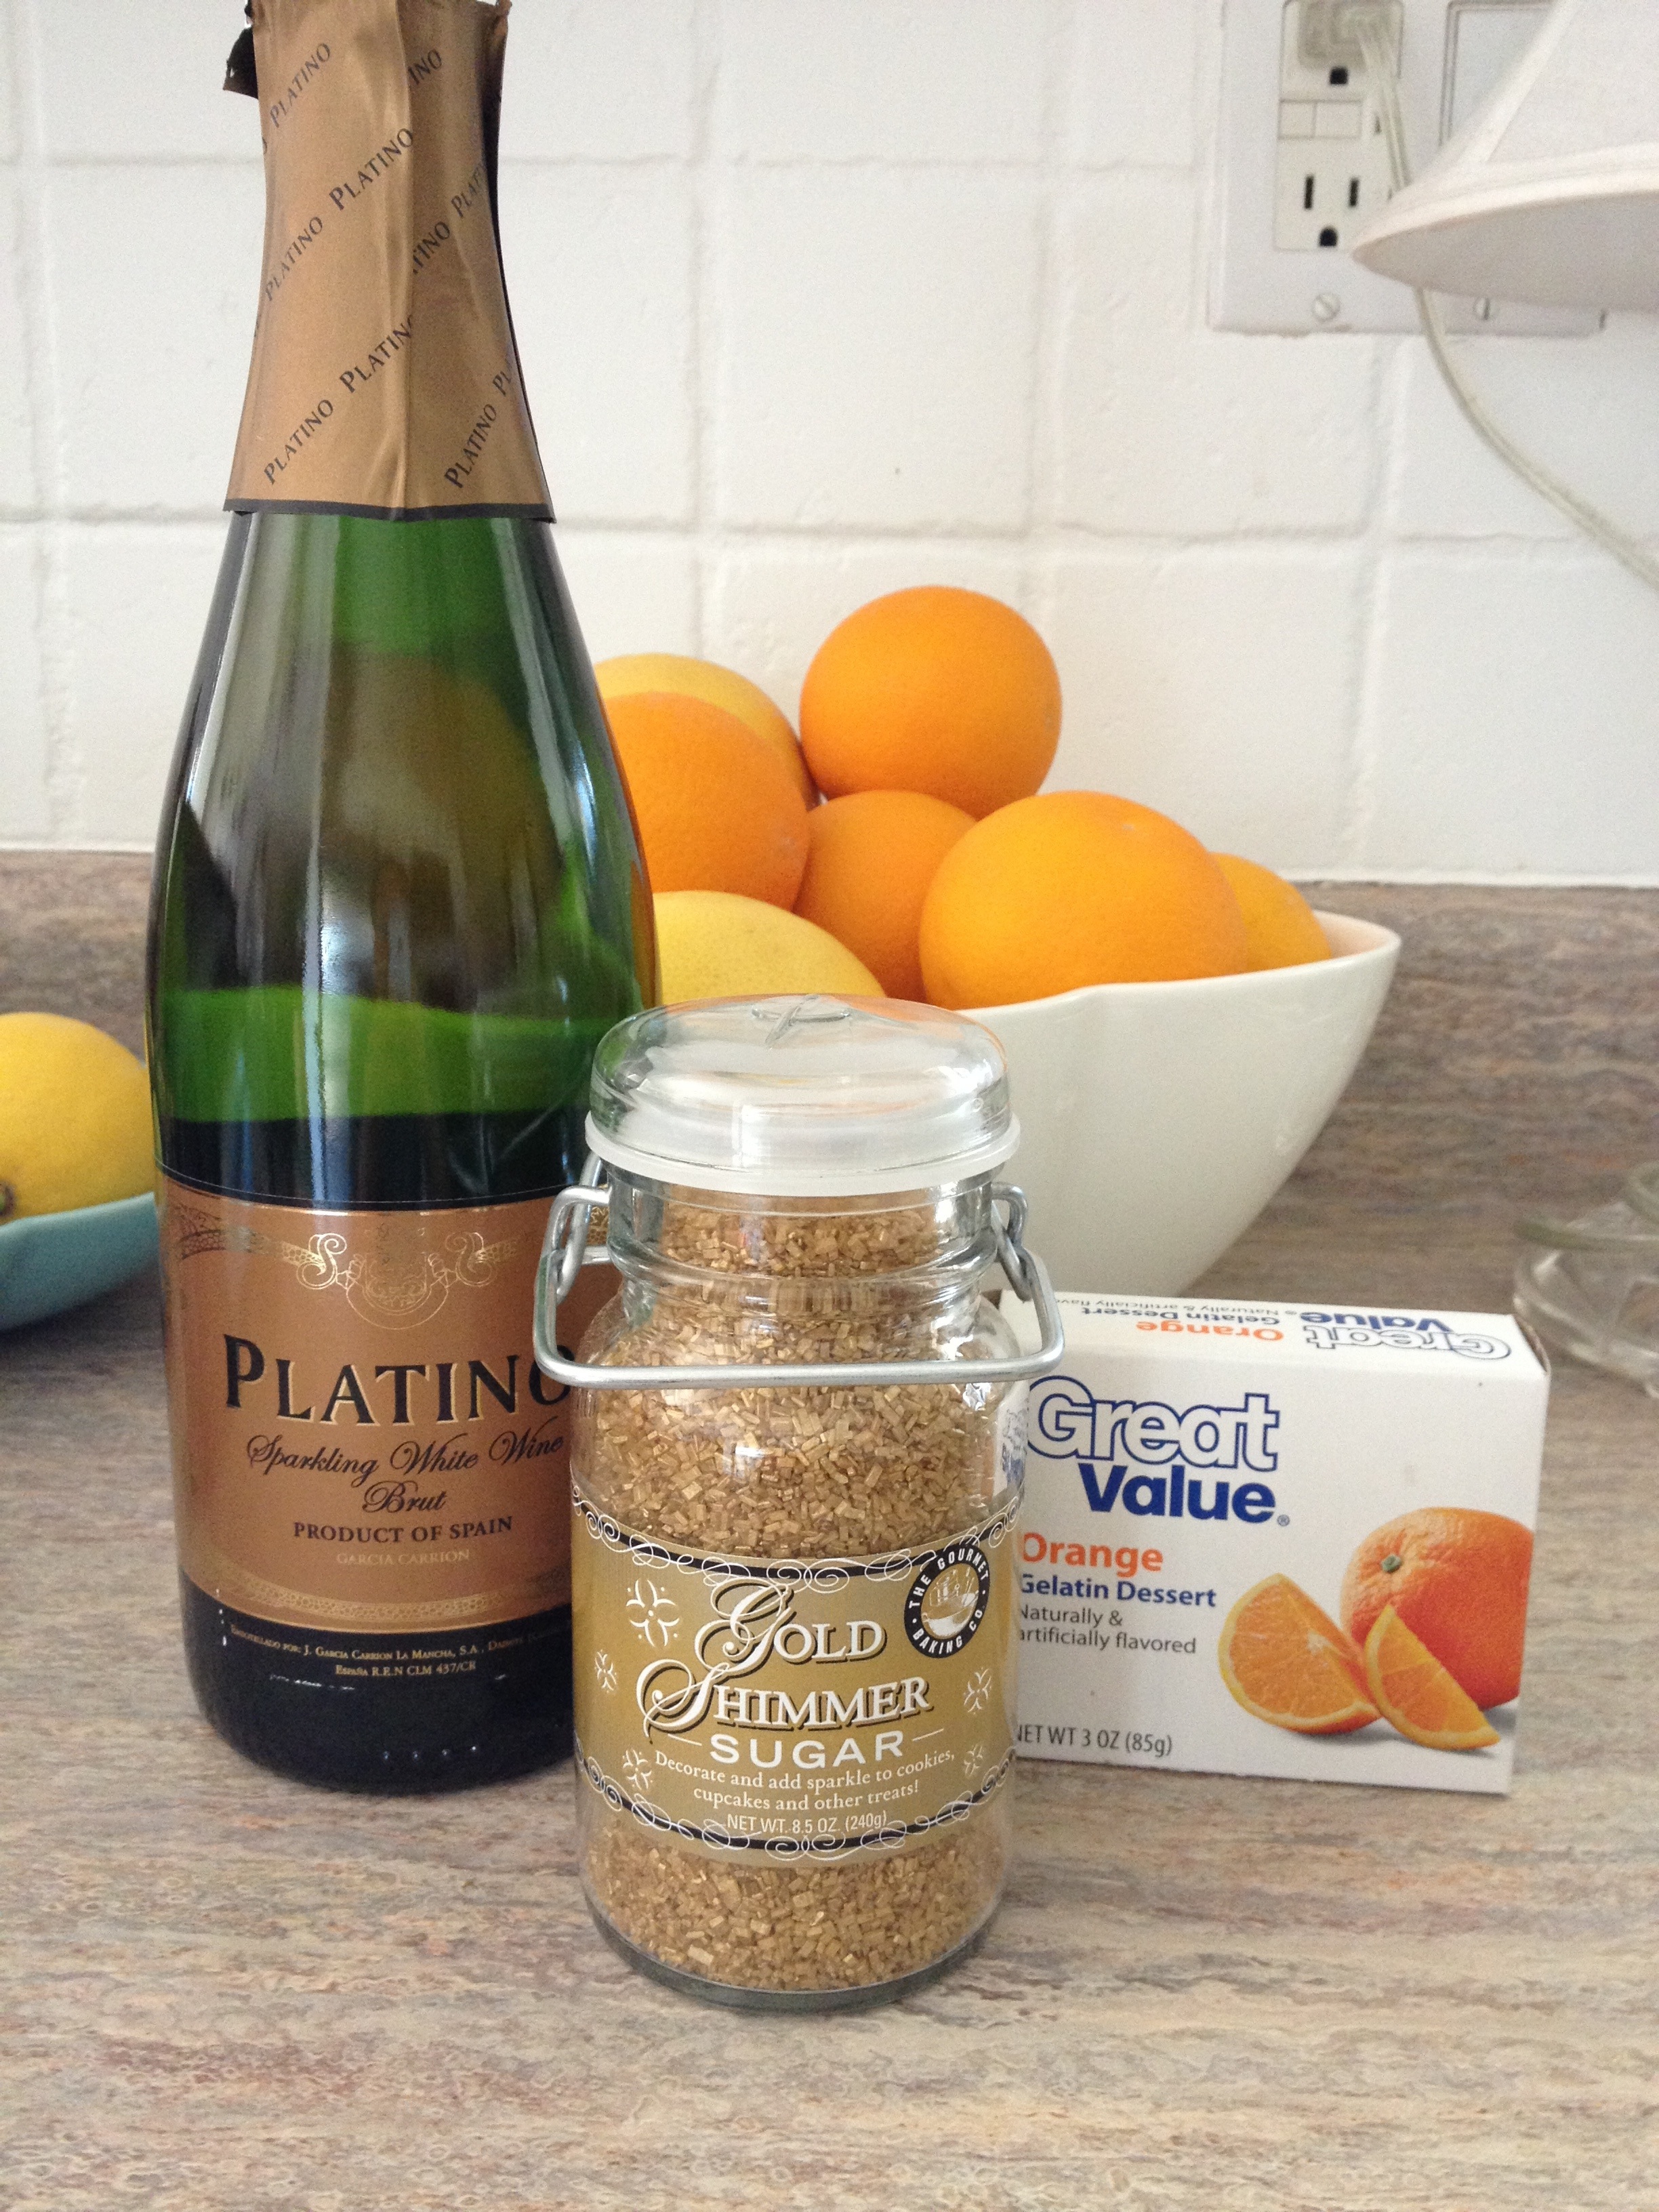