DIY Quote Wall Art

This type of urban artwork has really gained a lot of popularity lately and it couldn’t be easier to create your own version at home. The best part is that you can customize it to your heart’s desire with quotes, city names or streets, song lyrics, etc. Share what you create by posting an image on Instagram and tagging me @likehearted. Can’t wait to see what you all come up with!

Inspiration:

PIN THIS:

quote wall art

Advertisement

DIY: Personalized Stationary

I’m really old school when it comes to thank you notes. I don’t think anything beats getting a letter in the mail. In this week’s tutorial, I’ll teach you how to make personalized stationary. My favorite place to shop for the supplies is Papersource, they have a wide range of blank cards and envelopes in a so many different colors. I would say my personal brand is classic with a touch of edge, so I go for black envelopes and white flat note cards. What’s represents your personal brand?

stationary stationary 2

DIY: “I Love You to the Moon & Back” Nursery Artwork

There is some major baby fever right now! I have eight friends due by the end of the year, that means tons of baby showers in my future. I always like to get something off of the registry and also include something personalized. This week I’ll show you how to create simple artwork for the saying “I Love You to the Moon & Back.”

The best part is I have curated a kit so that you can easily replicate this craft at home, purchase it here. You can use the kit to create the artwork yourself, or give it to the mom-to-be as a gift.

Tips:

  • Use stickers if you don’t want to hand write the saying.
  • Use a coffee can or bowl if you don’t have a compass.

Don’t forget to share your photos of the crafts you have done on Instagram and tag @likehearted!!

20130719-122943.jpg

DIY Chalkboard Platter

Here is the last video from the first set of DIY entertaining tutorials – check out the many uses for a chalkboard platter. Warning: this was the very first one that we shot, so clearly I had some warming up to do! It got a little easier the second time around, I just reviewed the rough cuts of the wedding tutorials and can’t wait for you all to see them.

Materials:

Tools:

  • Paint Brush

Total cost: Under $20

Time: 20 minutes (minus drying time) 

Steps:

  1. Make sure the plate is clean and dry.
  2. Paint the inner edge of the plate. Be sure to follow the directions of the chalkboard paint you are using, The Martha Stewart chalkboard paint requires you to wait at least 1 hour before doing the second coat. 
  3. Write with the chalk to describe what you are displaying.

Various uses for the chalkboard platter:

  • Cheese Serving Plate
  • Beer (or your alcohol of choice) Tasting Platter
  • Perfume Display

Tip: 

  • Turn it into a housewarming gift by including cheese knives, a monogrammed dish towel and a chalkboard pen. I also like the idea of writing the last name of the new home owner on the bottom of the platter, for example “The Brown House Est. 2013.”

DIY Food Allergy Menu Cards

I love hosting dinner parties but with food allergies on the rise it can often create a challenge for the host and the guest (I know from experience). If you are unsure, it’s not uncommon to ask your guests ahead of time if their diets have changed. Your guests will appreciate you going the extra mile to make them feel welcomed in your home. Check out my tutorial video on ways you can easily label the food for guests who have allergies. For more entertaining tips, subscribe to the Likeheared channel: http://www.youtube.com/iamlikehearted

Materials:

Total cost: Under $25 – $18 of this is for the Animal Stamps since I didn’t already own them

Time: 15 minutes

Steps:

  1. Make a key letting your guests know what the stamps stand for. For example, I used the cow stamp to mean “contains dairy.”
  2. For the the menu cards I used the “business cards” from Papersource, they are pre-cut and just the size I needed.
  3. Write out the dish name on a menu card with a sharpie.
  4. Use stamps with ink pad to tell what allergies are in the food.

Allergy Free Entertaining Tips:

  • Avoid cross contamination by using separate serving utensils with each dish.
  • Keep all food labels in case someone wants to double check the ingredients.
  • Ask guests to bring something other than food: bottle of wine, flowers or ice, that way you can control what food is served.

DIY Bachelorette Invites

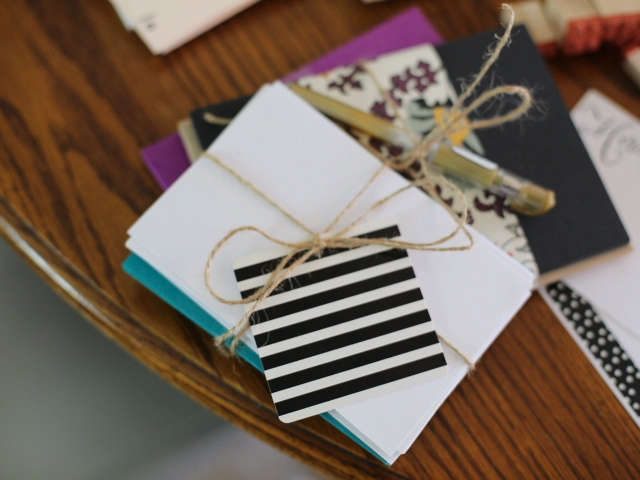
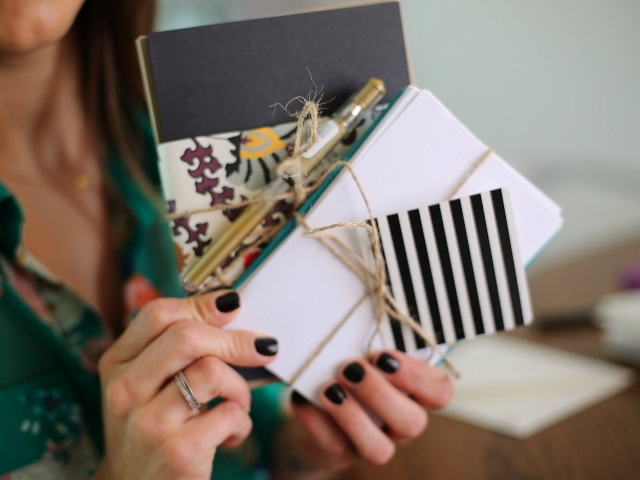
My best friend since 3rd grade is getting married in April and I have the absolute pleasure of being her maid of honor. We are going to Austin, TX for the  bachelorette party and I couldn’t be more excited.  First order of business in planning the bachelorette weekend is the invitations.  I wanted to do something personalize and custom to the Texas theme. I also included “next steps”  on the back of the invite which I printed on white stock paper, cut down to size and secured with the Washi tape.  I’m no graphic artist but I really love the way they turned out!

20121208-085633.jpgMaterials:

1. Paper Bag Foil Printable Invitations – papersource (best part is that Papersource provides a downloadable word document template)

2. Washi Tape – I found this one at Target

3. A7 Paper Bag Envelopes – papersource

4. Downloaded new fonts “Creampuff” and “DS Dots”  from searchfreefonts.com