I think this is by far the easiest DIY that anyone could do. Really all you need is a little paint and a cork board! Watch the tutorial below for all the details.
Materials:
Spray Paint – The particleboard on these Ikea nightstands soaked up so much paint. I needed 3 bottles for each nightstand. I used Rust-Oleum Painters’ Touch Ultra Cover spray paint. It is primer and paint in one!
Cork board – I got a pre-painted one from Michaels but if you can’t find one, check out the my other post on how to create your own.
This type of urban artwork has really gained a lot of popularity lately and it couldn’t be easier to create your own version at home. The best part is that you can customize it to your heart’s desire with quotes, city names or streets, song lyrics, etc. Share what you create by posting an image on Instagram and tagging me @likehearted. Can’t wait to see what you all come up with!
What do you do with all those cards you receive throughout the year? Mine just get stored in a box. Do you store them or trash them? I decided to repurpose those cards and create some really special artwork. Learn all the details on how to make your own with this video. P.S. Sorry the music is a little loud!
Here is the follow up from the Halloween wreath post that I did the other week. In this new video I’m sharing ways on how you can easily transition the wreath to be used for fall and winter holidays.
I love how sweatshirts got an update this season, they have comfort with style. I found this Old Navy sweatshirt and wanted to add a touch of stud embellishment. See the video tutorial below on how you can accomplish the same look. Can’t wait for it to cool down just a few more degrees here in Arizona so I can rock this sweatshirt.
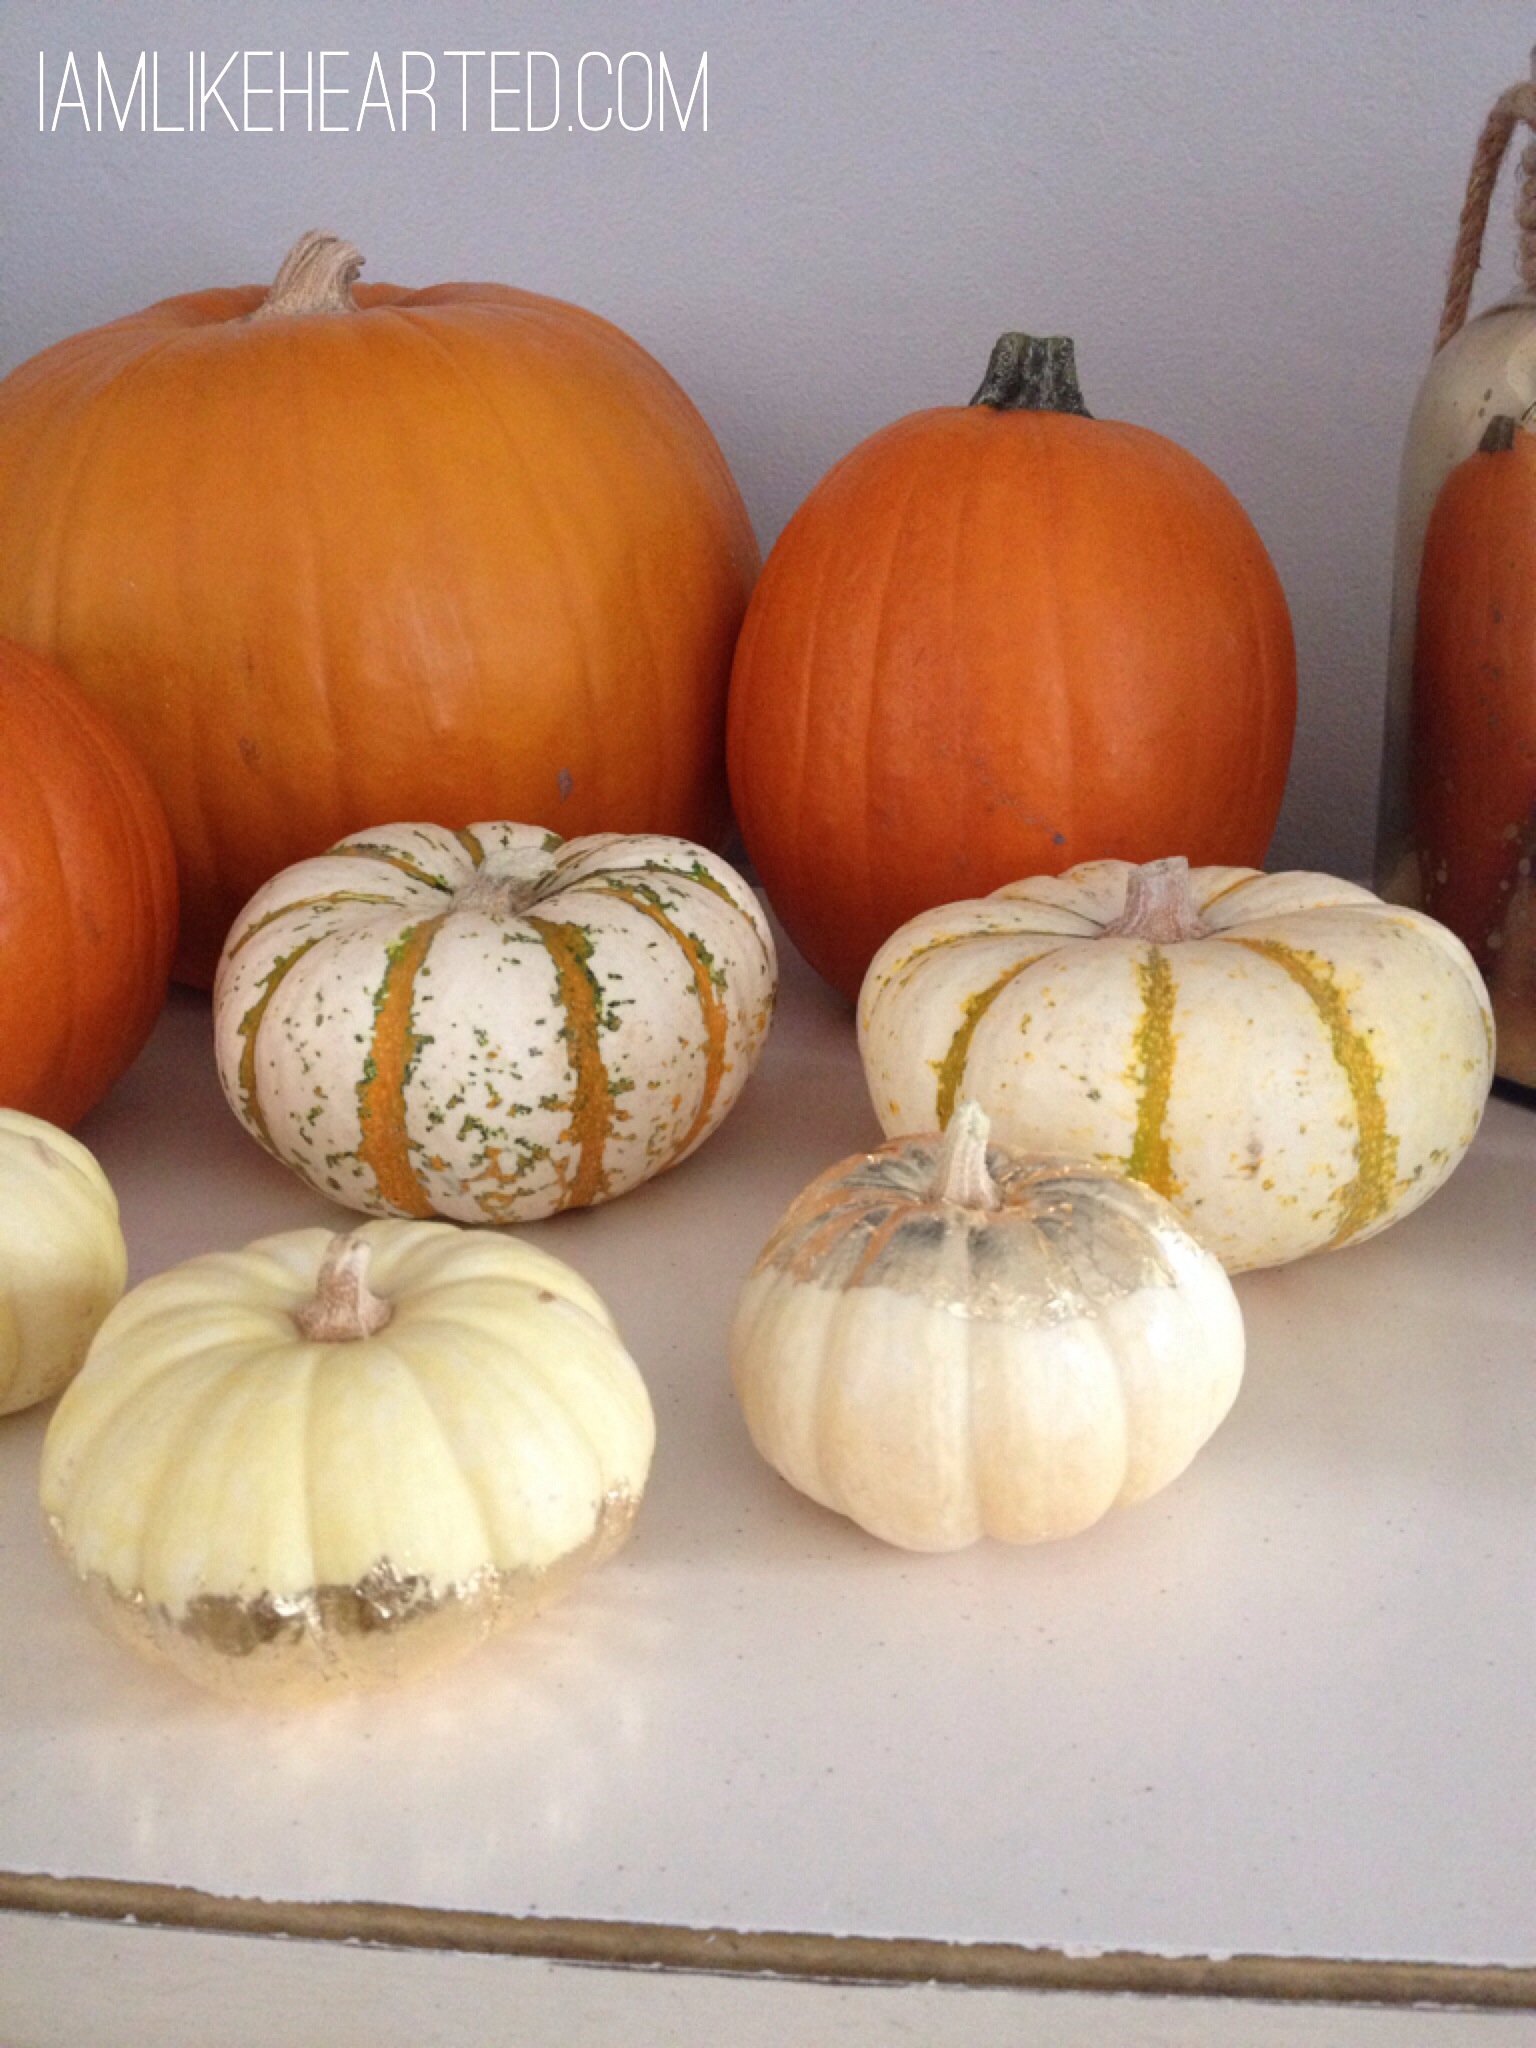
I saw Martha Stewart Living post on their Instagram about this new gilding product and knew instantly I wanted to try it out. In the video, I added the gilding to a white bowl which I thought was a cute little piece to place jewelry in. I actually have the bowl by my kitchen sink so I can put my rings in it while I wash dishes. It’s a simple process and is perfect for adding the metallic look to home accessories or holiday decor. I couldn’t resist adding a little glam to my white pumkpins.
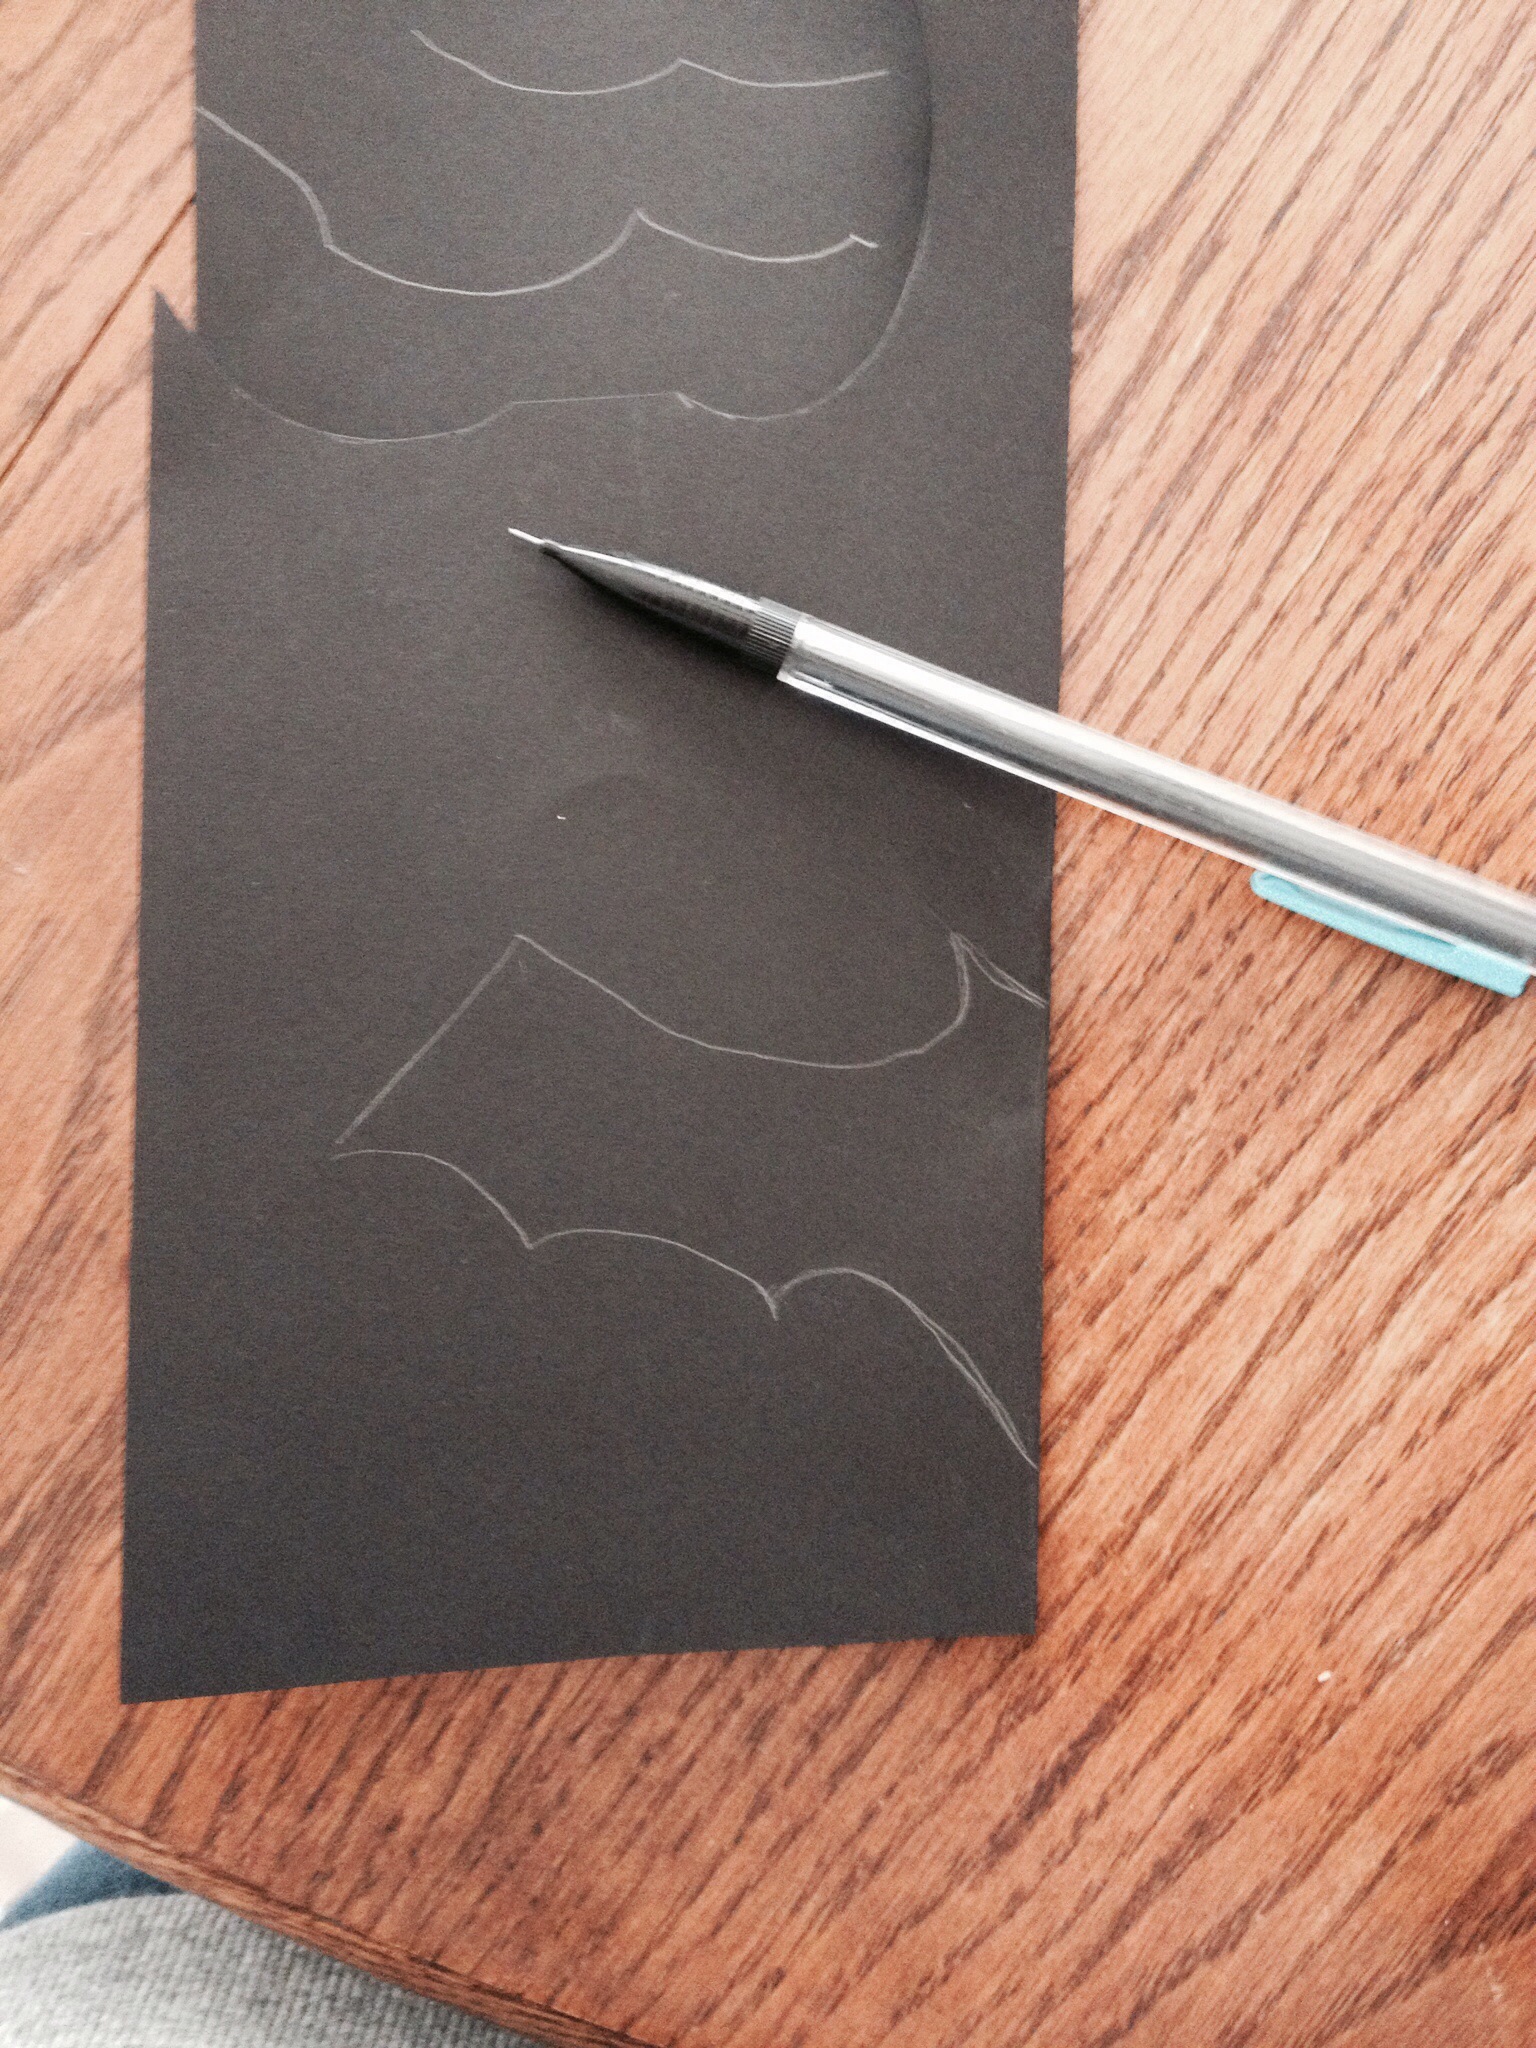
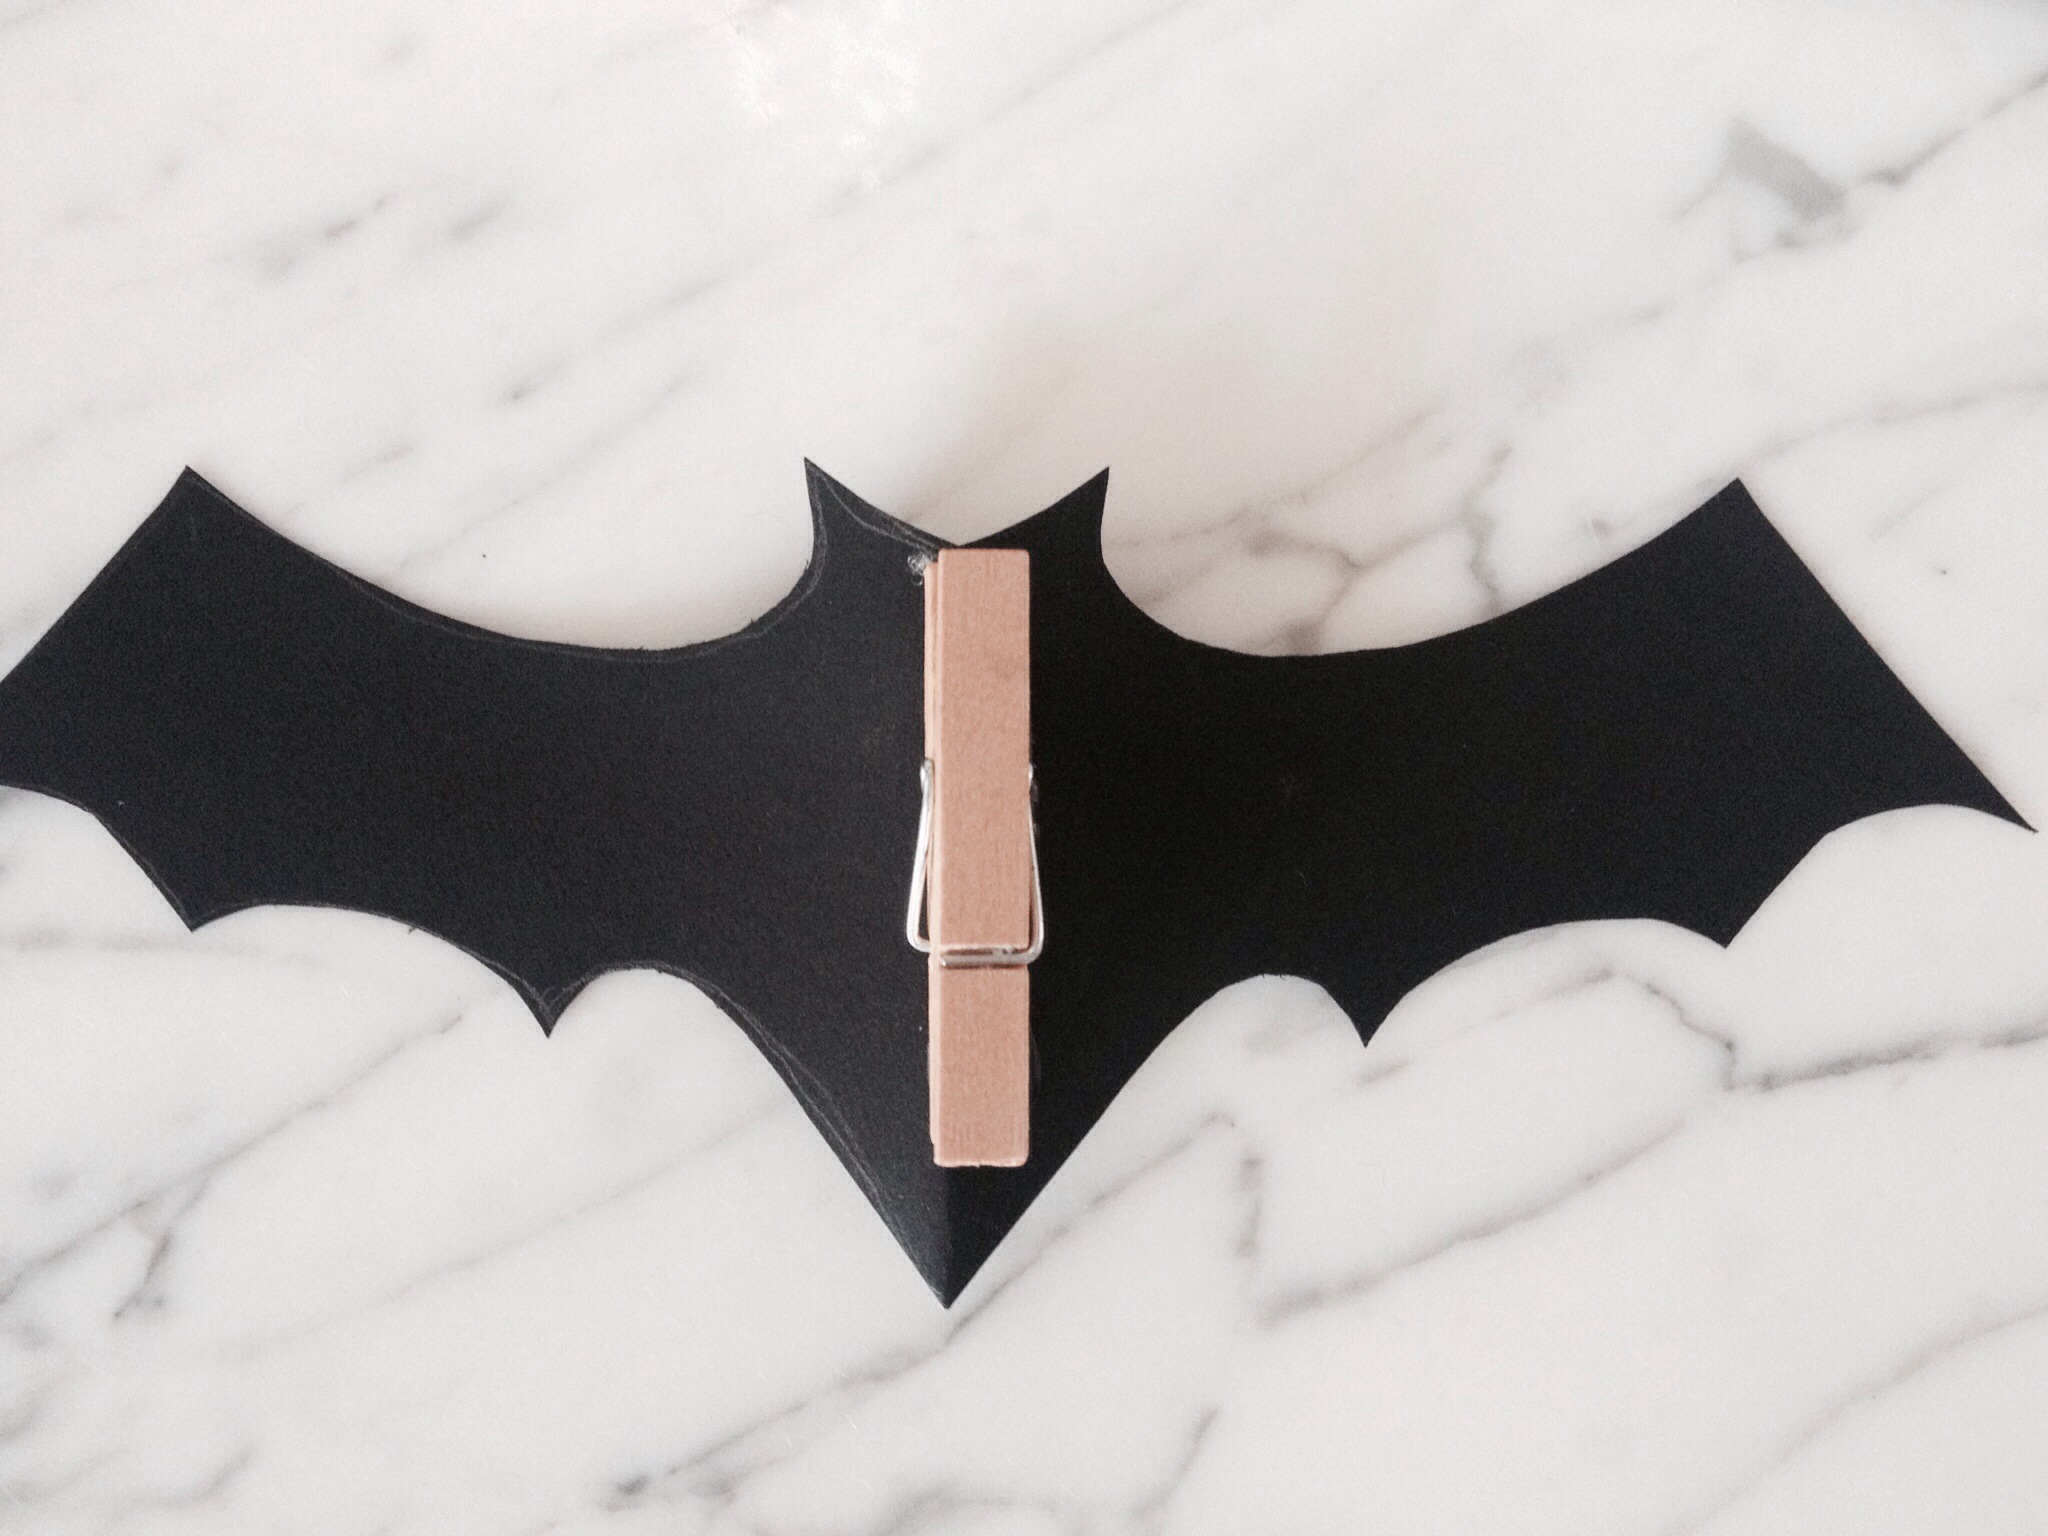
I’m all about functional and multi-use items when it comes to decorating. Really, who has the space to store decorations for every holiday!?! The idea is to not use glue when adding the decorative pieces so you can easily take them off to change it out for the next holiday. I bought the purple glitter spiders and they had clips on the back, which I thought was genius. So, I added mini clothes pins to the back of the bats I made, making it super easy to add and take off the decorative pieces. This post is all about showing you how to style the wreath for Halloween, but be on the lookout for future posts on how I easily transition the wreath to be used for Thanksgiving and winter holidays.
Supplies I picked up at Michaels (they are have 50% off most of their Halloween decor right now):
Grape Wreath – $9 originally but I used the 40% coupon they have every week, brings it down to $5.40
Glitter pumpkin pick – $.54
(4) Orange ball and feather picks – $4 (on sale for $1 each)
There is some major baby fever right now! I have eight friends due by the end of the year, that means tons of baby showers in my future. I always like to get something off of the registry and also include something personalized. This week I’ll show you how to create simple artwork for the saying “I Love You to the Moon & Back.”
The best part is I have curated a kit so that you can easily replicate this craft at home, purchase it here. You can use the kit to create the artwork yourself, or give it to the mom-to-be as a gift.
Tips:
Use stickers if you don’t want to hand write the saying.
Use a coffee can or bowl if you don’t have a compass.
Don’t forget to share your photos of the crafts you have done on Instagram and tag @likehearted!!
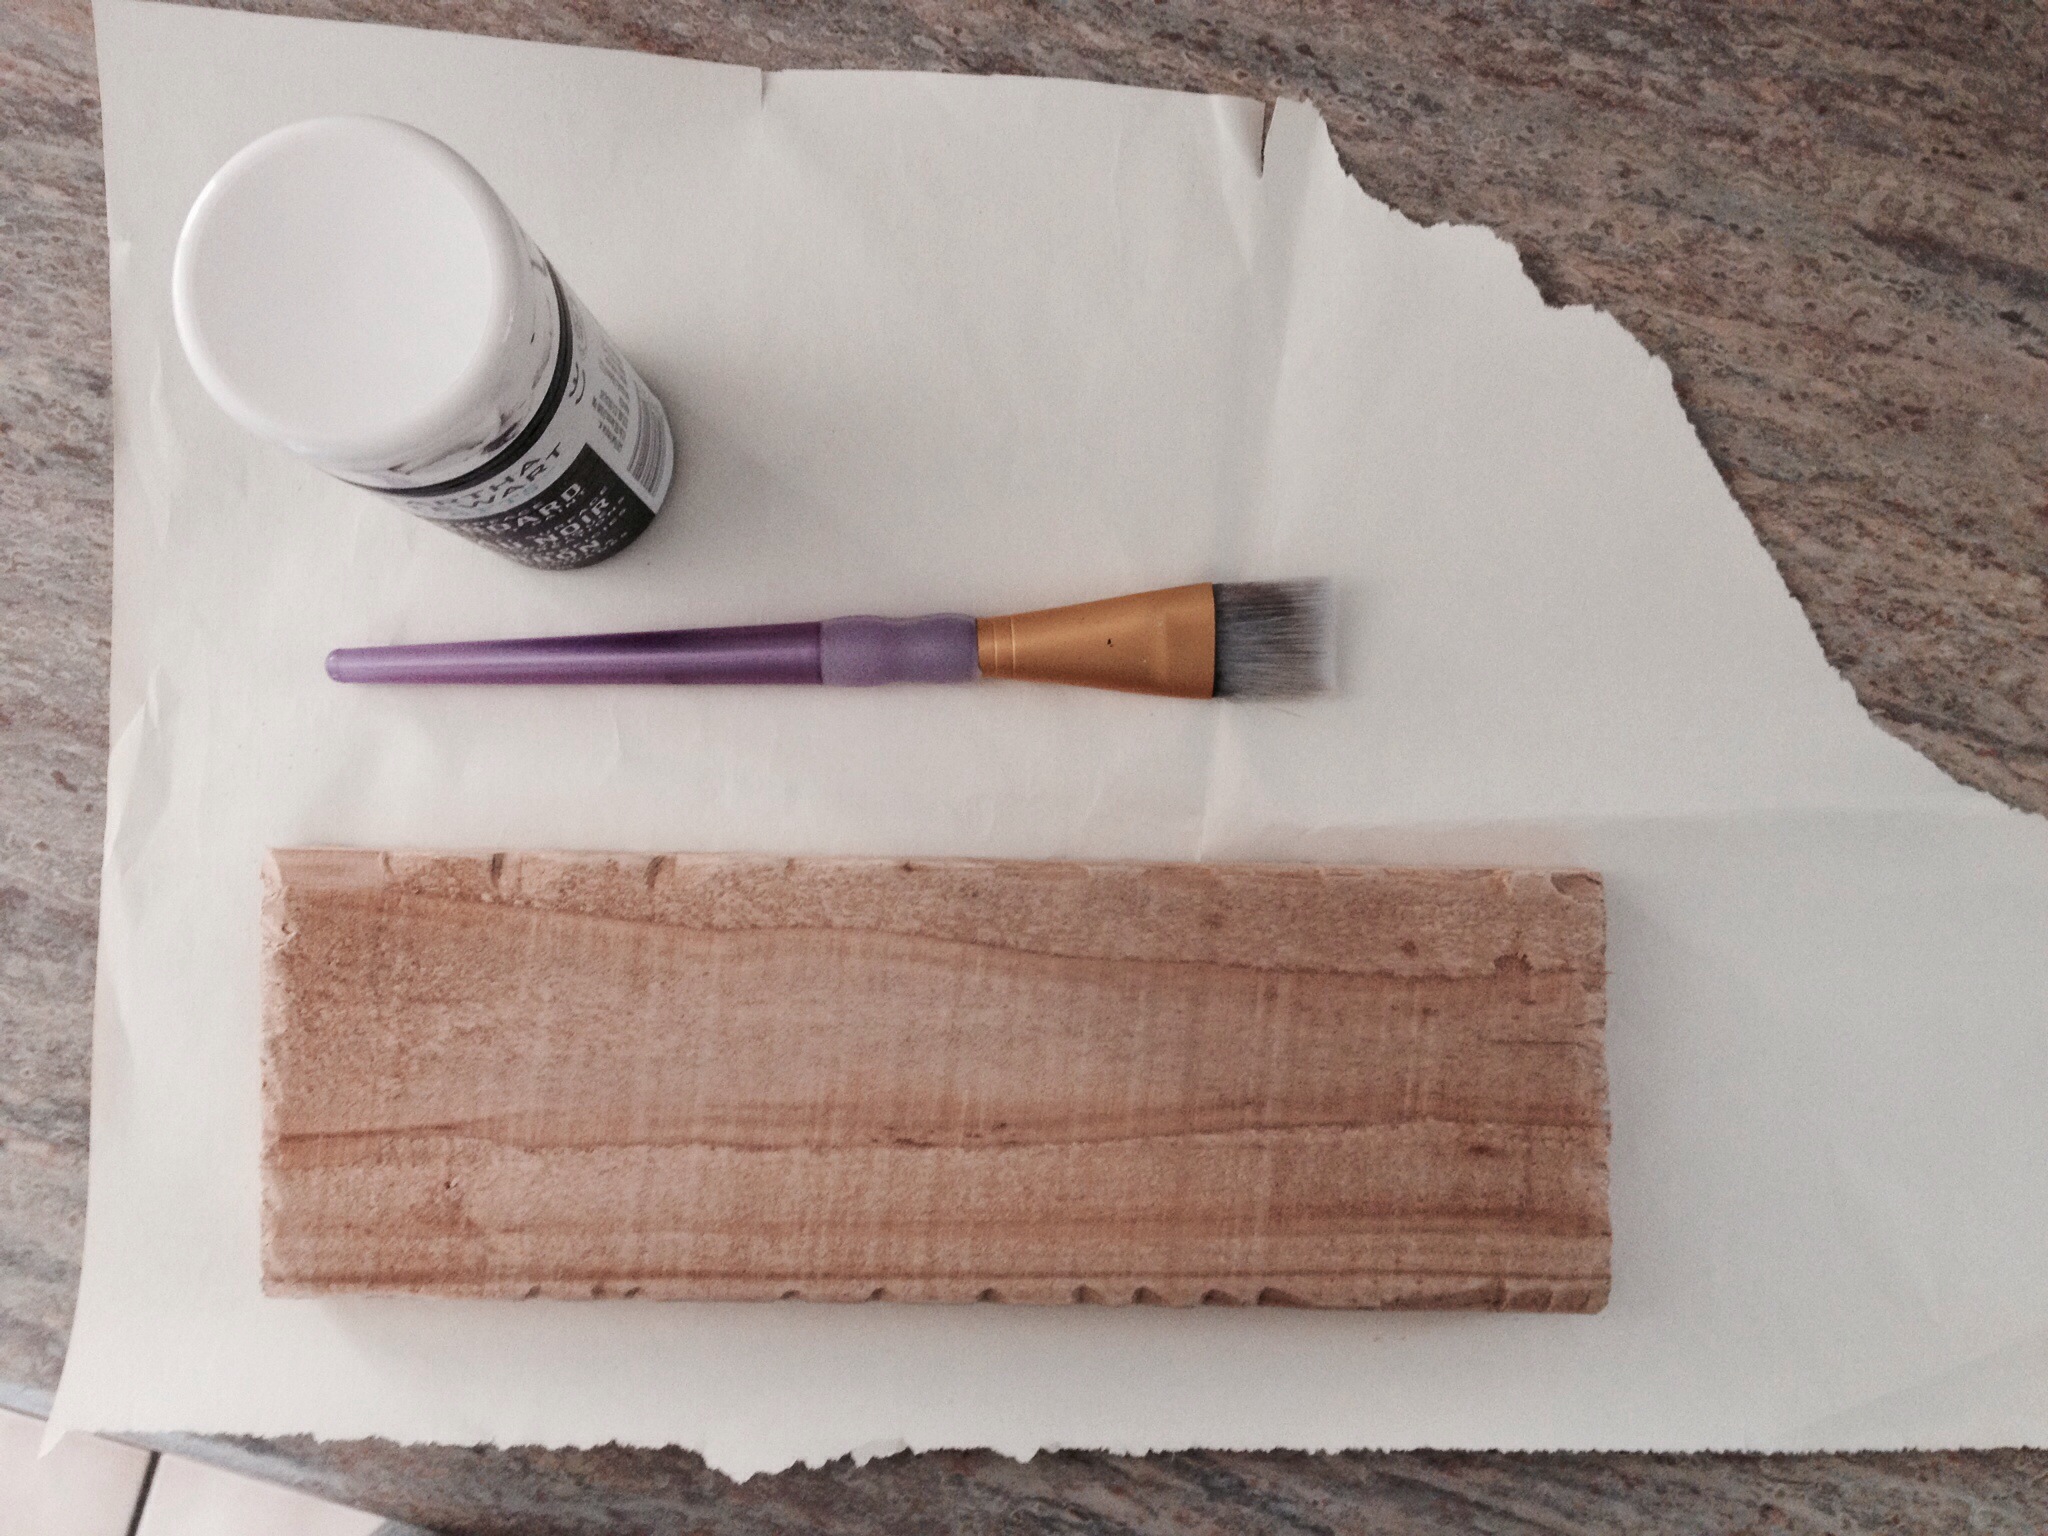
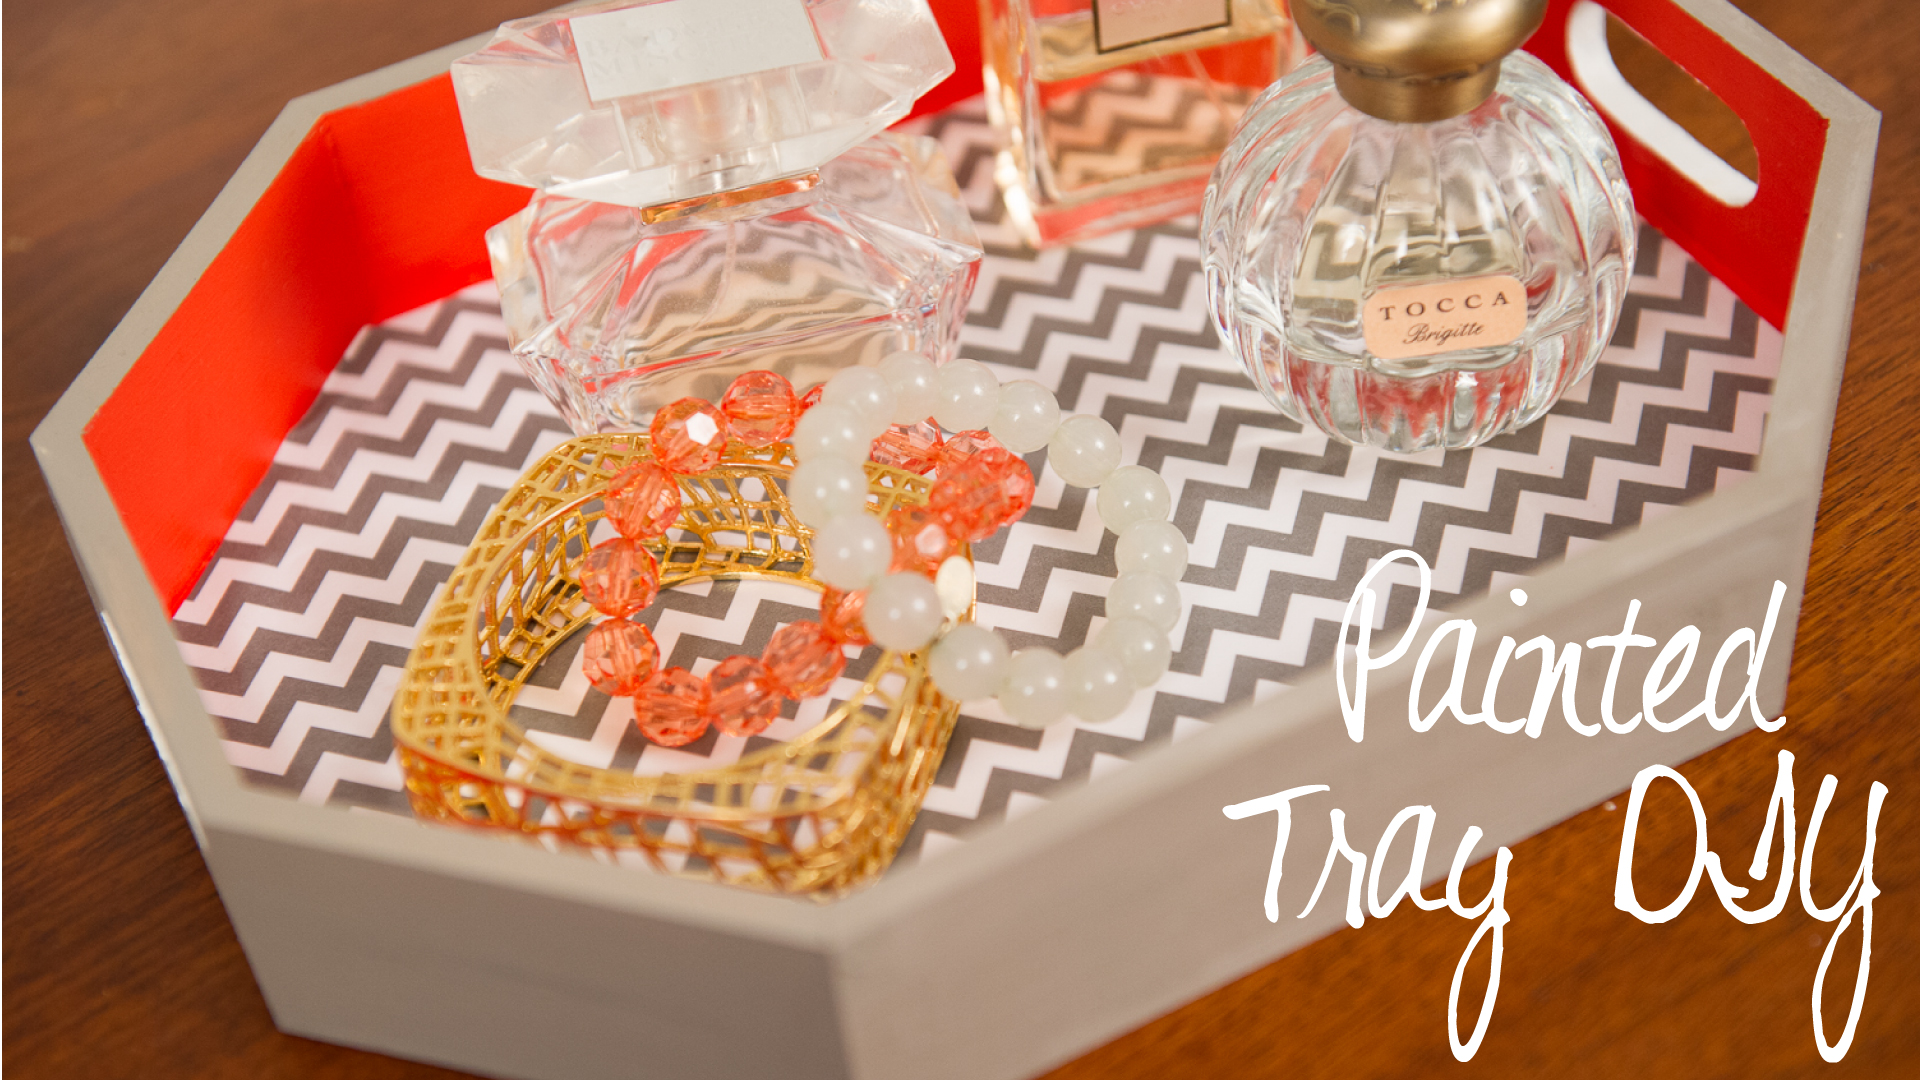
I’m constantly looking for home decor accessories and believe this is the biggest challenge when it comes to styling any space. I saw this tray in its raw wood form and decided to transform it to fit the decor at my house. The tray serves a great piece to display jewelry and/or perfume. I’ve put together a kit of all the supplies I used so you can make this exact one at home, purchase it here. If you get the kit send me a pic of the finished product on instagram and tag @likehearted!
I hope everyone had a wonderful Memorial Day! I definitely took advantage of the long weekend, soaked up some sun and did a whole lot of nothing. It was some much needed downtime and a good recharge but now it’s back to work (thank goodness it is a short week, right!?!).
As a continuation of my Summer Wedding DIY series, I’ll show you how to create a no sew bow. These are great styling accessories for your bridal party, ring bearer, flower girl or other wedding decor. You can create a no sew bow in just 6 easy steps. Head over to my Pinterest board for more ideas on how to incorporate bows into your event.
Thank you to all who helped me to reach the 1,000 subscriber goal on the YouTube channel! I’m so grateful. Please share a comment and let me know what tutorials you would like to see in the future.
How to create a no sew bow:
Cut a piece of ribbon 12.5 inches long (this will make a bow about 6 inches long).
Cut another piece of ribbon 3 inches long.
Take your 12.5 inch long piece of fabric, fold the ends together and secure with a drop of hot glue.
Take your 3 inch long piece of fabric, fold in the sides and secure with a drop of hot glue.
Pinch together the middle of the larger piece of ribbon to form the bow.
Glue the smaller piece of fabric around the middle.