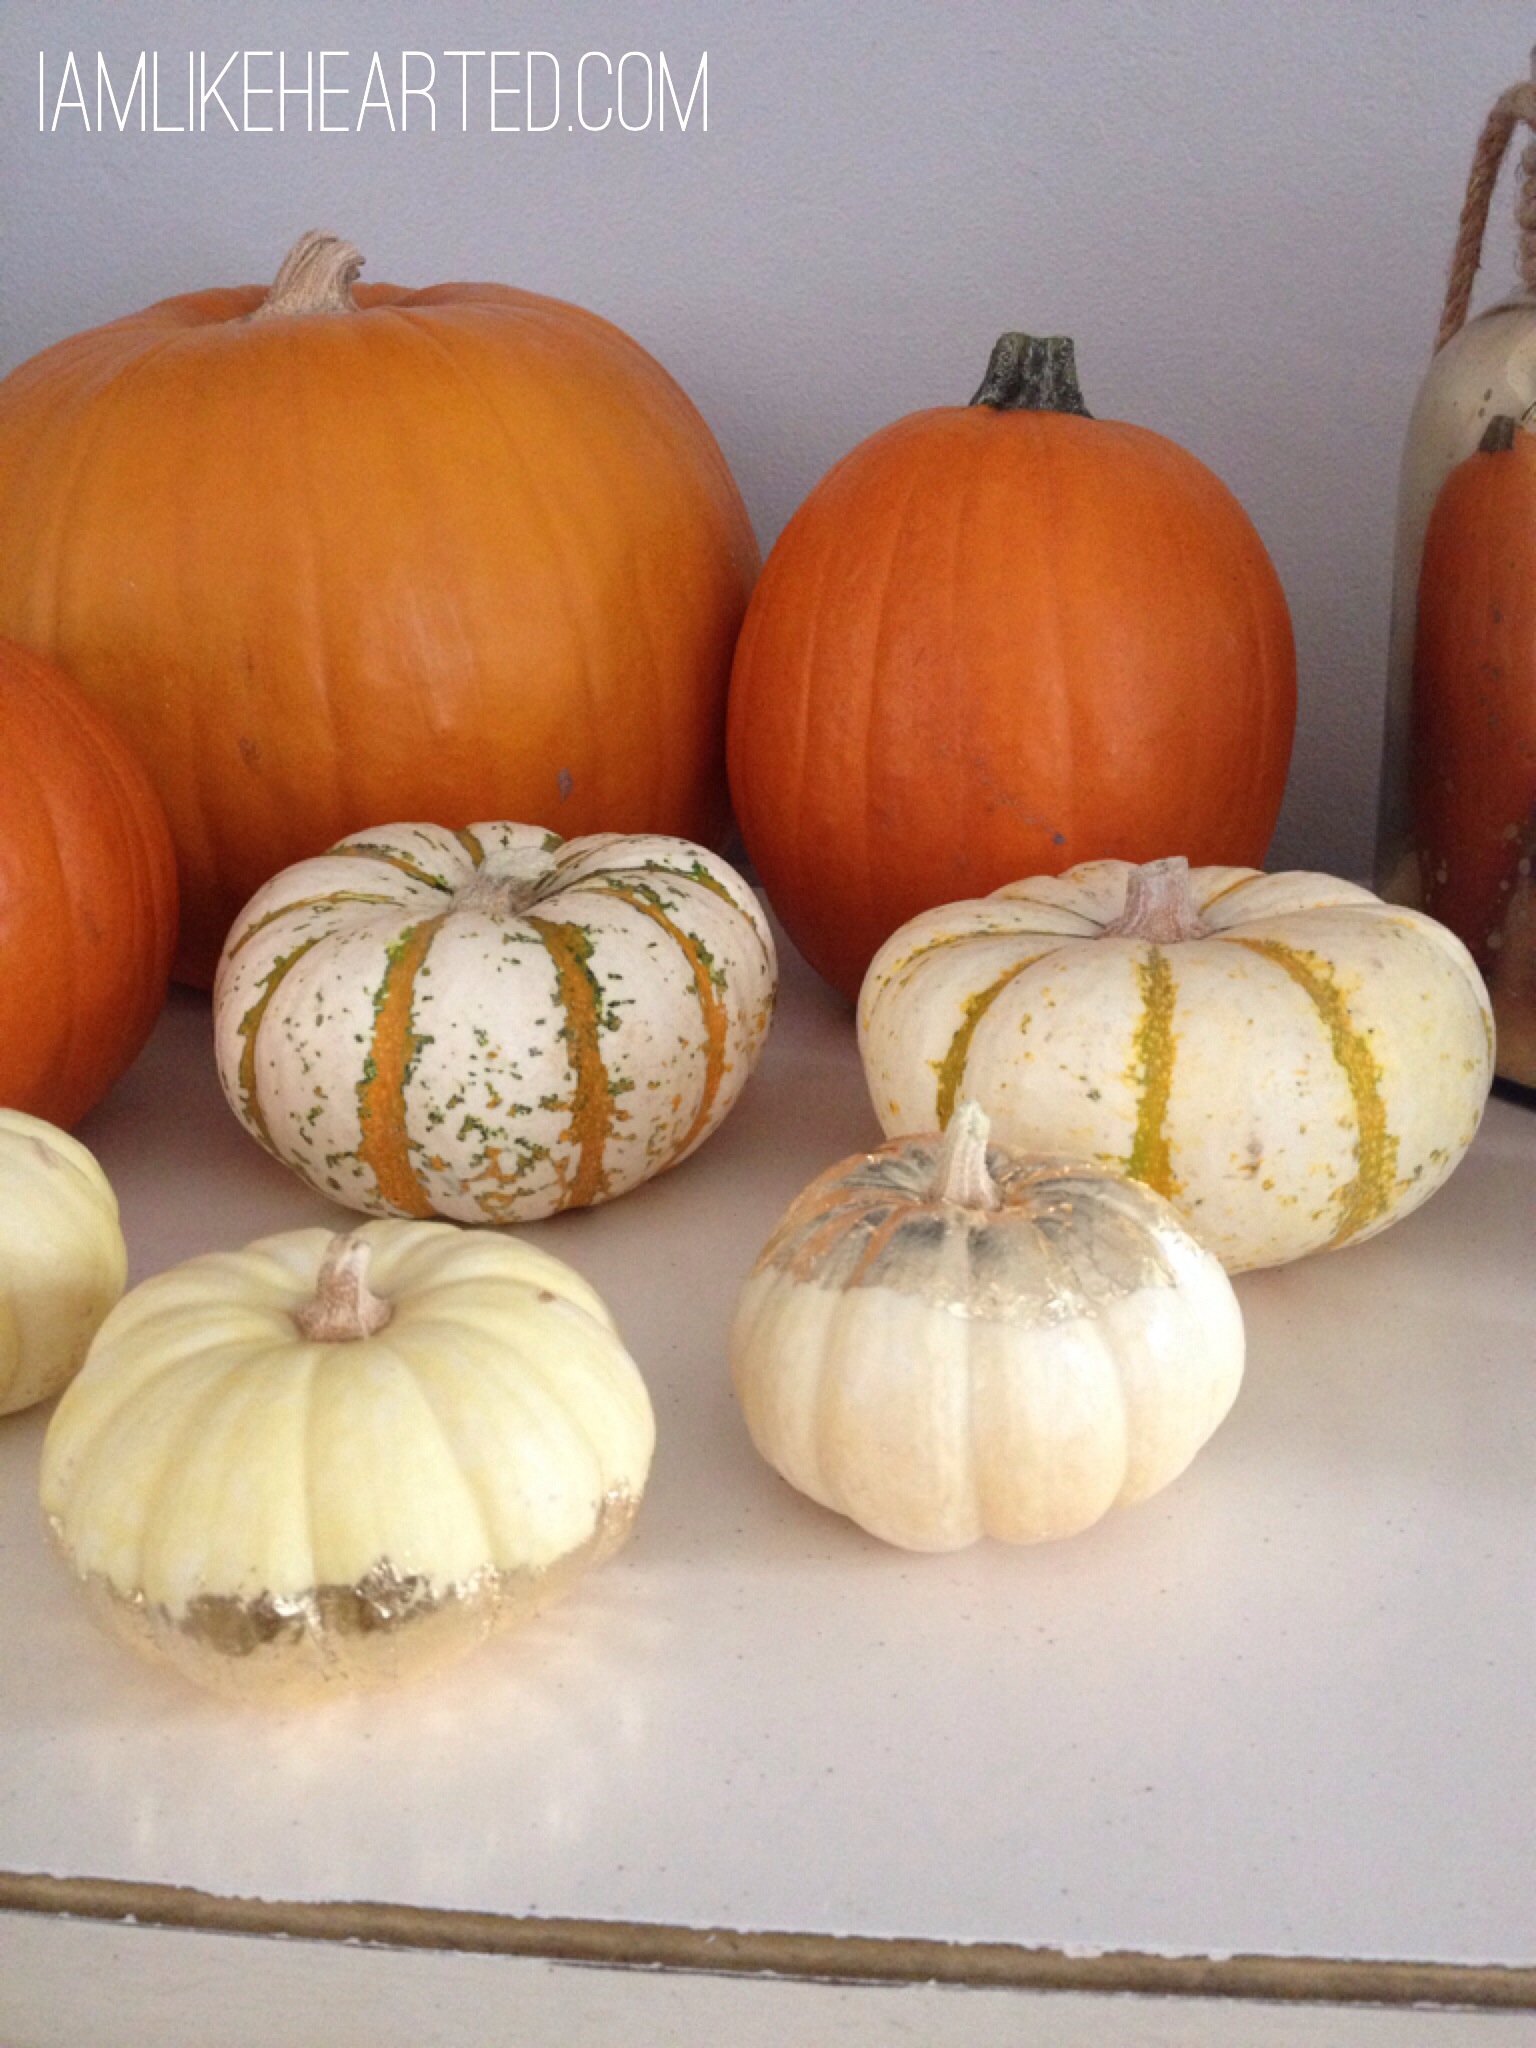
I saw Martha Stewart Living post on their Instagram about this new gilding product and knew instantly I wanted to try it out. In the video, I added the gilding to a white bowl which I thought was a cute little piece to place jewelry in. I actually have the bowl by my kitchen sink so I can put my rings in it while I wash dishes. It’s a simple process and is perfect for adding the metallic look to home accessories or holiday decor. I couldn’t resist adding a little glam to my white pumkpins.
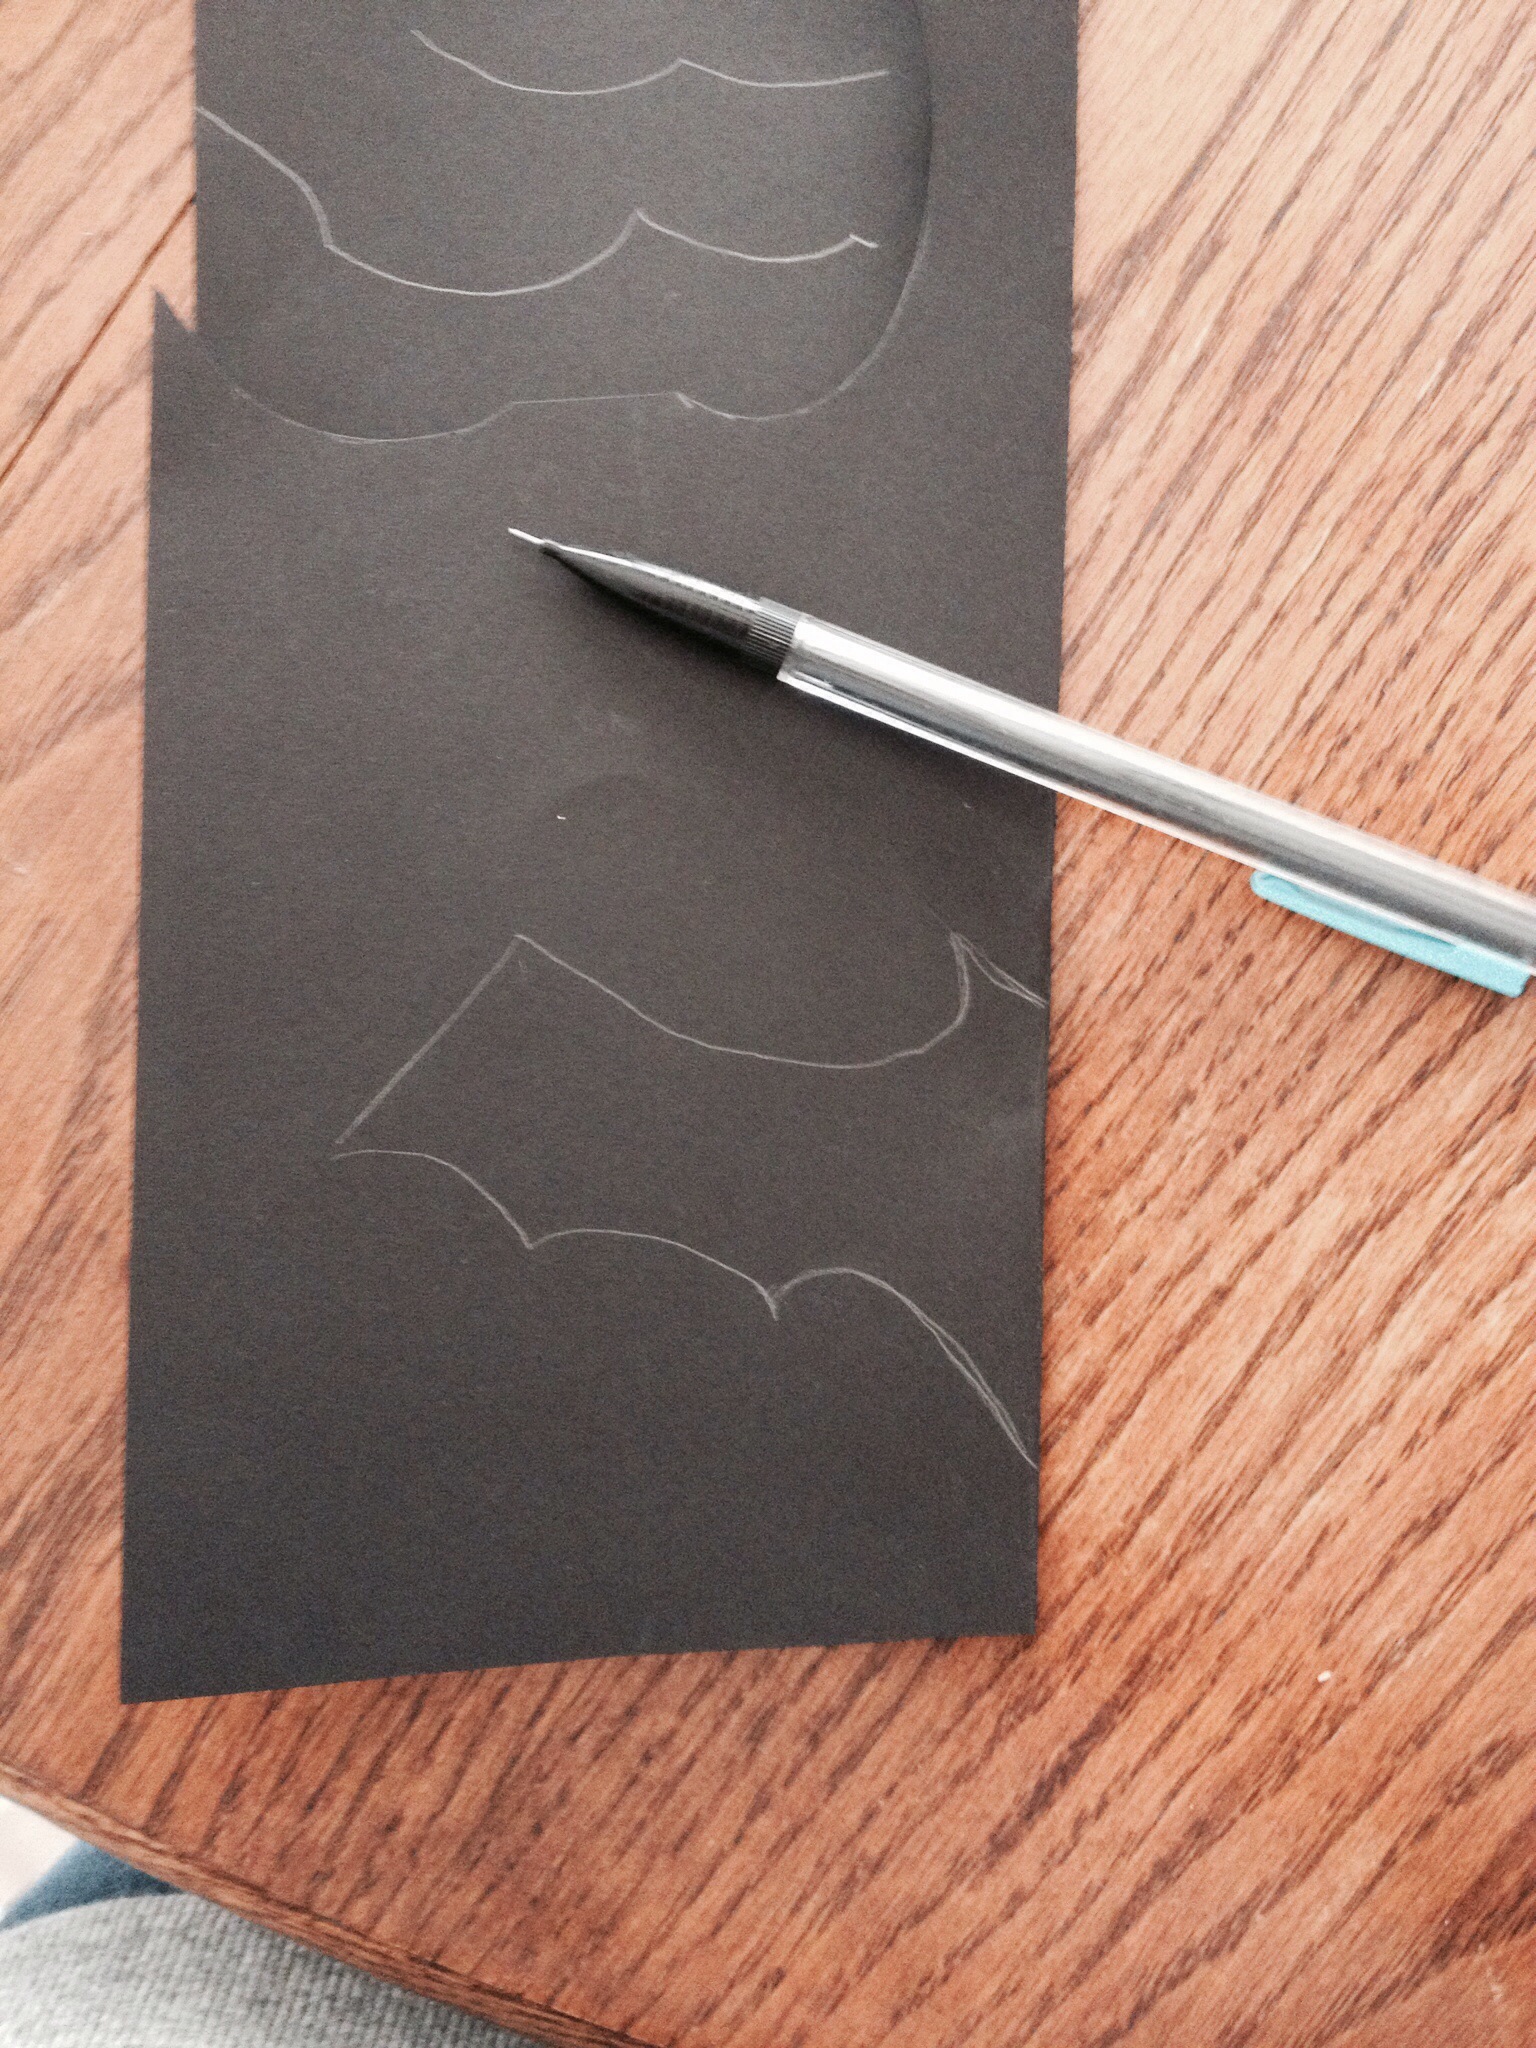
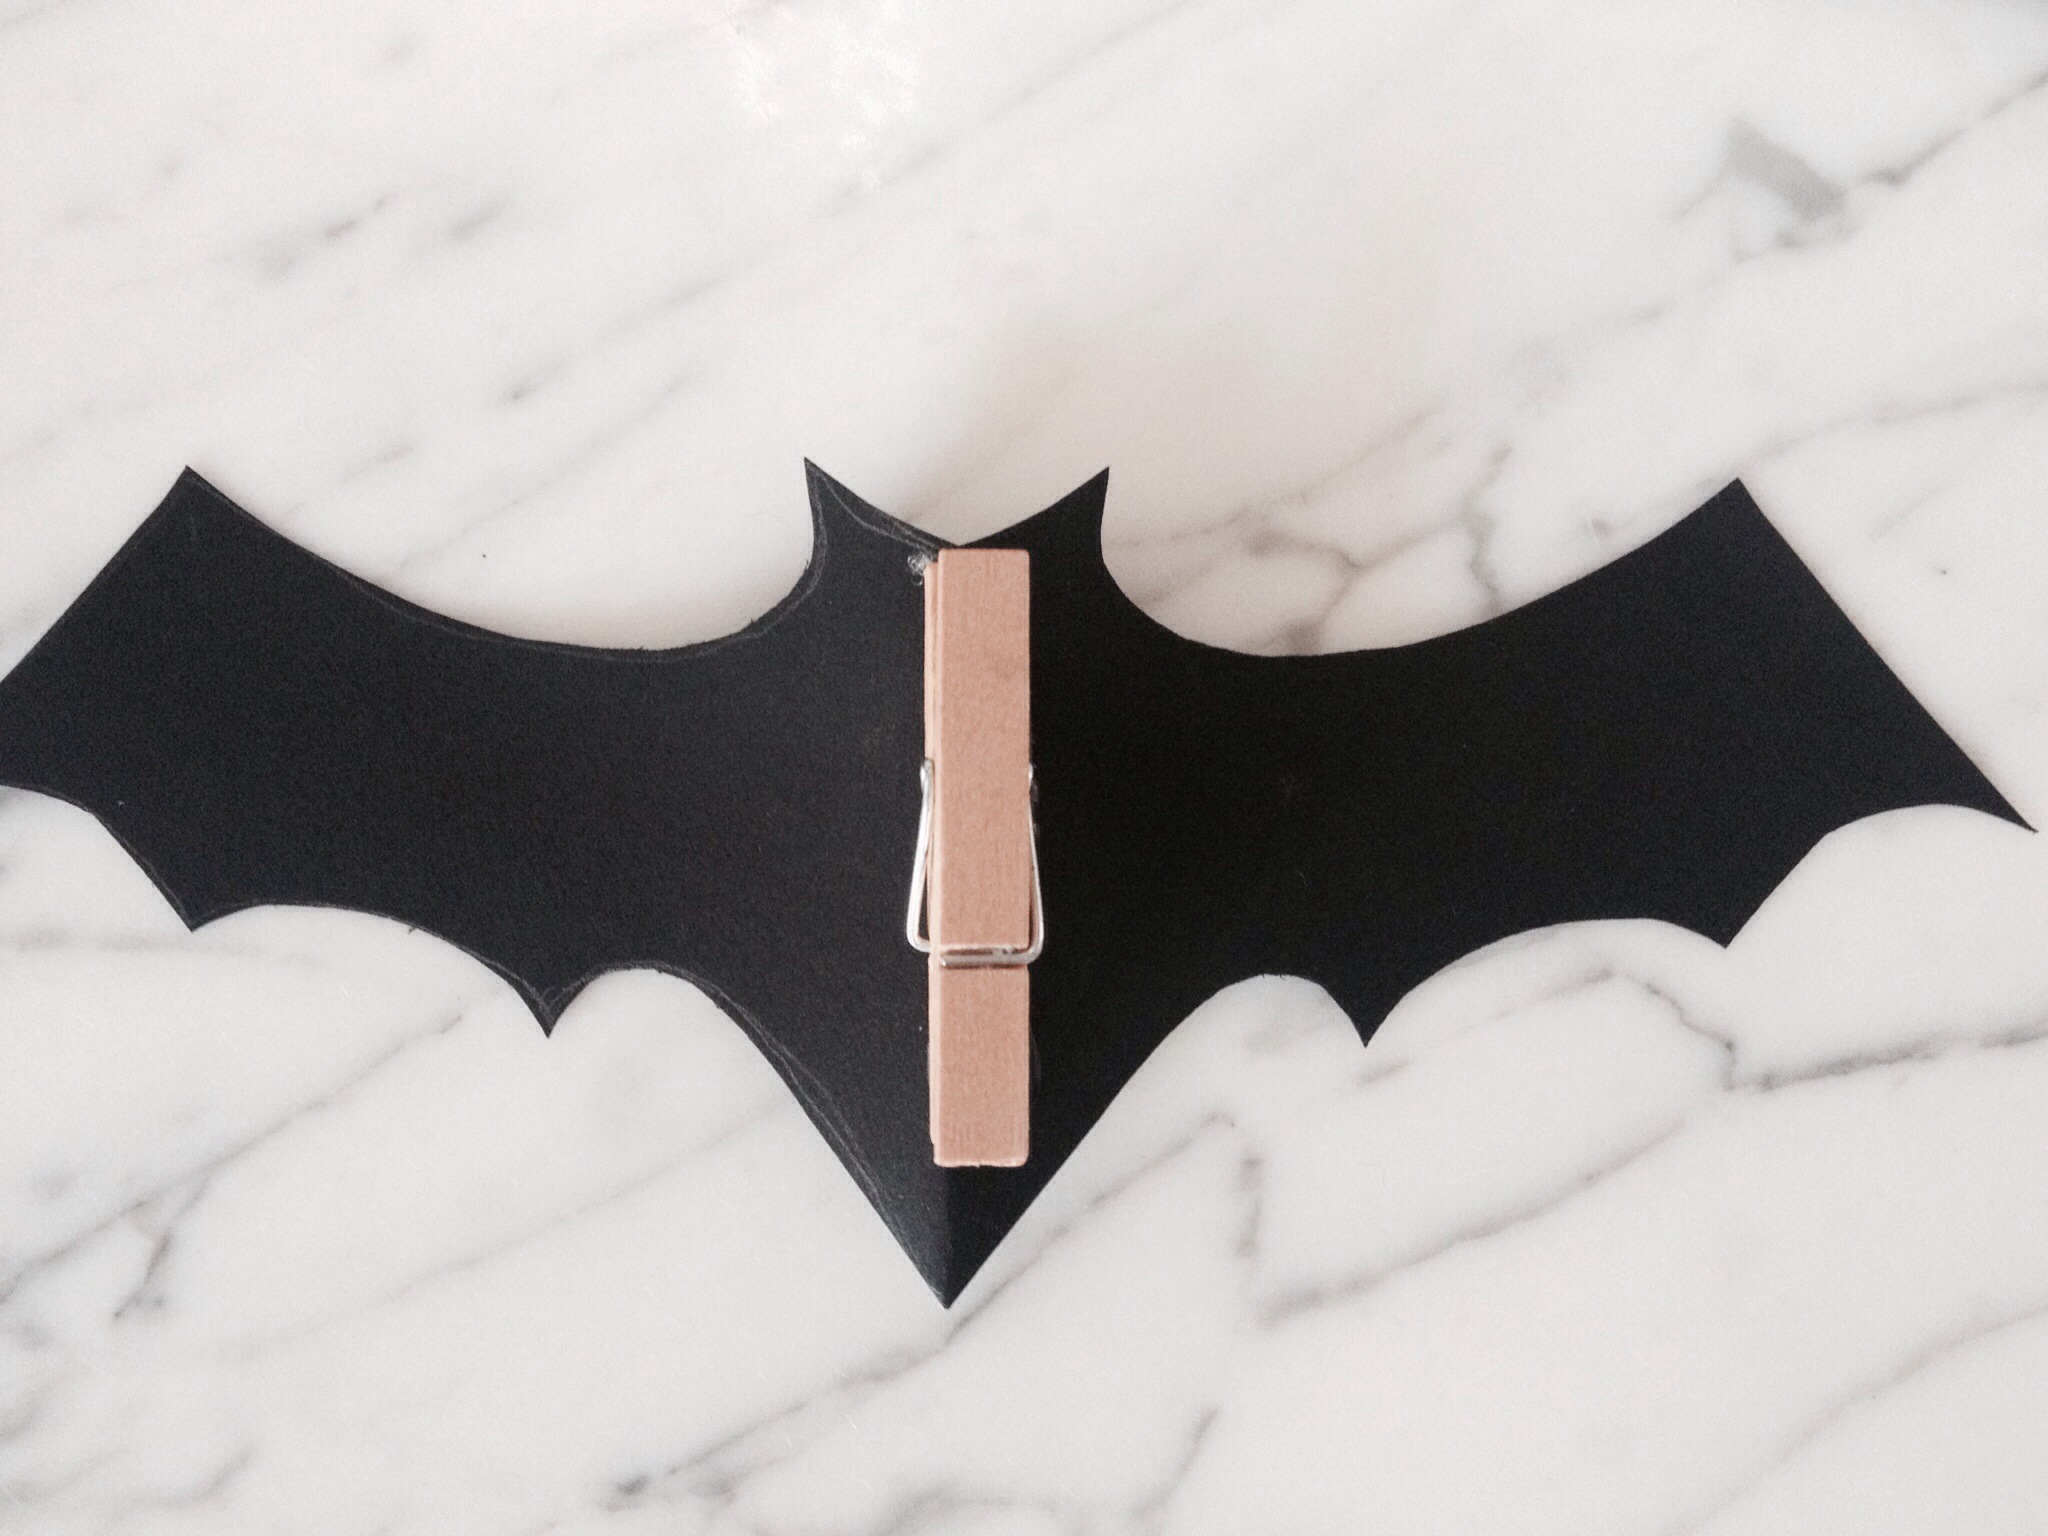
I’m all about functional and multi-use items when it comes to decorating. Really, who has the space to store decorations for every holiday!?! The idea is to not use glue when adding the decorative pieces so you can easily take them off to change it out for the next holiday. I bought the purple glitter spiders and they had clips on the back, which I thought was genius. So, I added mini clothes pins to the back of the bats I made, making it super easy to add and take off the decorative pieces. This post is all about showing you how to style the wreath for Halloween, but be on the lookout for future posts on how I easily transition the wreath to be used for Thanksgiving and winter holidays.
Supplies I picked up at Michaels (they are have 50% off most of their Halloween decor right now):
Grape Wreath – $9 originally but I used the 40% coupon they have every week, brings it down to $5.40
Glitter pumpkin pick – $.54
(4) Orange ball and feather picks – $4 (on sale for $1 each)
This DIY request actually came from a good friend who loved the Anthropologie wood hooks seen below but didn’t want to pay the cost of $30 a piece. I was able to recreate the look for around $10, the biggest expense are the hooks that will run you around $6-8 each. Also, I’ve been looking for a resource to get reclaimed wood and have yet to find one, so I had to distress the wood myself. If anyone knows of any places in Arizona to get reclaimed wood please leave a comment!
There is some major baby fever right now! I have eight friends due by the end of the year, that means tons of baby showers in my future. I always like to get something off of the registry and also include something personalized. This week I’ll show you how to create simple artwork for the saying “I Love You to the Moon & Back.”
The best part is I have curated a kit so that you can easily replicate this craft at home, purchase it here. You can use the kit to create the artwork yourself, or give it to the mom-to-be as a gift.
Tips:
Use stickers if you don’t want to hand write the saying.
Use a coffee can or bowl if you don’t have a compass.
Don’t forget to share your photos of the crafts you have done on Instagram and tag @likehearted!!
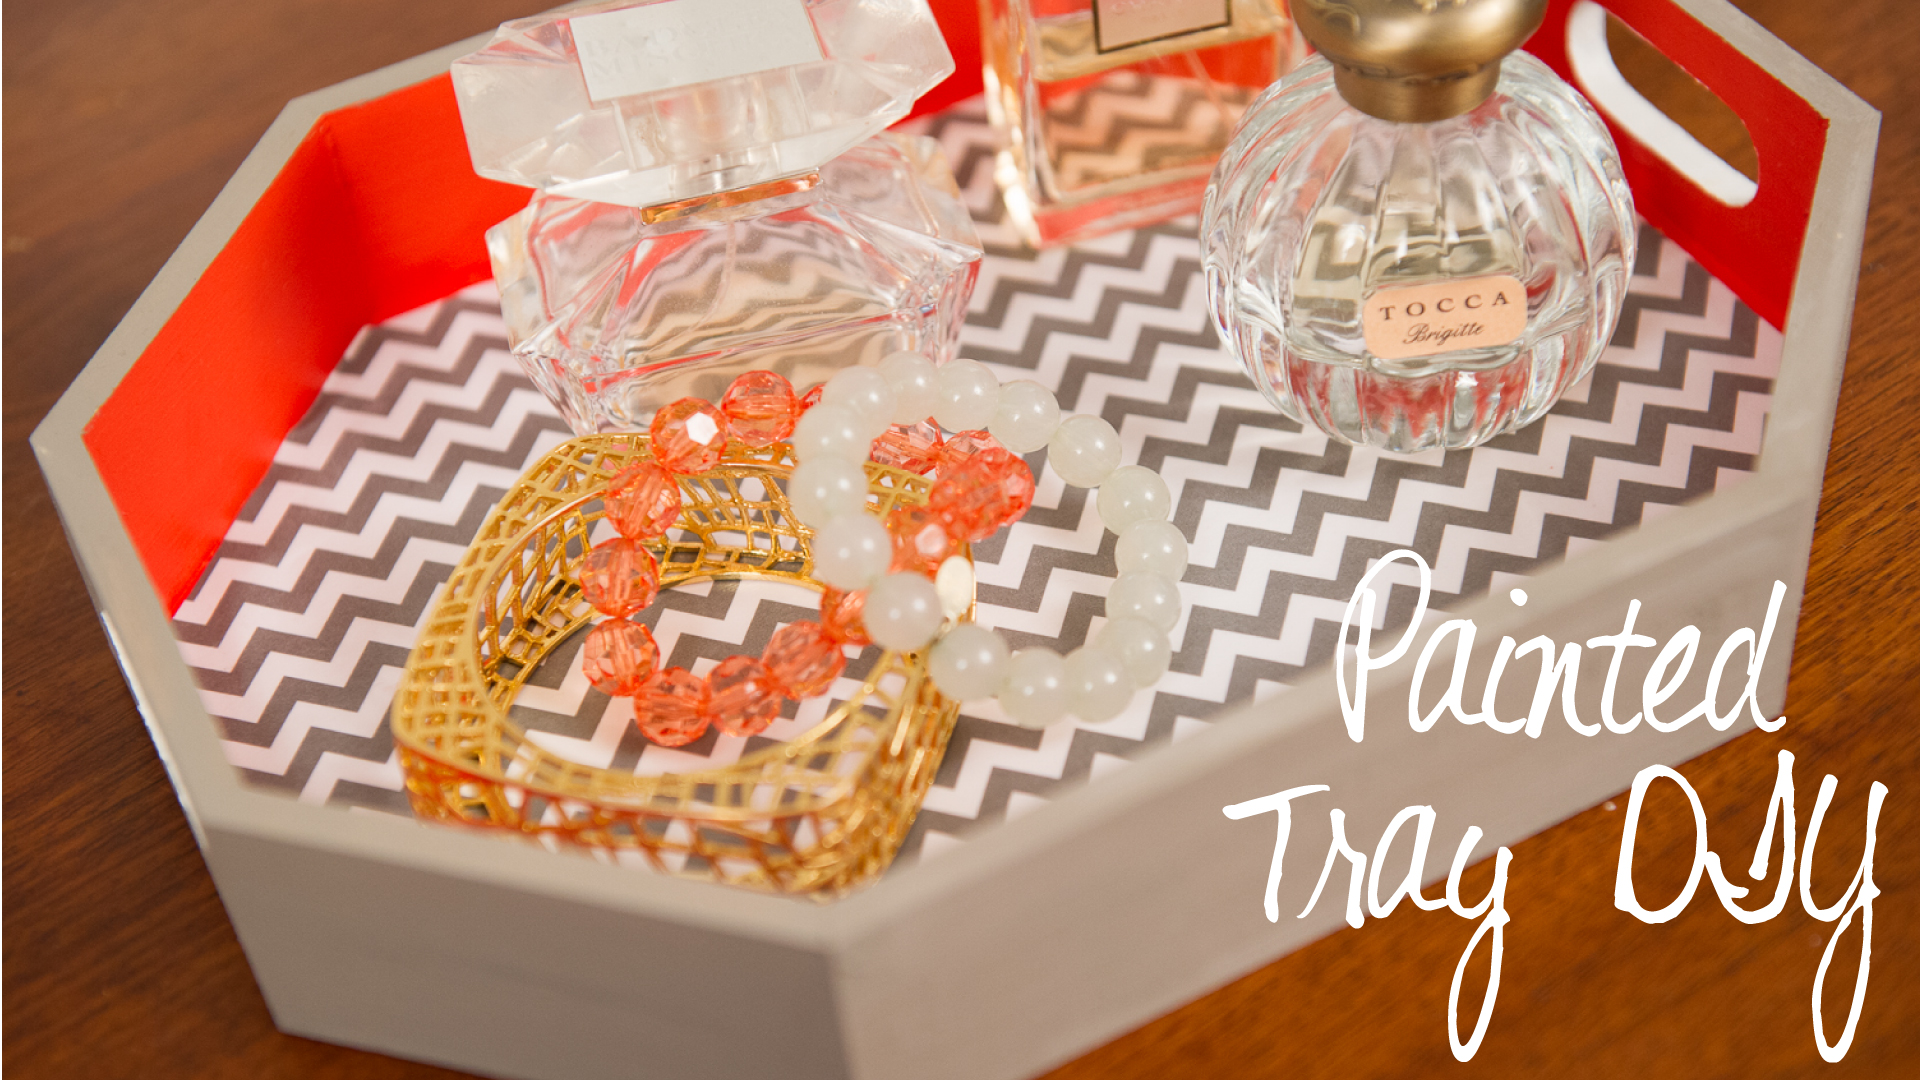
I’m constantly looking for home decor accessories and believe this is the biggest challenge when it comes to styling any space. I saw this tray in its raw wood form and decided to transform it to fit the decor at my house. The tray serves a great piece to display jewelry and/or perfume. I’ve put together a kit of all the supplies I used so you can make this exact one at home, purchase it here. If you get the kit send me a pic of the finished product on instagram and tag @likehearted!
I love this dip dye effect as an update to traditional tie dying (you know those shirts that always makes me think of Ben & Jerry’s ice cream). The ombre effect isn’t coming through as well on video, but it is there, I promise! I did 15 minute intervals but you can do longer to achieve the shades that you want. This same technique can be used on clothes, table clothes, etc. Dip dyed napkins make a perfect summer hostess gift!
Materials:
Rit Dye
White curtains or whatever material you are planning on dying
String
Tools:
Bucket
Rubber Gloves
Measuring Cup
Wooden or plastic spoon
Steps:Follow instructions that came with your dye. I recommend doing this craft outside.
Prewash fabric.
Tie string around the fabric where you want the dye to stop.
Fill bucket with enough hot water for fabric to move around freely.
Wet fabric in hot water. Ring out and place to the side.
Take 1 packet of dye to 2 cups hot water. Mix and add to bucket.
Add fabric to bucket, let is soak and then in in 15 minute intervals move the fabric out a foot to create an ombre effect.
Blue Mason Jars – I stocked up on the limited edition blue mason jars. These blue beauties have multi-uses as vases, drinking cups, infusing alcohol (see #8), etc.
Drink Tub – The tub makes it easy for guests to serve themselves.
Pitcher – I prefer this stainless steel pitcher over a glass one, never have to worry about it breaking.
Large Wood Cutting Board – Another multi-use item in my kitchen. I recently bought one of these and have used it as a serving piece for appetizers, part of a bar setup and as a center piece on a table.
Ikat Bowls – Add a pop of color to the table with these bowls.
Ice Cream Attachment – This KitchenAid attachment has been on my wish list for awhile now. I have a bunch of recipes saved for the day when I actually get one.
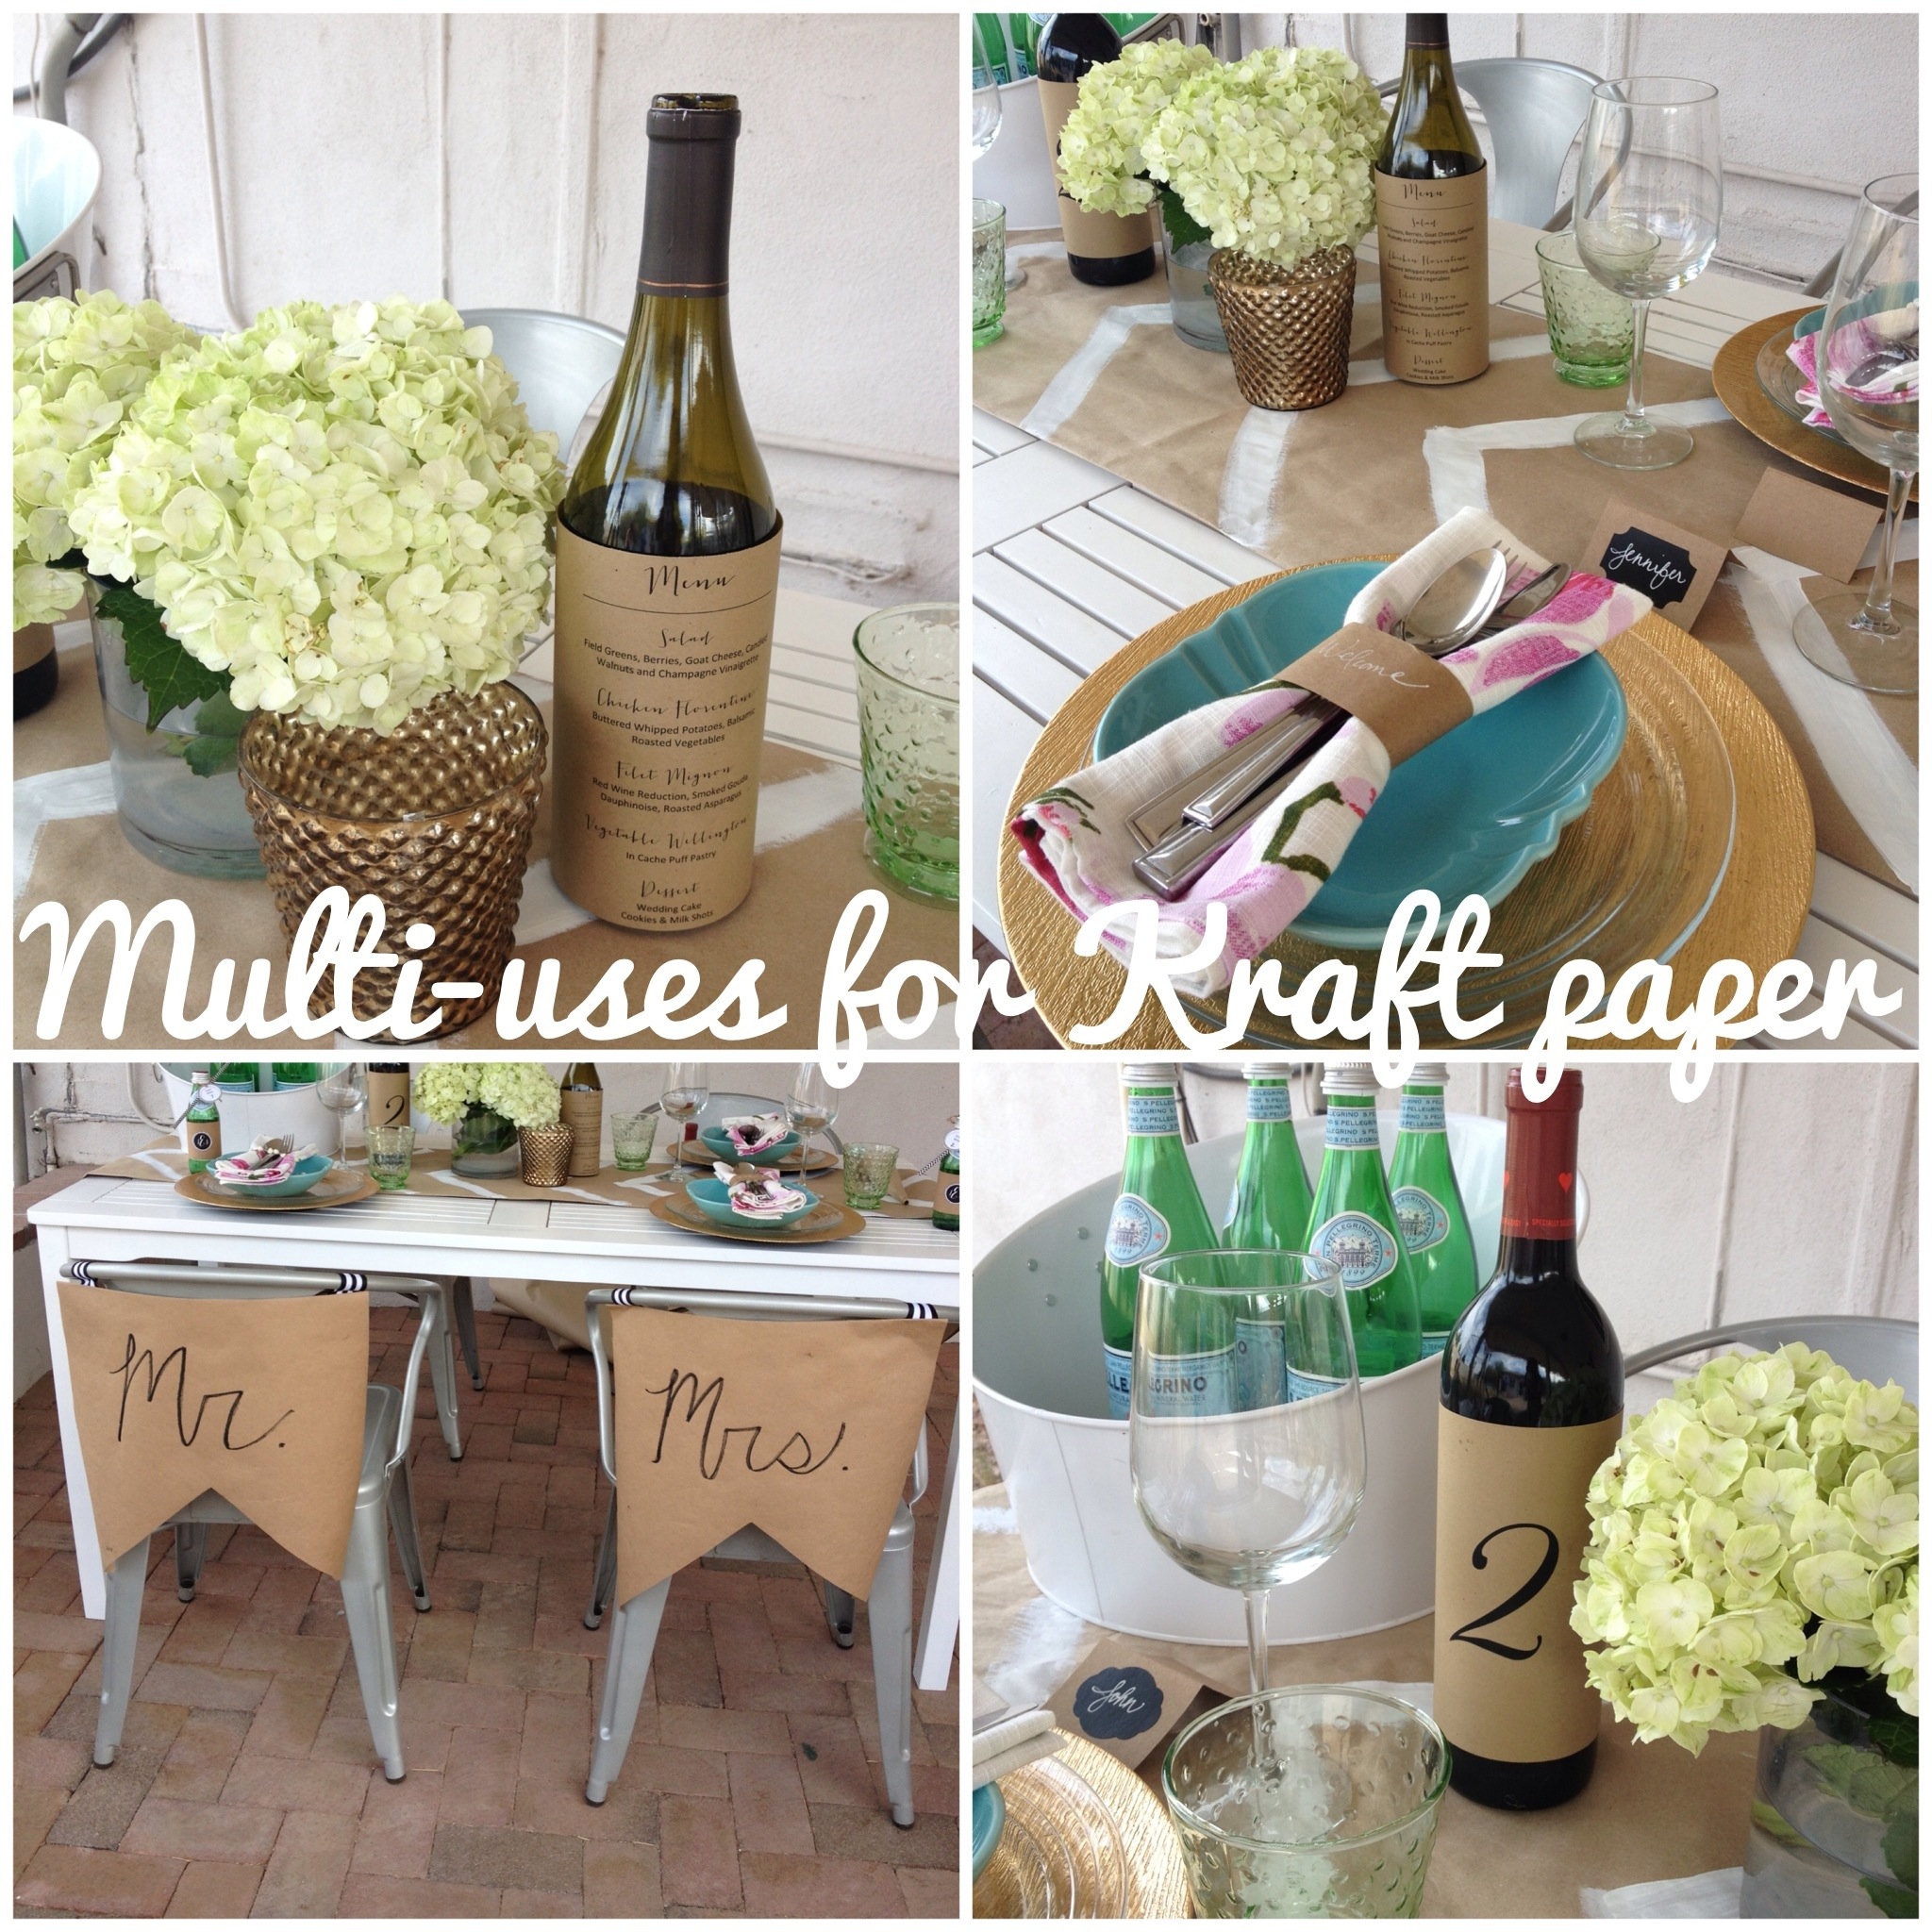
Kraft Paper – If you haven’t noticed I like to use kraft paper a lot. It’s a inexpensive material with endless uses.
Jalapeno Infused Tequila – I’m attempting to make my own version this weekend. I’ll post the recipe on the blog soon!
Myspace – I’m still trying to figure out the new Myspace interface but still digging it. Here are the songs I have on repeat this summer.
If you are a homeowner you know that the to-do list for things around the house is never ending. This project has actually been on the list for over a year now. It took me awhile to decide on the fabric and I finally went with a faux cow hide. The cow hide acts as a neutral fabric in my style, so I have the flexibility to move these into another room if needed (or I just get bored with them in the family room). This week’s video will show you the steps on how to recover an ottoman and add a nailhead trim.
Tips:
When looking for fabric make sure it is wide enough to cover both sides of the item you are upholstering.
Make sure you are pulling the fabric really tight to create smooth lines. The whole process is like wrapping a present.
Can you believe it’s June 1st already? I know I say this every year but I really mean it, time is flying by! Summer is rolling in and outdoor entertaining is ramping up. To keep things simple, I wanted to share some ideas on easy ways to style your summer event with Kraft paper. The best thing about Kraft paper is that it has multiple uses, is inexpensive (I picked up my roll at the Dollar Store), easy to clean-up and recyclable. Check out the video for different uses which include wrapping wine bottles with your menus, creating custom napkin ring holders or a painted table runner.
Get more inspiration and places to purchase kraft items by checking out my Pinterest board.