The Likehearted YouTube Channel is live! I had a blast being a content contributor and getting to share my craft ideas. I’m so grateful for the opportunity that Sitewire has given me, and the beautiful work Snapfactory did on the videos. It’s definitely nerve-racking being on camera for the first time but I’m really proud of the videos and hopefully you all enjoy them too!! More videos to come, so make sure to check out all the tutorials by subscribing to my channel: http://www.youtube.com/iamlikehearted.
Materials:
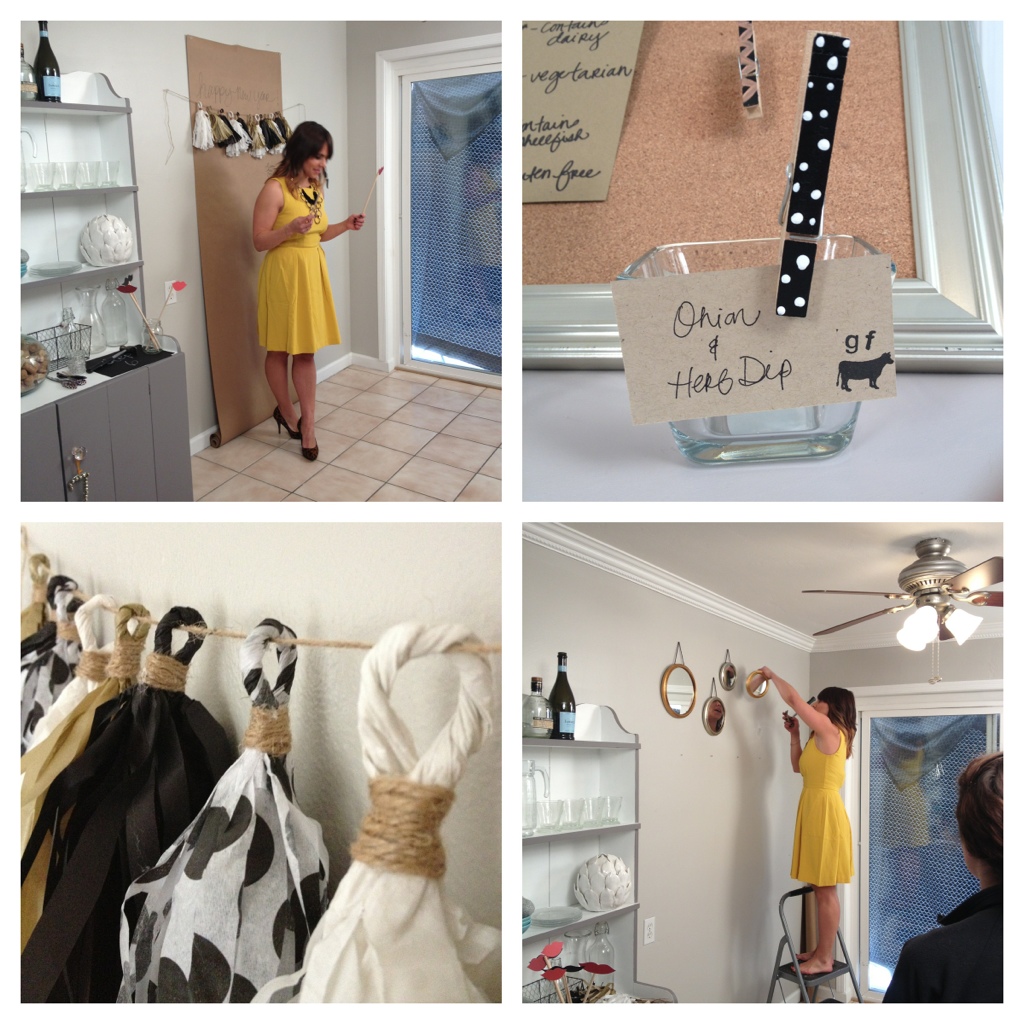
- Tissue Paper
- Jute twine
Tools:
- Scissors
- Hot glue gun
Total cost: Under $10
Time: 2 hours
Steps:
- Fold one sheet of tissue paper in half width-wise, then fold it over length-wise.
- With your scissors, cut strips of fringe about 1/4 inch wide along the unfolded long edge of your folded tissue, leaving about 2 inches of uncut tissue at the folded edge.
- Unfold your paper and cut the tissue in the center, creating two halves. Set one aside.
- You should have a sheet of tissue with fringe on either side and a solid section down the center. Using the solid center section, begin to roll the tissue paper up, being careful to keep the fringe untangled.
- After the entire section is rolled, twist the center tightly. Then curl it in on itself to create a loop, and secure with a small dot of hot glue.
- For a finishing touch, place a small dot of hot glue under the loop and wrap twine around the base, secure with another dot of hot glue. Trim the ends if desired, and string your tassel onto your cord.
Tips:
- One sheet of tissue paper makes 2 tassels.
- I suggest about 16 tassels for your average size garland = 8 sheets of paper.
- To make tassels with longer fringe, during step 2 cut along the short edge of the unfolded tissue instead of the long edge.
Don’t have time to make your own? Purchase the one I made in the video on my Etsy shop.

 Materials:


