I got a lot of questions after the graywash video was posted on how to apply the chicken wire to the back of the frame. Here is the tutorial per your requests!
Tag: crafting
Holiday Decor: 1 Wreath, 3 Ways
Here is the follow up from the Halloween wreath post that I did the other week. In this new video I’m sharing ways on how you can easily transition the wreath to be used for fall and winter holidays.

Martha Stewart Gilding Product Tutorial
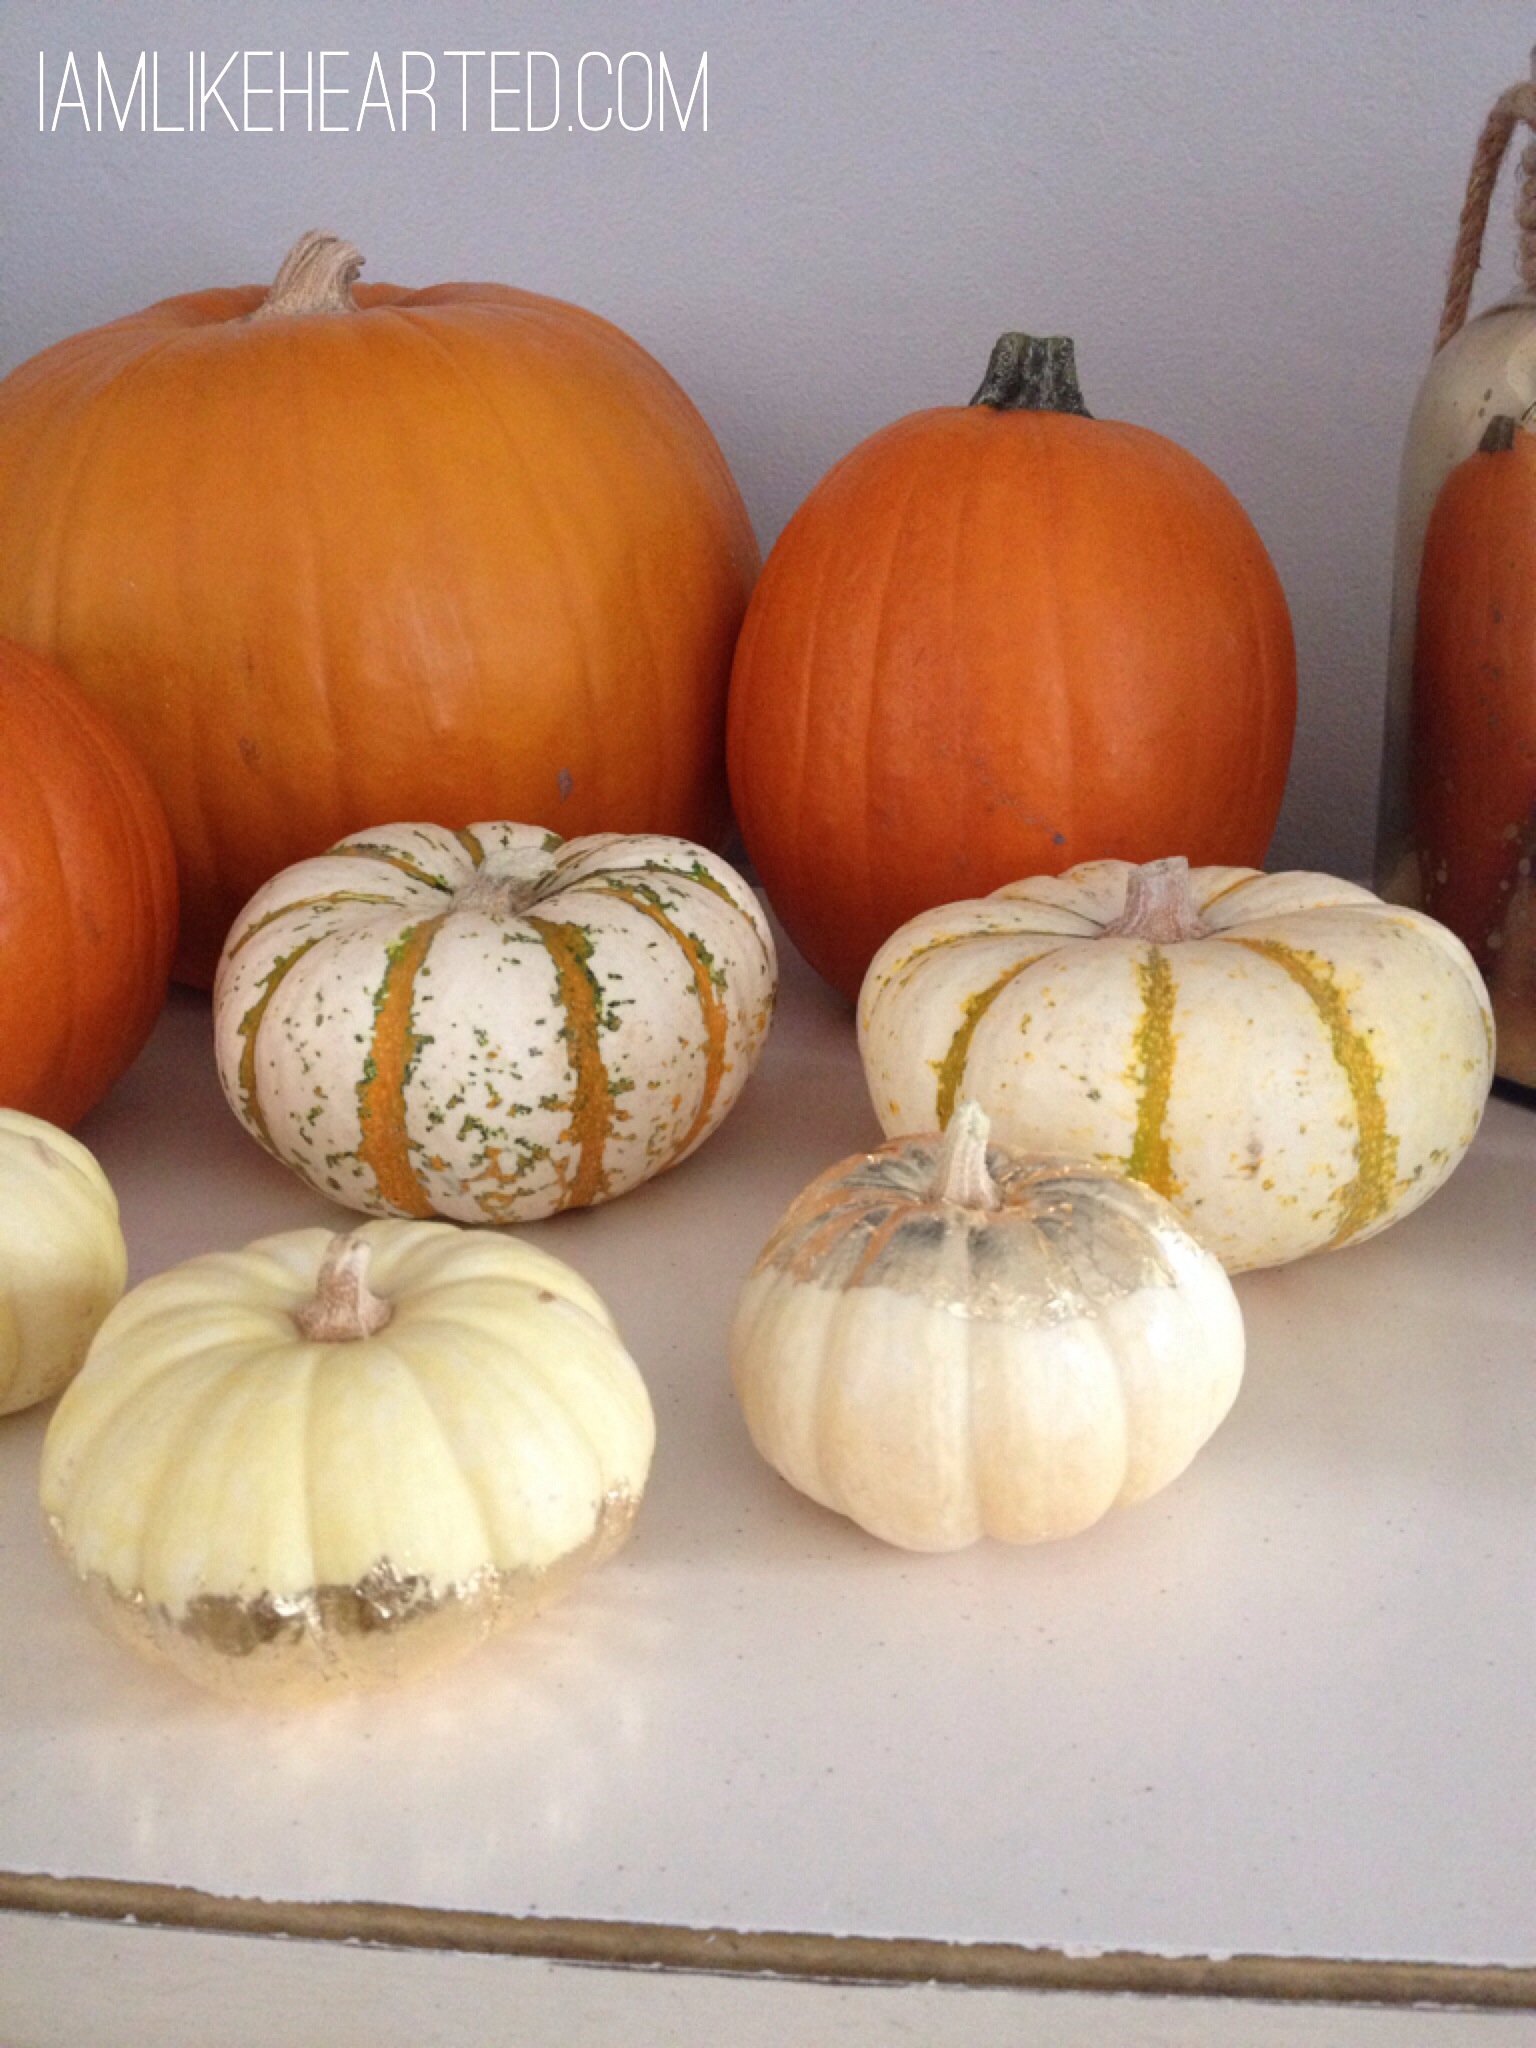
I saw Martha Stewart Living post on their Instagram about this new gilding product and knew instantly I wanted to try it out. In the video, I added the gilding to a white bowl which I thought was a cute little piece to place jewelry in. I actually have the bowl by my kitchen sink so I can put my rings in it while I wash dishes. It’s a simple process and is perfect for adding the metallic look to home accessories or holiday decor. I couldn’t resist adding a little glam to my white pumkpins.
Halloween Wreath under $20
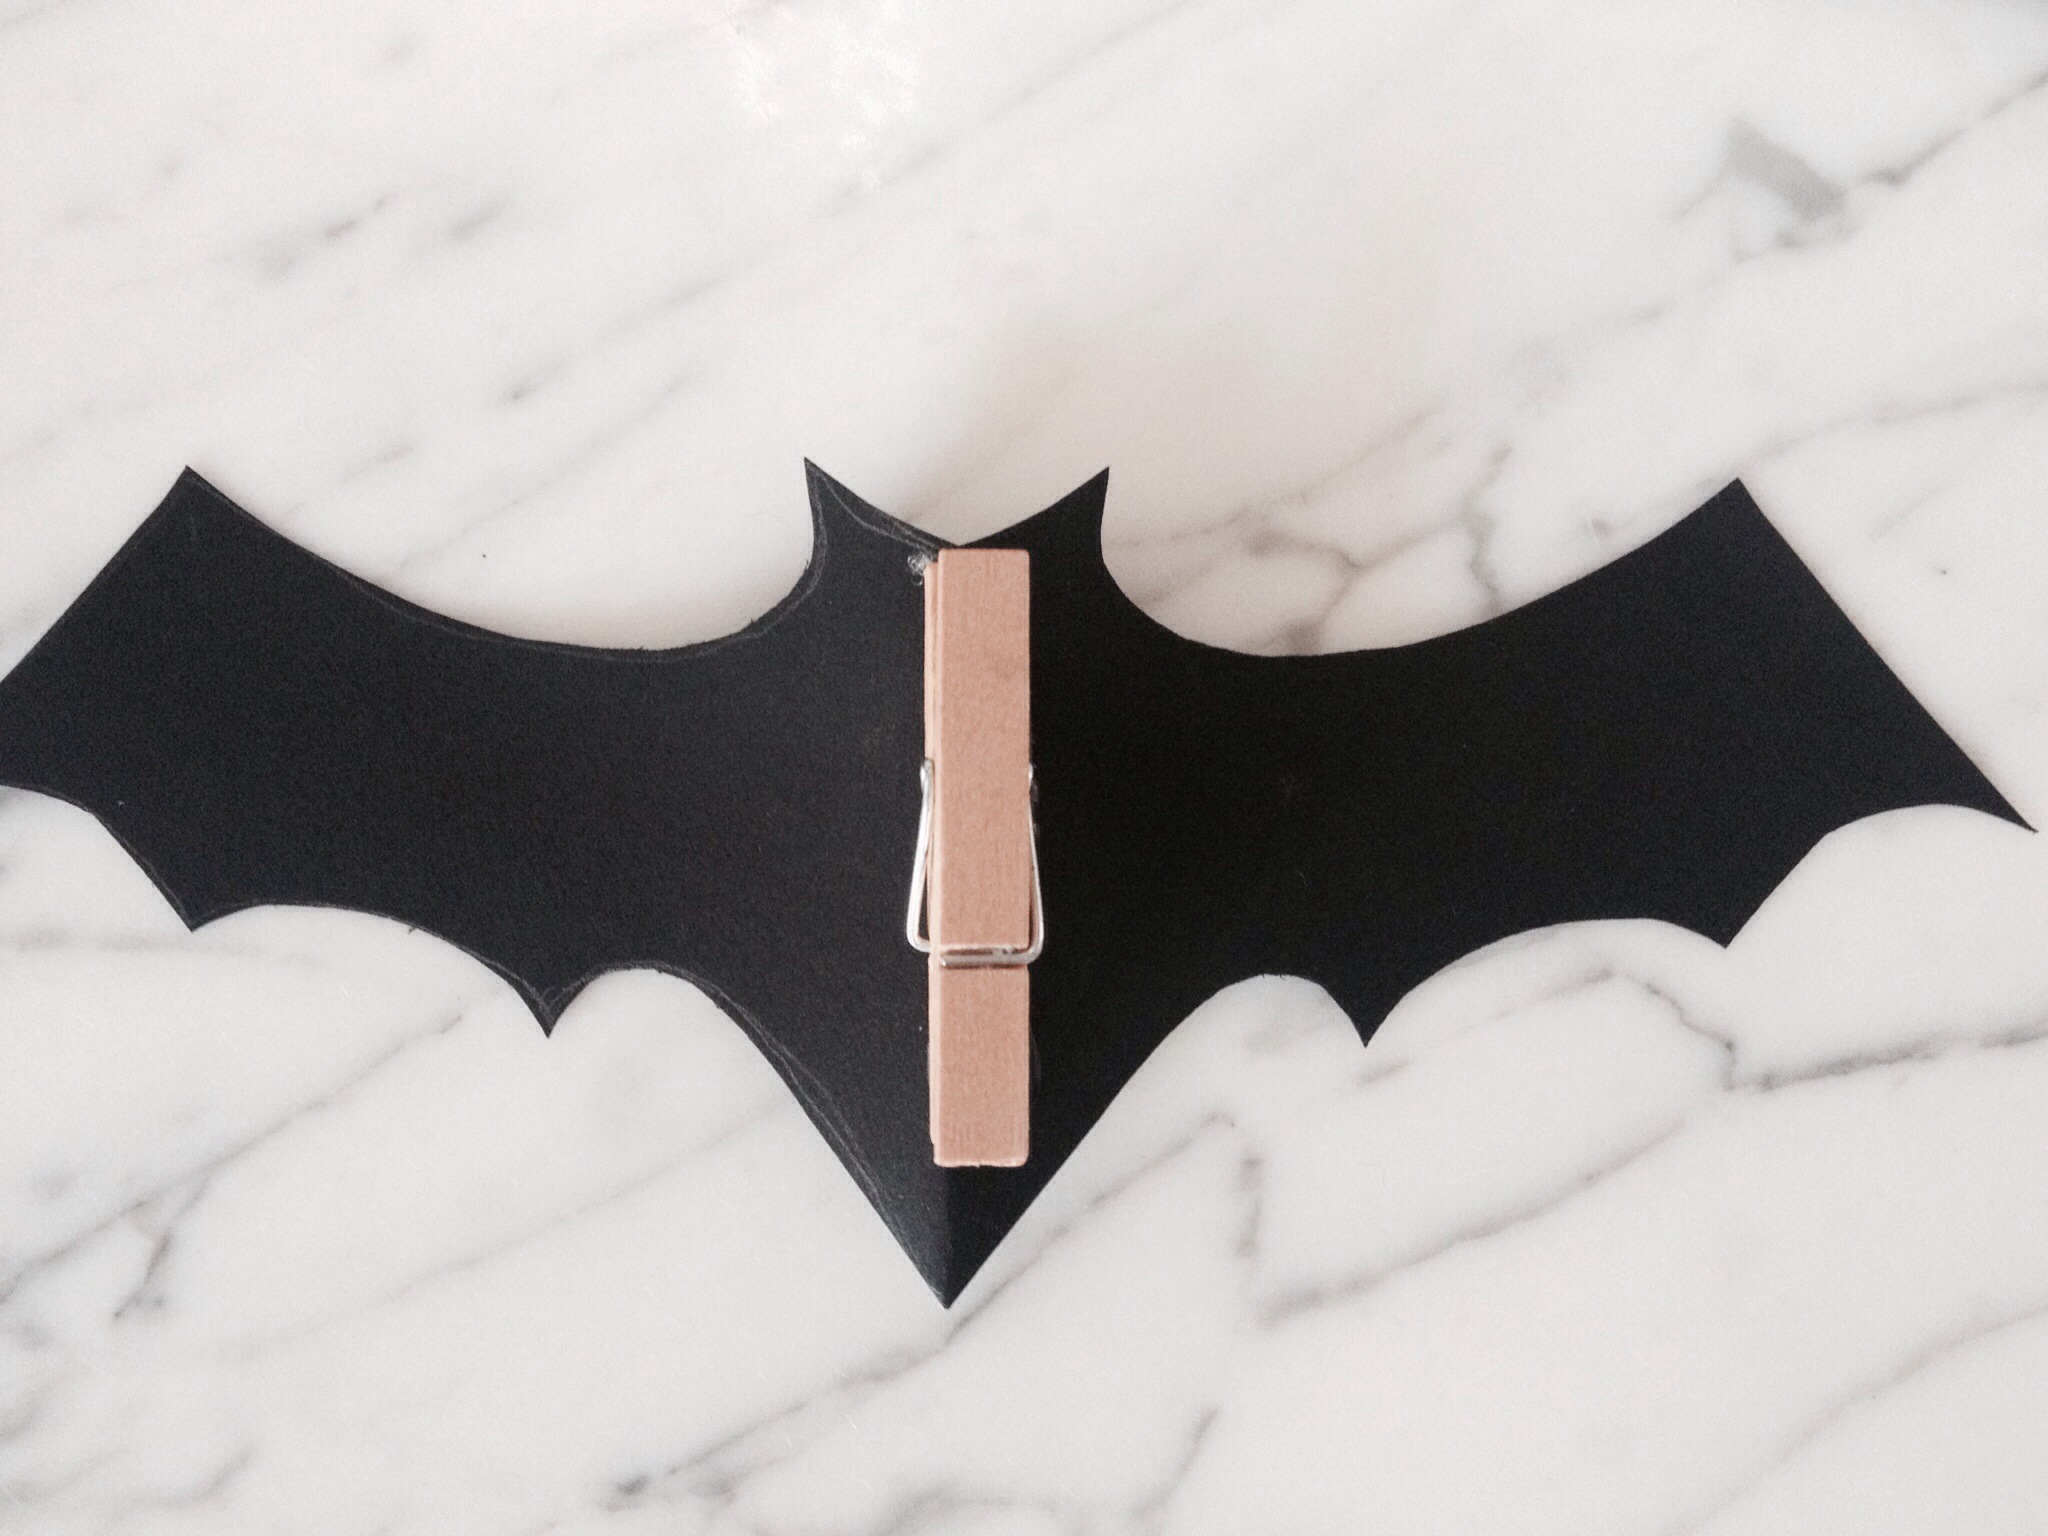
I’m all about functional and multi-use items when it comes to decorating. Really, who has the space to store decorations for every holiday!?! The idea is to not use glue when adding the decorative pieces so you can easily take them off to change it out for the next holiday. I bought the purple glitter spiders and they had clips on the back, which I thought was genius. So, I added mini clothes pins to the back of the bats I made, making it super easy to add and take off the decorative pieces. This post is all about showing you how to style the wreath for Halloween, but be on the lookout for future posts on how I easily transition the wreath to be used for Thanksgiving and winter holidays.
Supplies I picked up at Michaels (they are have 50% off most of their Halloween decor right now):
- Grape Wreath – $9 originally but I used the 40% coupon they have every week, brings it down to $5.40
- Glitter pumpkin pick – $.54
- (4) Orange ball and feather picks – $4 (on sale for $1 each)
- Black glitter crow – $3 on sale
- Paper mache skull – $1.50 on sale
- Purple glitter spiders – $1.99
- Spider cobweb – $2.49
Leftover supplies used from other crafts:
- Wood block from the distressed hooks tutorial
- Ribbon from the bow tutorial
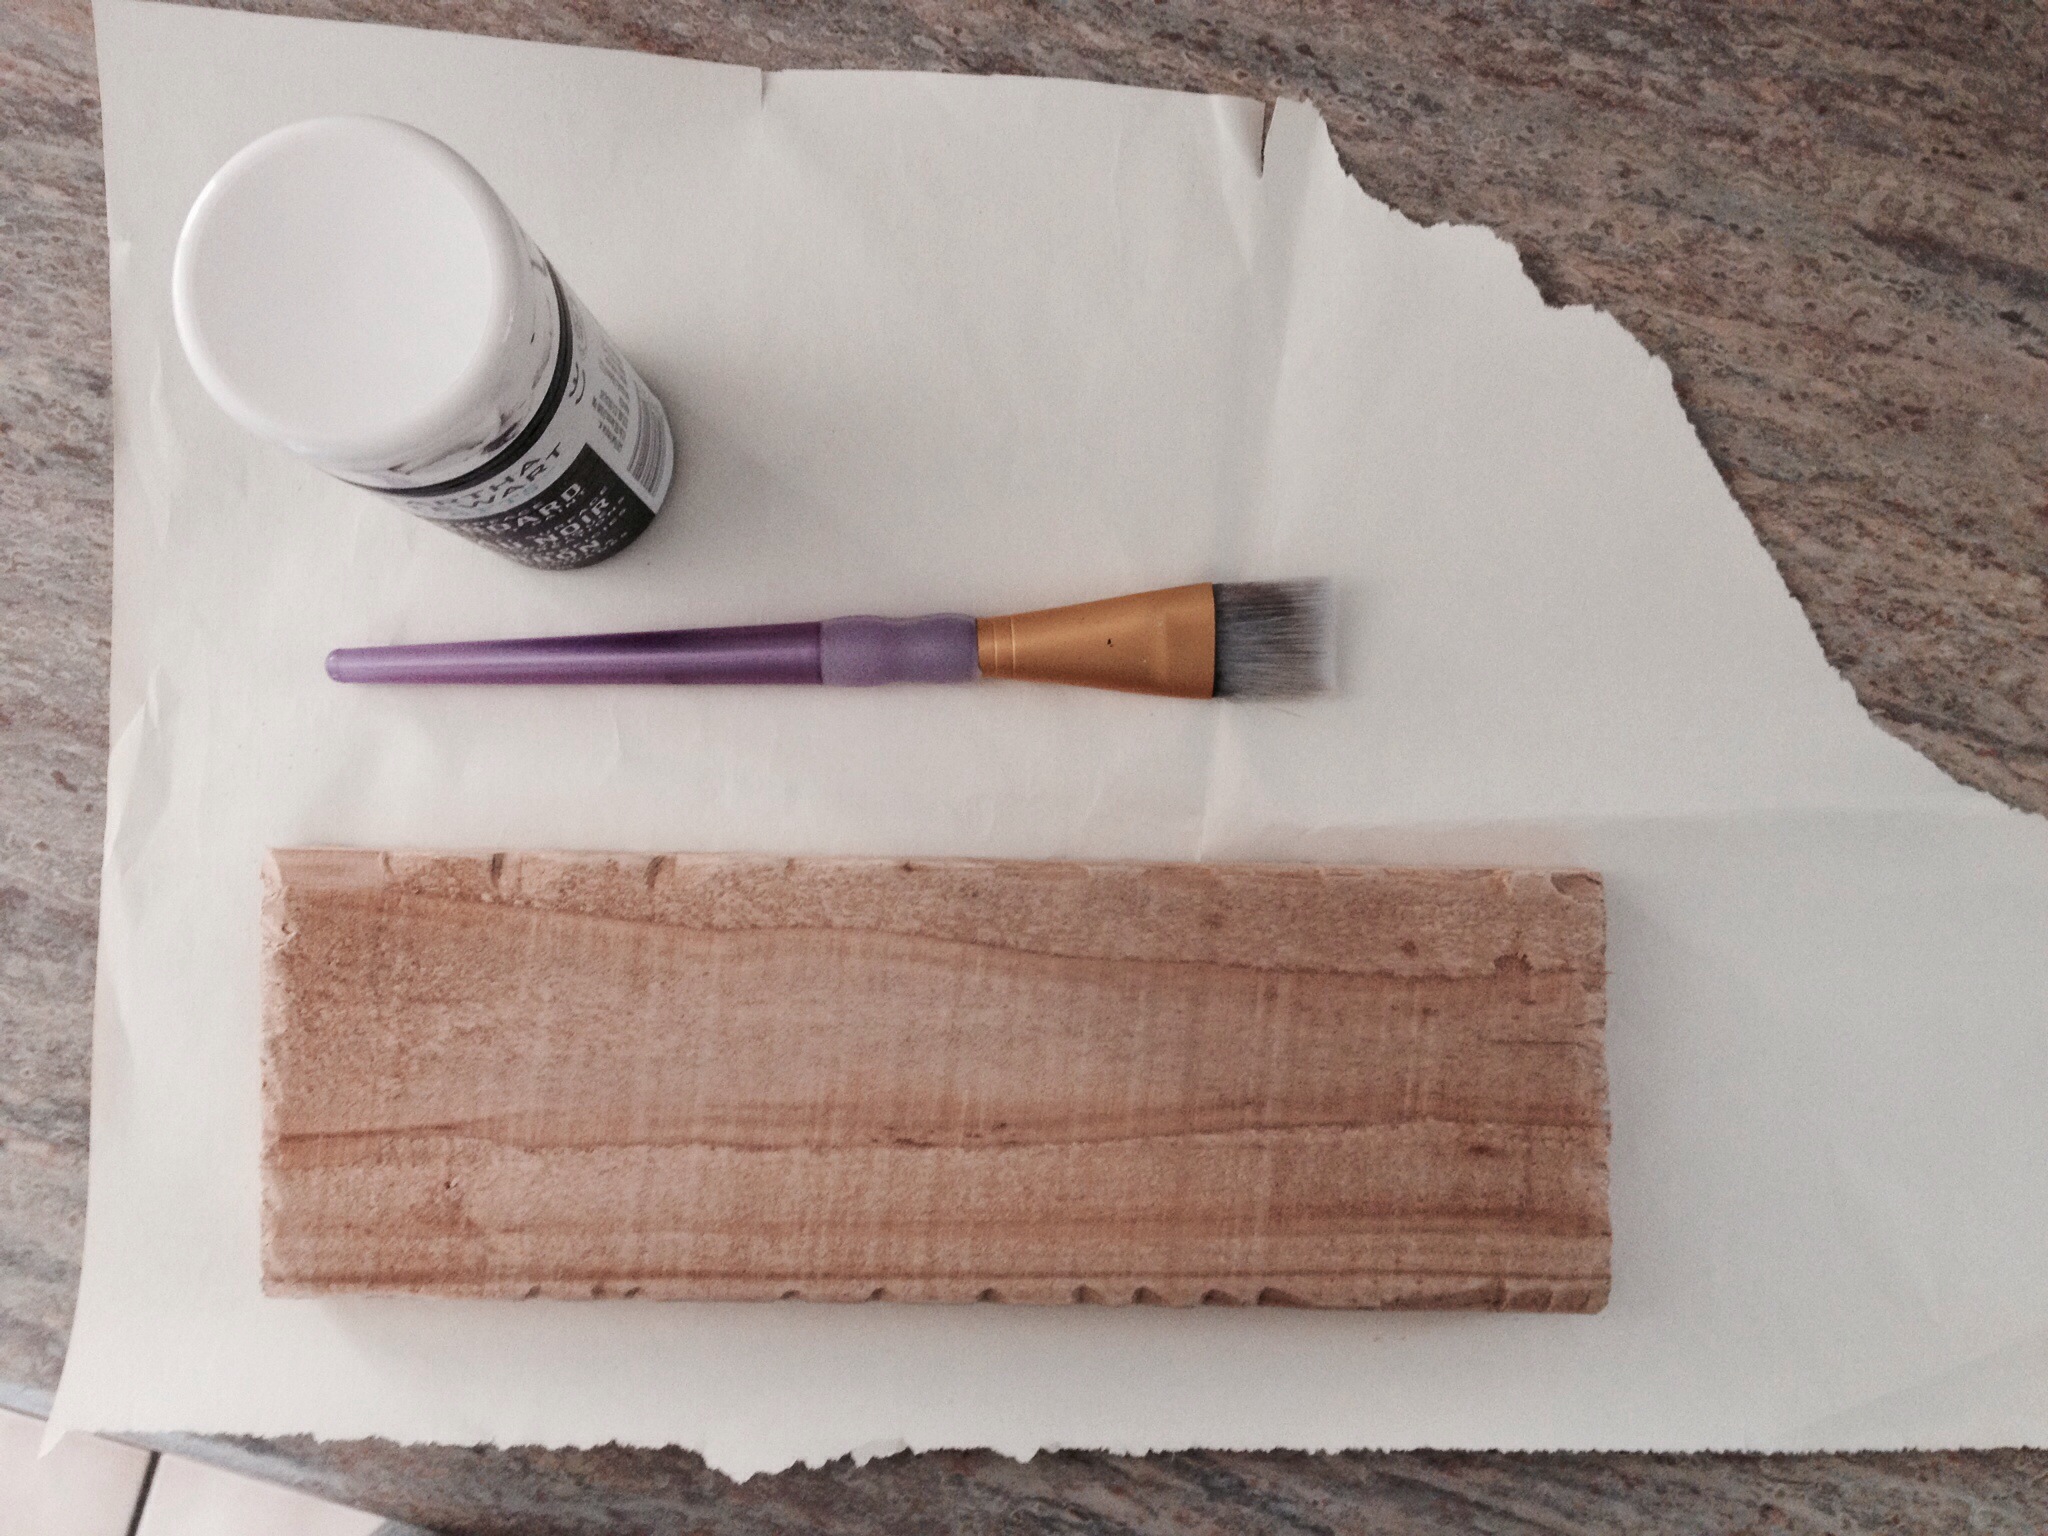
- Chalkboard paint and pen from cheese platter tutorial
- Twine from escort cards tutorial
- Mini clothes pins
- Floral wire
Prep work:
- Paint piece of wood with chalkboard paint. After it has dried, put two nails in the back and add twine to create the sign.
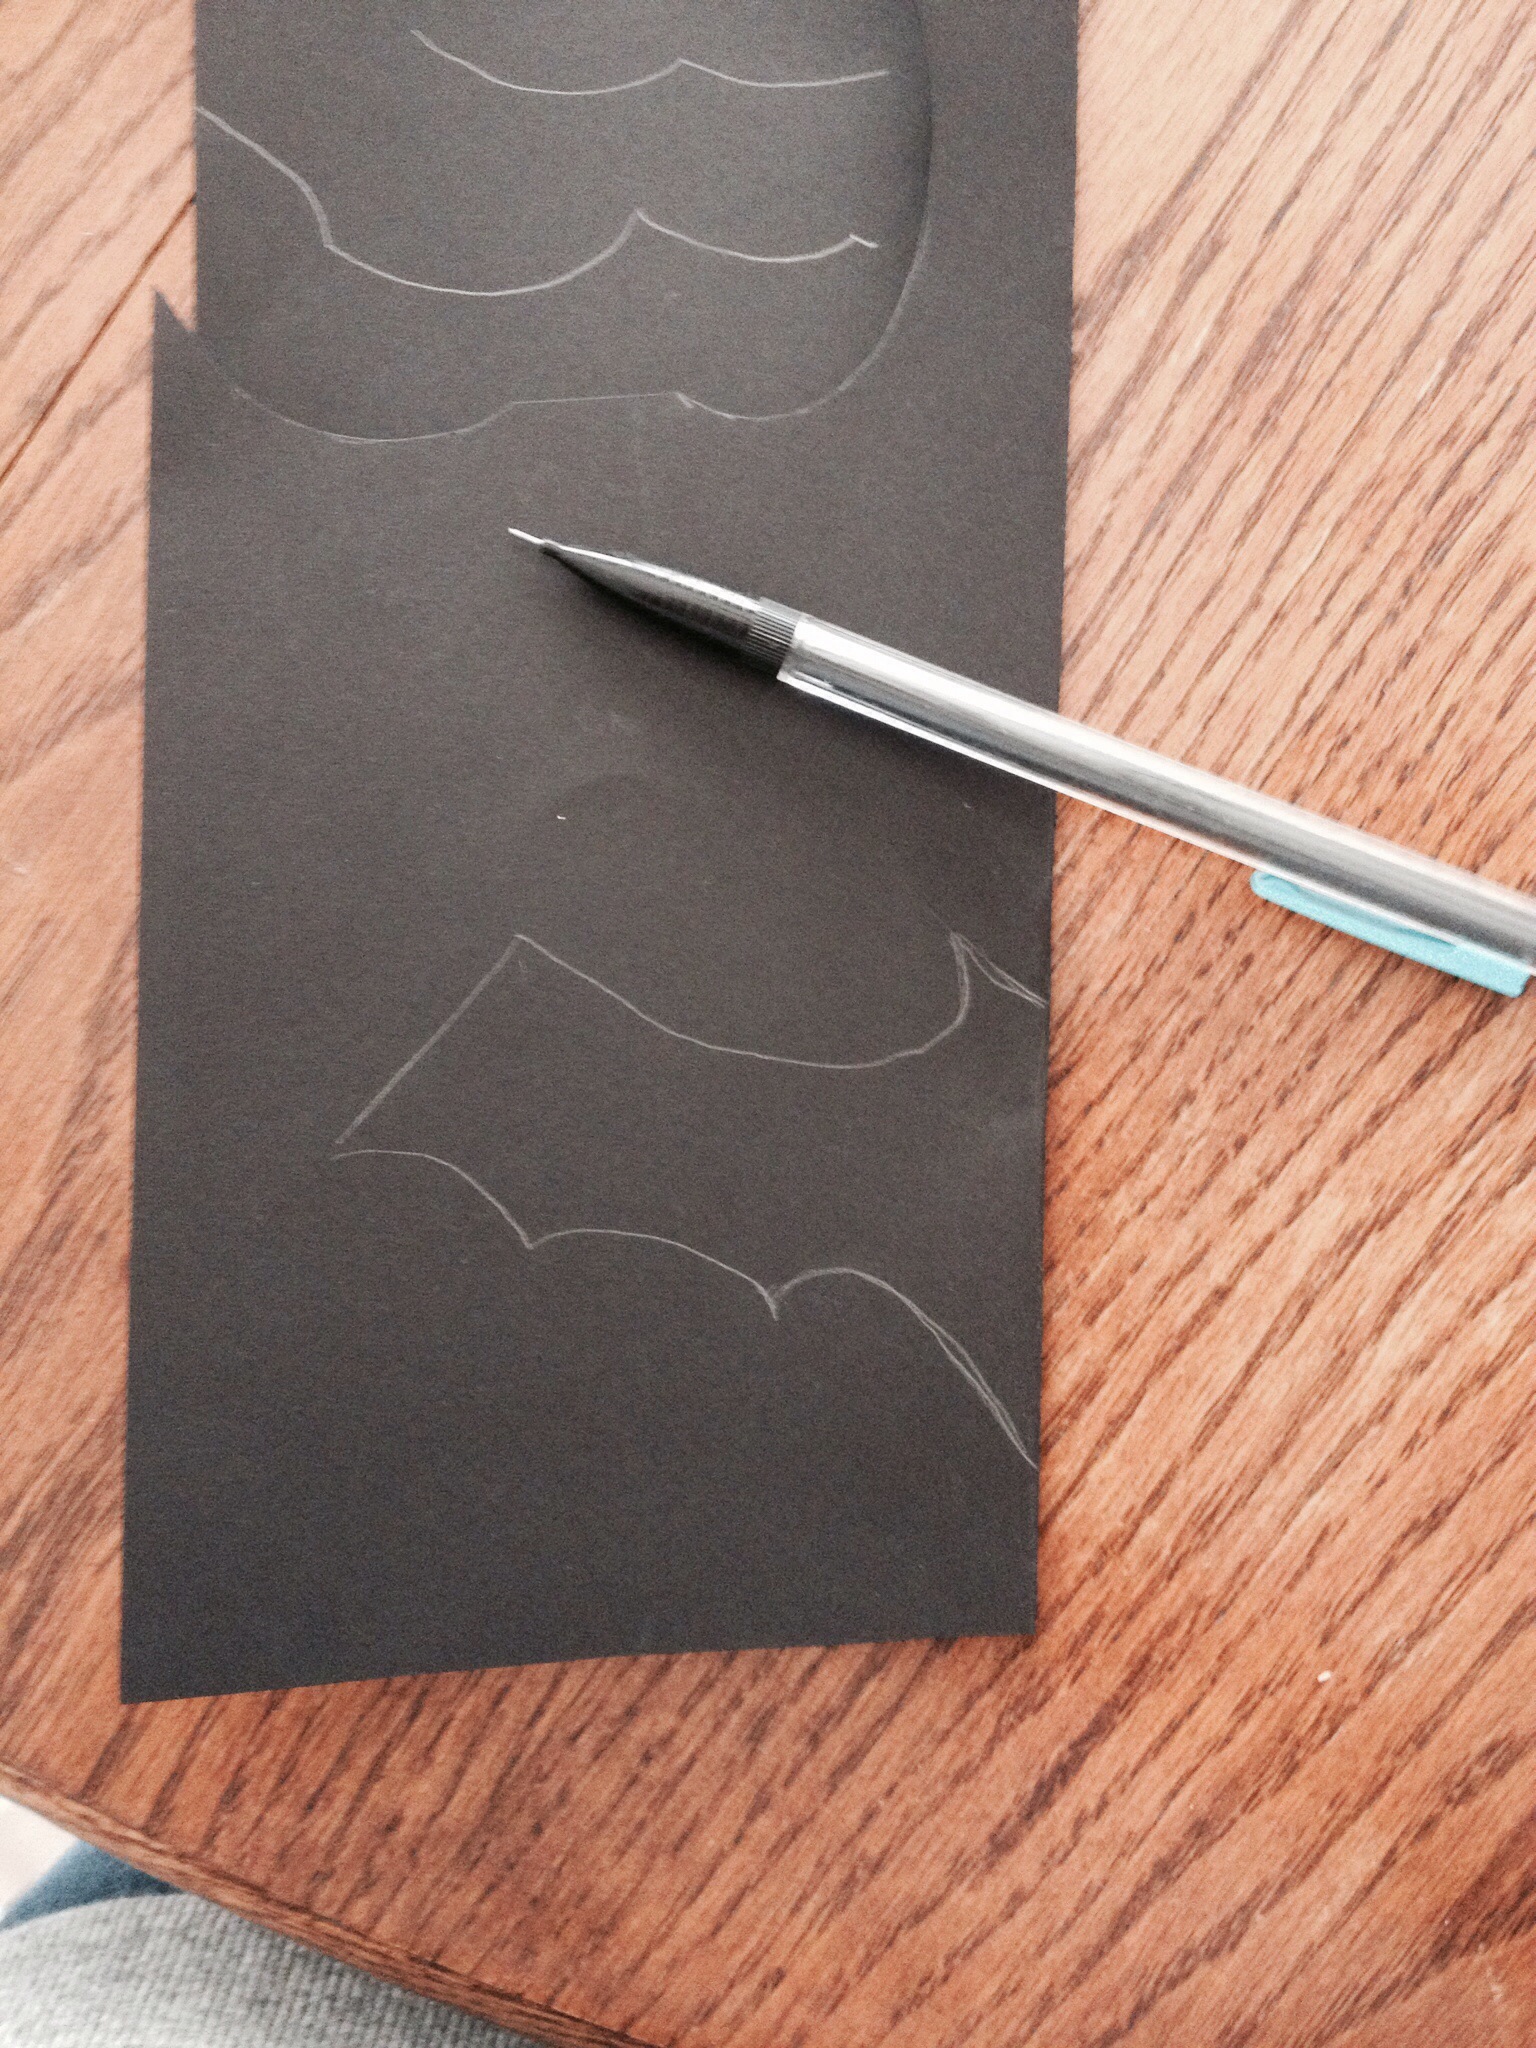
- Fold black stock paper in half, sketch out a bat silhouette and cut it out. Then hot glue a mini clothes pin to the back.
- Paint the paper mache skull white. Punch two holes in the bottom so you can thread floral wire through it in order to secure it to the wreath.
Building the wreath:
- Add spider cobweb to wreath.
- Insert the decorative picks, they stay in place without having to glue or add wire.
- Clip on the spiders and bats.
- Using wire to secure add the crow, skull and sign.
- Hang on the door.


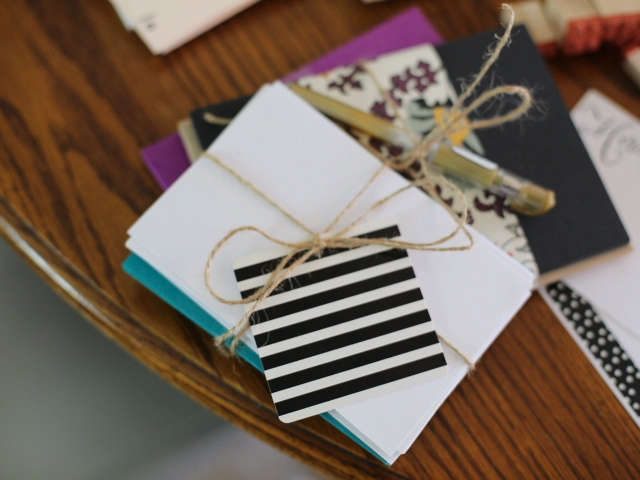
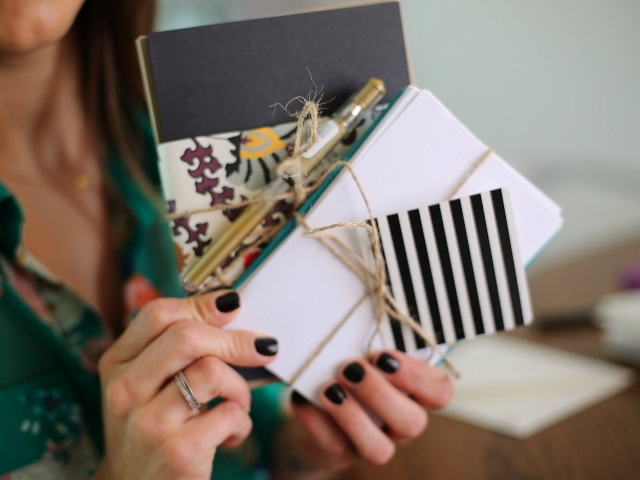
DIY: Personalized Stationary
I’m really old school when it comes to thank you notes. I don’t think anything beats getting a letter in the mail. In this week’s tutorial, I’ll teach you how to make personalized stationary. My favorite place to shop for the supplies is Papersource, they have a wide range of blank cards and envelopes in a so many different colors. I would say my personal brand is classic with a touch of edge, so I go for black envelopes and white flat note cards. What’s represents your personal brand?
DIY: “I Love You to the Moon & Back” Nursery Artwork
There is some major baby fever right now! I have eight friends due by the end of the year, that means tons of baby showers in my future. I always like to get something off of the registry and also include something personalized. This week I’ll show you how to create simple artwork for the saying “I Love You to the Moon & Back.”
The best part is I have curated a kit so that you can easily replicate this craft at home, purchase it here. You can use the kit to create the artwork yourself, or give it to the mom-to-be as a gift.
Tips:
- Use stickers if you don’t want to hand write the saying.
- Use a coffee can or bowl if you don’t have a compass.
Don’t forget to share your photos of the crafts you have done on Instagram and tag @likehearted!!

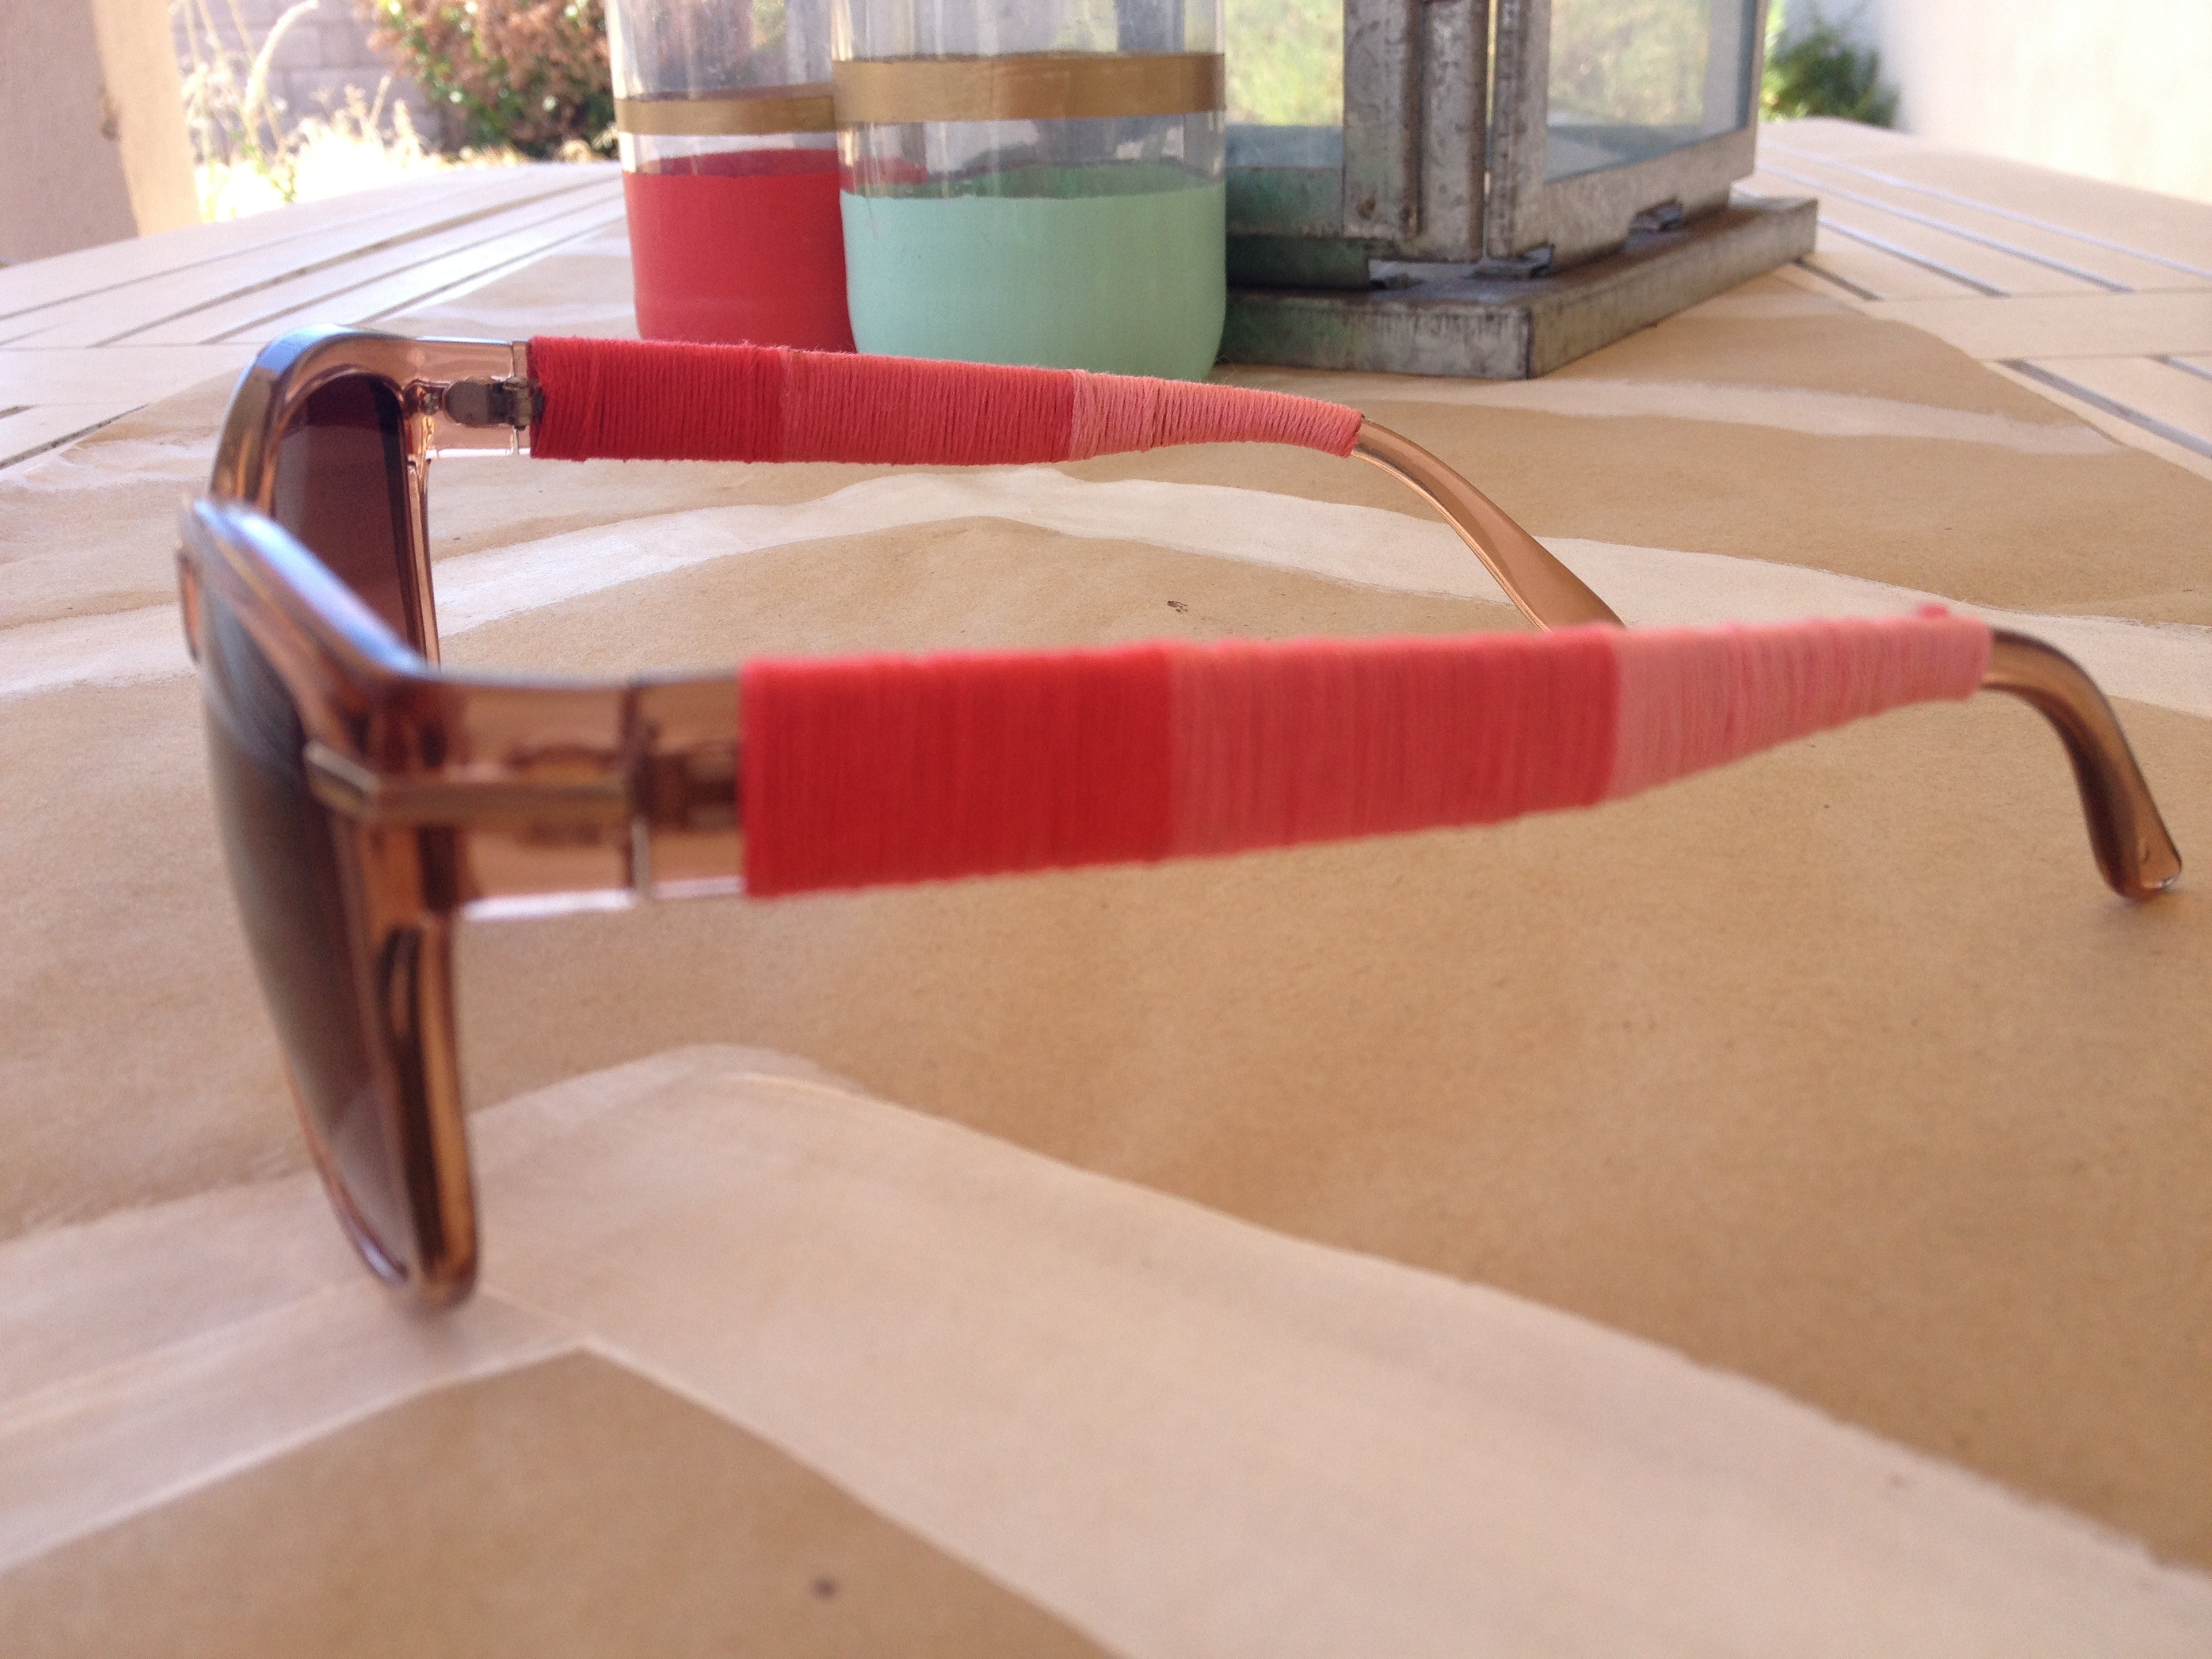
DIY Summer Style: Embellished Sunglasses
This DIY video shows you an easy way to add some color to an inexpensive pair of sunglasses. The best part is I have curated a kit so that you can easily replicate this craft at home, buy it here.
Are you all interested in more kits like this? If so, please leave a comment and let me know!
Dip Dye Ombre Curtains
I love this dip dye effect as an update to traditional tie dying (you know those shirts that always makes me think of Ben & Jerry’s ice cream). The ombre effect isn’t coming through as well on video, but it is there, I promise! I did 15 minute intervals but you can do longer to achieve the shades that you want. This same technique can be used on clothes, table clothes, etc. Dip dyed napkins make a perfect summer hostess gift!
Materials:
-
Rit Dye
-
White curtains or whatever material you are planning on dying
- String
Tools:
-
Bucket
-
Rubber Gloves
-
Measuring Cup
- Wooden or plastic spoon
Steps: Follow instructions that came with your dye. I recommend doing this craft outside.
-
Prewash fabric.
-
Tie string around the fabric where you want the dye to stop.
-
Fill bucket with enough hot water for fabric to move around freely.
-
Wet fabric in hot water. Ring out and place to the side.
- Take 1 packet of dye to 2 cups hot water. Mix and add to bucket.
-
Add fabric to bucket, let is soak and then in in 15 minute intervals move the fabric out a foot to create an ombre effect.
-
Rinse in cool water until water runs clear.
-
Wash in warm water with mild detergent.
- Dry item in dryer or air dry.


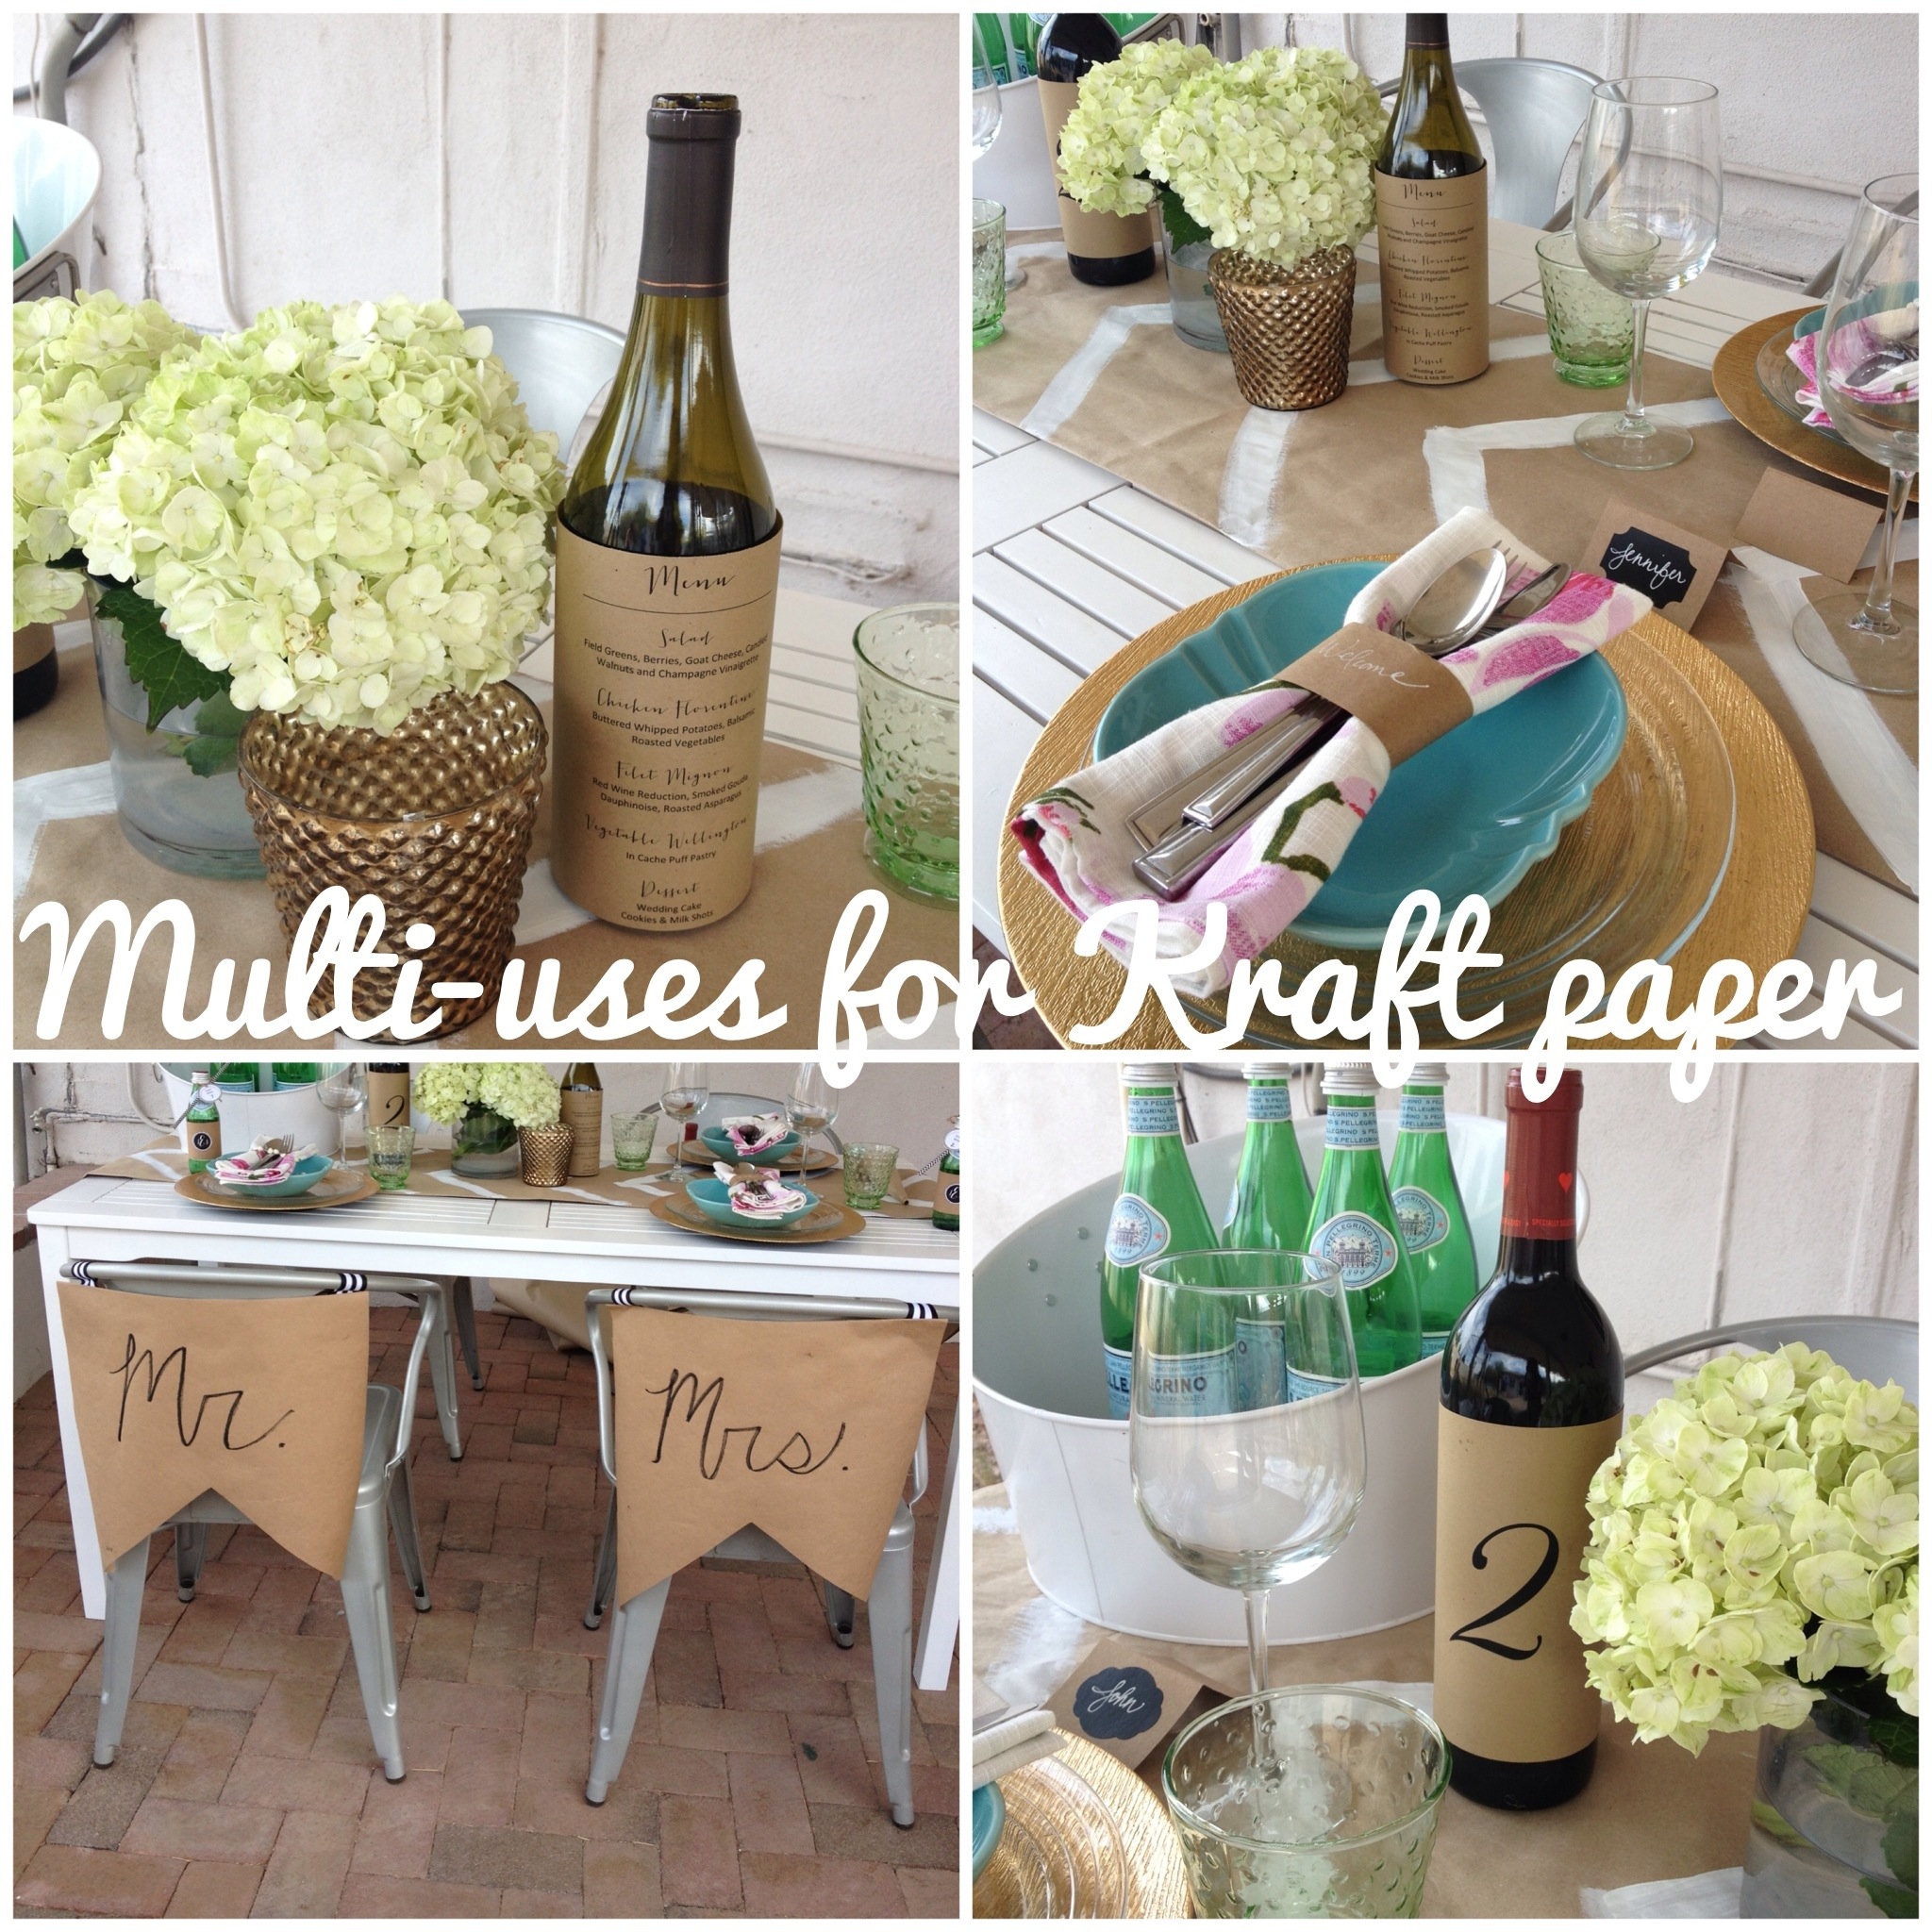
Summer Entertaining: Multi-Uses for Kraft Paper
Can you believe it’s June 1st already? I know I say this every year but I really mean it, time is flying by! Summer is rolling in and outdoor entertaining is ramping up. To keep things simple, I wanted to share some ideas on easy ways to style your summer event with Kraft paper. The best thing about Kraft paper is that it has multiple uses, is inexpensive (I picked up my roll at the Dollar Store), easy to clean-up and recyclable. Check out the video for different uses which include wrapping wine bottles with your menus, creating custom napkin ring holders or a painted table runner.
Get more inspiration and places to purchase kraft items by checking out my Pinterest board.
How to Create a No Sew Bow
I hope everyone had a wonderful Memorial Day! I definitely took advantage of the long weekend, soaked up some sun and did a whole lot of nothing. It was some much needed downtime and a good recharge but now it’s back to work (thank goodness it is a short week, right!?!).
As a continuation of my Summer Wedding DIY series, I’ll show you how to create a no sew bow. These are great styling accessories for your bridal party, ring bearer, flower girl or other wedding decor. You can create a no sew bow in just 6 easy steps. Head over to my Pinterest board for more ideas on how to incorporate bows into your event.
Thank you to all who helped me to reach the 1,000 subscriber goal on the YouTube channel! I’m so grateful. Please share a comment and let me know what tutorials you would like to see in the future.


How to create a no sew bow:
- Cut a piece of ribbon 12.5 inches long (this will make a bow about 6 inches long).
- Cut another piece of ribbon 3 inches long.
- Take your 12.5 inch long piece of fabric, fold the ends together and secure with a drop of hot glue.
- Take your 3 inch long piece of fabric, fold in the sides and secure with a drop of hot glue.
- Pinch together the middle of the larger piece of ribbon to form the bow.
- Glue the smaller piece of fabric around the middle.
Images:
Bow shoes via Martha Stewart Weddings
Bow Necklace via BHLDN
Bow Hair Accessory via Pinterest
