Ikea Bookcase Hack – How to Create Mercury Glass

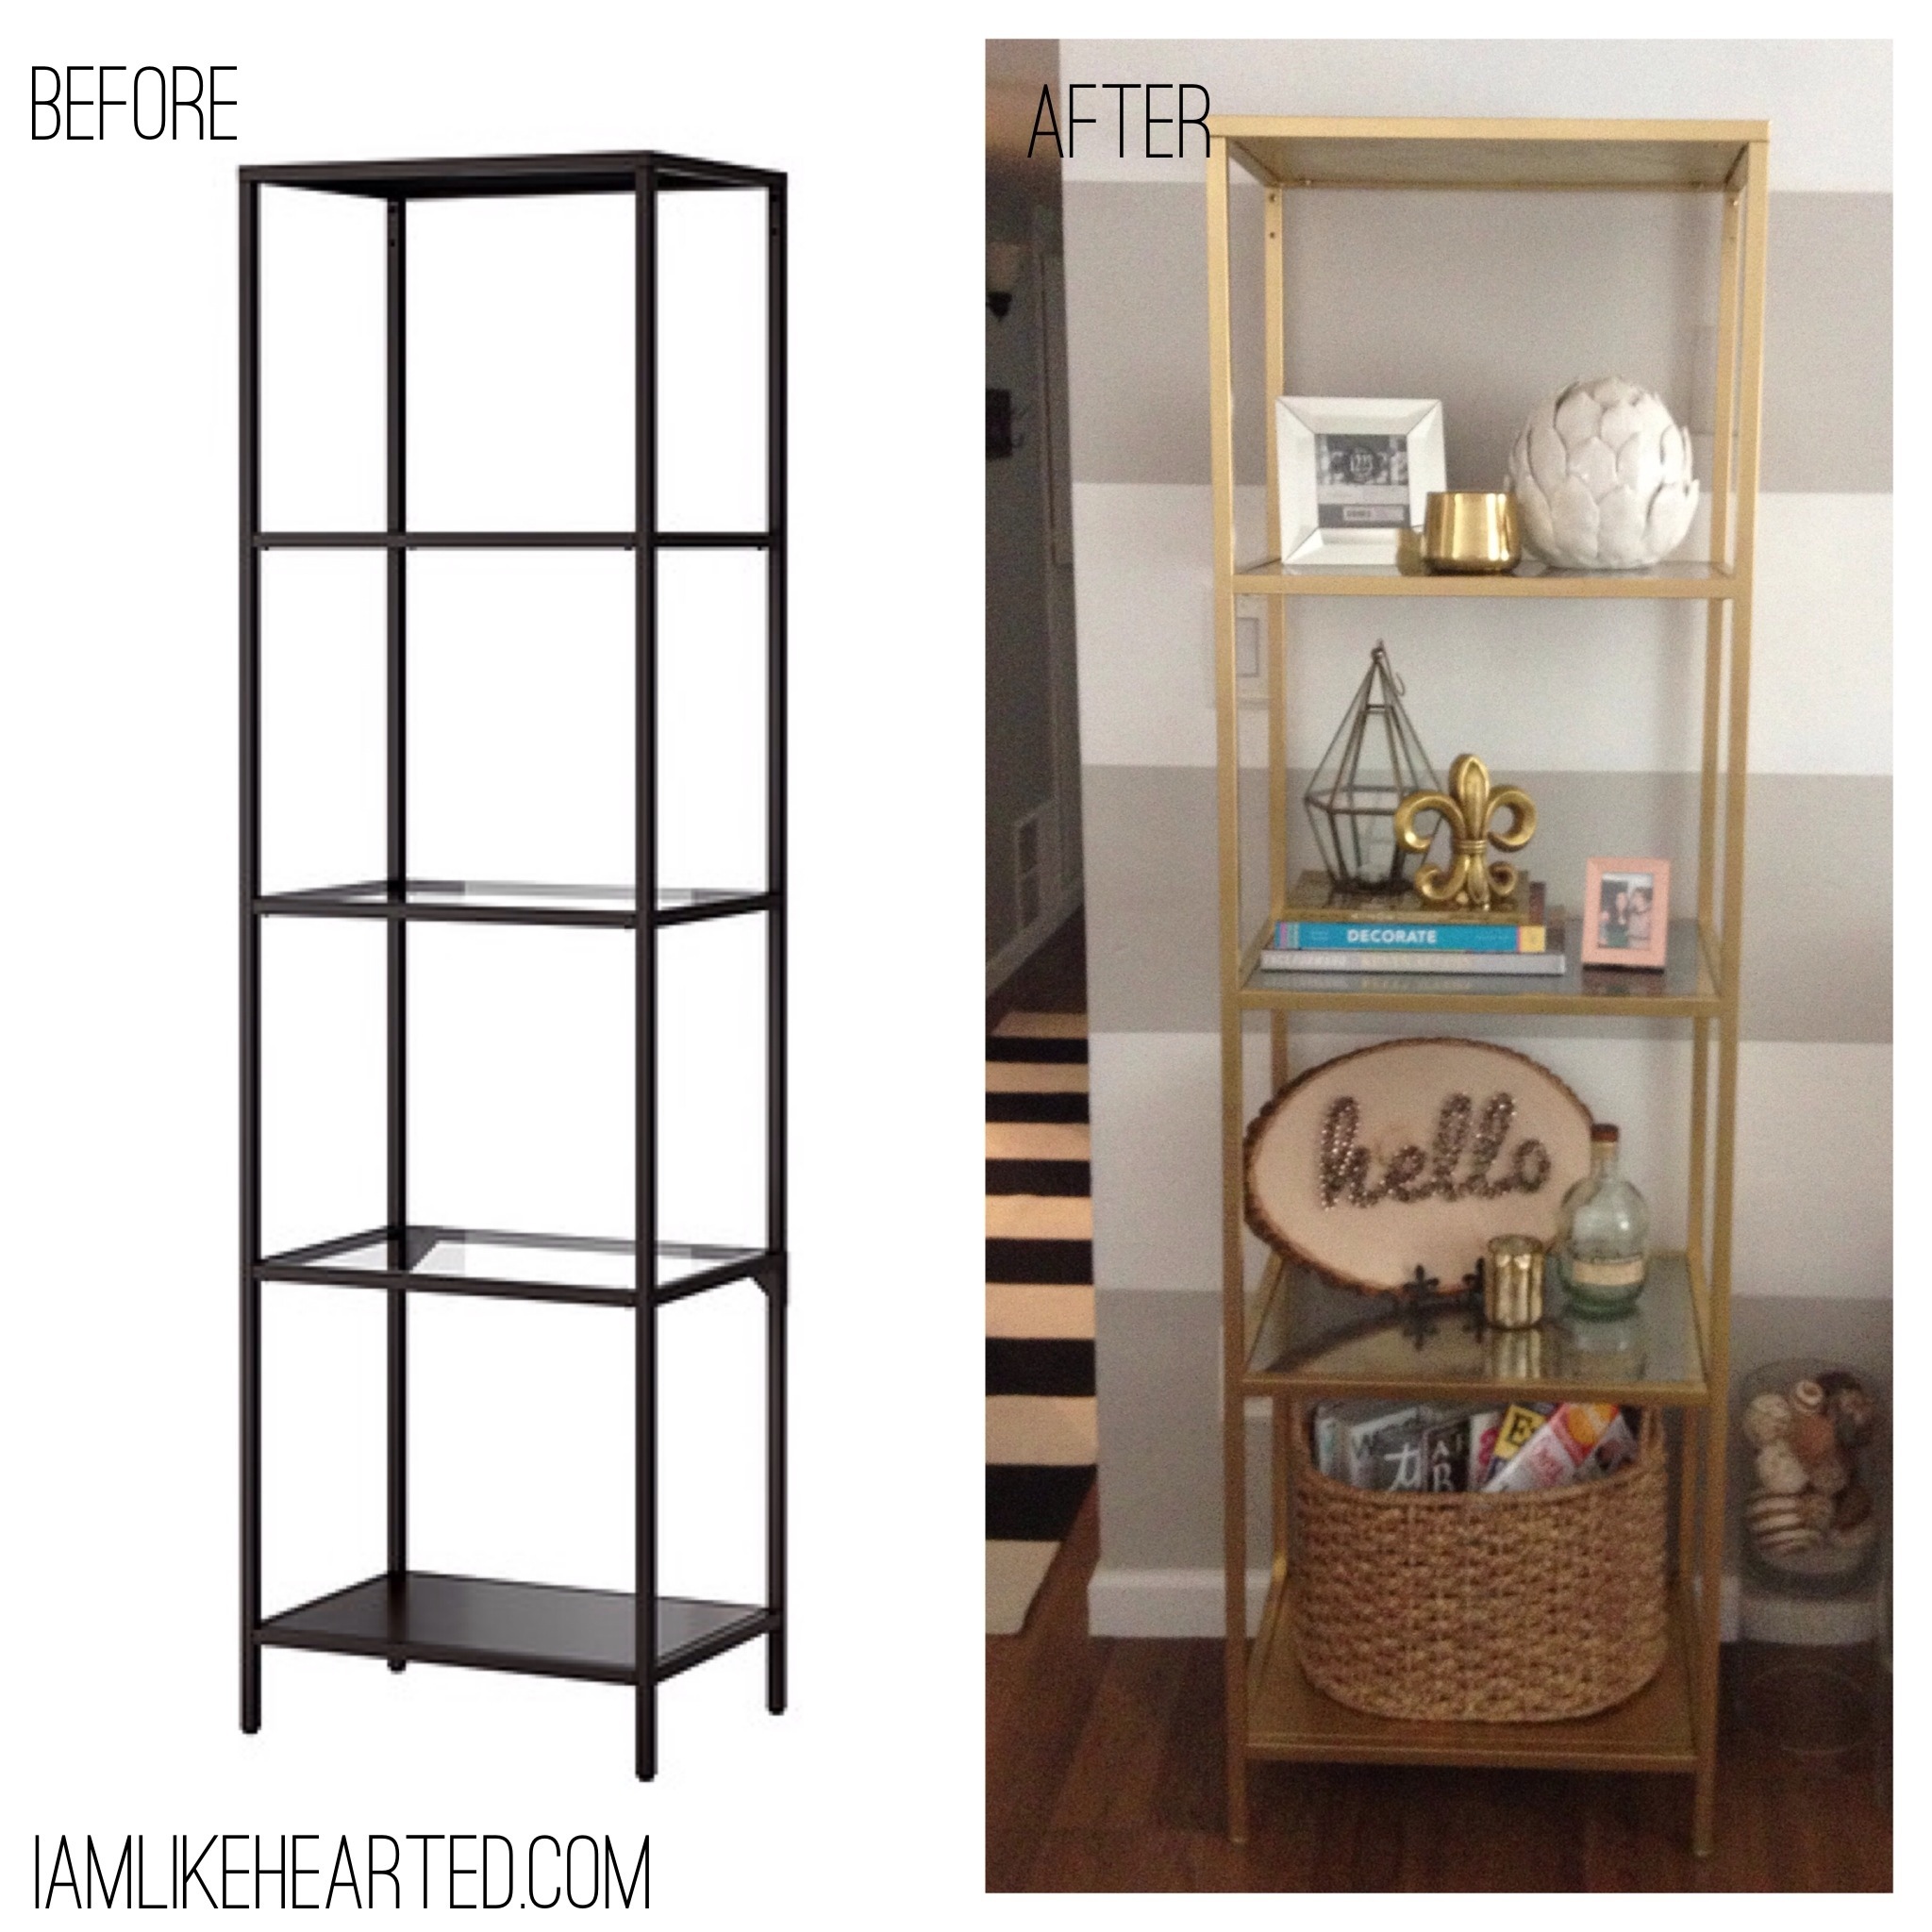
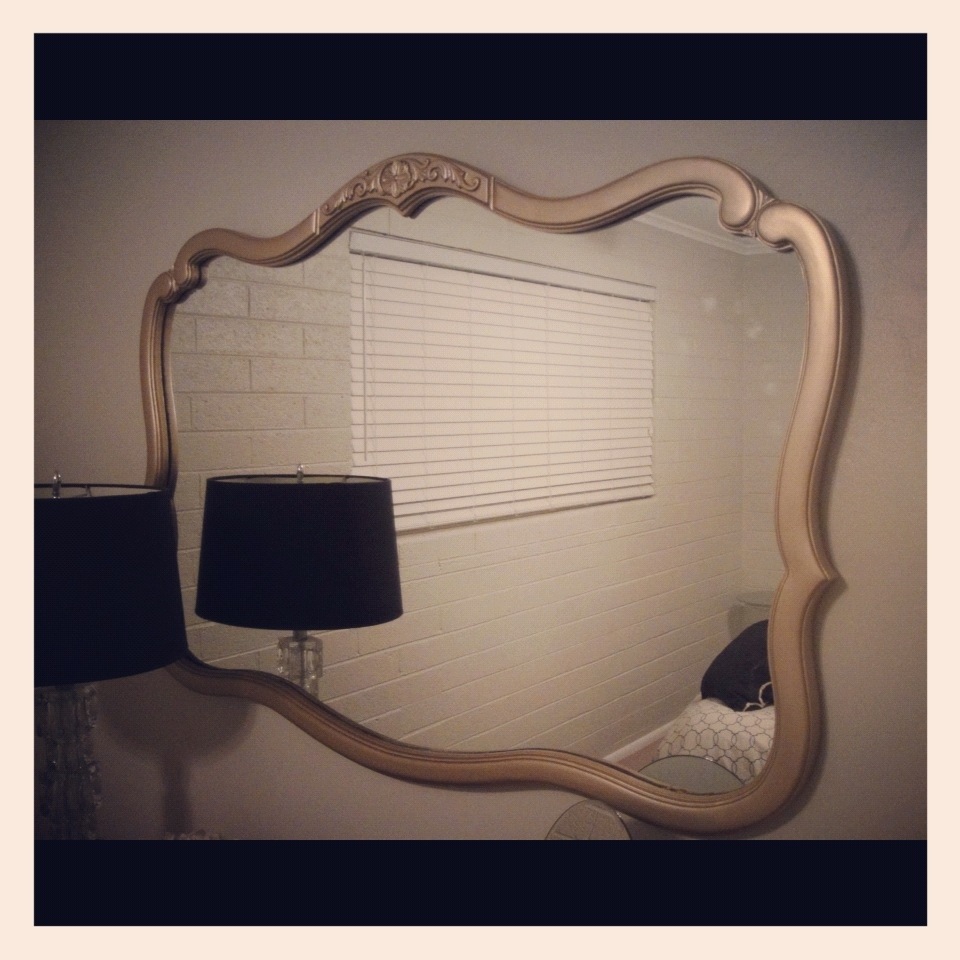
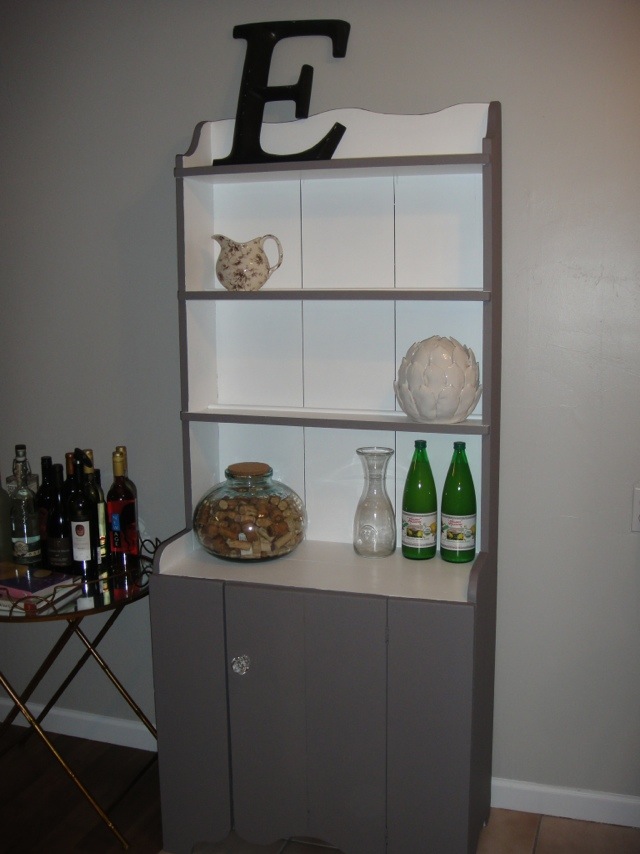
I have a confession…a lot of the tutorials I do are because I need something done around the house. Being a homeowner means the project list never ends. Case in point, I needed a bookcase for my guest room and wanted to recreate the look of a vintage one I already own. In this tutorial learn how to master an Ikea hack and create mercury glass for the shelves. The best part about learning the mercury glass technique is that you can also use it on vases, candlesticks and much more to create additional accents for your home.

Also, I found this post from Brittany Makes extremely helpful when deciding what gold spray paint to use.

Don’t forget to post an Instagram photo of tutorials you have tried and tag me @likehearted. I want to see what you all have been making!

Materials:

Tools:

  • Damp rag

  • Spray Bottle filled with water

Mercury Glass Steps:

  1. Make sure you are in a well ventilated area.

  2. Make sure the glass is clean and dry. The paint is going to go on the reserve side of whatever you are painting. In this case, the bottom of the shelf.

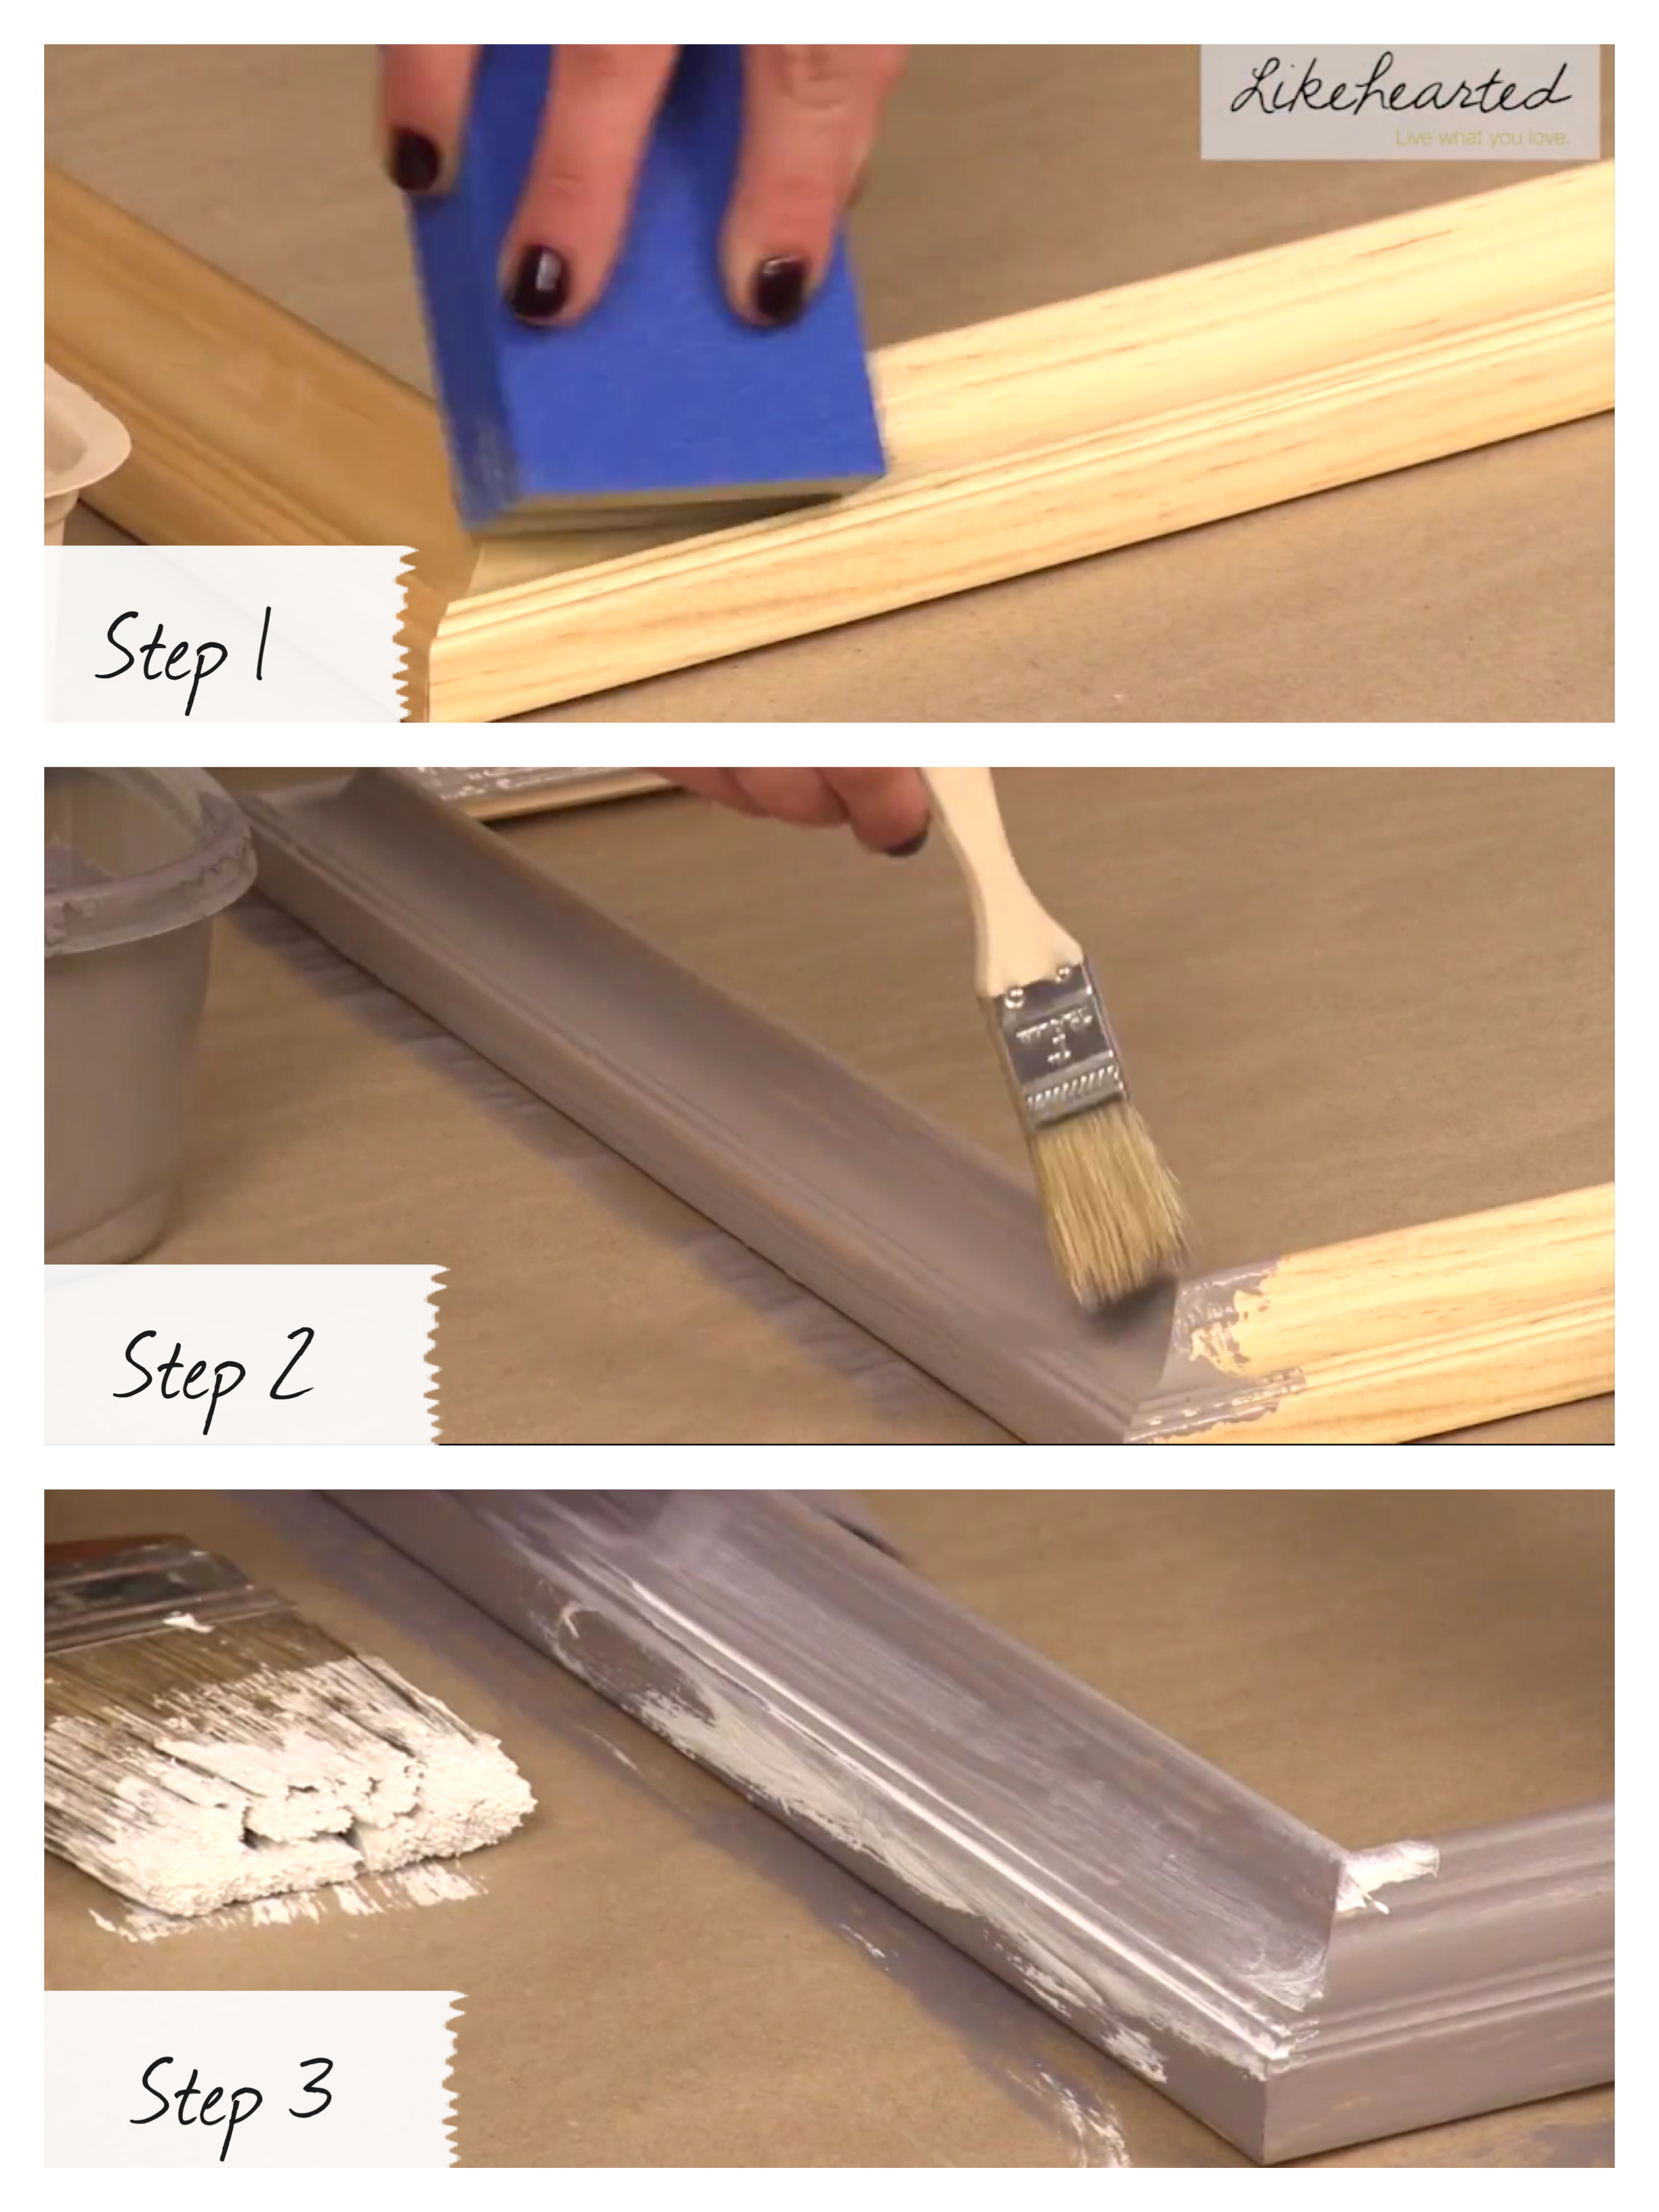
  3. Lightly spray the glass with water.

  4. Spray a layer of mirror paint. Let it dry for a few seconds.

  5. Depending on your desired look, you can incorporate other colors, here I add gold and black for a more antiqued look. Spray the colors and dab with a damp cloth top get your desired effect.

  6. Let it dry completely, if it is too transparent add another layer of mirror paint.

20130503-192113.jpgMercury Glass

Advertisement

How to Graywash Furniture

I have a ranch style house and the decor can be described as modern rustic, with the primary colors being gray and white. I love Restoration Hardware, but it is totally out of my budget, so I mostly refer to the store for just inspiration. A lot of their living and dining pieces come in a Grey Acacia Finish (pictured below) and since I enjoy refinishing furniture I tried to take a stab at recreating the RH look. I think it is a handy painting technique to know how to do if you like rustic, shabby chic, vintage styles.

Restoration Hardware Inspiration

The best part about the graywash technique is that it can be used on any type of wood furniture. In the video I did it on a frame to create accessory displays. I’ll do another post of how to create the accessory displays with chicken wire or twine.

Materials:

Tools:

Steps:

  1. If needed sand the frame to take away any varnish.

  2. To create the graywash – mix together 1 part gray paint and 1 part glaze.

  3. Use a bristle (chip) brush apply the gray paint to the frame. Use a different dry bristle (chip) brush to remove excess paint. Keeping with the rustic look the paint doesn’t need to fully cover the frame, just depends on how much of the oak wood you want to show through. Personally, I didn’t want much of the light wood to show through. Let is dry and apply second layer if needed.

  4. To really create the weathered look add a white glaze mixture: mix 1 part white paint to 1/4 part glaze. Using your regular paint brush paint on the white glaze mixture then remove excess with a damp rag. Continue this process until you achieve your desired look.

Graywash Steps

Sneak Peek – DIY Home Decor Tutorials coming this month!

This past Wednesday I shot a series of tutorials on items to create for your home. I’m all about bargain shopping, recreating high end looks at affordable prices and giving a face lift to things you currently own. Hopefully you all will enjoy my ideas and it will give you inspiration to create something of your own. Subscribe to the channel to be one of the first to see the series, new videos up every Friday! 72905_10102357417812701_1201842327_n

Weekend Warrior Project # 3 – Side Chairs

The “before” photo pretty much sums up this project. I instantly saw these diamonds in the rough and knew I had to have them. At $30 a piece it would be hard to pass them up.

BEFORE: Let me repeat, I got these for $30 A PIECE!!

20120430-182347.jpg

AFTER:

Here is how I did it:

  • The fabric I found at Joann – the week they had 40% off of designer fabric. For about 3 yards it costed  around $90.
  • I was lucky enough to have a family friend recover the cushions (all it cost me was a good bottle of white wine!).
  • I primed and painted the chairs with Rust-Oleum Painter’s Touch Ultra Cover 2x Coverage Primer/Paint in Dark Walnut (satin finish). Each chair took a can and a half, 3 cans needed in total.
  • Total cost of the project: about $170

A new favorite…

Whenever I see the Martha Stewart’s name on anything, I’m drawn in like a moth to the flame…so while shopping at Home Depot I spotted Martha’s new line of special finish paints and immediately had to figure out what to use the paint on. Good thing I’m knees deep in DIY projects since buying the house.  The paint comes in a variety of finishes  including metallic glaze, glitter, textured metallic, terra cotta, crackle, etc. Available at The Home Depot, $5.48-8.98 for a 10oz. I used the Metallic Paint in Vintage Gold.

20120314-225955.jpg

20120314-230004.jpg

Weekend Warrior Project # 2 – Mirror

I’m working on decorating my guest bedroom and decided to make a vanity out of my current desk (making a new desk for my office will be another weekend project). I needed a mirror and scored another great find at my favorite antique store. Purchased this mirror for only $40!

BEFORE: Sorry I didn’t take a better before shot!


AFTER: I wasn’t in love with the oak finish so I decided it needed a face lift.

20120314-225817.jpg


Here is how I did it:

  • I used painter’s tape (the blue colored kind) and kraft paper to cover the mirror edges.
  • I primed the entire mirror with Rust-Oleum Painter’s Touch Ultra Cover 2x Coverage Primer. Again let me stress, if you haven’t been using this paint to refinish things then I highly suggest you start using it. It’s a spray can, paint and primer in one so it cuts your project time in half!
  • The color is Martha Stewart Specialty Paint in Vintage Gold, which I painted on using a regular paint brush. This needed about 3 coats of paint.
  • Total cost of the project: $46


Weekend Warrior Project #1 – Hutch

BEFORE: Got this lovely hutch at my favorite antique store here in Phoenix for $60.

AFTER:

20120222-212856.jpg

I couldn’t be helper with the way this turned out! Here is how I did it:

  • I primed the entire hutch with Rust-Oleum Painter’s Touch Ultra Cover 2x Coverage in white. If you haven’t been using this paint to refinish things then I highly suggest you start using it. It’s a spray can, paint and primer in one so it cuts your project time in half!
  • The gray color is Benjamin Moore’s Stone 2112-40. I find that the small sponge rollers work best in the paint application for these type of projects.
  • Added a new crystal knob from Joan’s for $2.50 on sale.
  • Total cost of the project: $35