Wedding DIY: Welcome Bags

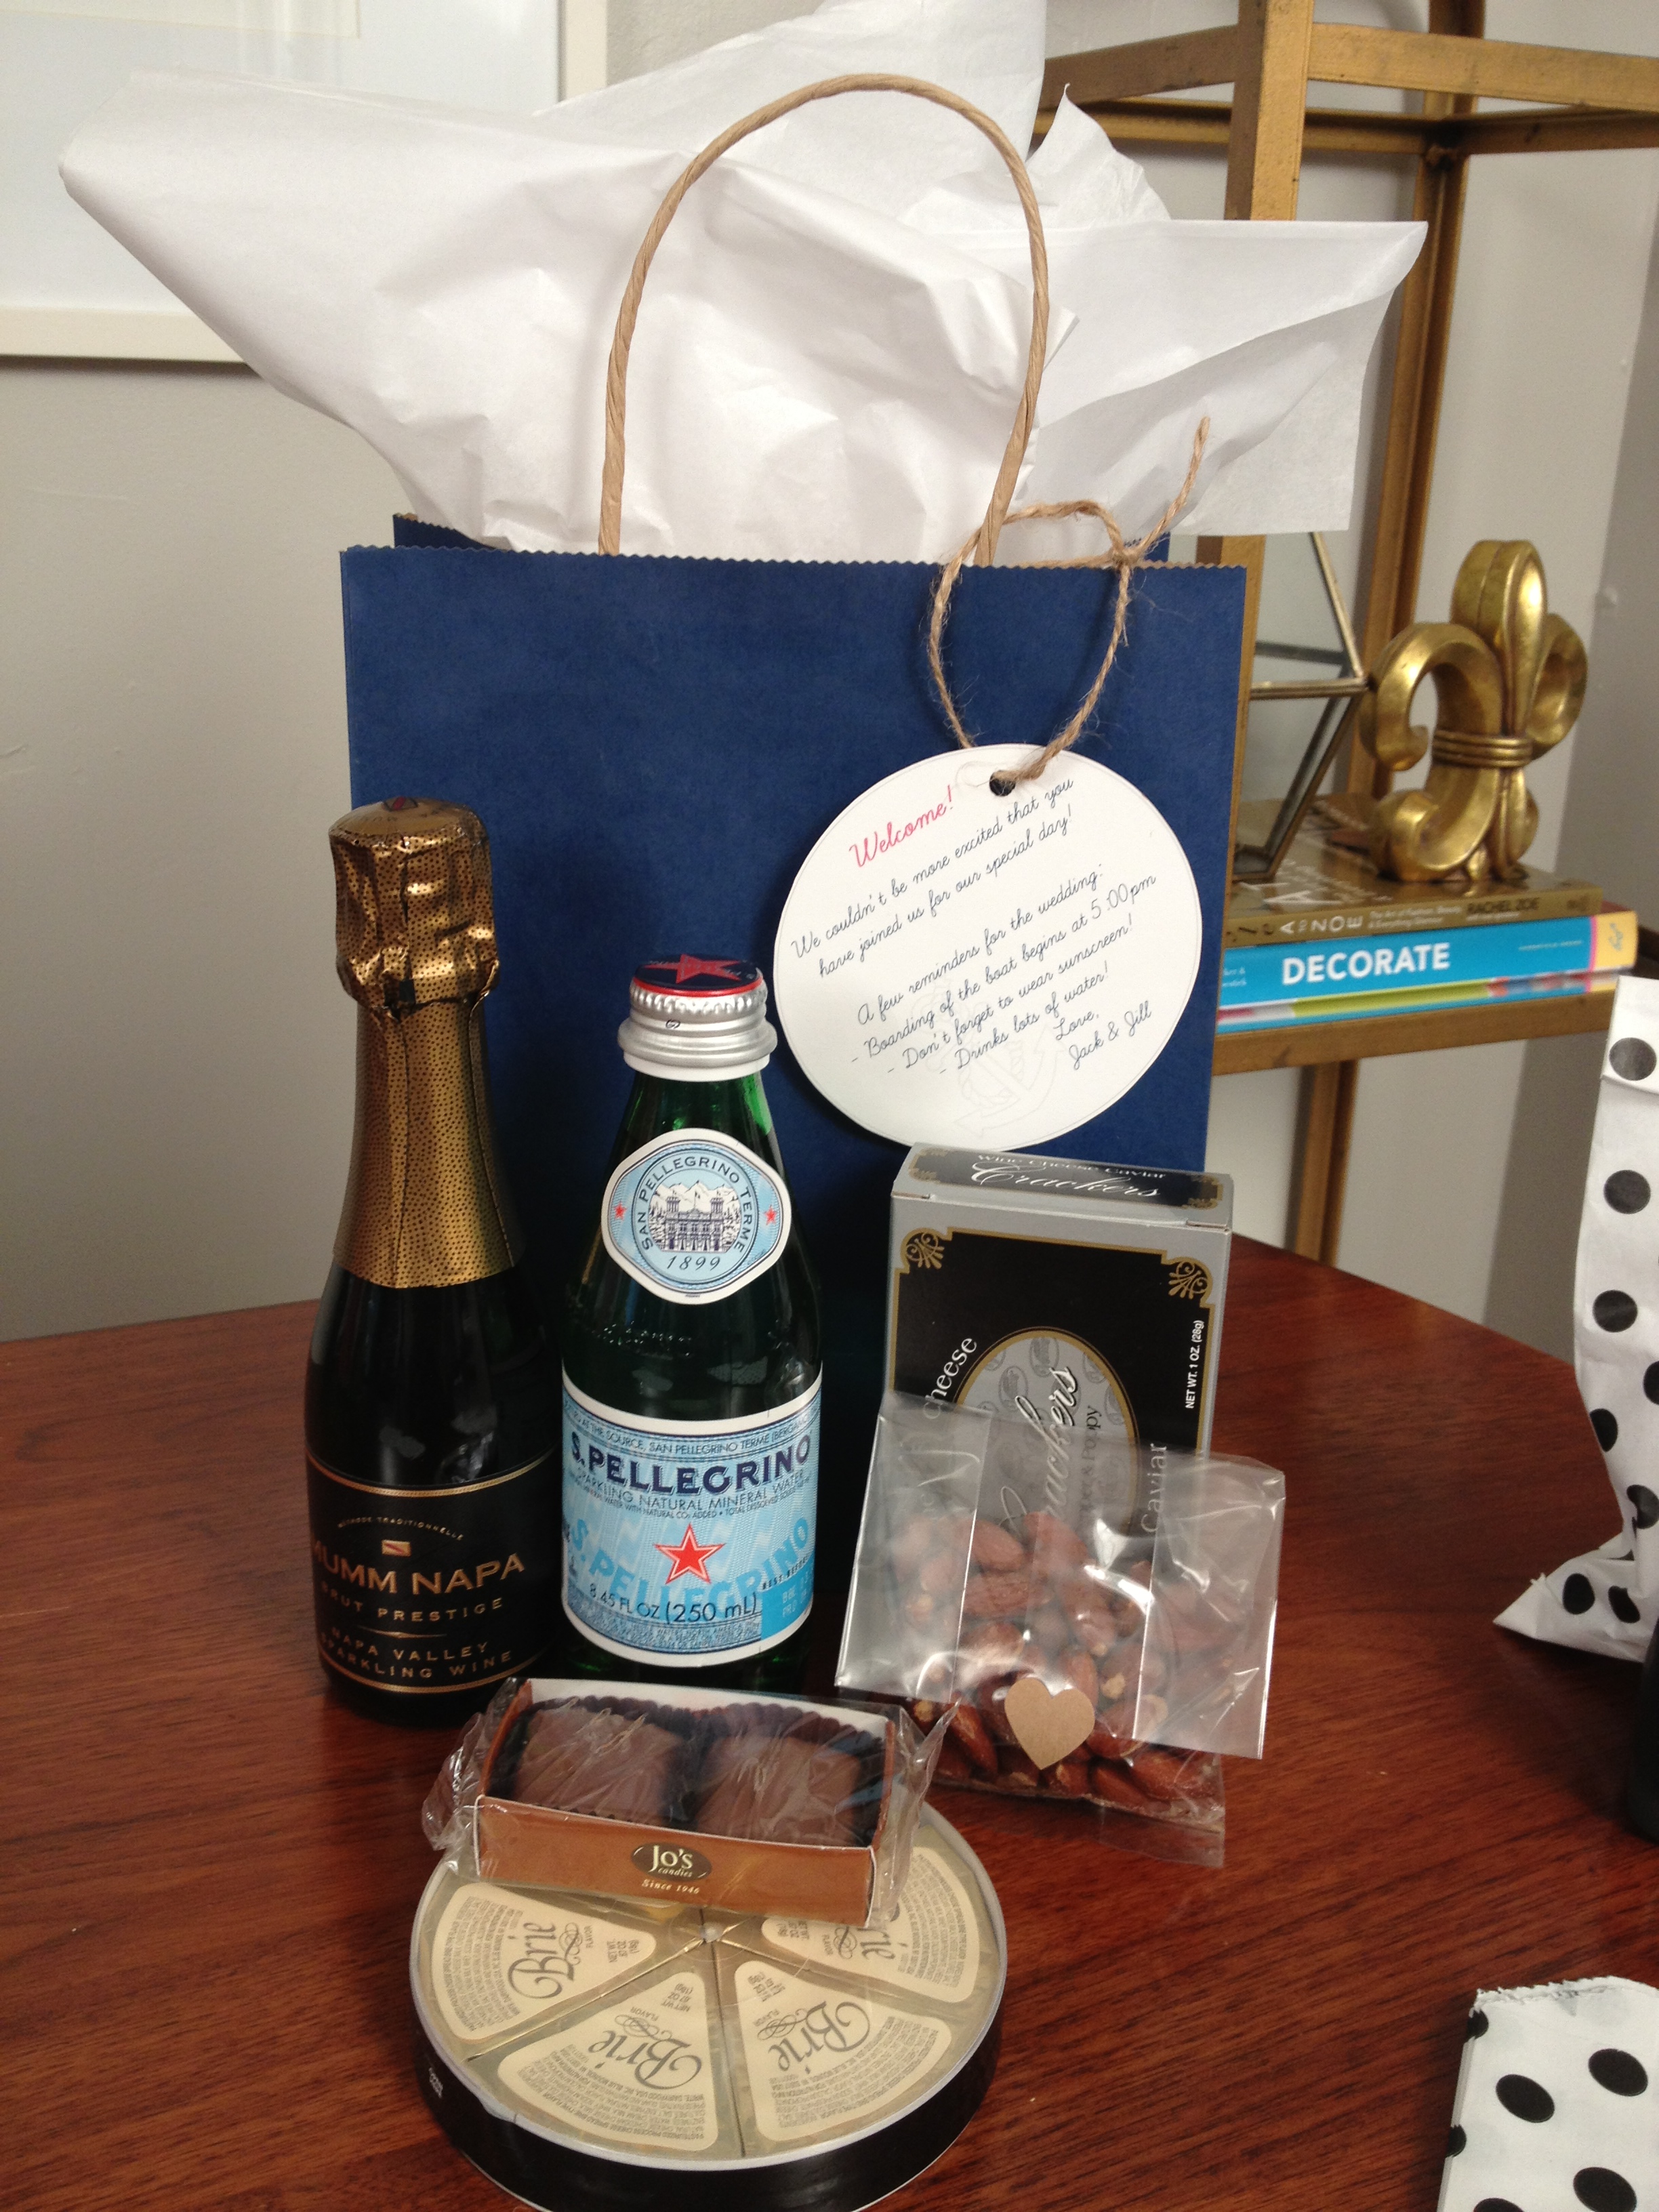
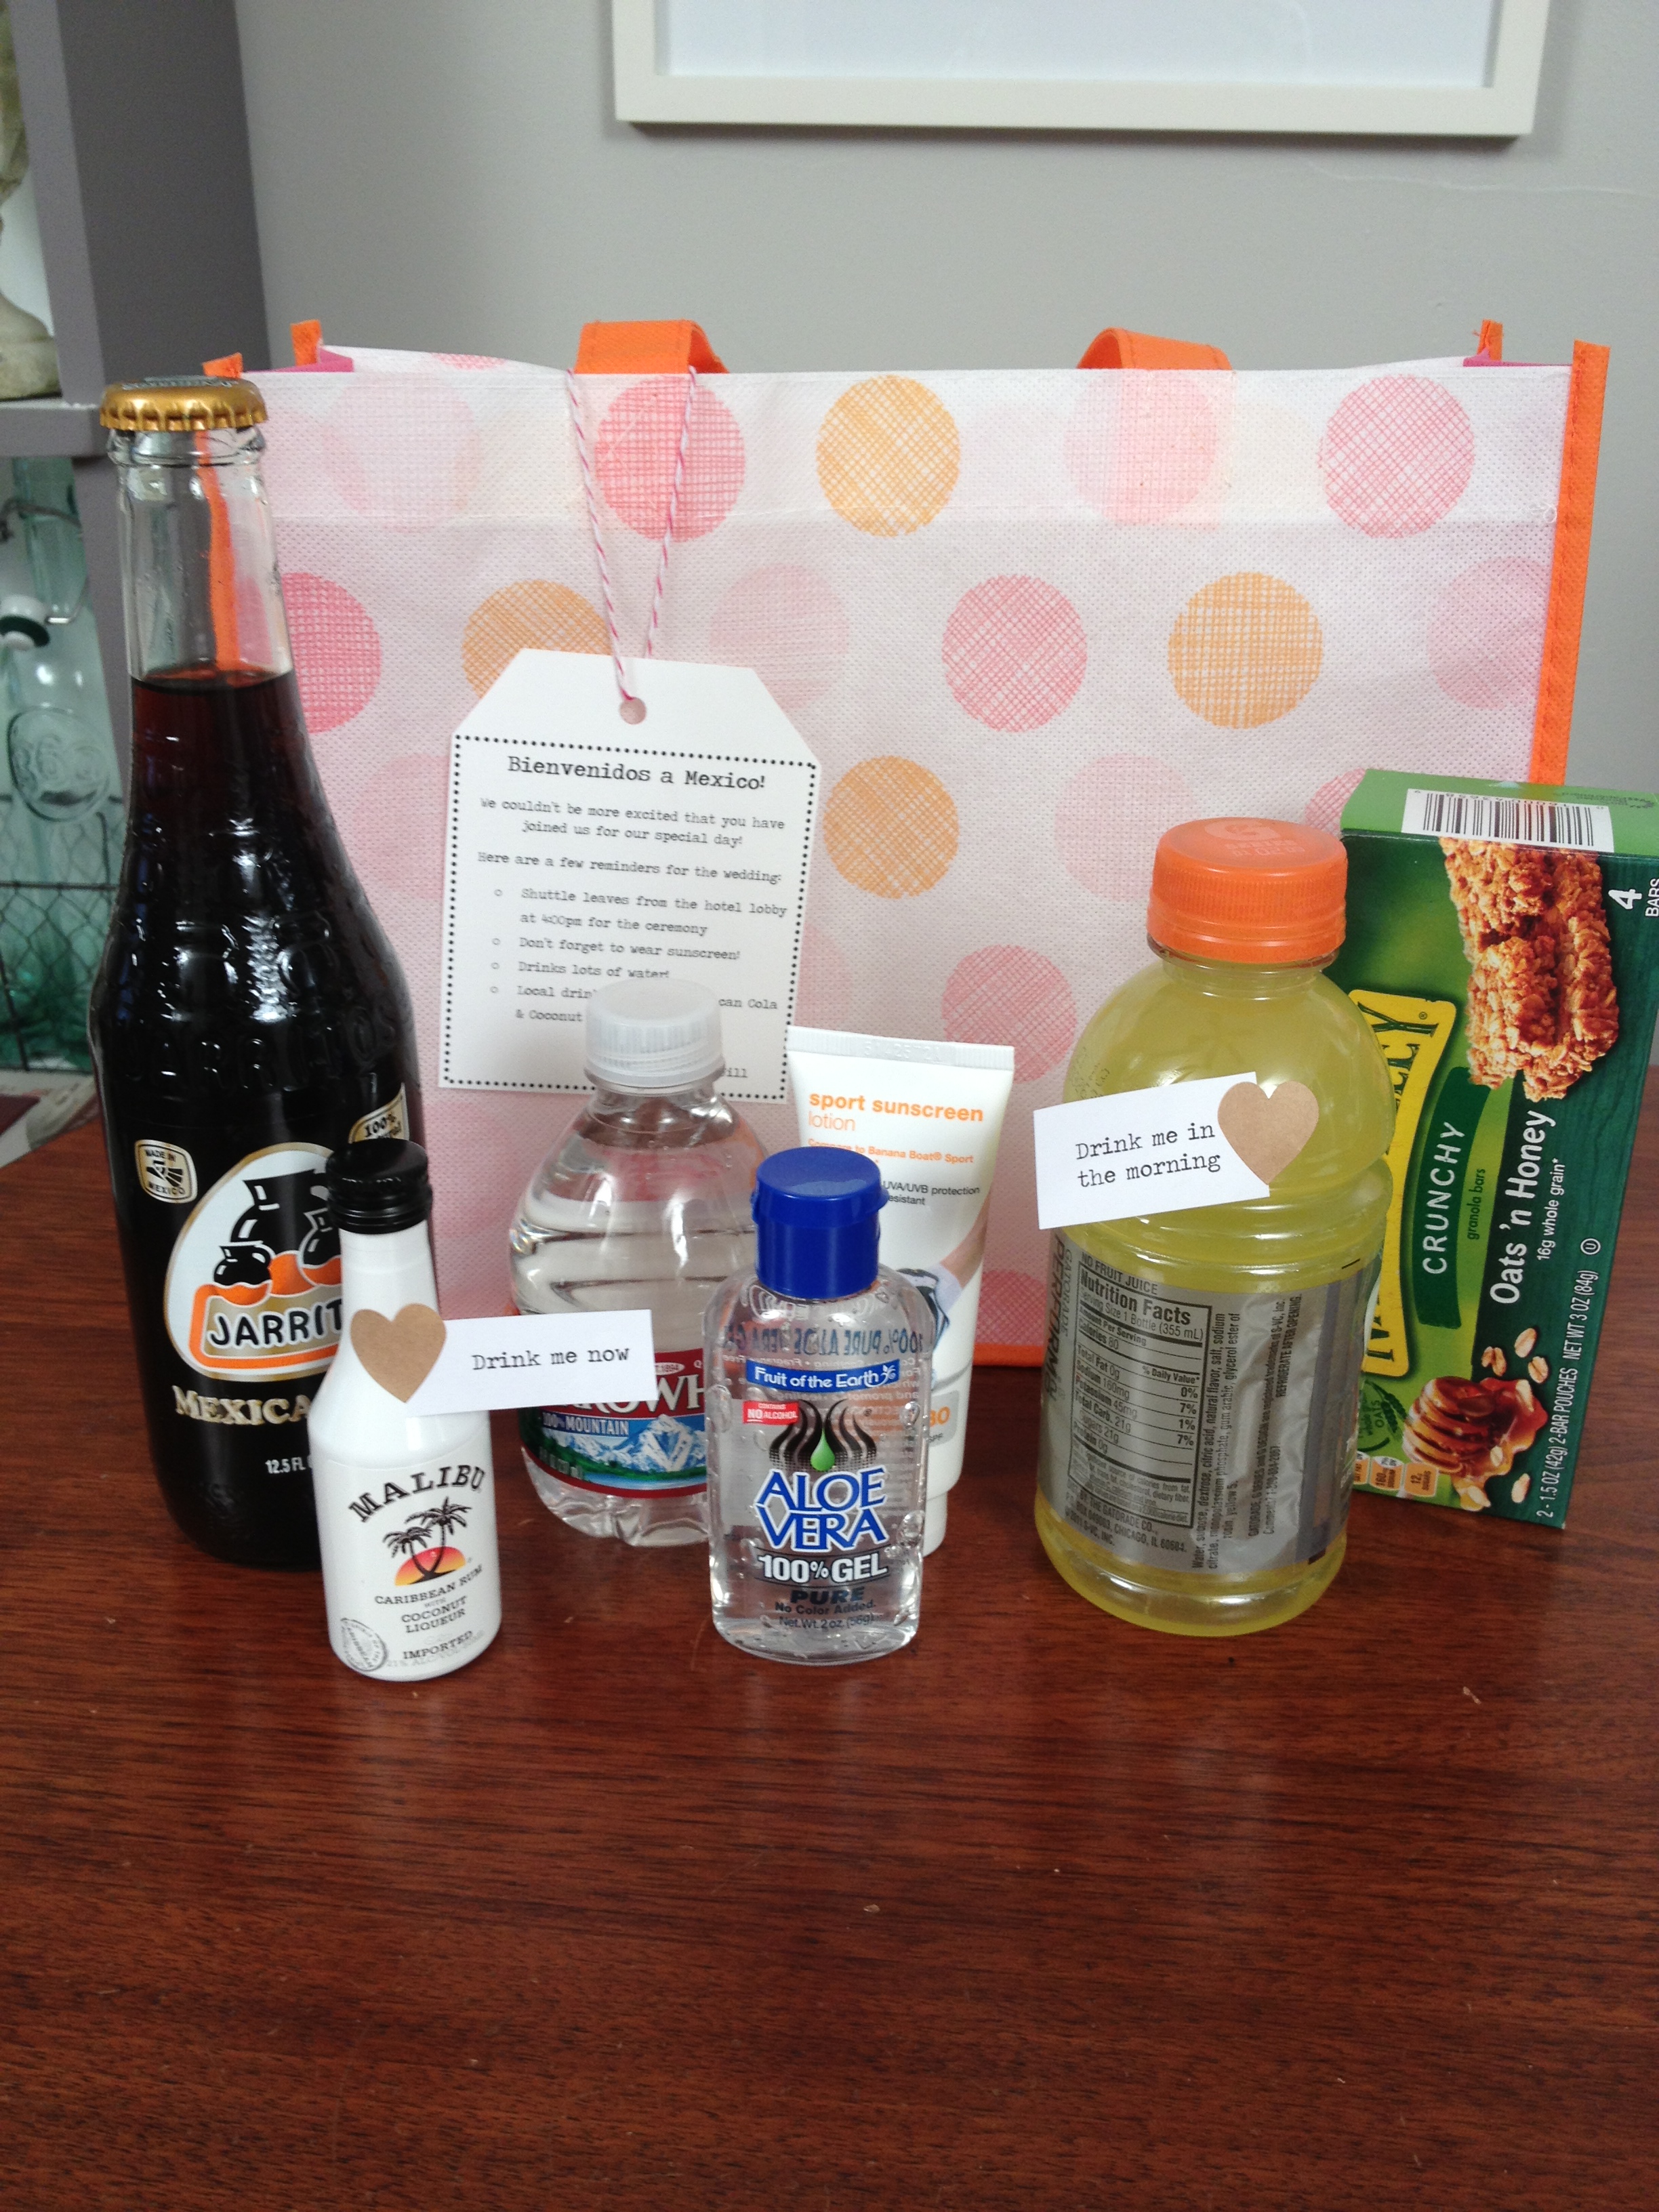
I can’t think of a better way to thank guests for sharing in your big day then to create a welcome bag upon their arrival.  This week’s video will show you some easy ways to customize the bags based on your wedding’s theme or destination.

Tip: Include specific notes for your guests such as a weekend itinerary, area attractions, transportation details or other visitor information.

Resources:

  • Target – $1 section for toiletries
  • World Market – miniature versions of food and drinks
  • TomKat Studio – favor bags and twine
  • Michaels – colored paper bags with handles

I’m only 33 people away from my goal of 1,000 subscribers – help spread the word and SUBSCRIBE to the channel!

French Bag

Mexico Bag

Polka Dot Bag

Advertisement

DIY Chalkboard Platter

Here is the last video from the first set of DIY entertaining tutorials – check out the many uses for a chalkboard platter. Warning: this was the very first one that we shot, so clearly I had some warming up to do! It got a little easier the second time around, I just reviewed the rough cuts of the wedding tutorials and can’t wait for you all to see them.

Materials:

Tools:

  • Paint Brush

Total cost: Under $20

Time: 20 minutes (minus drying time) 

Steps:

  1. Make sure the plate is clean and dry.
  2. Paint the inner edge of the plate. Be sure to follow the directions of the chalkboard paint you are using, The Martha Stewart chalkboard paint requires you to wait at least 1 hour before doing the second coat. 
  3. Write with the chalk to describe what you are displaying.

Various uses for the chalkboard platter:

  • Cheese Serving Plate
  • Beer (or your alcohol of choice) Tasting Platter
  • Perfume Display

Tip: 

  • Turn it into a housewarming gift by including cheese knives, a monogrammed dish towel and a chalkboard pen. I also like the idea of writing the last name of the new home owner on the bottom of the platter, for example “The Brown House Est. 2013.”