DIY Photo Booth & Props

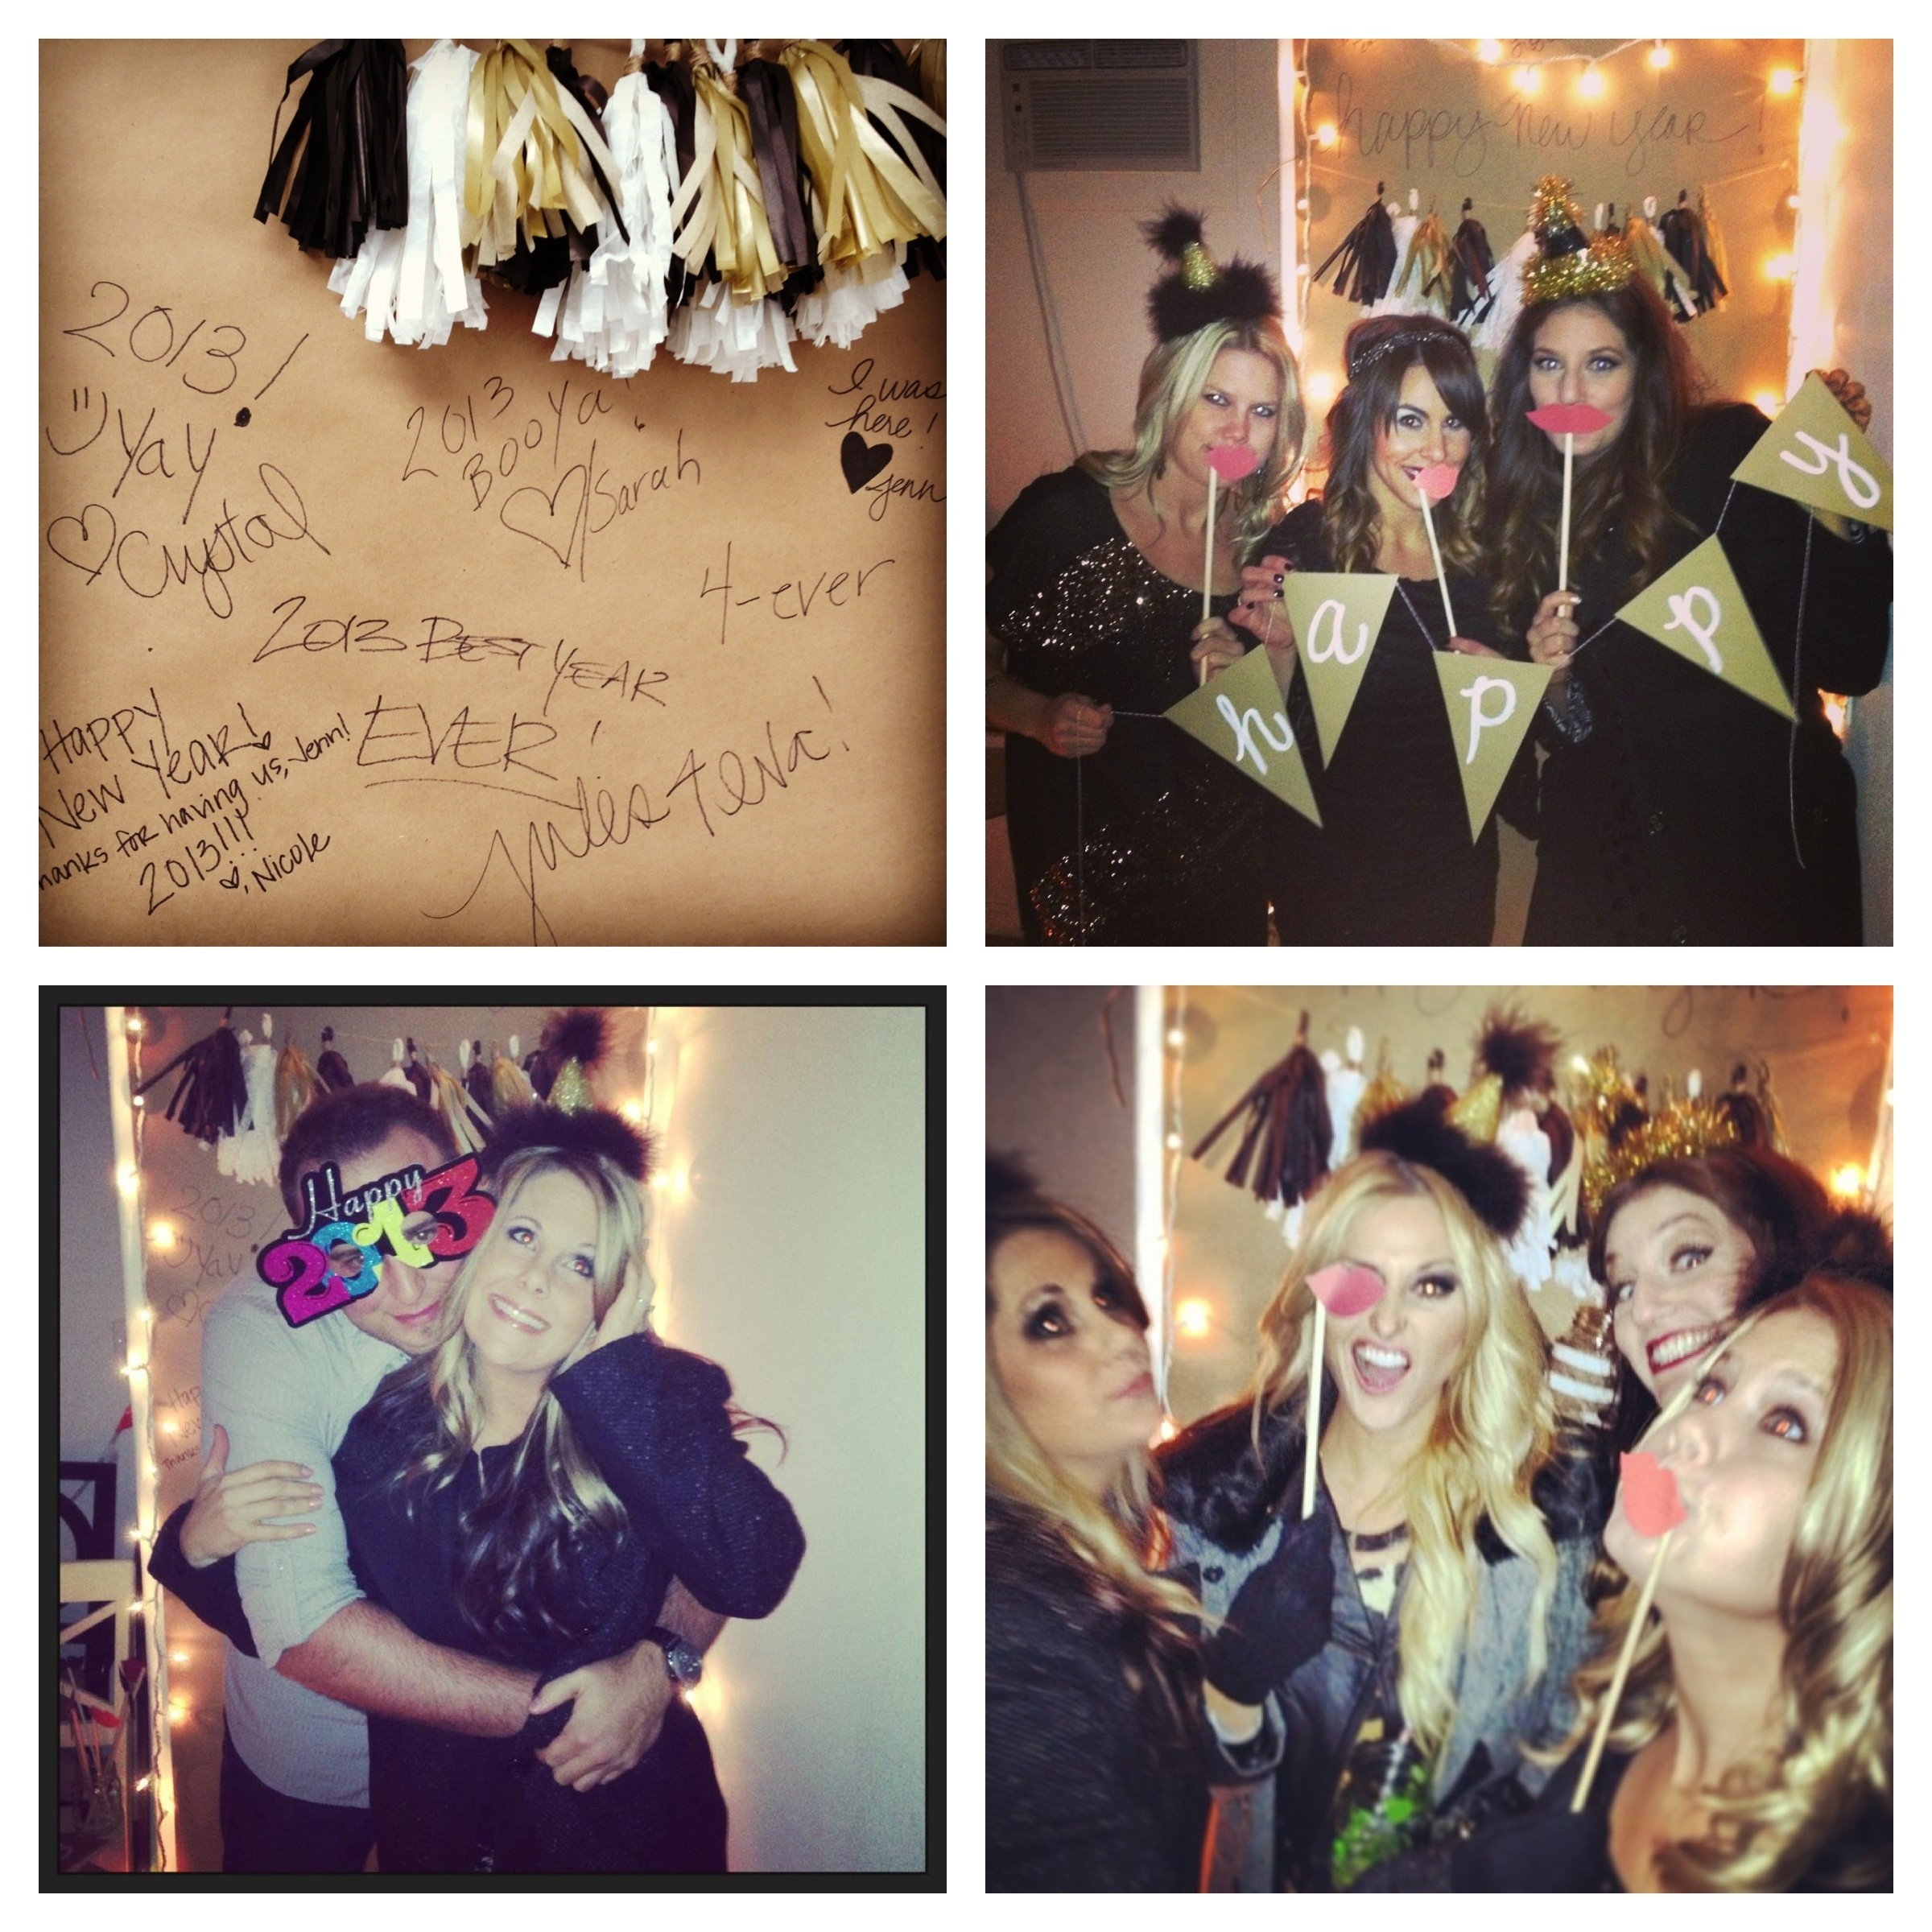
I hosted New Year’s Eve and decided to do a photo booth as a way to capture the night’s moments. Watch the video to see how to make your own and check out the photos at the bottom of the post for the final results!

Prop Materials:

Photo Booth Materials:

Tools:

  • Scissors
  • Hot Glue Gun
  • Sharpie

Total cost: Under $10

Time: 30 minutes

Steps for Props:

  1. Draw freehand or download a stencil online for lips & mustache silhouettes. 
  2. Trace the stencil onto the card stock.
  3. Cut out the shapes.
  4. Secure the shape to wooden dowel with a dot of hot glue.

Steps for Photo Booth:

  1. Find an area in your home that will function as your photo booth.
  2. Take the kraft paper and hang on wall with clear push pins.
  3. Decorate with tassel garland, white lights and/or other decor to match your theme.

Tips: 

  • Use the backdrop as a guest book and have party goers sign it.
  • Write a hashtag (#newyearseve) on the backdrop as a reminder to guests to tag their instagram & twitter photos.
  • If you have an old Polaroid camera feel free to bust it out or have your guests download the photo sharing app Flock onto their smartphones (you can send an invite to your friends to download the app before the day of the event).

newyearsphotobooth.jpg

DIY Tissue Tassel Garland

The Likehearted YouTube Channel is live! I had a blast being a content contributor and getting to share my craft ideas. I’m so grateful for the opportunity that Sitewire has given me, and the beautiful work Snapfactory did on the videos. It’s definitely nerve-racking being on camera for the first time but I’m really proud of the videos and hopefully you all enjoy them too!! More videos to come, so make sure to check out all the tutorials by subscribing to my channel: http://www.youtube.com/iamlikehearted.

Materials:

Tools:

  • Scissors
  • Hot glue gun

Total cost: Under $10

Time: 2 hours

Steps:

  1. Fold one sheet of tissue paper in half width-wise, then fold it over length-wise.
  2. With your scissors, cut strips of fringe about 1/4 inch wide along the unfolded long edge of your folded tissue, leaving about 2 inches of uncut tissue at the folded edge.
  3. Unfold your paper and cut the tissue in the center, creating two halves. Set one aside.
  4. You should have a sheet of tissue with fringe on either side and a solid section down the center. Using the solid center section, begin to roll the tissue paper up, being careful to keep the fringe untangled.
  5. After the entire section is rolled, twist the center tightly. Then curl it in on itself to create a loop, and secure with a small dot of hot glue.
  6. For a finishing touch, place a small dot of hot glue under the loop and wrap twine around the base, secure with another dot of hot glue.  Trim the ends if desired, and string your tassel onto your cord.

Tips:

  • One sheet of tissue paper makes 2 tassels.
  • I suggest about 16 tassels for your average size garland = 8 sheets of paper.
  • To make tassels with longer fringe, during step 2 cut along the short edge of the unfolded tissue instead of the long edge.

Don’t have time to make your own? Purchase the one I made in the video on my Etsy shop.