Chalkboard paint is starting to be a staple in home decor because of it’s versatility and functionality. This video was another request from a YouTube viewer who wanted to see some ideas on different ways to use chalkboard paint around the home. Leave a comment below and let me know how you have decorated with chalkboard paint!
Here is the follow up from the Halloween wreath post that I did the other week. In this new video I’m sharing ways on how you can easily transition the wreath to be used for fall and winter holidays.
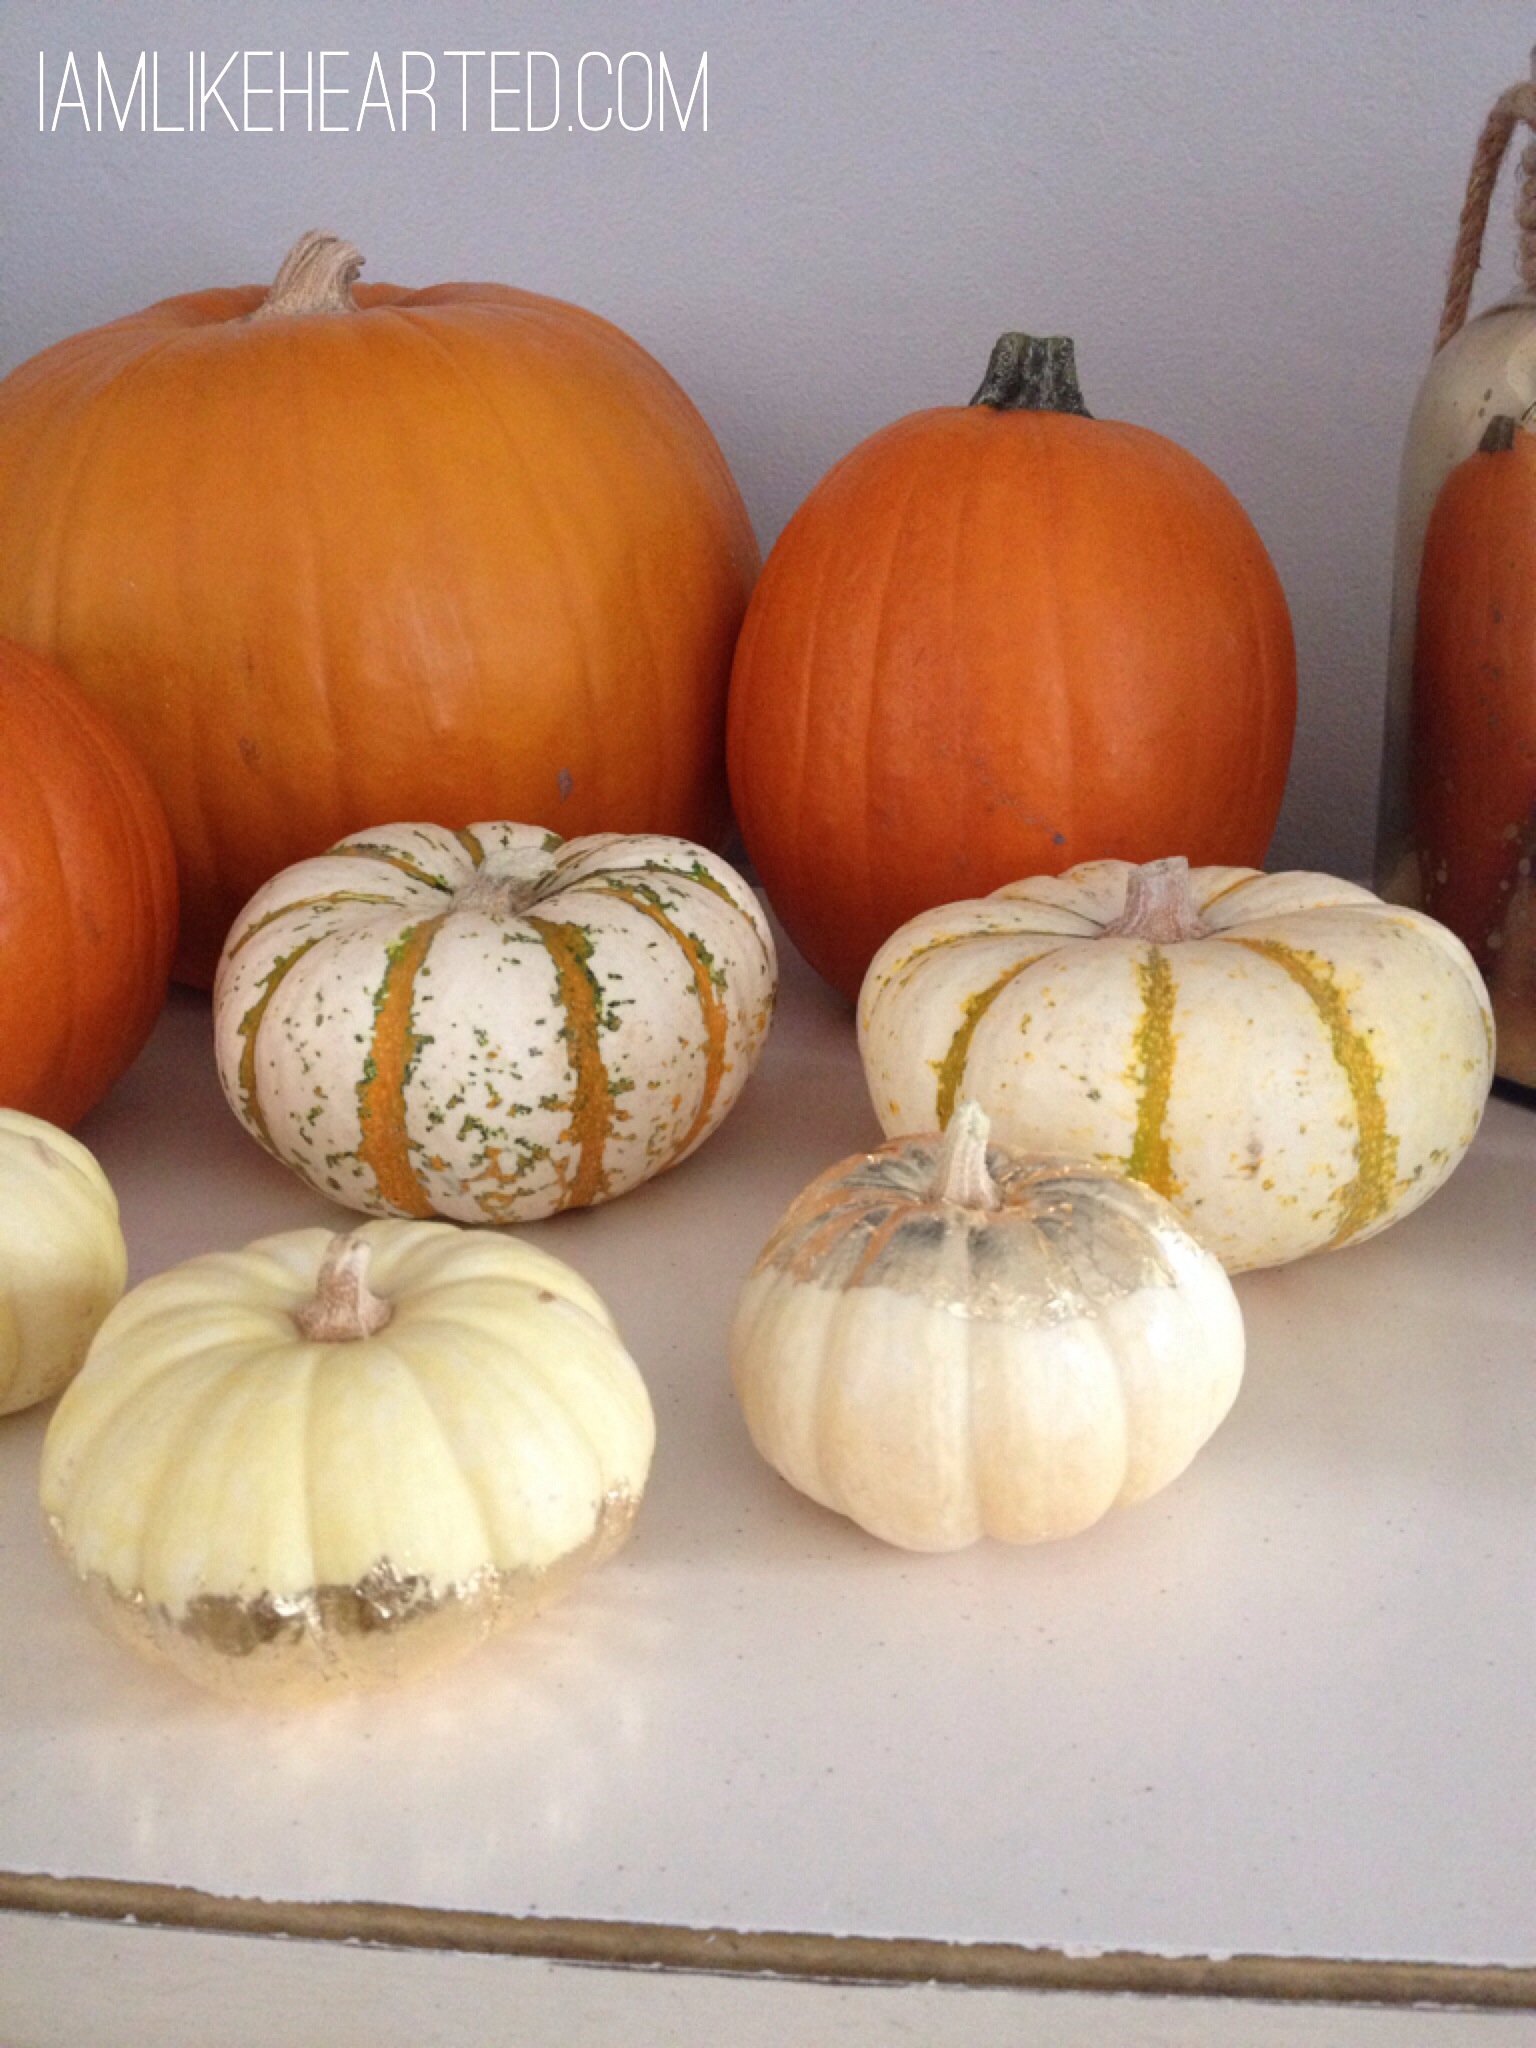
I saw Martha Stewart Living post on their Instagram about this new gilding product and knew instantly I wanted to try it out. In the video, I added the gilding to a white bowl which I thought was a cute little piece to place jewelry in. I actually have the bowl by my kitchen sink so I can put my rings in it while I wash dishes. It’s a simple process and is perfect for adding the metallic look to home accessories or holiday decor. I couldn’t resist adding a little glam to my white pumkpins.
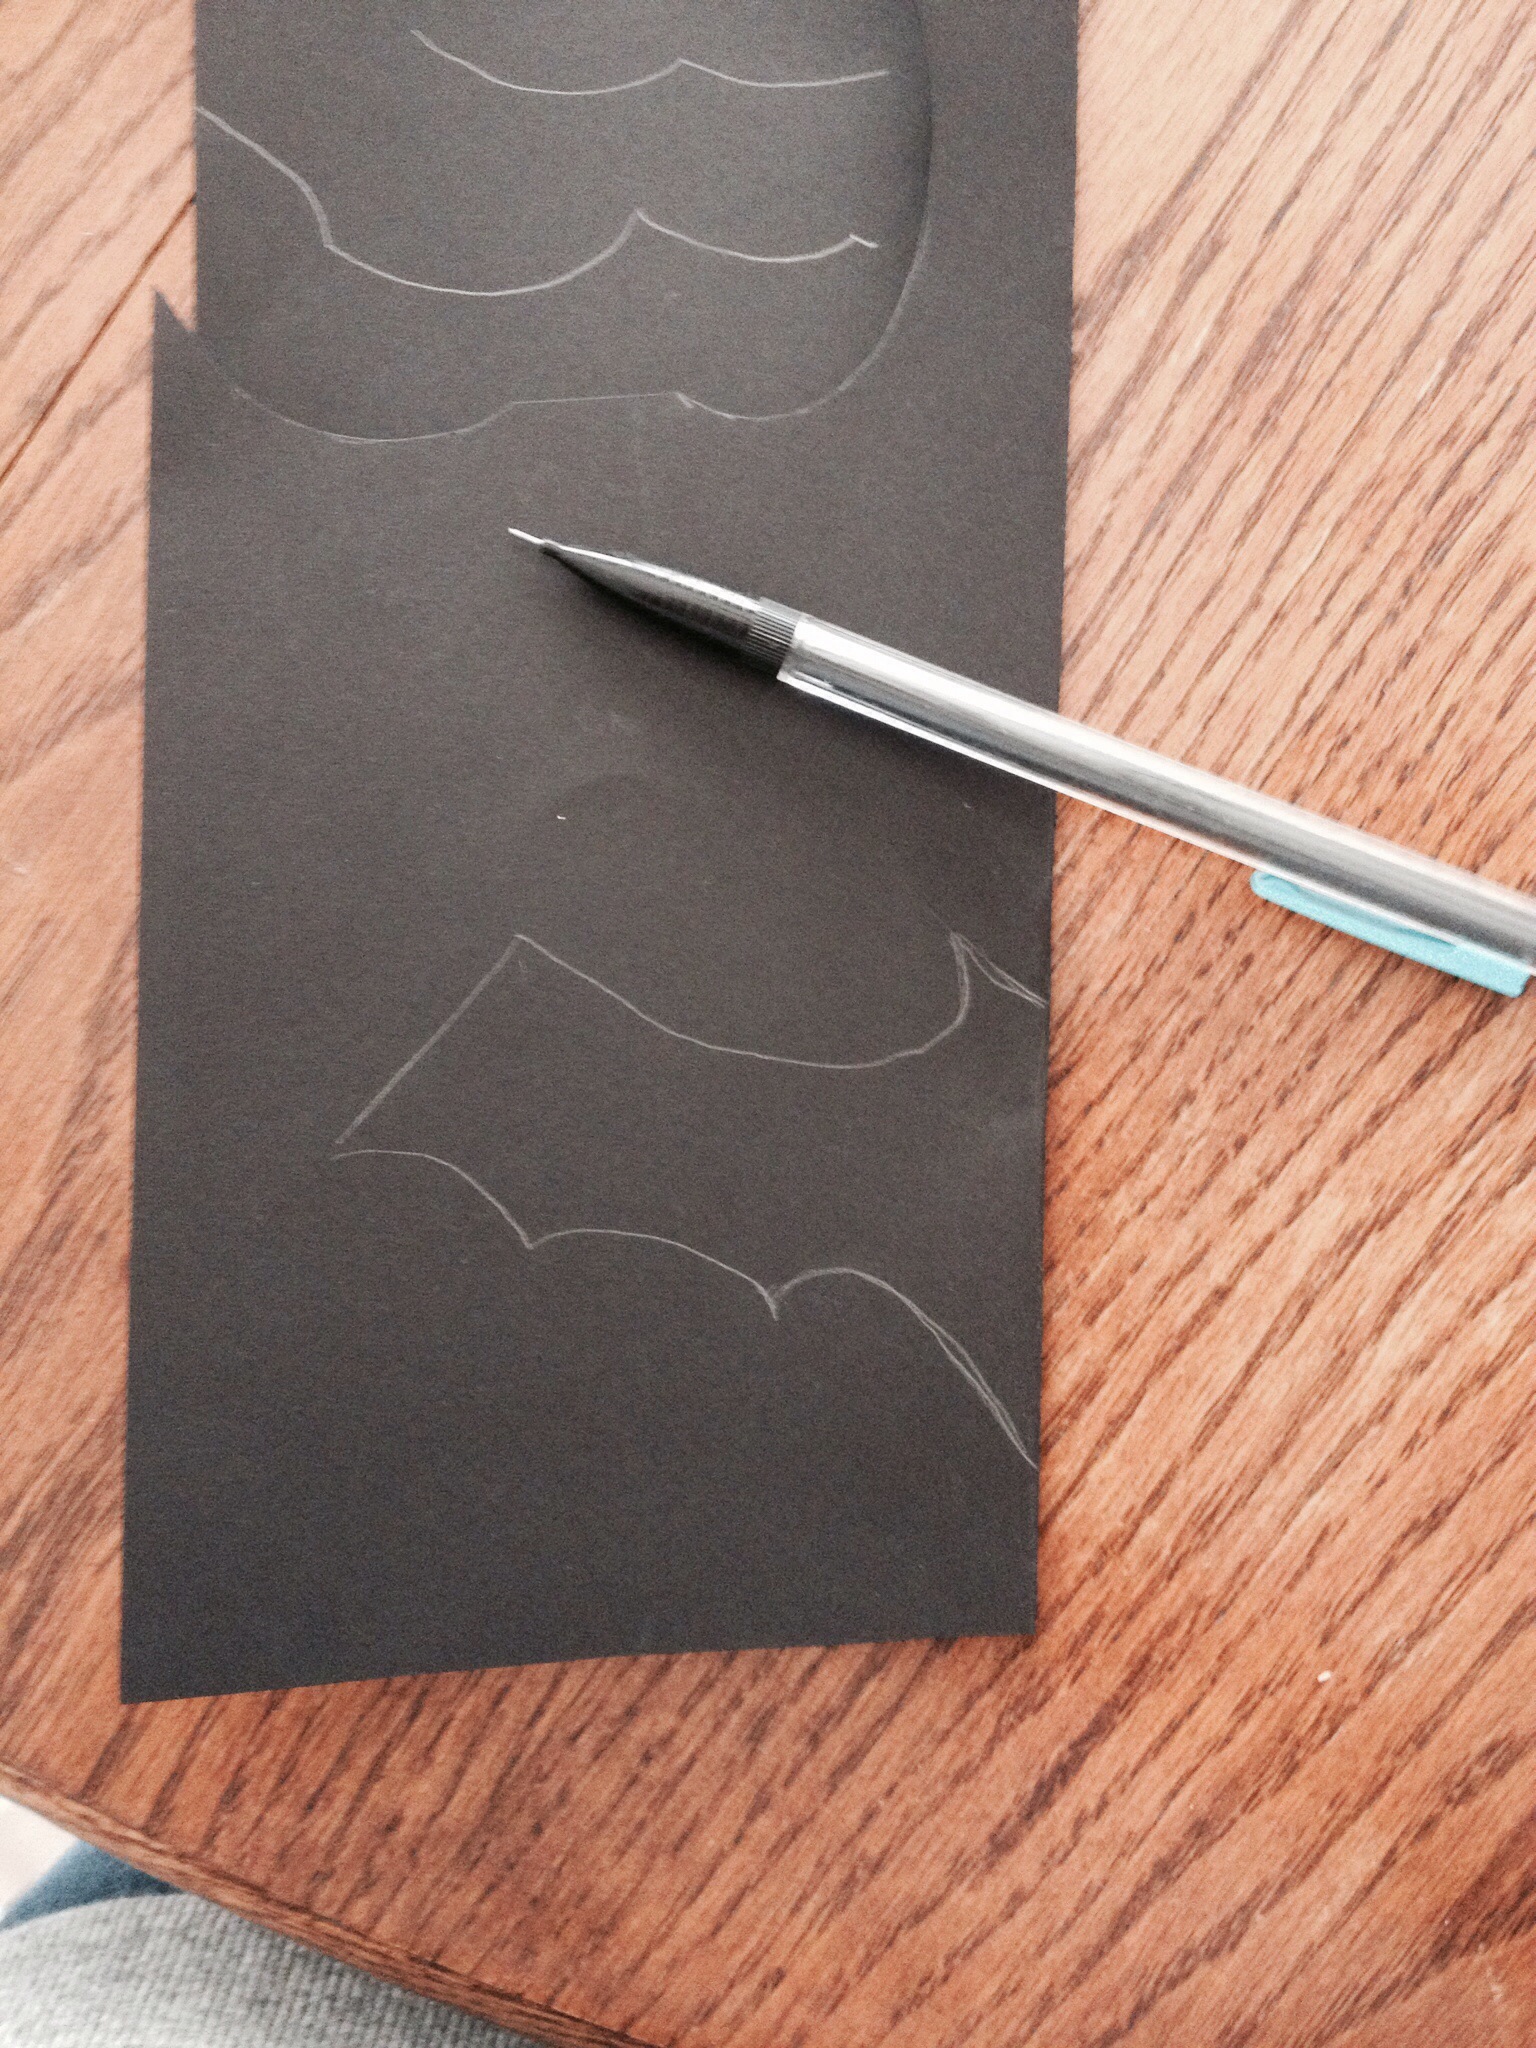
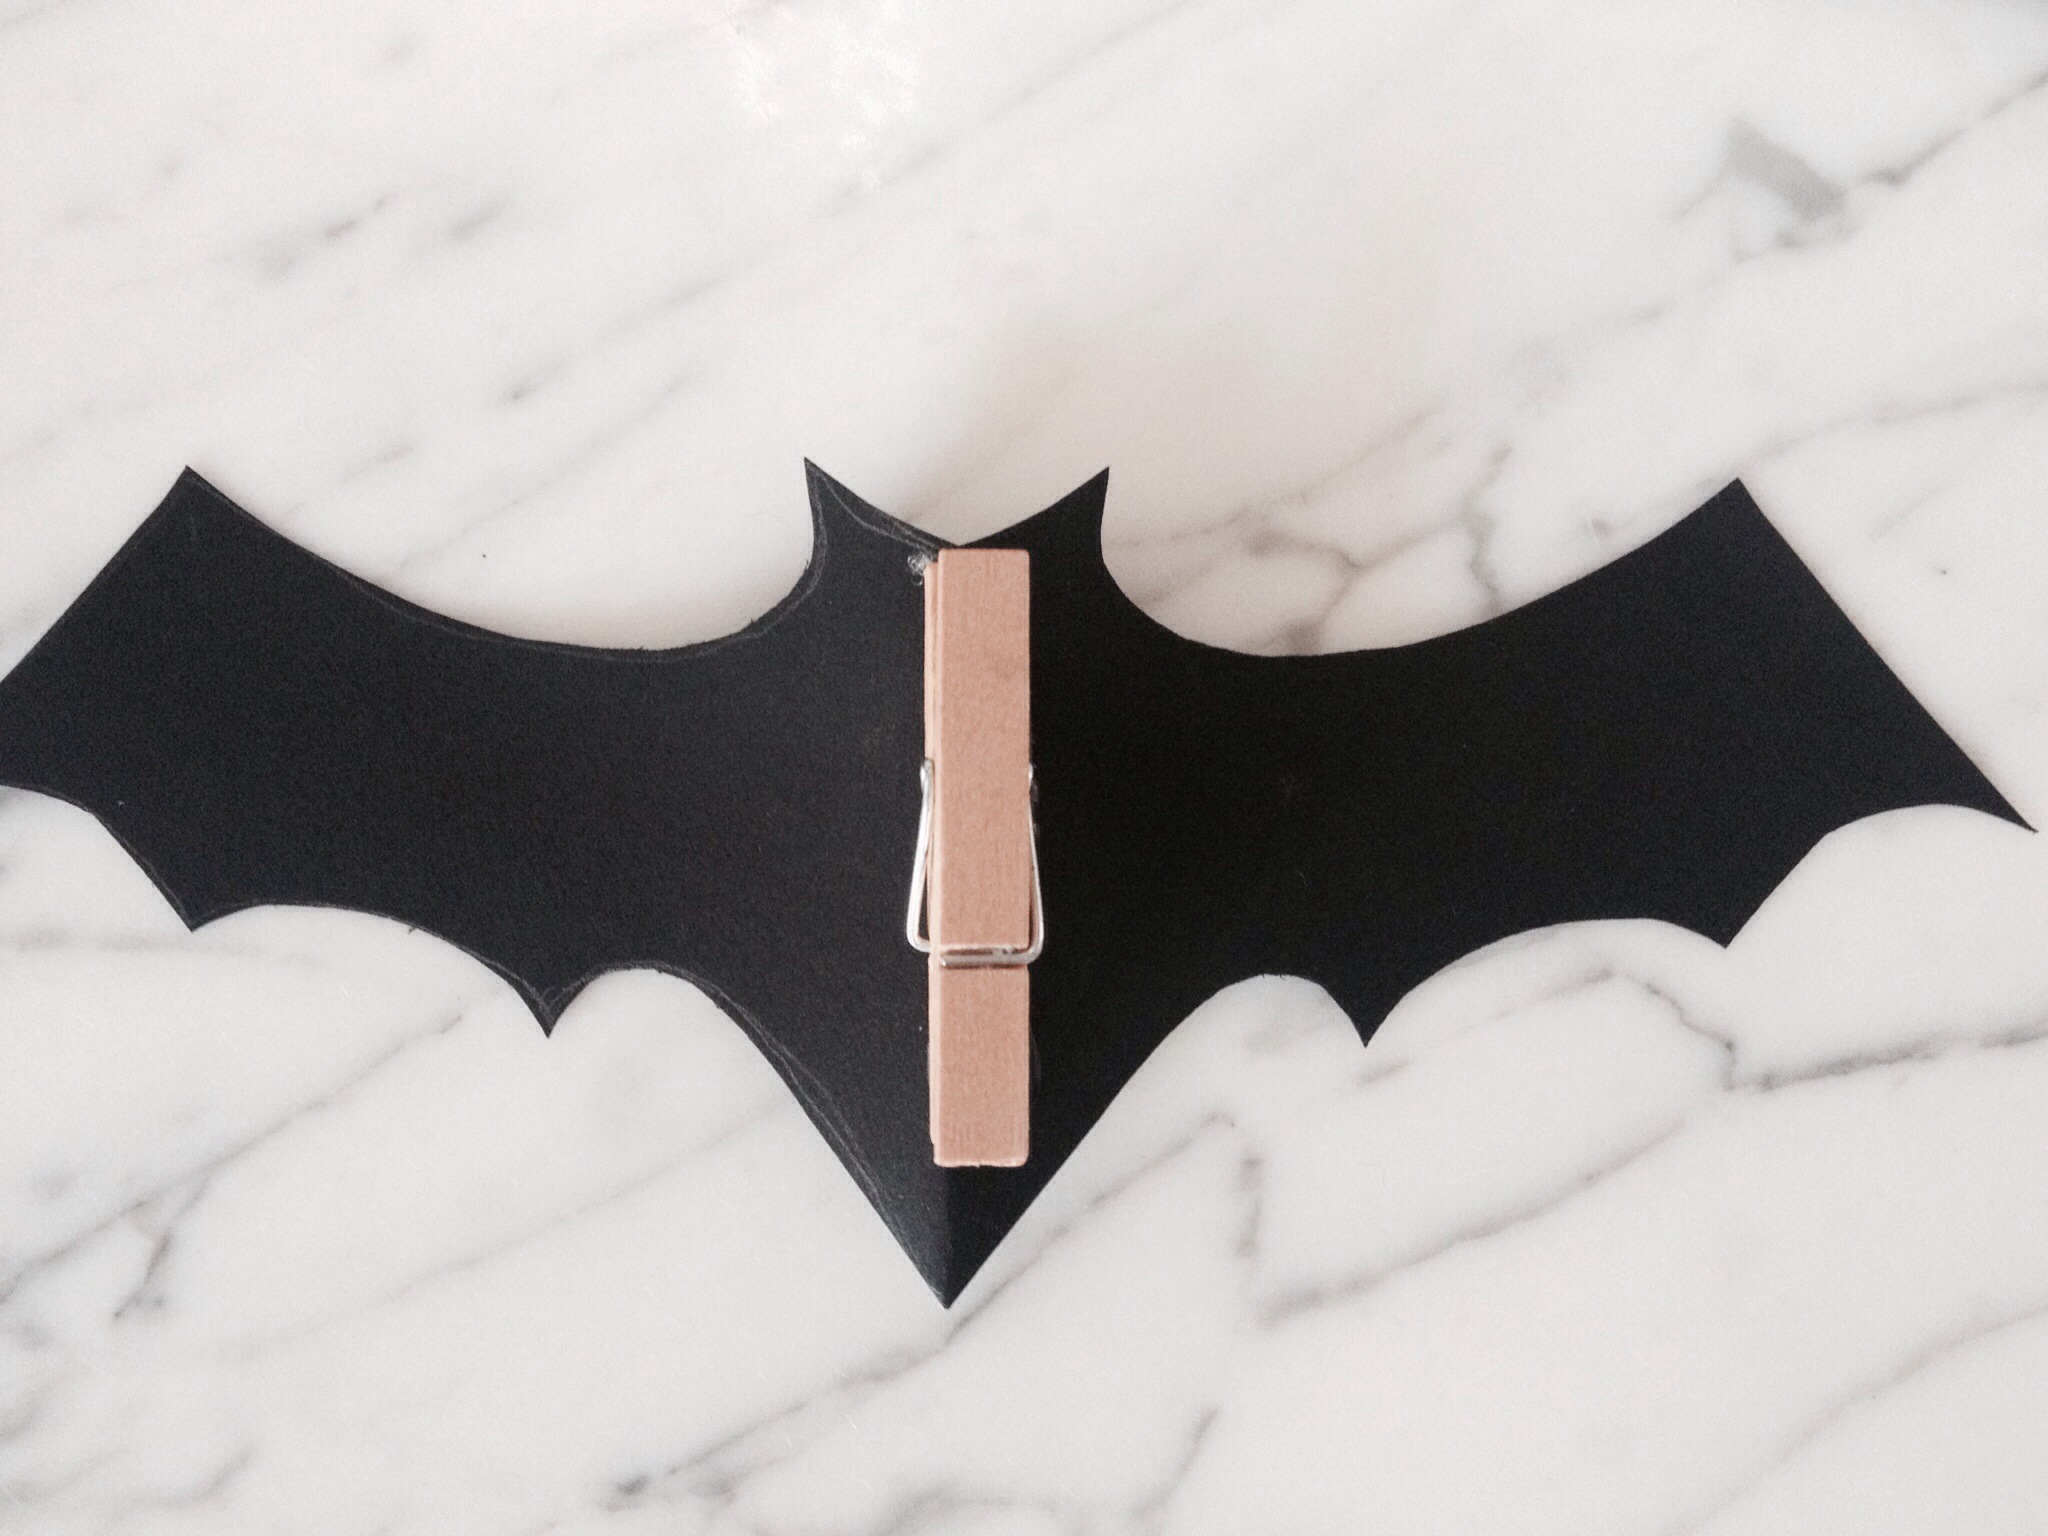
I’m all about functional and multi-use items when it comes to decorating. Really, who has the space to store decorations for every holiday!?! The idea is to not use glue when adding the decorative pieces so you can easily take them off to change it out for the next holiday. I bought the purple glitter spiders and they had clips on the back, which I thought was genius. So, I added mini clothes pins to the back of the bats I made, making it super easy to add and take off the decorative pieces. This post is all about showing you how to style the wreath for Halloween, but be on the lookout for future posts on how I easily transition the wreath to be used for Thanksgiving and winter holidays.
Supplies I picked up at Michaels (they are have 50% off most of their Halloween decor right now):
Grape Wreath – $9 originally but I used the 40% coupon they have every week, brings it down to $5.40
Glitter pumpkin pick – $.54
(4) Orange ball and feather picks – $4 (on sale for $1 each)
This DIY request actually came from a good friend who loved the Anthropologie wood hooks seen below but didn’t want to pay the cost of $30 a piece. I was able to recreate the look for around $10, the biggest expense are the hooks that will run you around $6-8 each. Also, I’ve been looking for a resource to get reclaimed wood and have yet to find one, so I had to distress the wood myself. If anyone knows of any places in Arizona to get reclaimed wood please leave a comment!
There is some major baby fever right now! I have eight friends due by the end of the year, that means tons of baby showers in my future. I always like to get something off of the registry and also include something personalized. This week I’ll show you how to create simple artwork for the saying “I Love You to the Moon & Back.”
The best part is I have curated a kit so that you can easily replicate this craft at home, purchase it here. You can use the kit to create the artwork yourself, or give it to the mom-to-be as a gift.
Tips:
Use stickers if you don’t want to hand write the saying.
Use a coffee can or bowl if you don’t have a compass.
Don’t forget to share your photos of the crafts you have done on Instagram and tag @likehearted!!
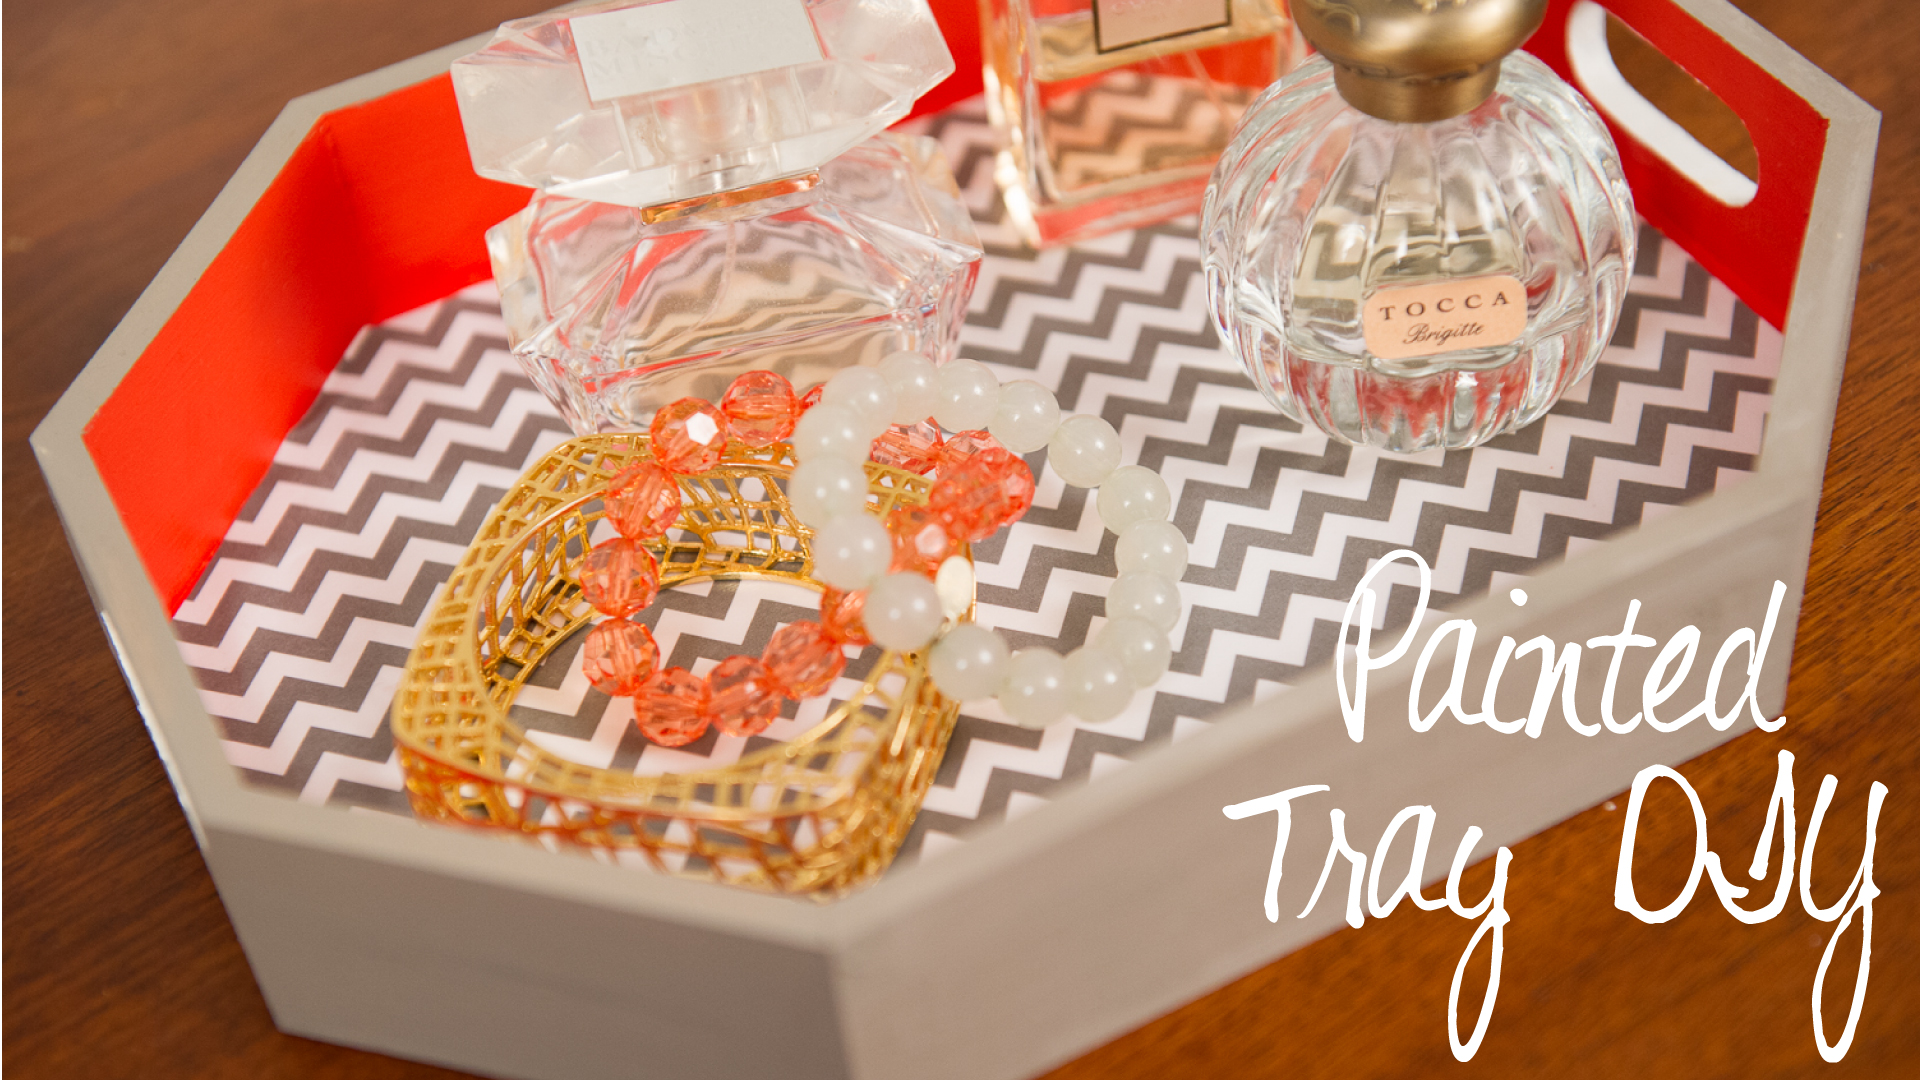
I’m constantly looking for home decor accessories and believe this is the biggest challenge when it comes to styling any space. I saw this tray in its raw wood form and decided to transform it to fit the decor at my house. The tray serves a great piece to display jewelry and/or perfume. I’ve put together a kit of all the supplies I used so you can make this exact one at home, purchase it here. If you get the kit send me a pic of the finished product on instagram and tag @likehearted!
I love this dip dye effect as an update to traditional tie dying (you know those shirts that always makes me think of Ben & Jerry’s ice cream). The ombre effect isn’t coming through as well on video, but it is there, I promise! I did 15 minute intervals but you can do longer to achieve the shades that you want. This same technique can be used on clothes, table clothes, etc. Dip dyed napkins make a perfect summer hostess gift!
Materials:
Rit Dye
White curtains or whatever material you are planning on dying
String
Tools:
Bucket
Rubber Gloves
Measuring Cup
Wooden or plastic spoon
Steps:Follow instructions that came with your dye. I recommend doing this craft outside.
Prewash fabric.
Tie string around the fabric where you want the dye to stop.
Fill bucket with enough hot water for fabric to move around freely.
Wet fabric in hot water. Ring out and place to the side.
Take 1 packet of dye to 2 cups hot water. Mix and add to bucket.
Add fabric to bucket, let is soak and then in in 15 minute intervals move the fabric out a foot to create an ombre effect.
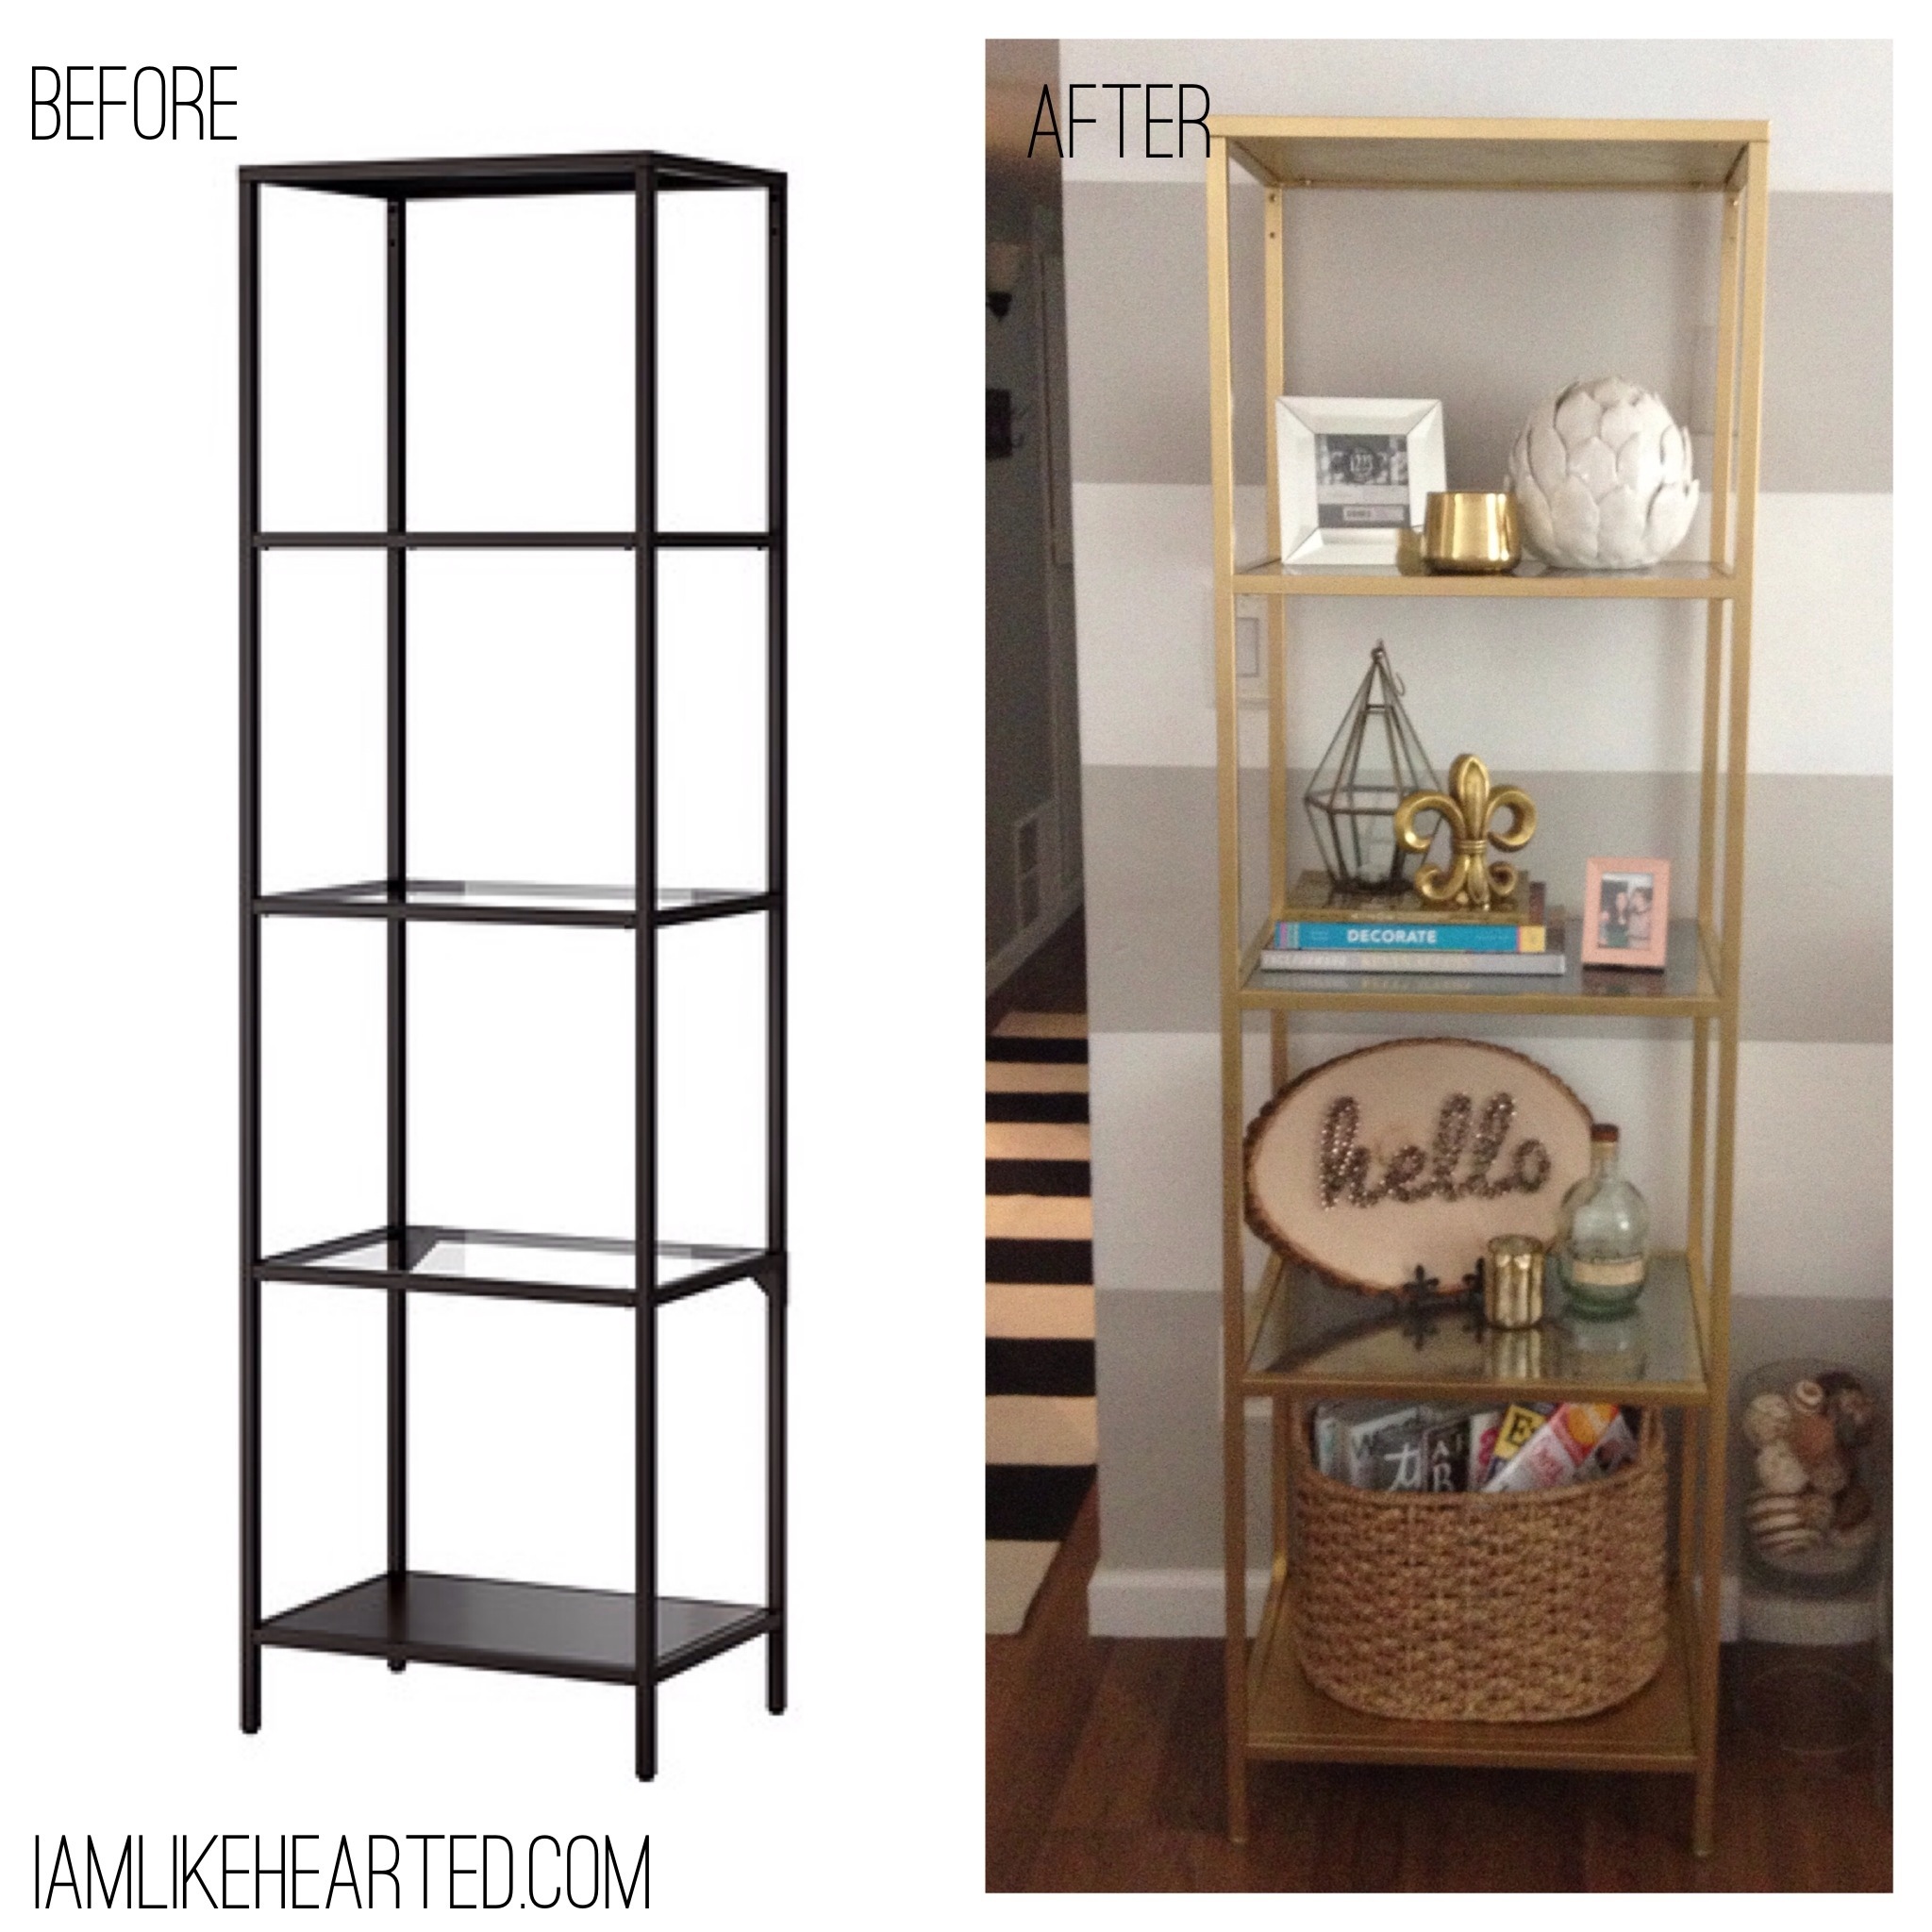
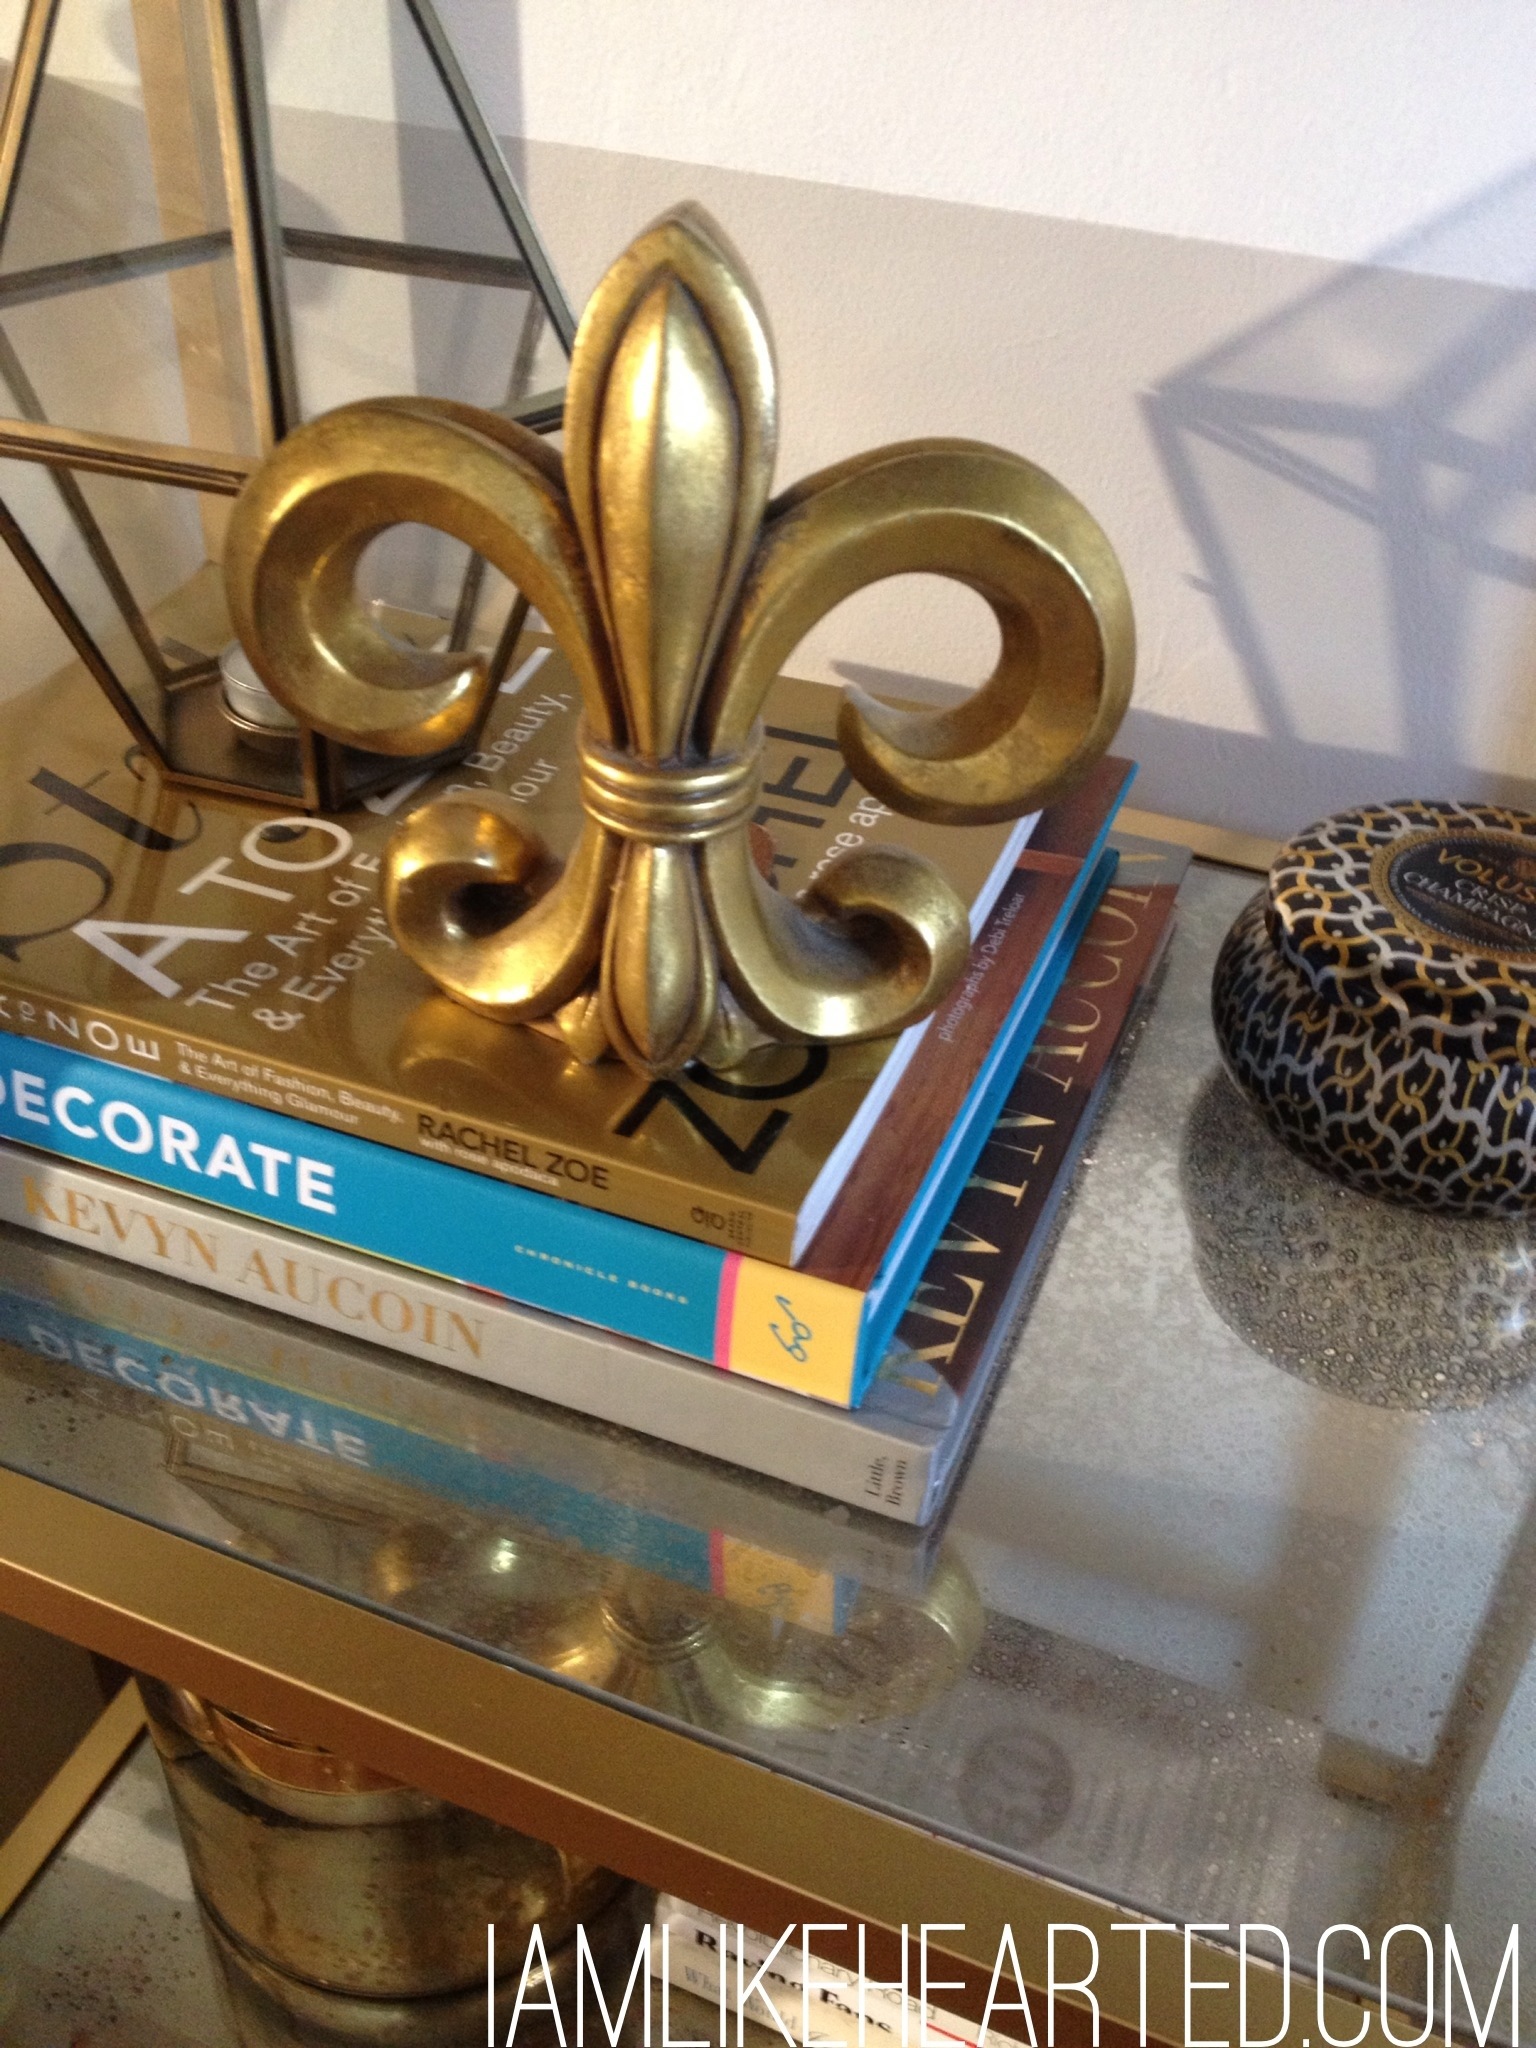
I have a confession…a lot of the tutorials I do are because I need something done around the house. Being a homeowner means the project list never ends. Case in point, I needed a bookcase for my guest room and wanted to recreate the look of a vintage one I already own. In this tutorial learn how to master an Ikea hack and create mercury glass for the shelves. The best part about learning the mercury glass technique is that you can also use it on vases, candlesticks and much more to create additional accents for your home.
Also, I found this post from Brittany Makes extremely helpful when deciding what gold spray paint to use.
Don’t forget to post an Instagram photo of tutorials you have tried and tag me @likehearted. I want to see what you all have been making!
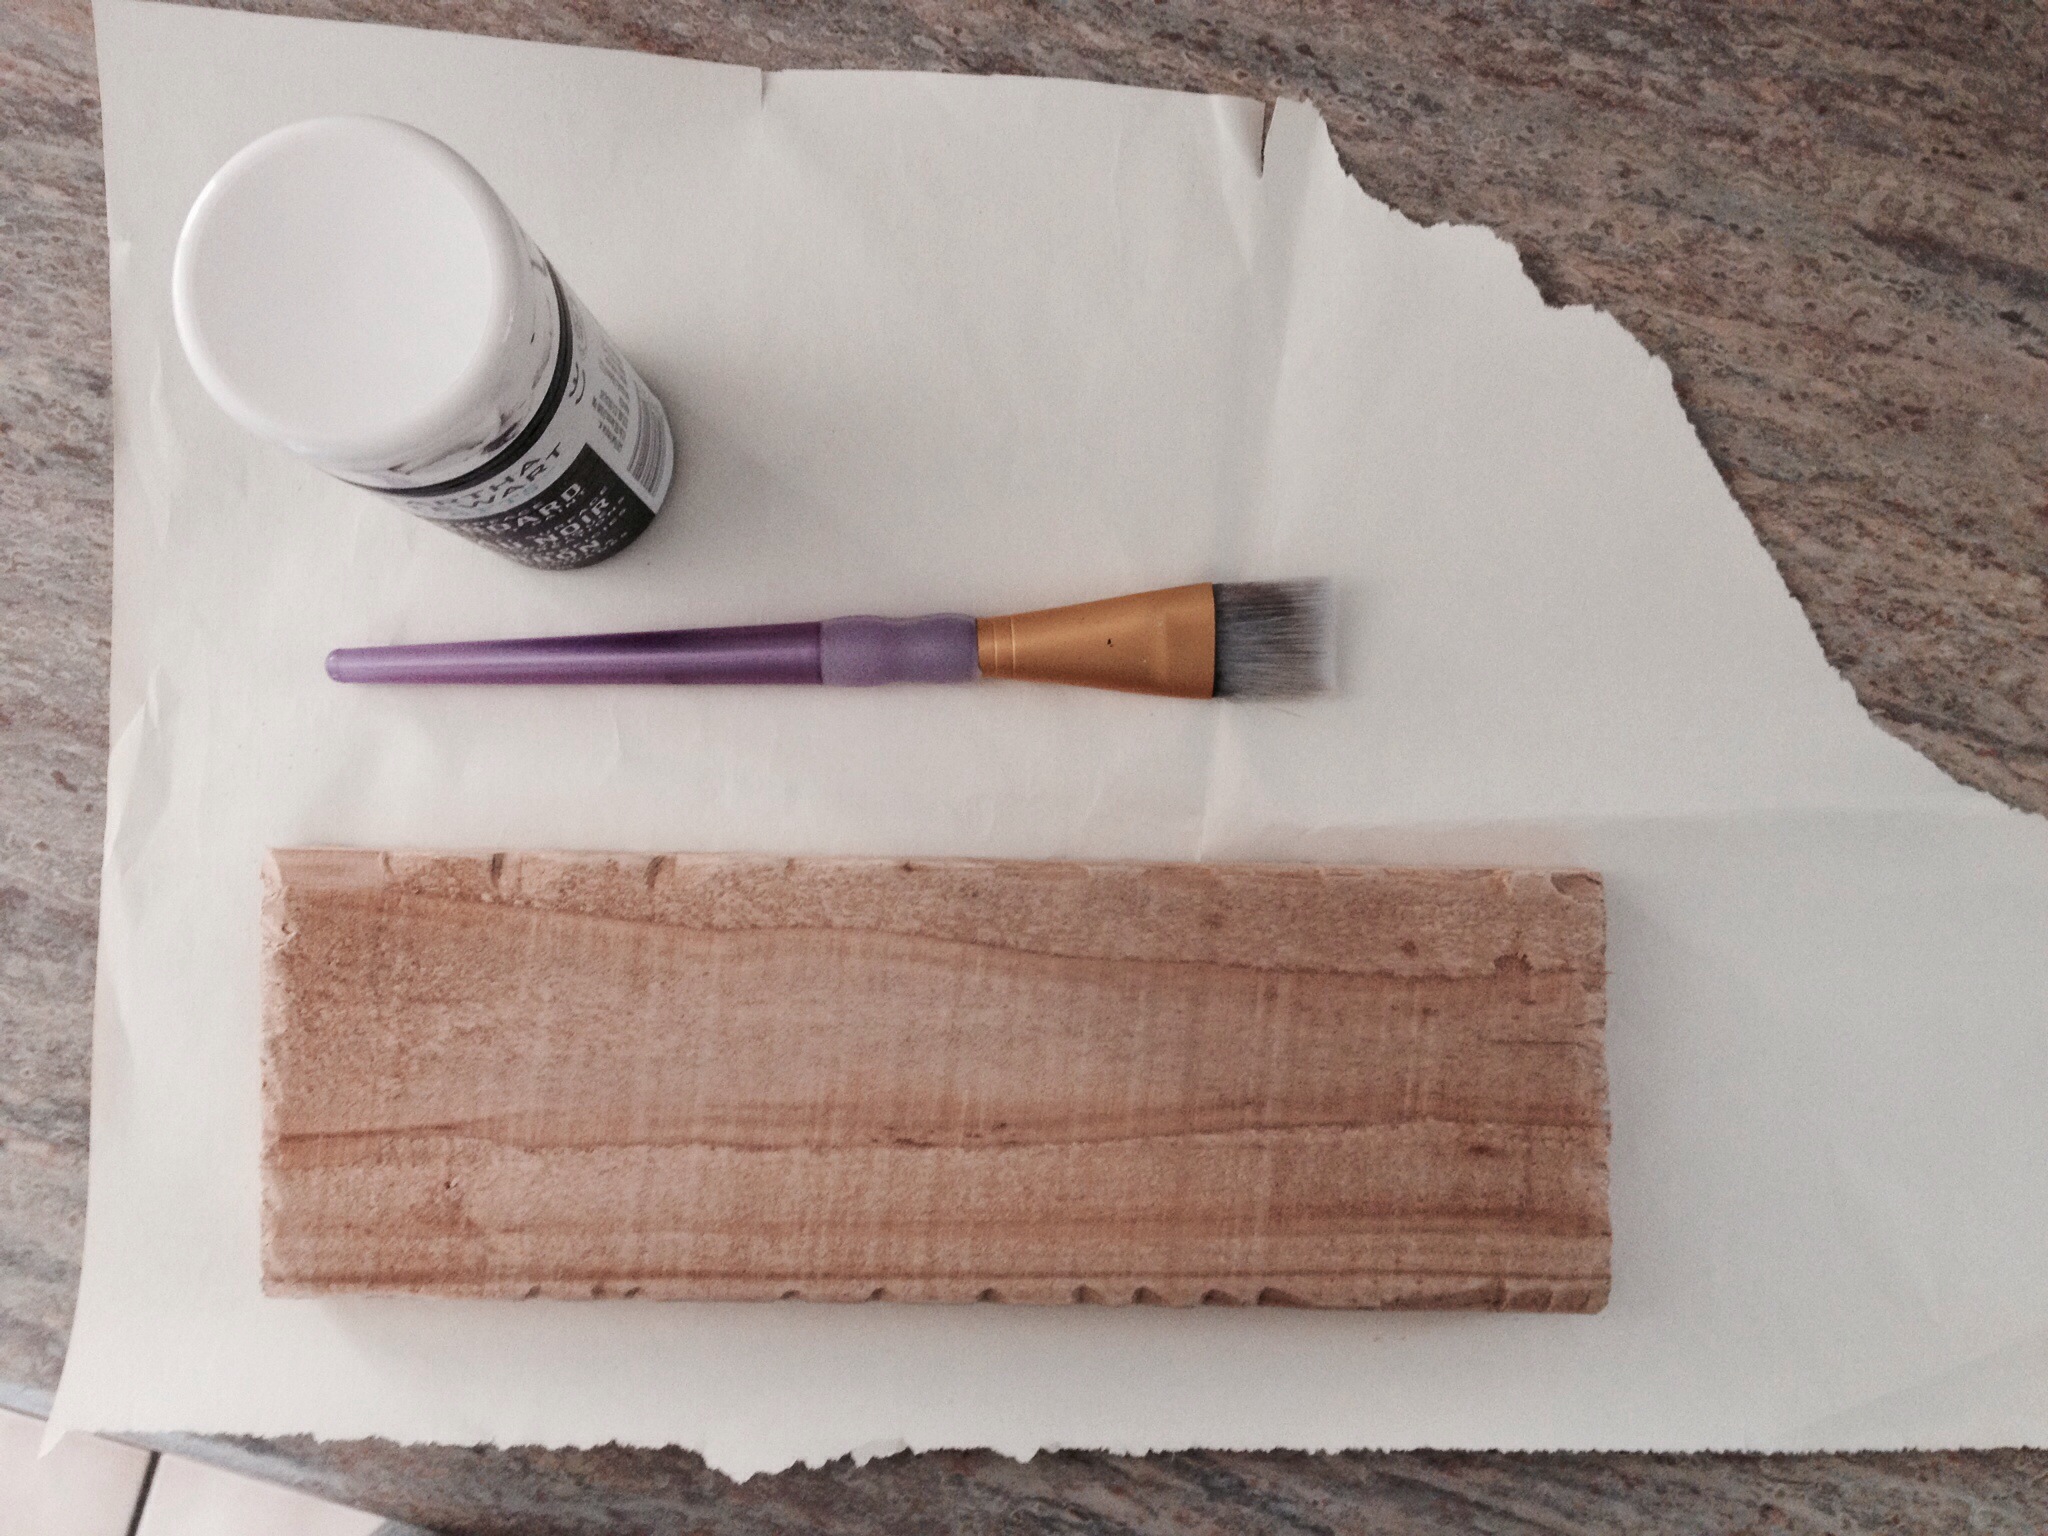
Black Spray Paint (Left over from another project)
Tools:
Damp rag
Spray Bottle filled with water
Mercury Glass Steps:
Make sure you are in a well ventilated area.
Make sure the glass is clean and dry. The paint is going to go on the reserve side of whatever you are painting. In this case, the bottom of the shelf.
Lightly spray the glass with water.
Spray a layer of mirror paint. Let it dry for a few seconds.
Depending on your desired look, you can incorporate other colors, here I add gold and black for a more antiqued look. Spray the colors and dab with a damp cloth top get your desired effect.
Let it dry completely, if it is too transparent add another layer of mirror paint.