Los Angeles: 30th Birthday Recap

Last Sunday I turned the big 3-0! I headed to Los Angeles where I got to celebrate the last days in my twenties with amazing friends and great food. I couldn’t have asked for anything better. Oh, and did I mention we went to the Justin Timberlake/Jay-Z Legends of the Summer tour at the Rose Bowl!?! Best. Birthday. Ever.

I’m in LA a few times a year and this trip we hit all new spots to eat and drink. I wanted to share with you all where we went cause there was no complaints about anything! I would go back to anyone of these places in a heartbeat. What are you favorite spots to eat and play at in LA?Los Angeles July 2013

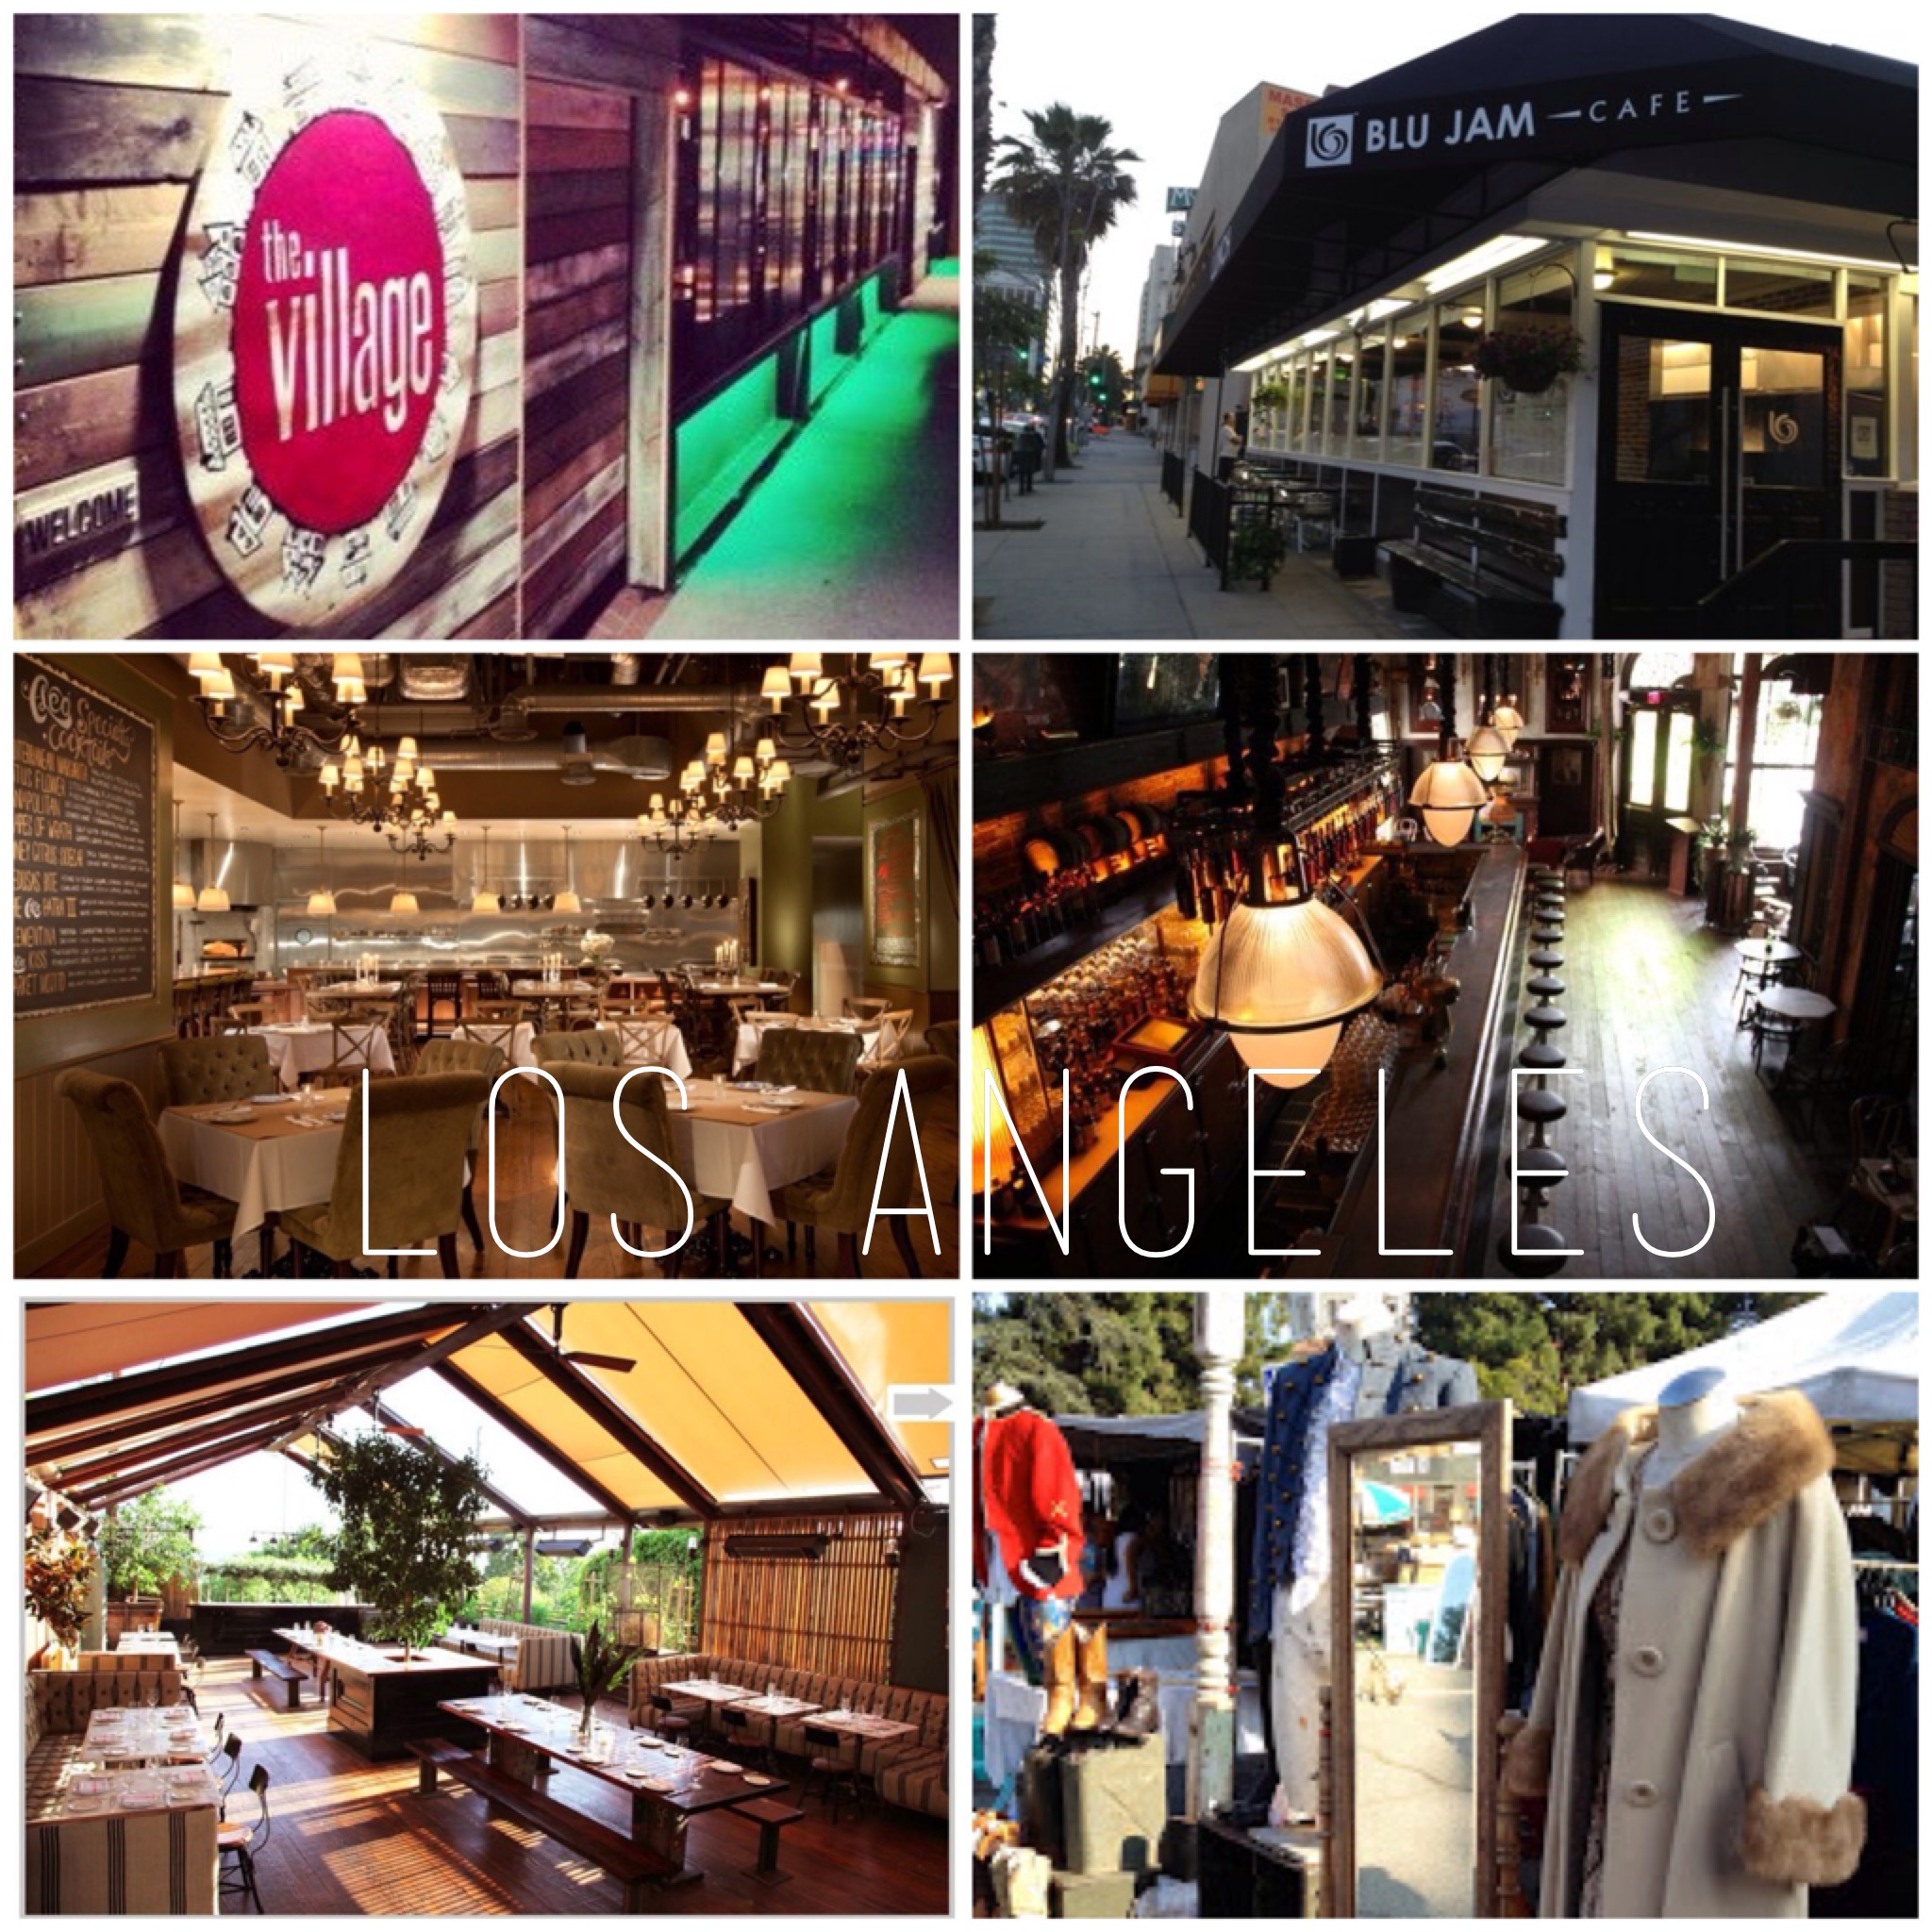
The Village: Chill little spot in Studio City where you are sure to spot a celebrity (we did before we even sat down at our table).

  • Eats: Black Mussels, La Loggia Chopped Salad, Crispy Cauliflower, Brussels Sprouts, Cheese Platter
  • Toddies: The Spicy Native, Blacklisted Basil

Blu Jam Cafe: The portions are big, so you could definitely share a dish. I was so full but just kept eating because it is so good.

  • Eats: Chilaquiles, Migas, Spicy Tex Mex Hash, Blueberry Pancakes
  • Toddies: Fresh Squeezed Orange Juice, Kamil’s favorite juice combo (carrot, beet, celery & ginger)

Cleo: If you want a real LA/Hollywood vibe this place will provide it but without the pretentious attitude.

  • Eats: Lebaneh with Feta, Hummus, Spicy Potatoes, Brussel Sprouts (must have!), Pork Belly Kebabs, Falafel, Grilled Octopus
  • Toddies: Mediterranean Margarita, Clementina, Lotus Flower

Sassafras: We headed here after dinner at Cleo. Sassafras makes you feel like you are in a prohibition bar in the south rather than in downtown LA. There is a laundry list of whiskey to pick from and the live music is a can’t miss.

  • Toddies: Cucumber Smash

Eveleigh: Hands down my favorite place of the weekend! Loved the decor and the views of LA from the outdoor deck (and the waiters were easy on the eyes too!!). They were super accommodating to my gluten allergy and the substitute dishes were delicious! I put a “gf” next to the food items they made gluten free for me.

  • Eats: Granola (gf), Spiced Banana Bread w/ Lemon Yogurt, Avocado Toast (gf, the boiled egg gribiche was to die for!), Spelt Hot Cakes (gf), Baked Eggs, Bubble & Squeak, Truffled Fries
  • Toddies: Almond Milk Latte, French Press Coffee

Melrose Trading Post: Of course we did some vintage shopping!
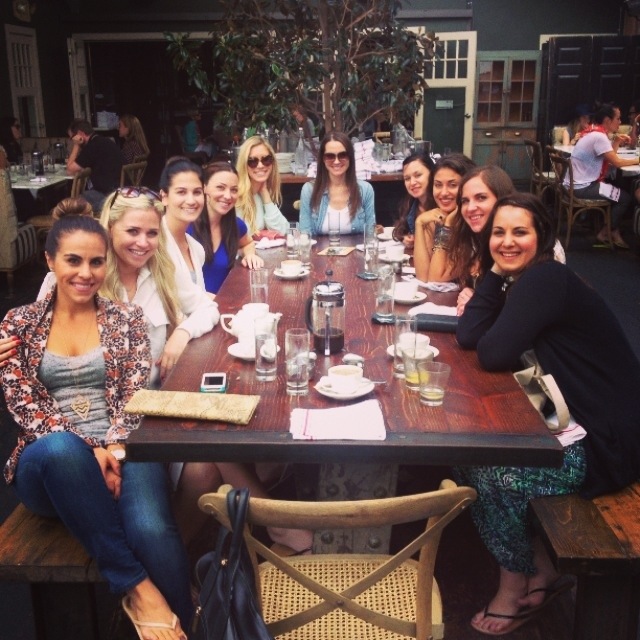
20130802-182720.jpgBrunch at Eveleigh

20130802-182736.jpg
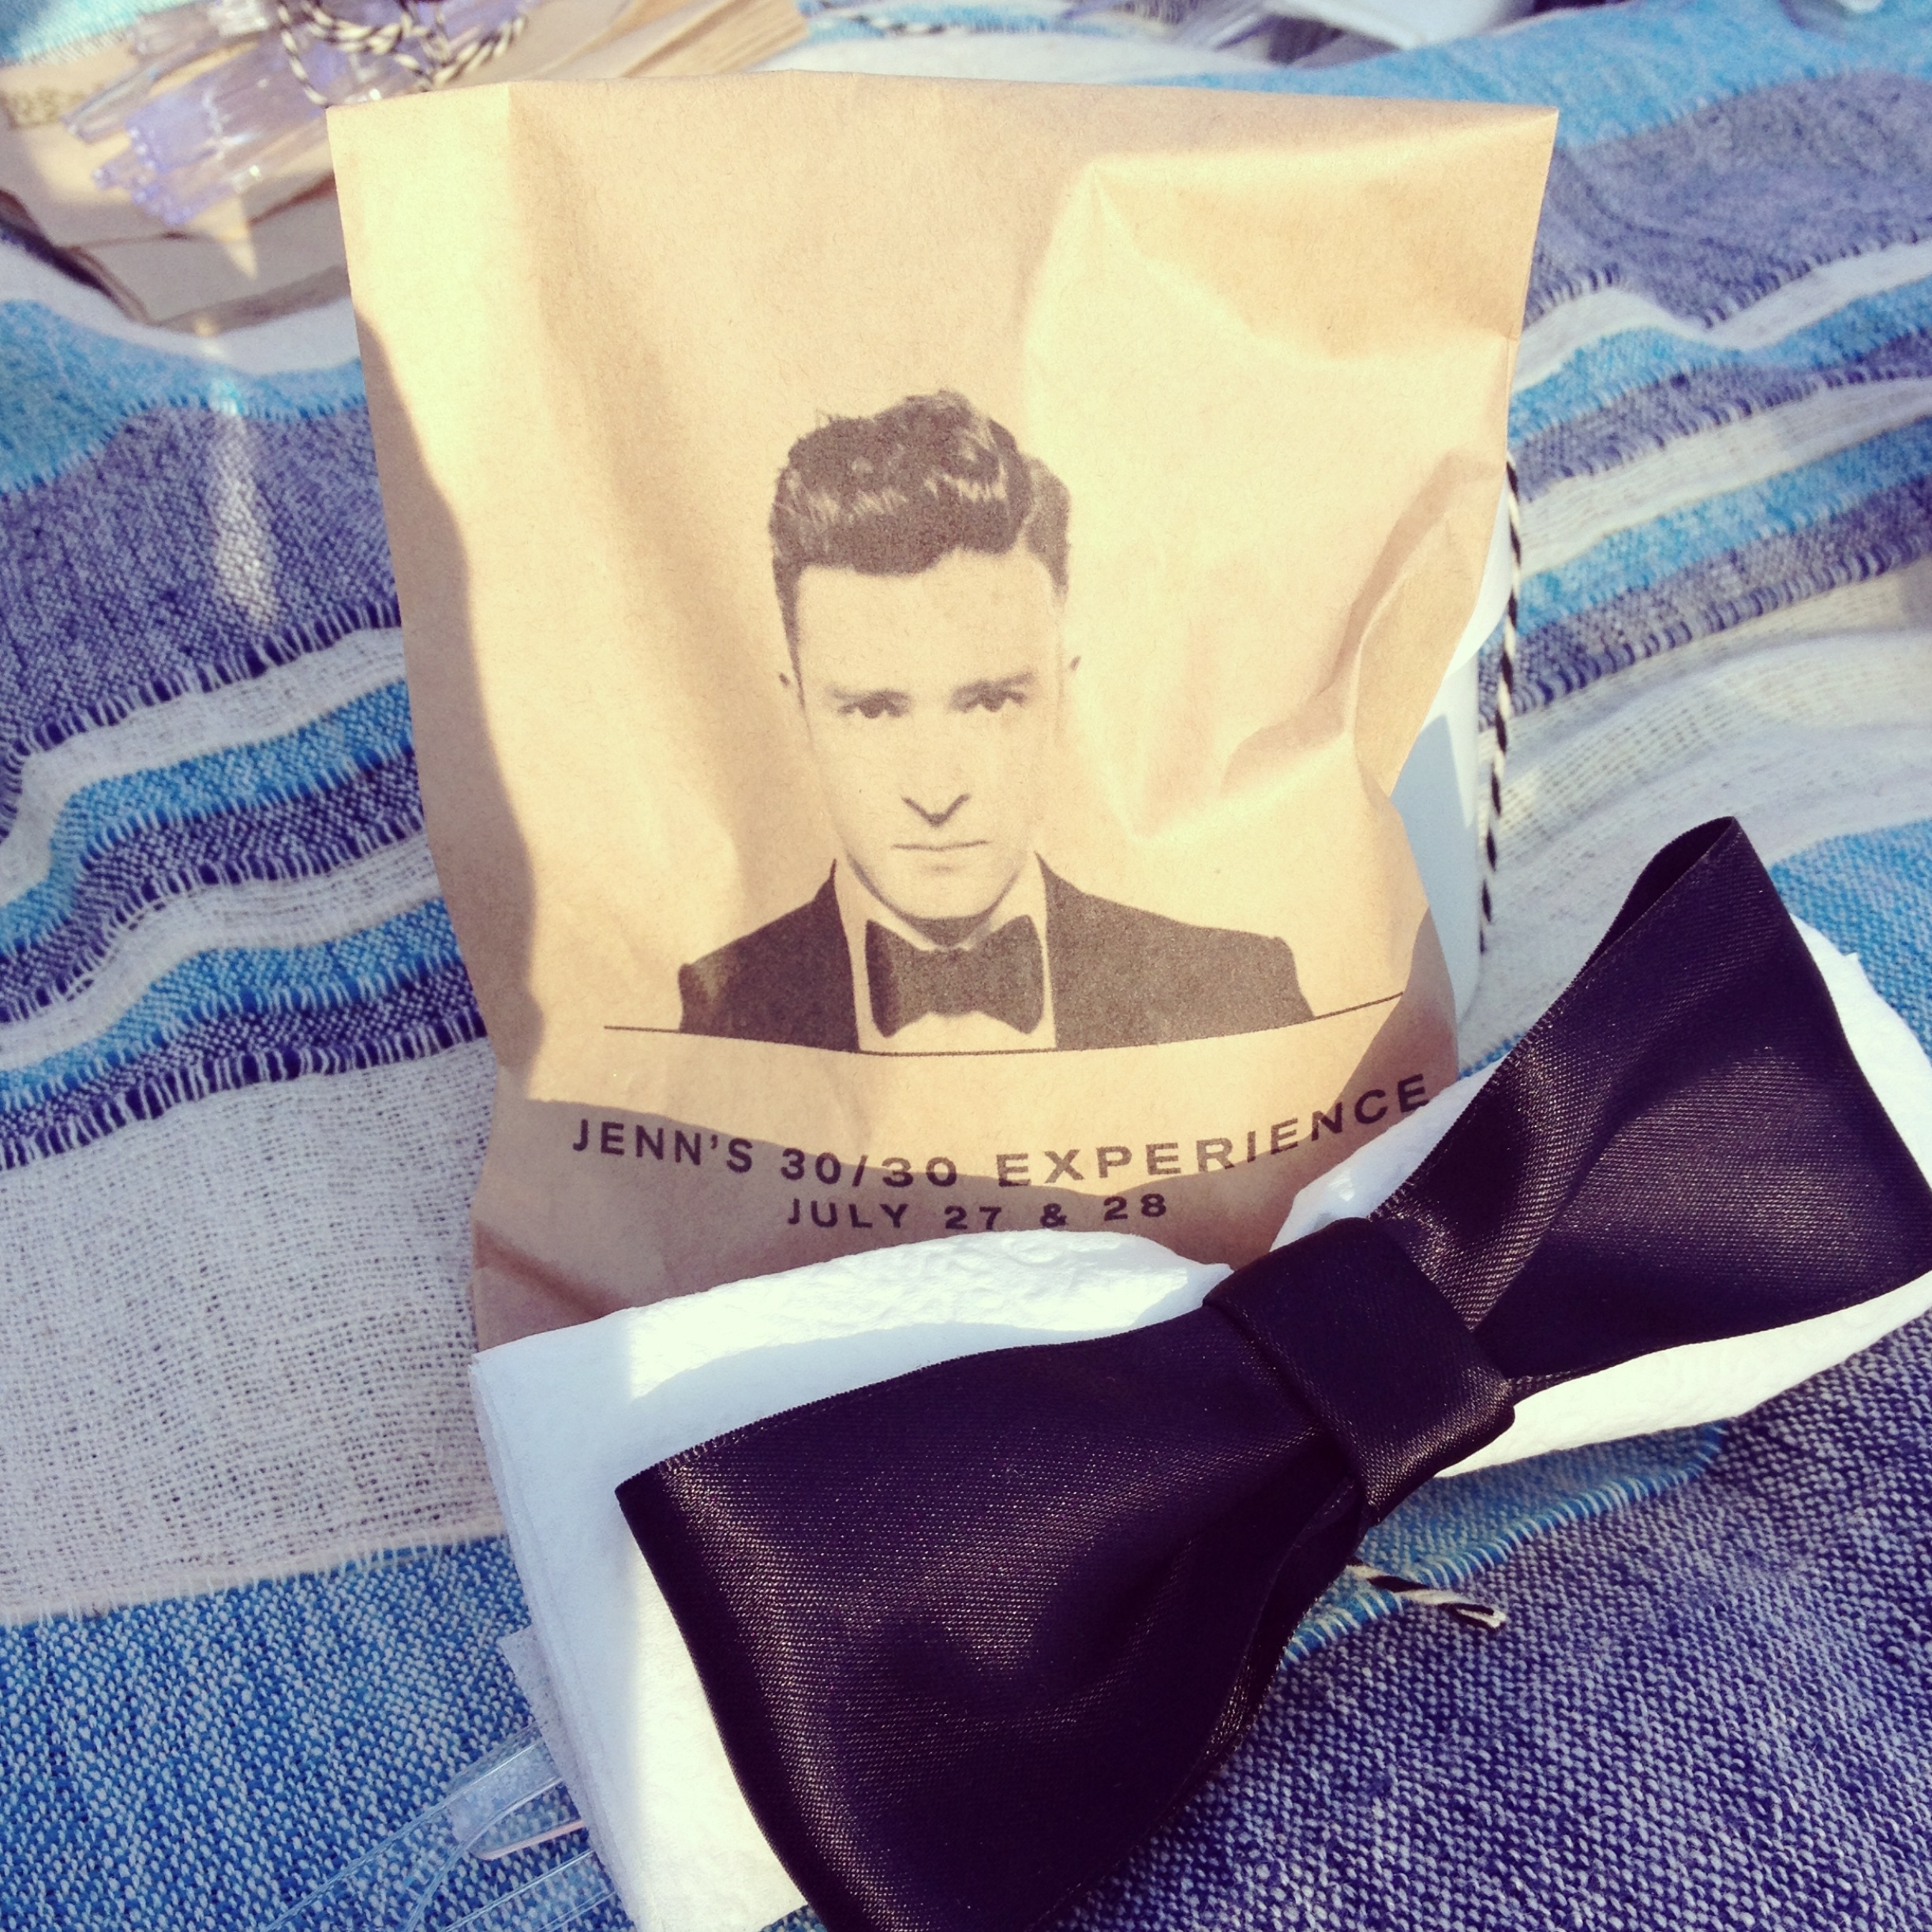
Birthday favor that my BFF made, there was gluten free cookies inside that bag

20130802-182828.jpg
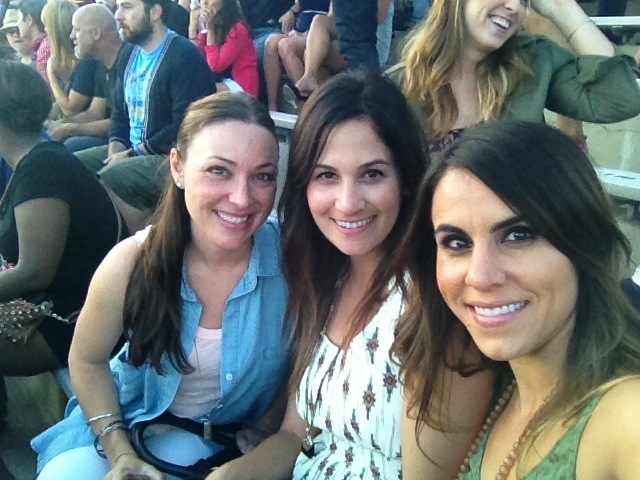
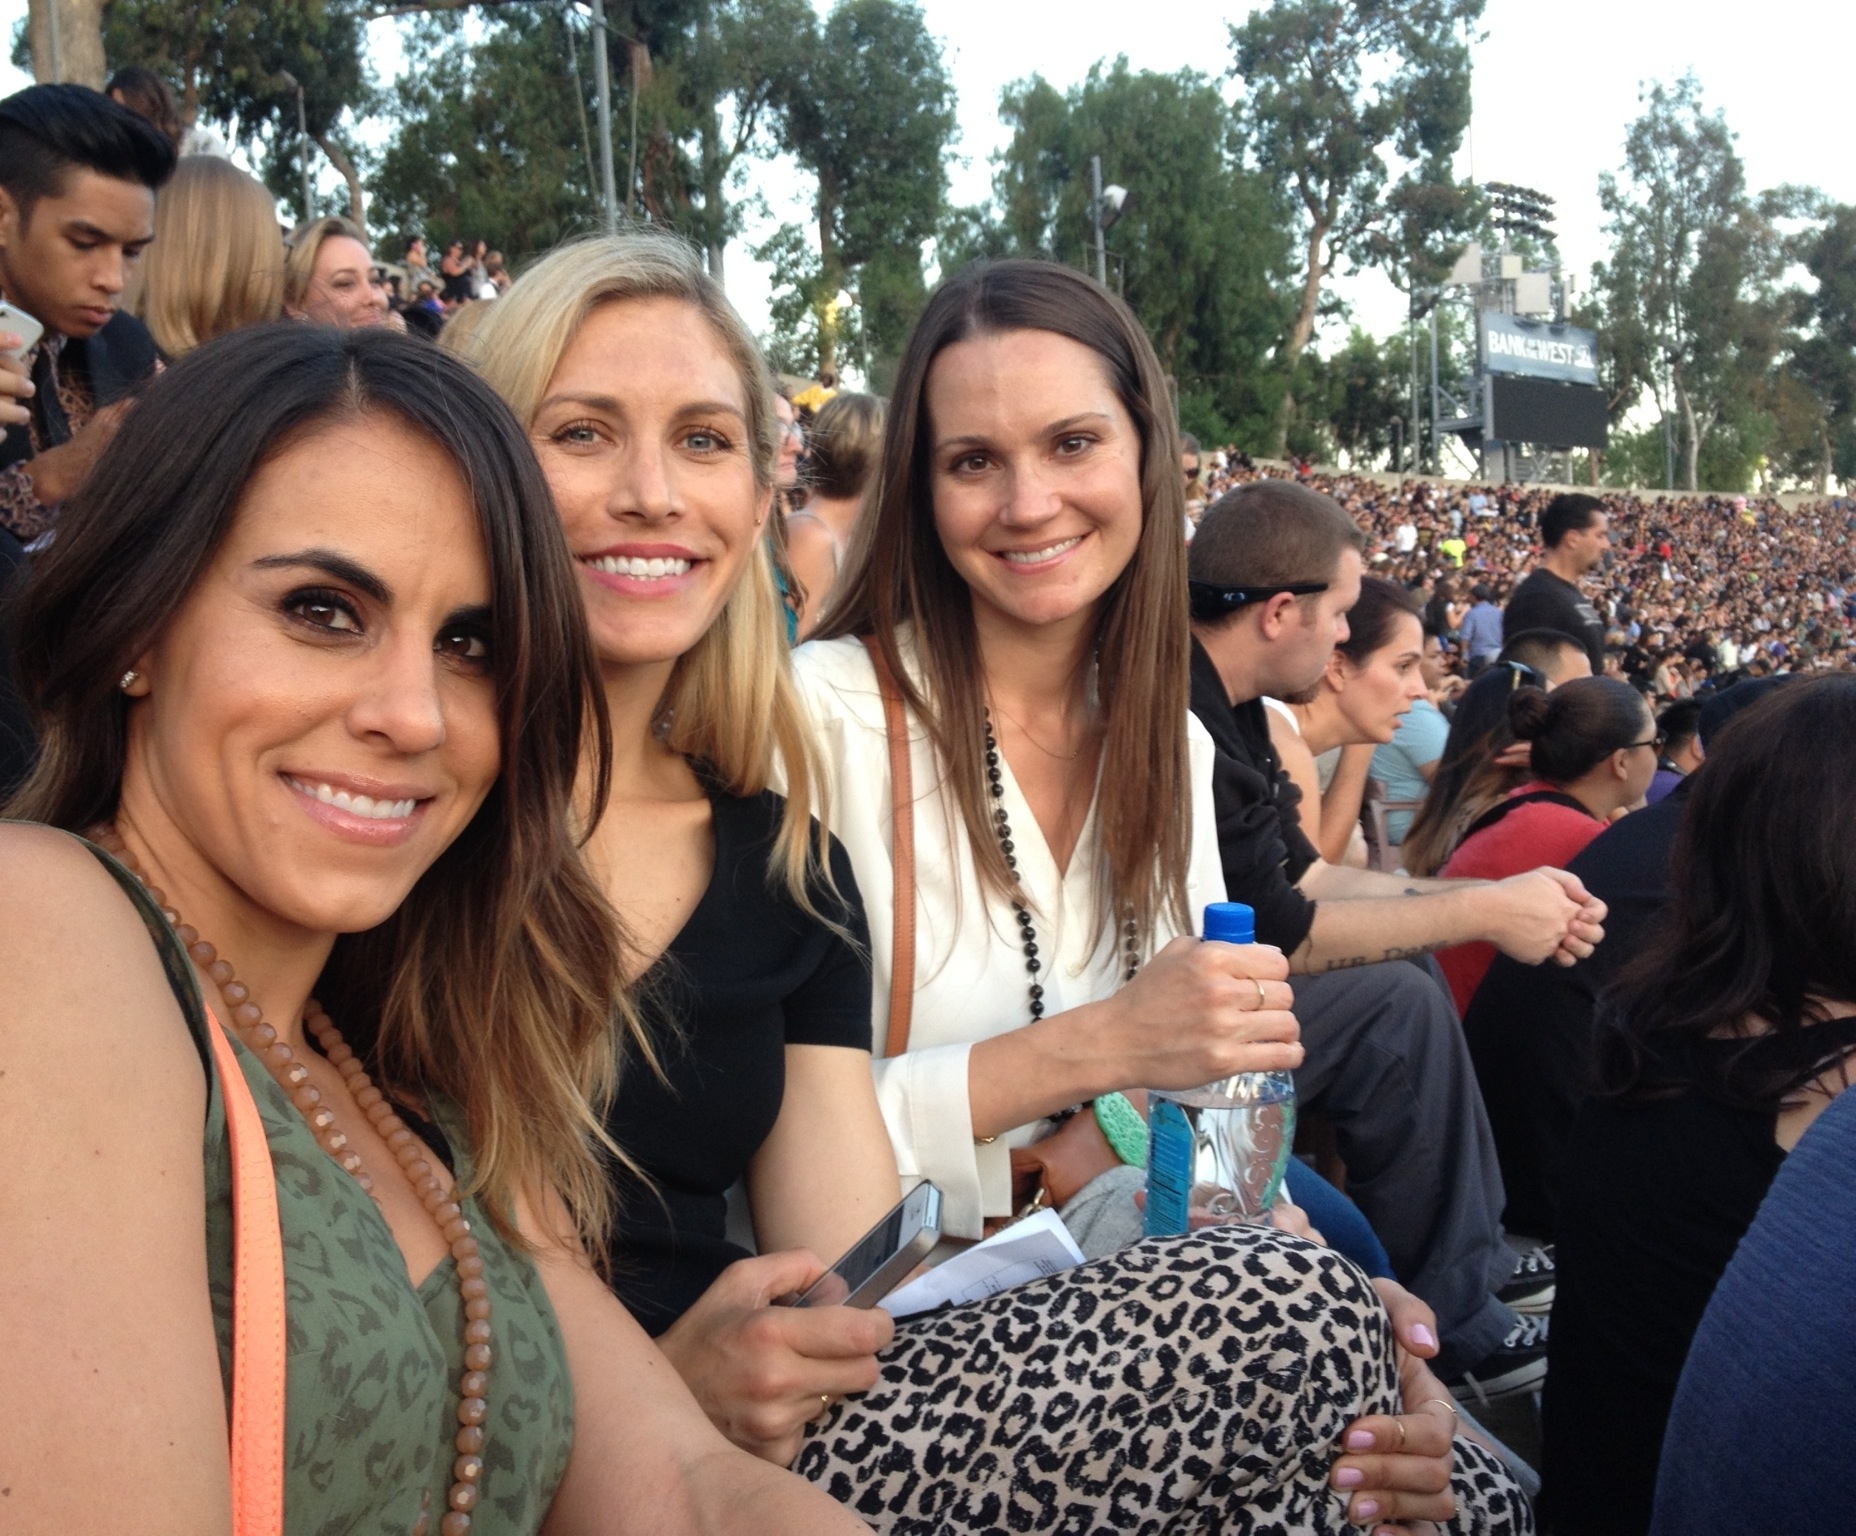
A stop at Whole Foods for a picnic in the park at the Rose Bowl before the concert

20130802-182756.jpg20130802-182804.jpg20130802-182813.jpg
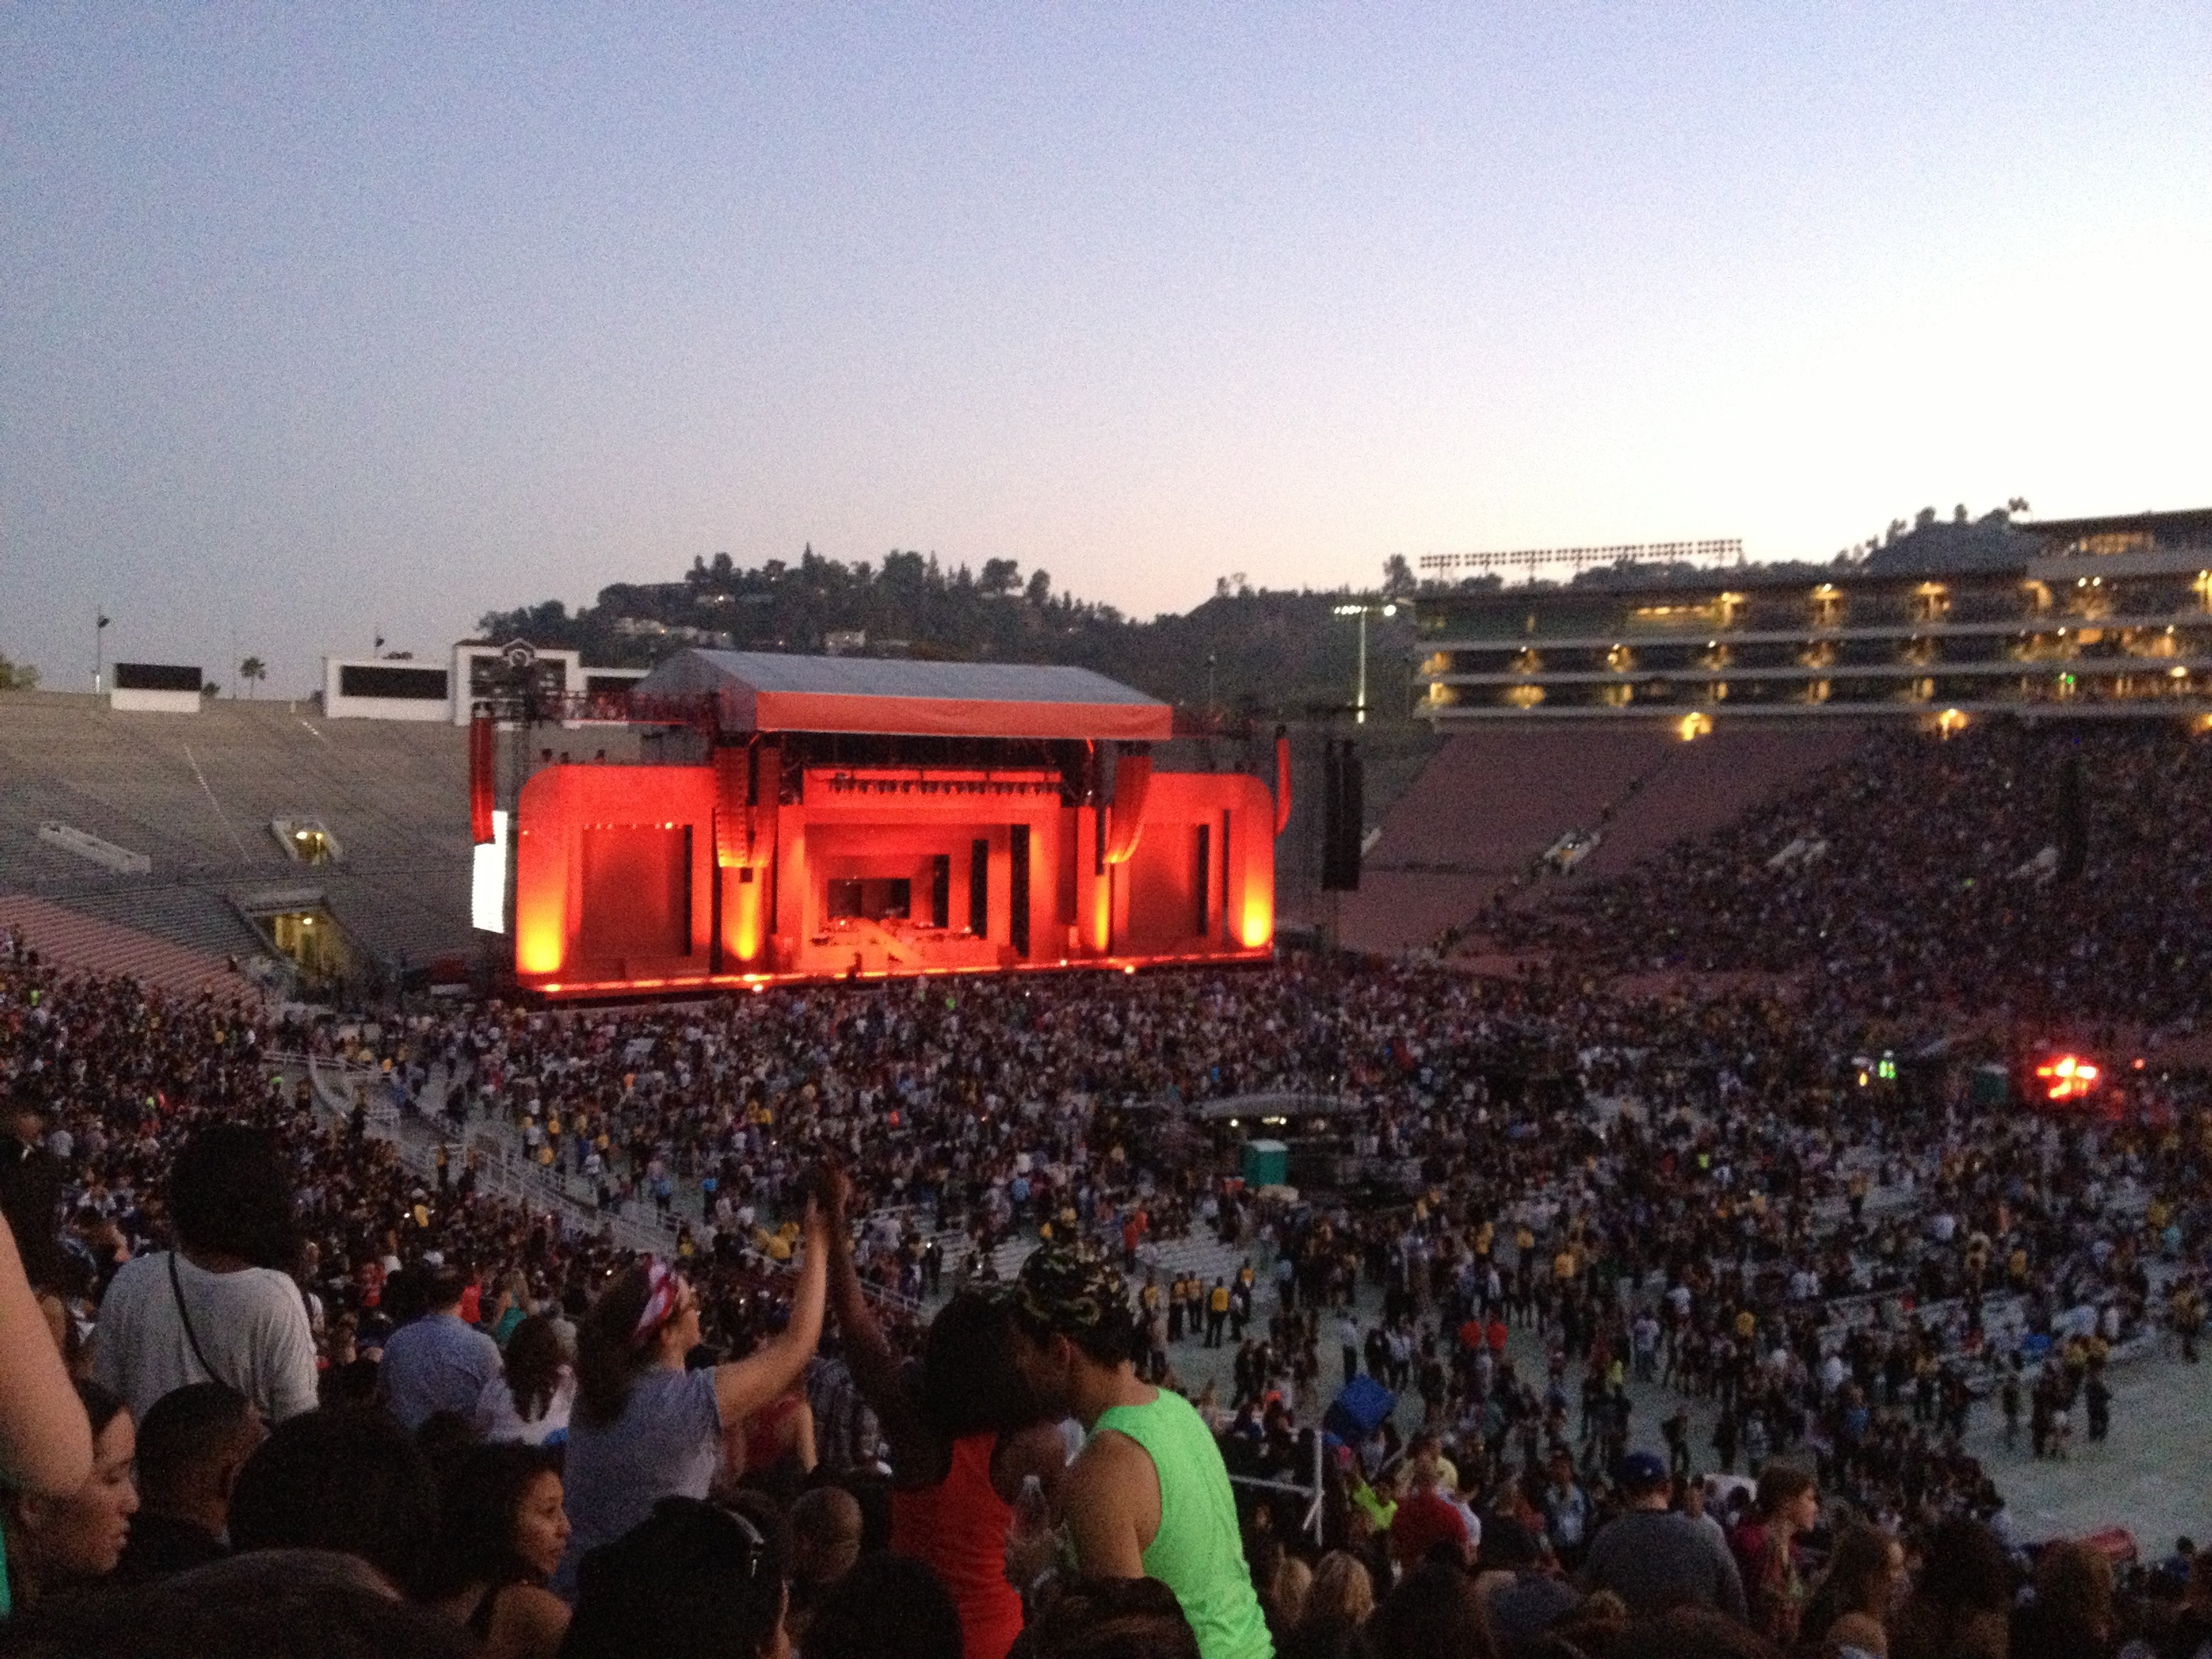
Justin, Justin, Justin!!

Advertisement

Summer Entertaining: Multi-Uses for Kraft Paper

Can you believe it’s June 1st already? I know I say this every year but I really mean it, time is flying by! Summer is rolling in and outdoor entertaining is ramping up. To keep things simple, I wanted to share some ideas on easy ways to style your summer event with Kraft paper. The best thing about Kraft paper is that it has multiple uses, is inexpensive (I picked up my roll at the Dollar Store), easy to clean-up and recyclable. Check out the video for different uses which include wrapping wine bottles with your menus, creating custom napkin ring holders or a painted table runner.

Get more inspiration and places to purchase kraft items by checking out my Pinterest board.

20130523-080650.jpg

DIY Photo Booth & Props

I hosted New Year’s Eve and decided to do a photo booth as a way to capture the night’s moments. Watch the video to see how to make your own and check out the photos at the bottom of the post for the final results!

Prop Materials:

Photo Booth Materials:

Tools:

  • Scissors
  • Hot Glue Gun
  • Sharpie

Total cost: Under $10

Time: 30 minutes

Steps for Props:

  1. Draw freehand or download a stencil online for lips & mustache silhouettes. 
  2. Trace the stencil onto the card stock.
  3. Cut out the shapes.
  4. Secure the shape to wooden dowel with a dot of hot glue.

Steps for Photo Booth:

  1. Find an area in your home that will function as your photo booth.
  2. Take the kraft paper and hang on wall with clear push pins.
  3. Decorate with tassel garland, white lights and/or other decor to match your theme.

Tips: 

  • Use the backdrop as a guest book and have party goers sign it.
  • Write a hashtag (#newyearseve) on the backdrop as a reminder to guests to tag their instagram & twitter photos.
  • If you have an old Polaroid camera feel free to bust it out or have your guests download the photo sharing app Flock onto their smartphones (you can send an invite to your friends to download the app before the day of the event).

newyearsphotobooth.jpg

DIY Tissue Tassel Garland

The Likehearted YouTube Channel is live! I had a blast being a content contributor and getting to share my craft ideas. I’m so grateful for the opportunity that Sitewire has given me, and the beautiful work Snapfactory did on the videos. It’s definitely nerve-racking being on camera for the first time but I’m really proud of the videos and hopefully you all enjoy them too!! More videos to come, so make sure to check out all the tutorials by subscribing to my channel: http://www.youtube.com/iamlikehearted.

Materials:

Tools:

  • Scissors
  • Hot glue gun

Total cost: Under $10

Time: 2 hours

Steps:

  1. Fold one sheet of tissue paper in half width-wise, then fold it over length-wise.
  2. With your scissors, cut strips of fringe about 1/4 inch wide along the unfolded long edge of your folded tissue, leaving about 2 inches of uncut tissue at the folded edge.
  3. Unfold your paper and cut the tissue in the center, creating two halves. Set one aside.
  4. You should have a sheet of tissue with fringe on either side and a solid section down the center. Using the solid center section, begin to roll the tissue paper up, being careful to keep the fringe untangled.
  5. After the entire section is rolled, twist the center tightly. Then curl it in on itself to create a loop, and secure with a small dot of hot glue.
  6. For a finishing touch, place a small dot of hot glue under the loop and wrap twine around the base, secure with another dot of hot glue.  Trim the ends if desired, and string your tassel onto your cord.

Tips:

  • One sheet of tissue paper makes 2 tassels.
  • I suggest about 16 tassels for your average size garland = 8 sheets of paper.
  • To make tassels with longer fringe, during step 2 cut along the short edge of the unfolded tissue instead of the long edge.

Don’t have time to make your own? Purchase the one I made in the video on my Etsy shop.