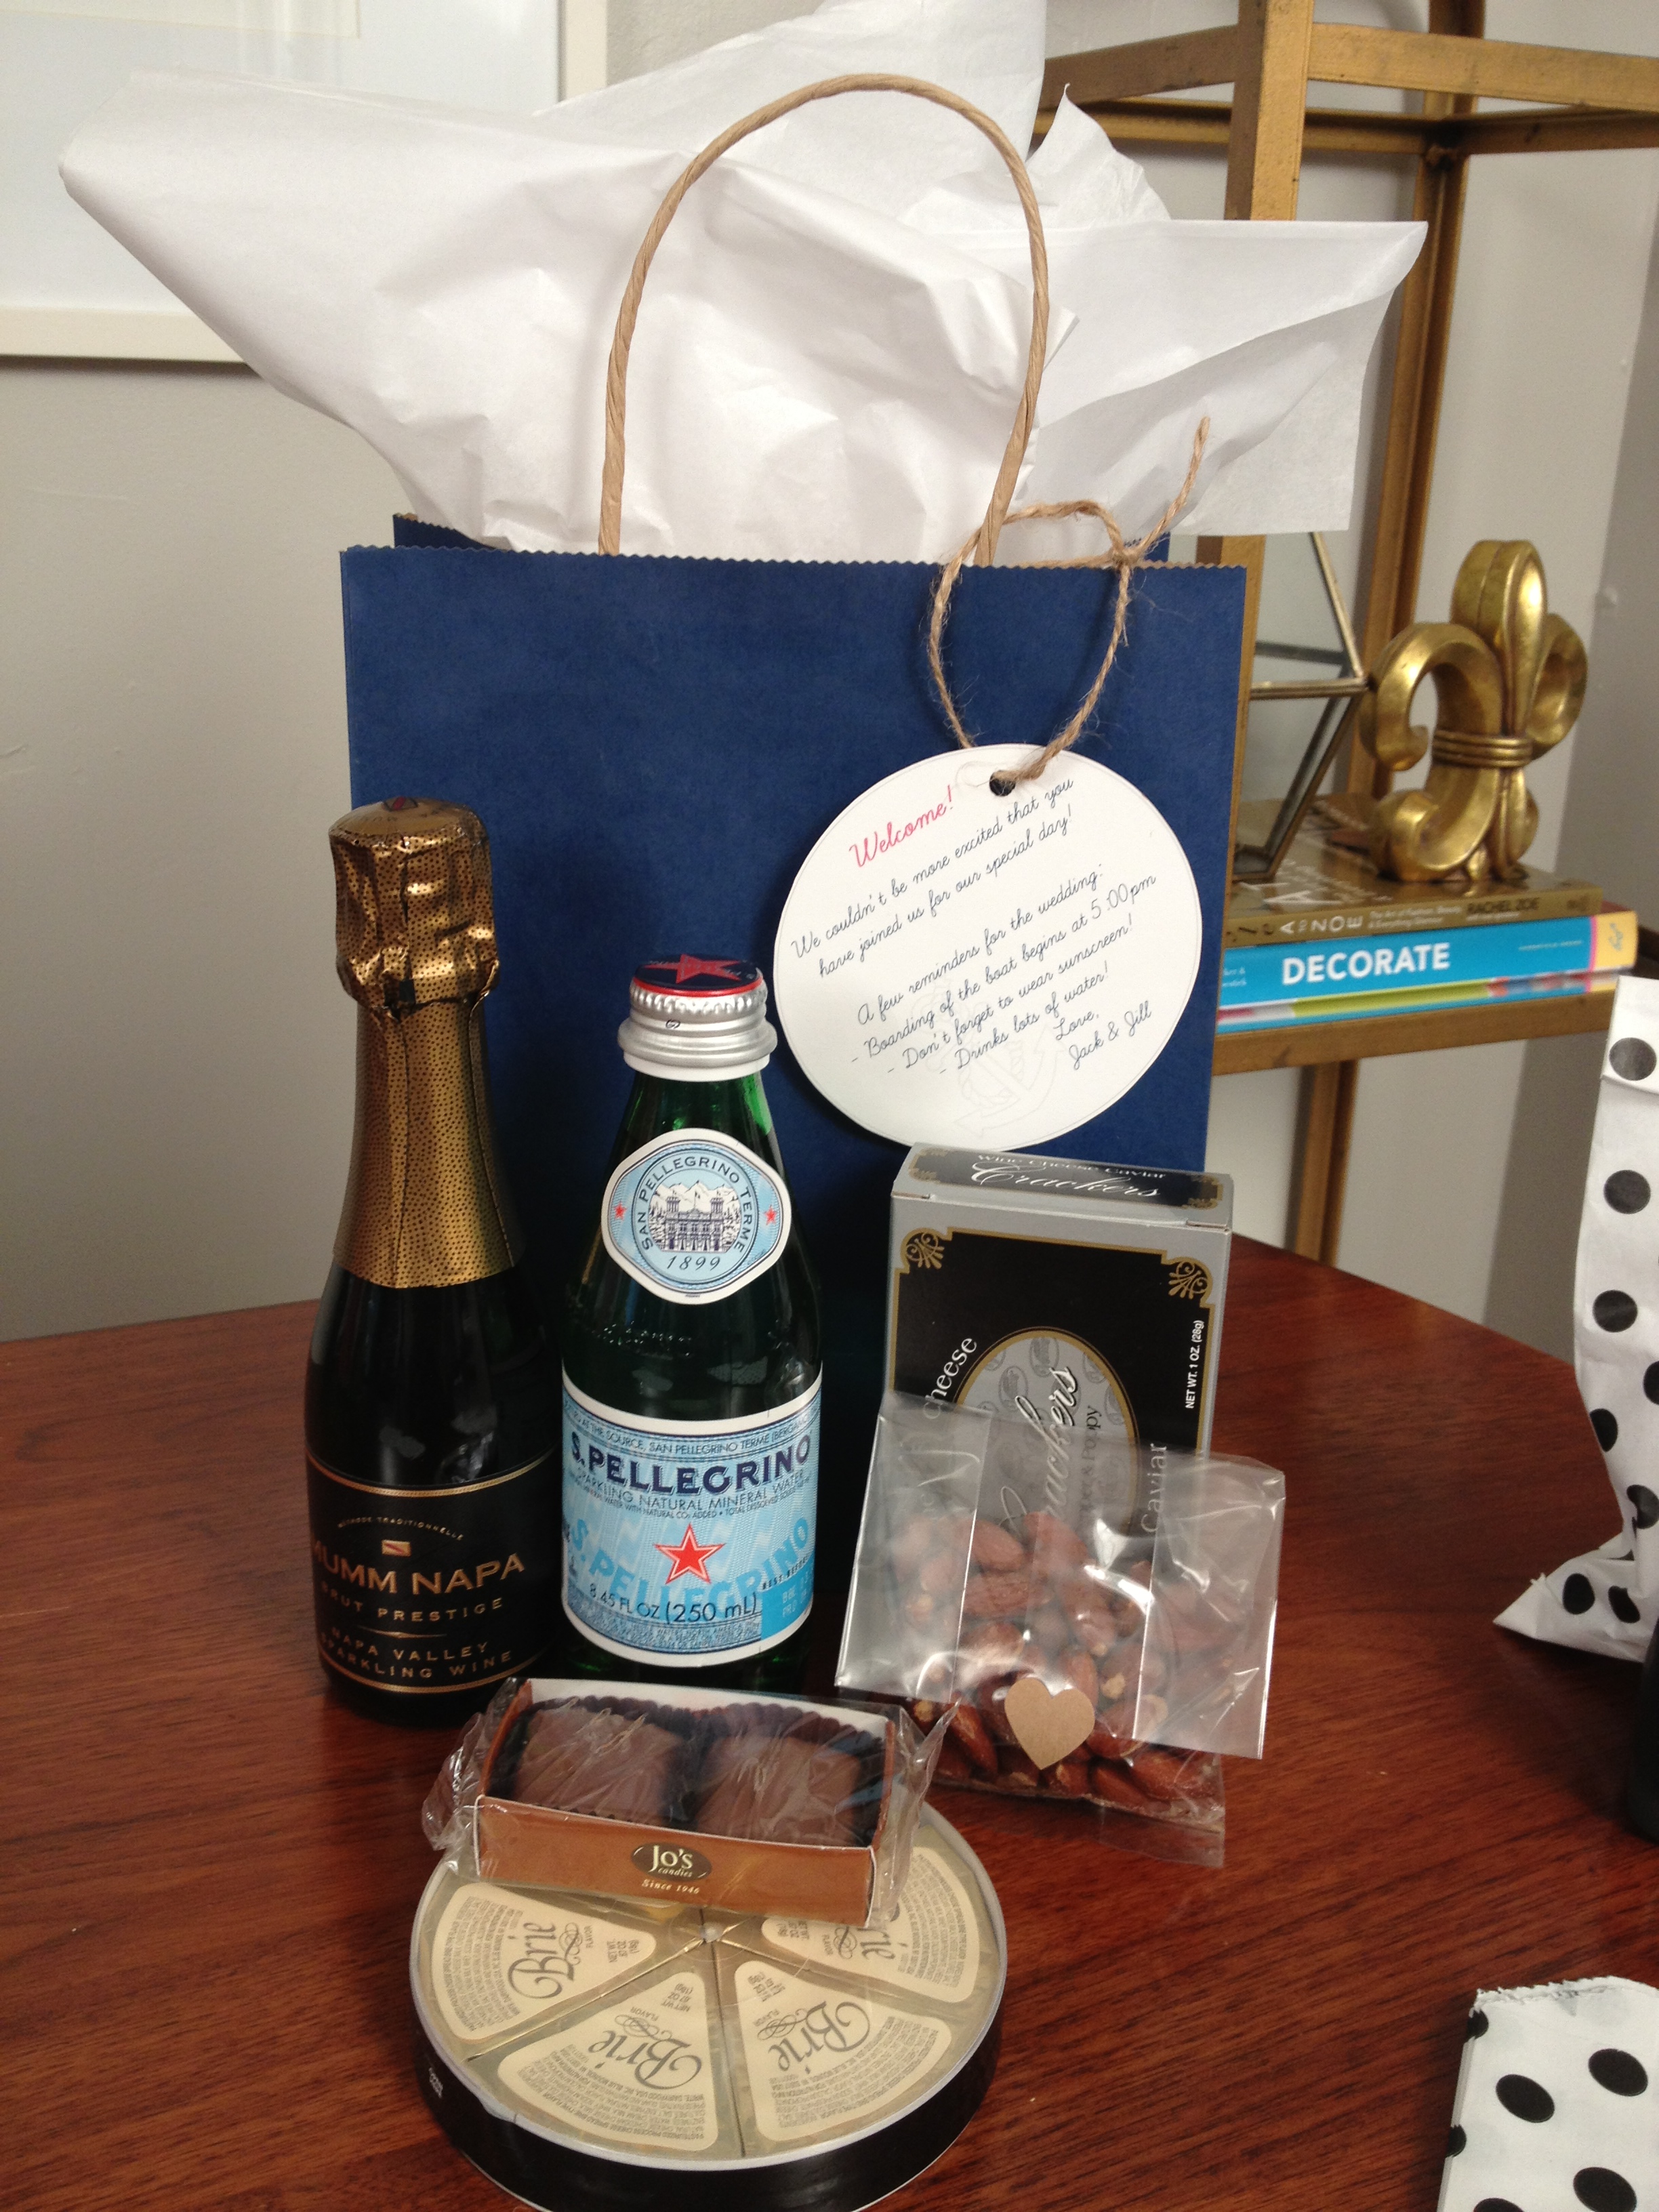
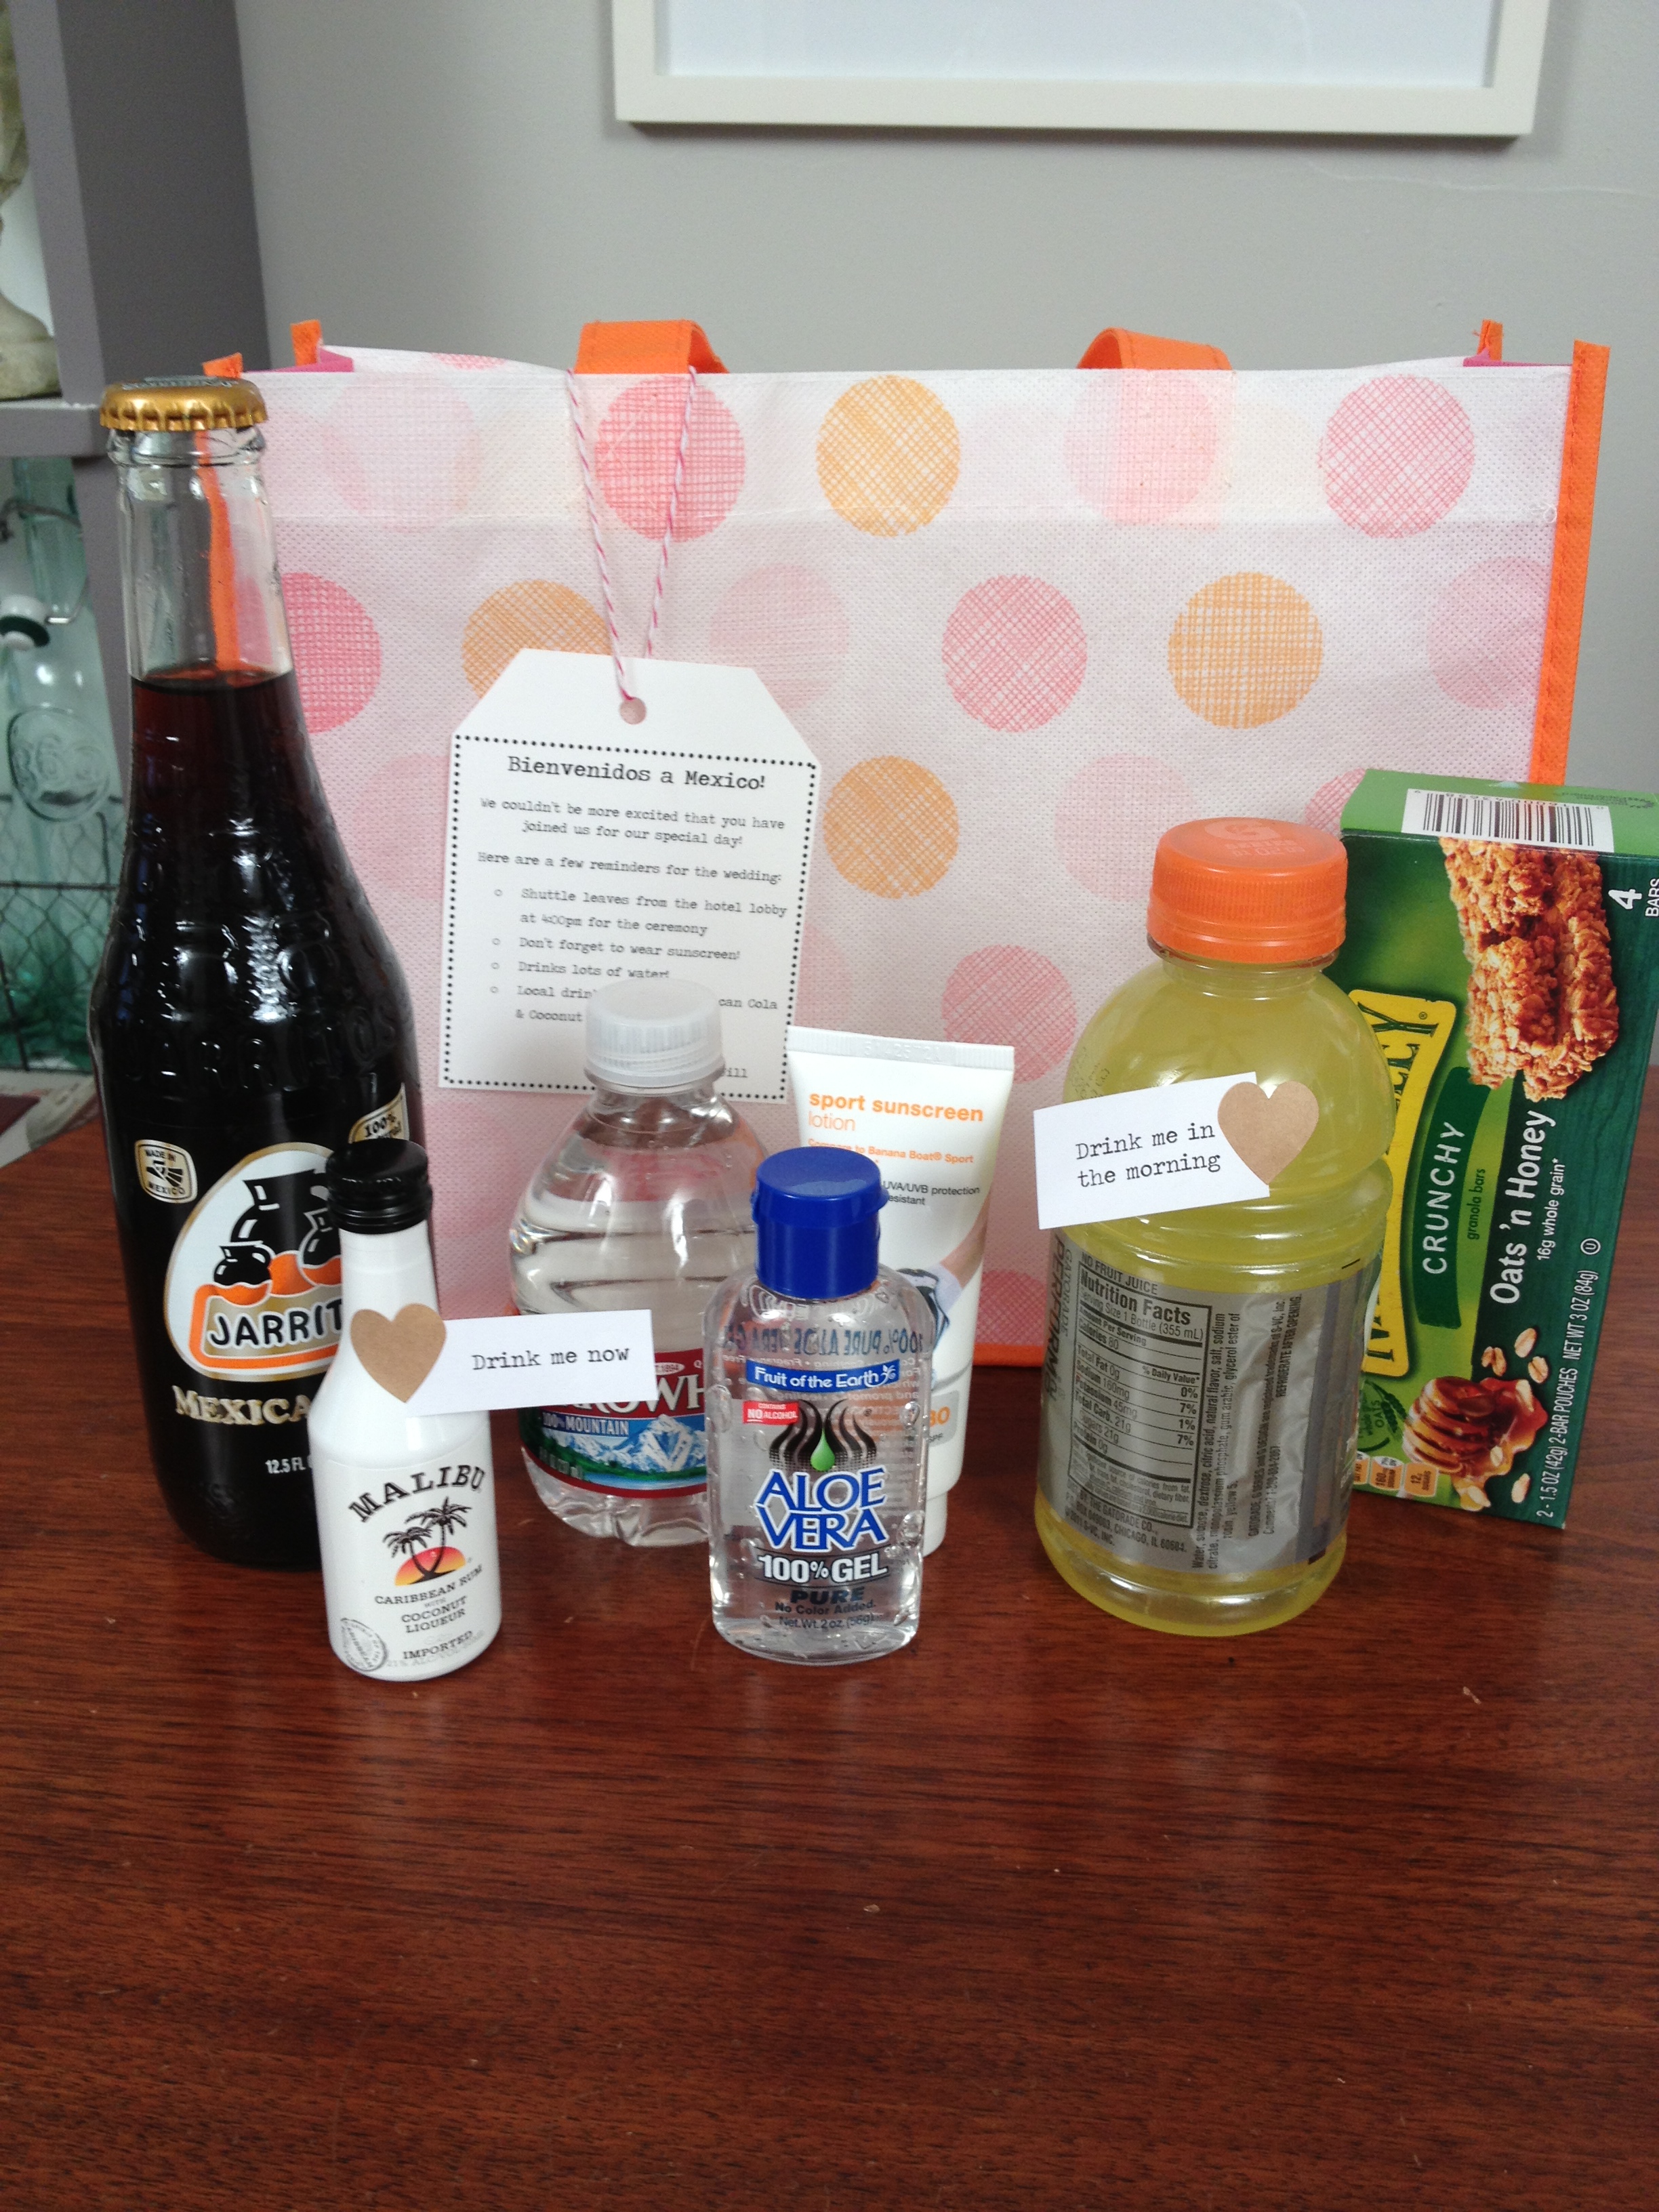
I can’t think of a better way to thank guests for sharing in your big day then to create a welcome bag upon their arrival. This week’s video will show you some easy ways to customize the bags based on your wedding’s theme or destination.
Tip: Include specific notes for your guests such as a weekend itinerary, area attractions, transportation details or other visitor information.
Resources:
Target – $1 section for toiletries
World Market – miniature versions of food and drinks
I got some requests to do more wedding DIY tutorials and I was super happy to comply!
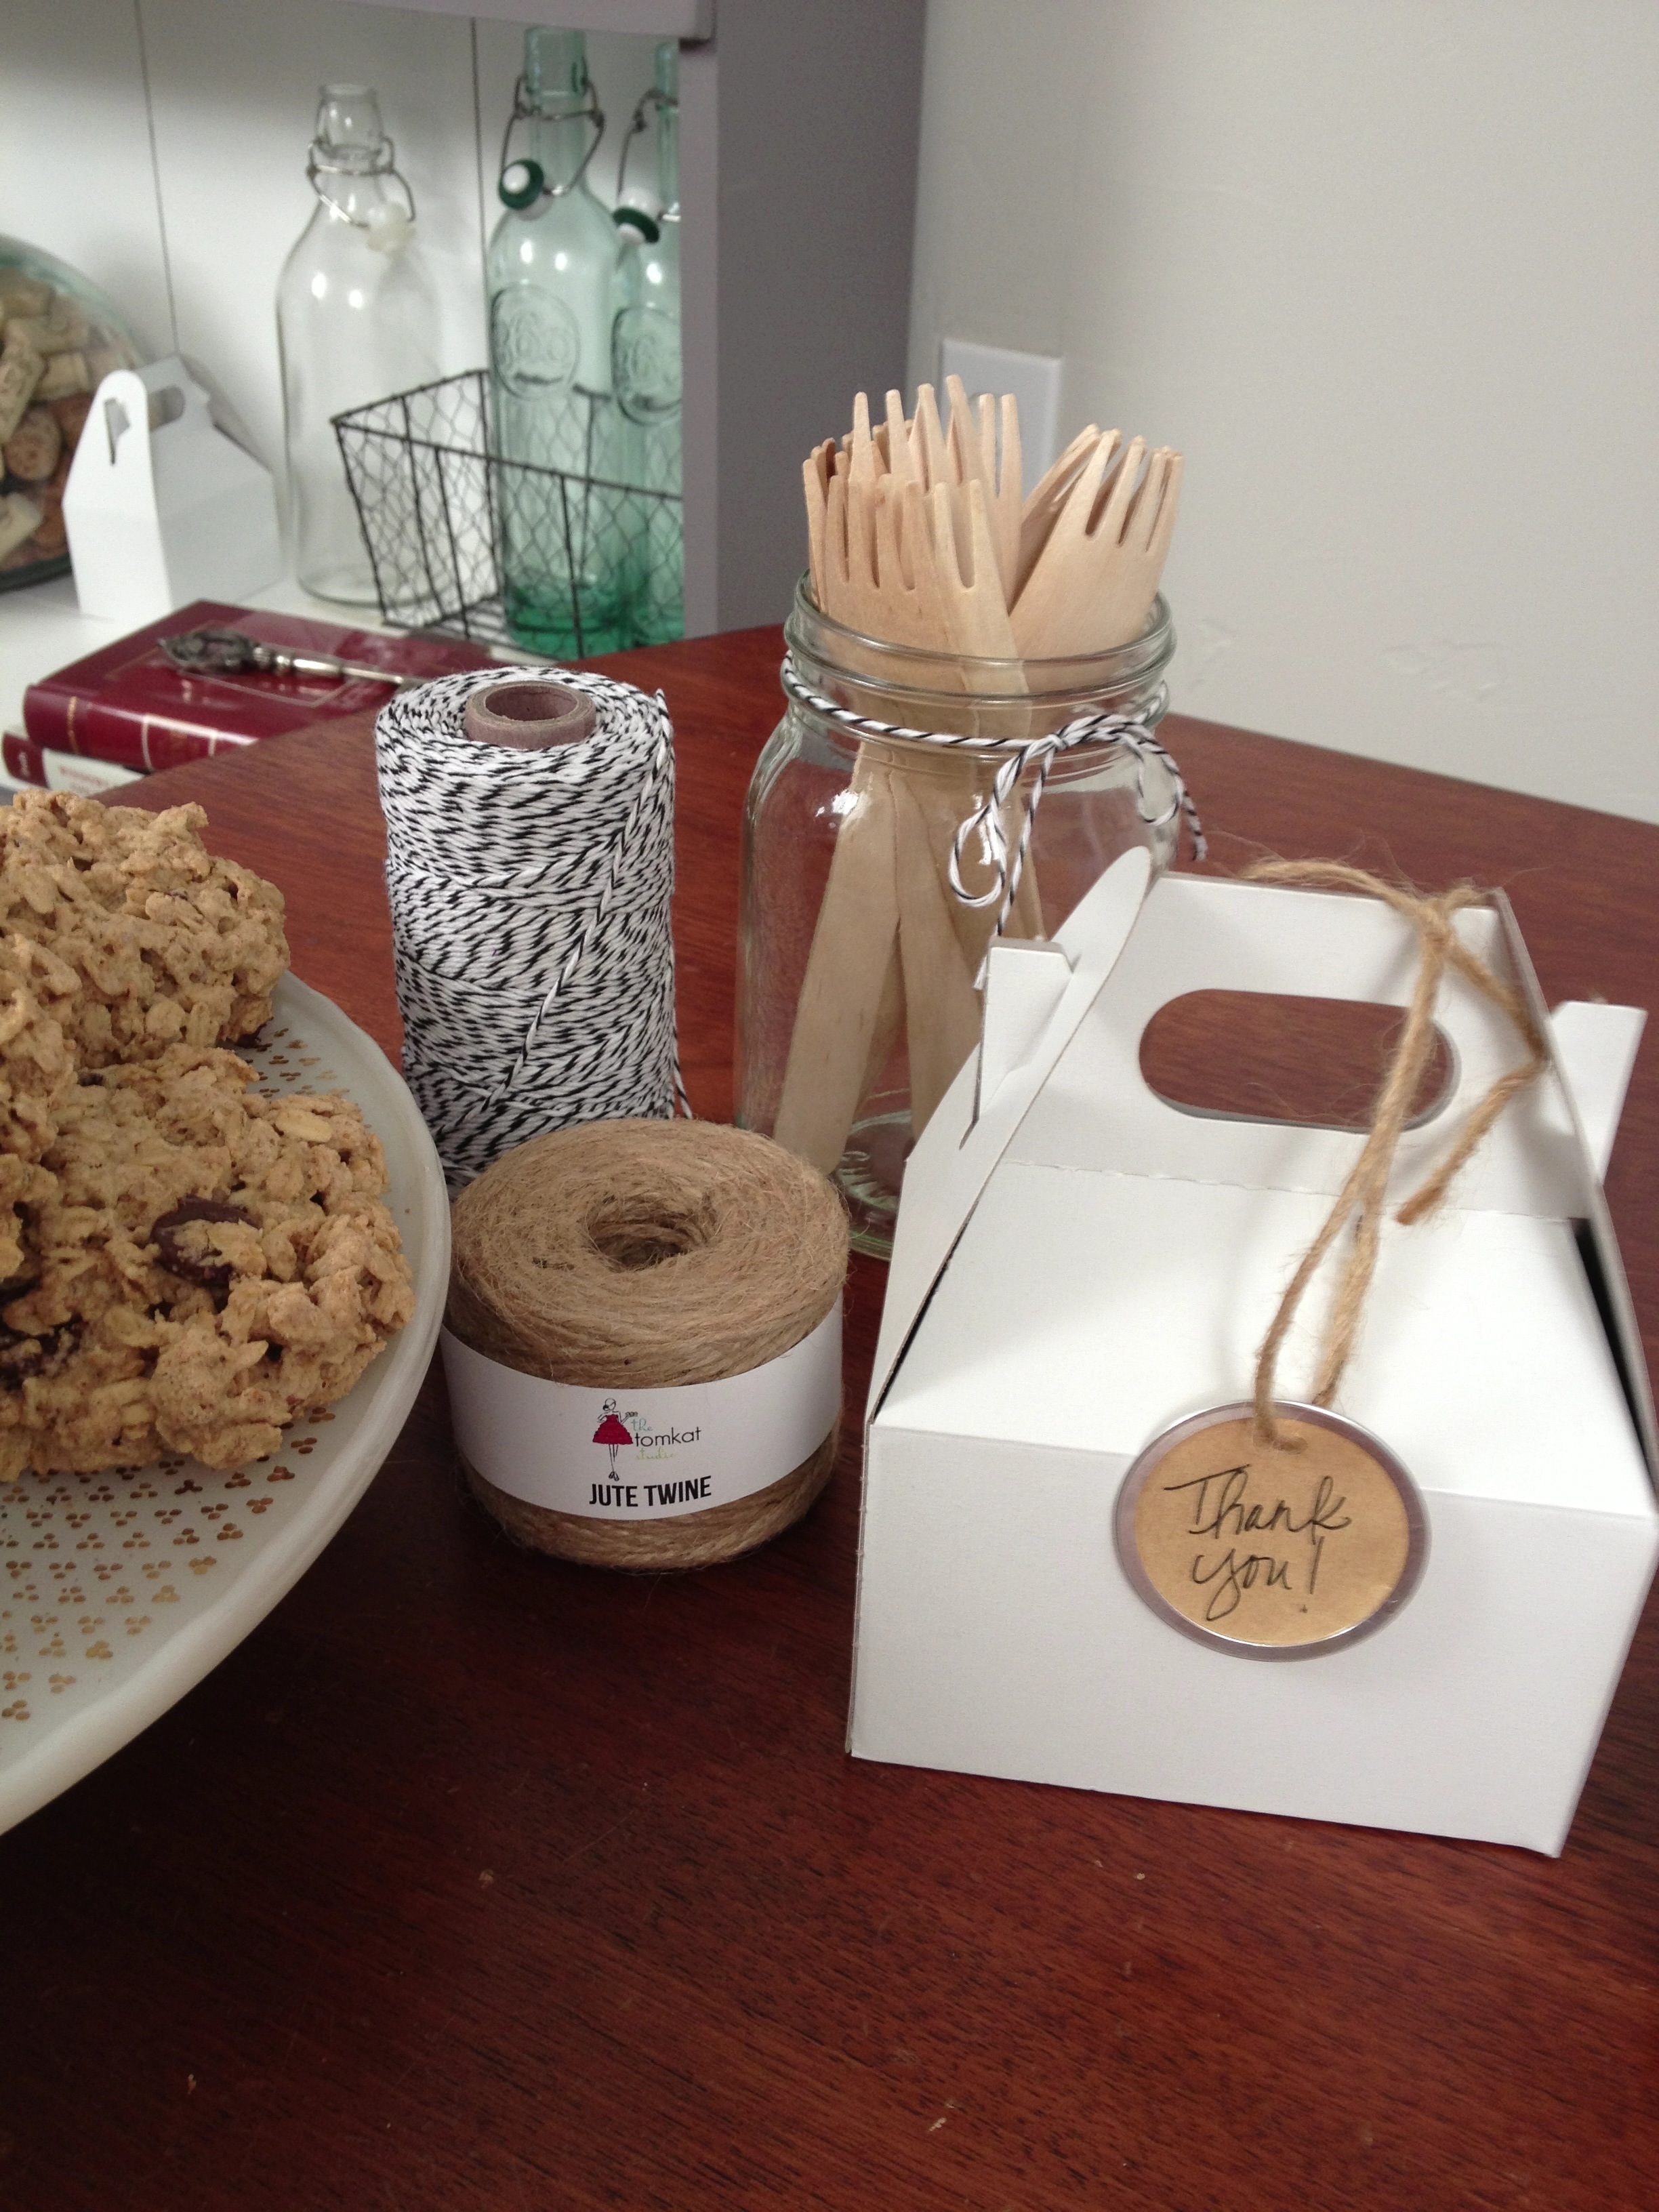
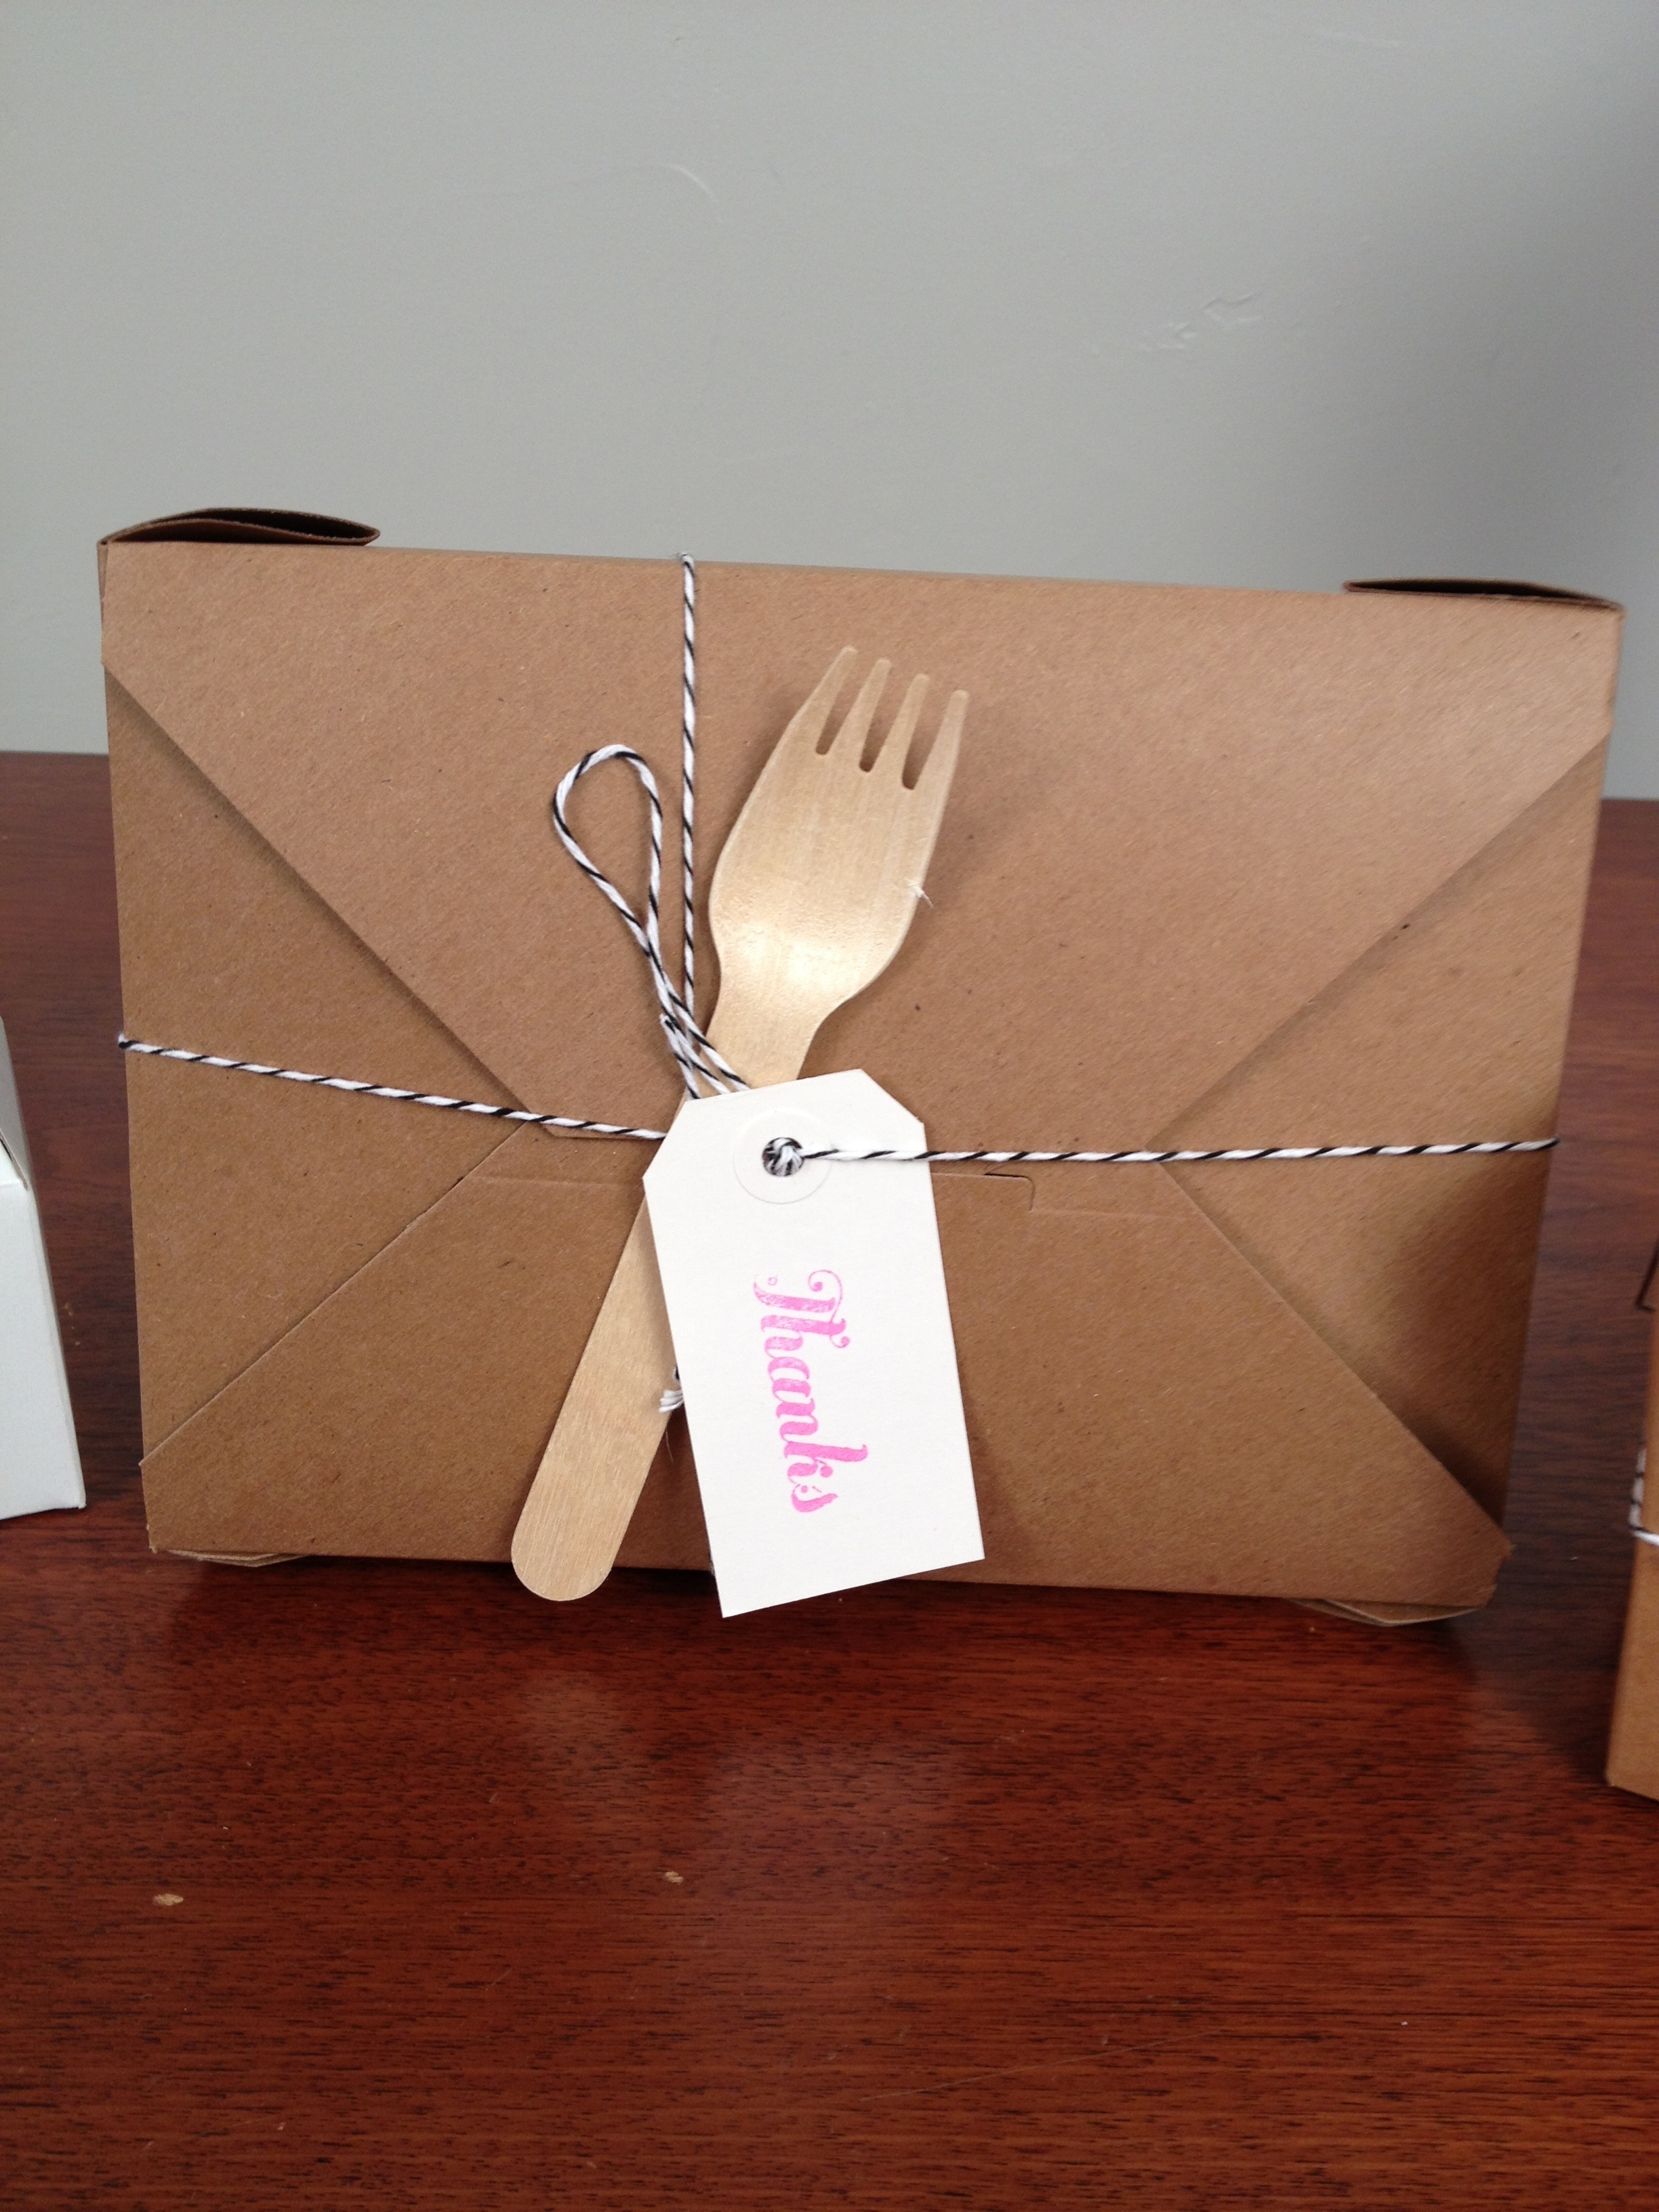
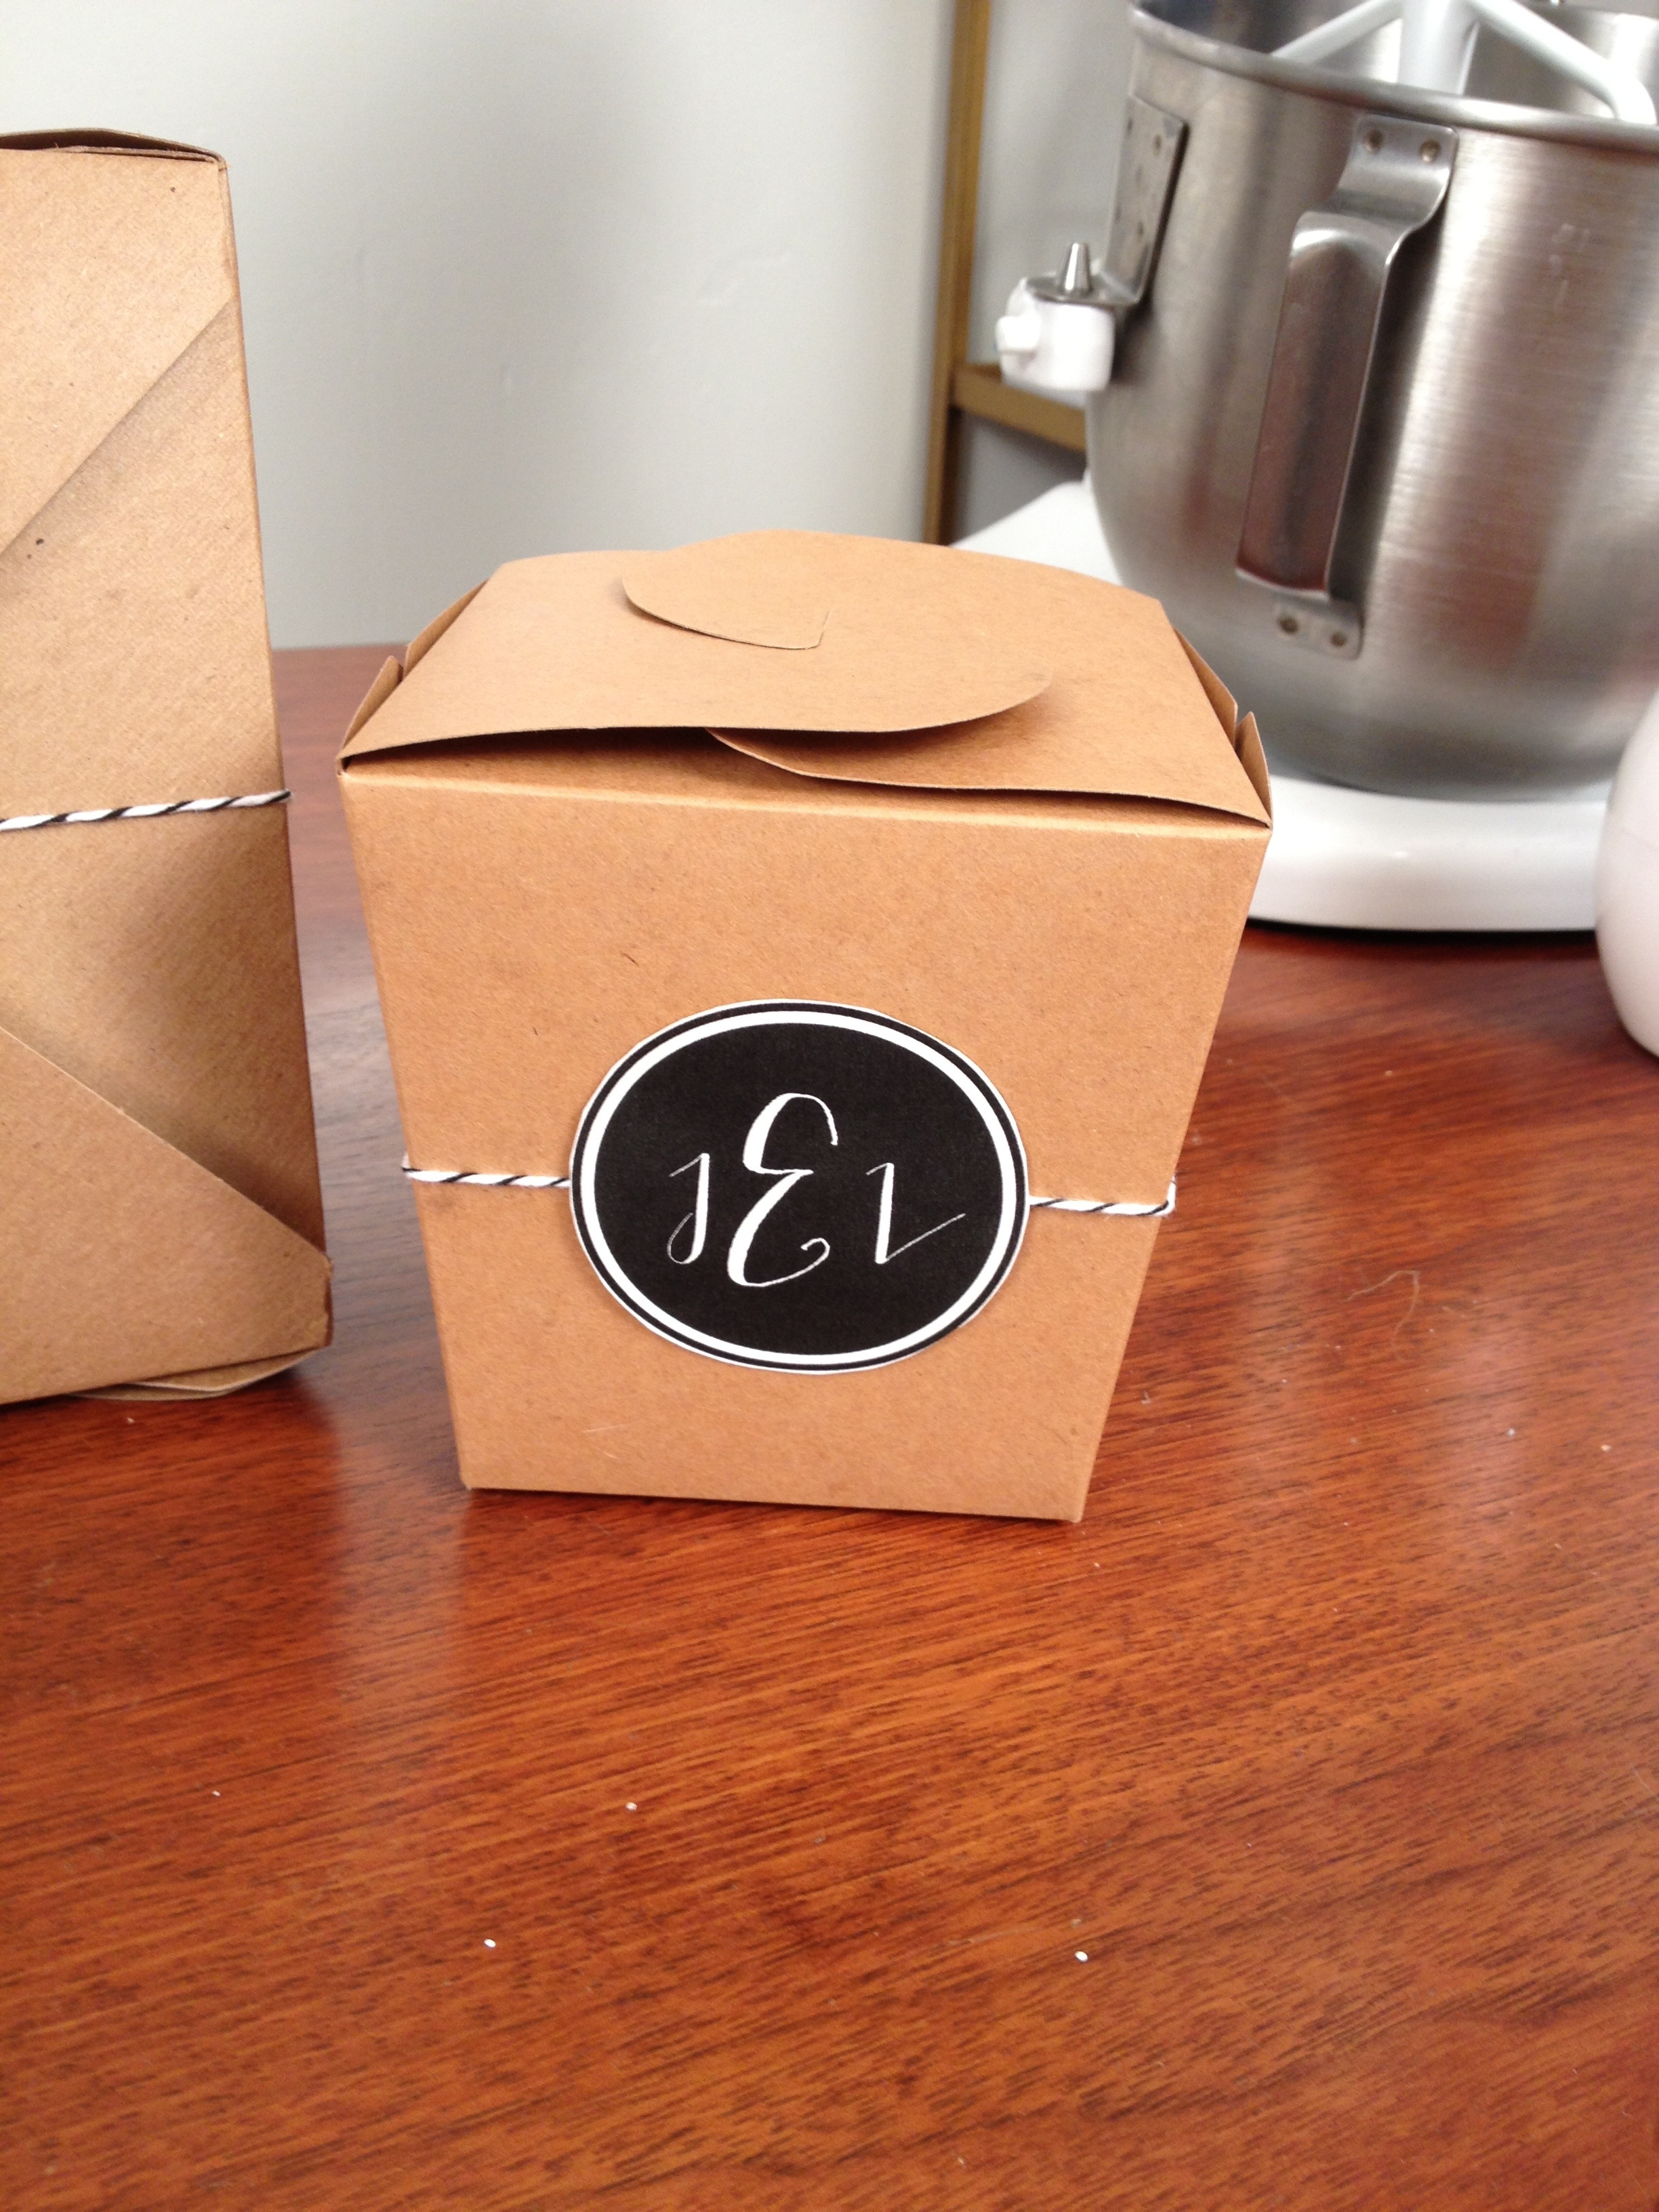
I’m a big advocate on trying to make weddings greener and not have as much waste. For this week’s video, I saw these biodegradable kraft takeout boxes and thought they were a great way to send guests home with leftover wedding cake. How many times have you seen uneaten slices just sitting on the tables!?!
These takeout boxes are not only for weddings, use them at dinner parties to send guests home with leftovers so that you never have to worry about getting your Tupperware returned to you.
I’ve also included a recipe for my signature Gluten Free Oatmeal Cookies that you can use to fill your boxes and turn them into wedding favors.
Don’t forget to SUBSCRIBE to the YouTube channel, so close to the 1,000 goal!
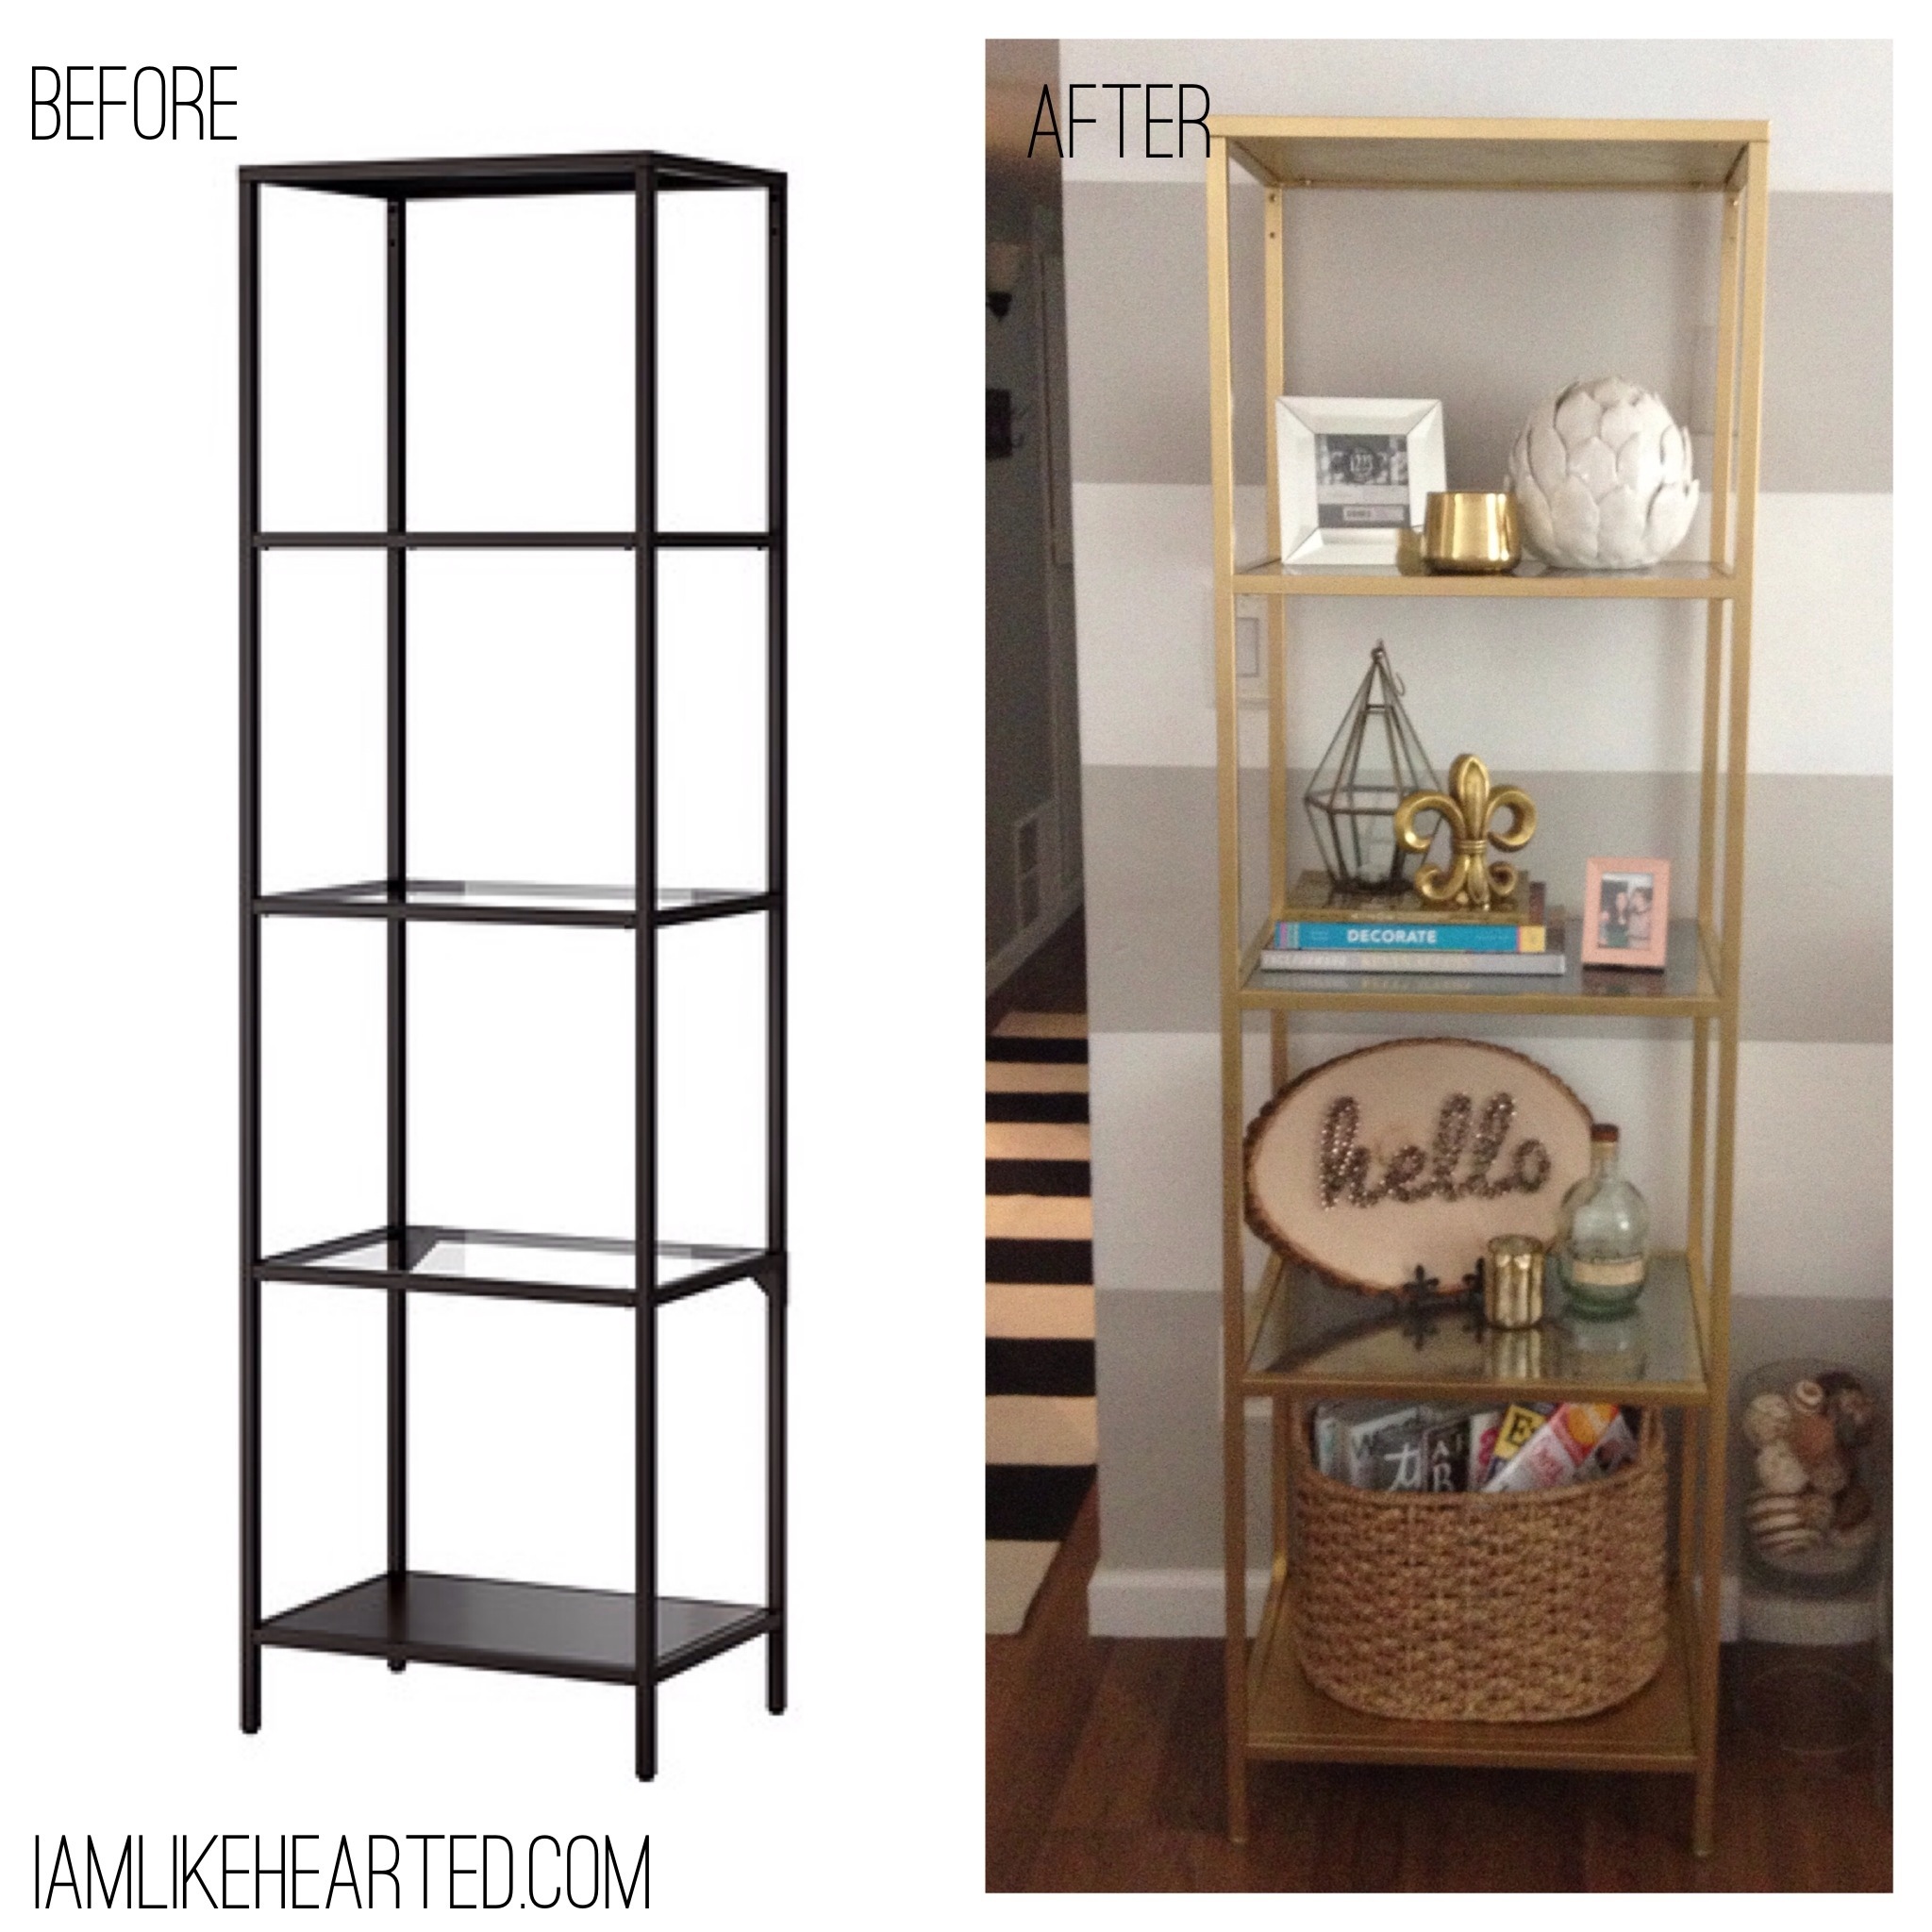
I have a confession…a lot of the tutorials I do are because I need something done around the house. Being a homeowner means the project list never ends. Case in point, I needed a bookcase for my guest room and wanted to recreate the look of a vintage one I already own. In this tutorial learn how to master an Ikea hack and create mercury glass for the shelves. The best part about learning the mercury glass technique is that you can also use it on vases, candlesticks and much more to create additional accents for your home.
Also, I found this post from Brittany Makes extremely helpful when deciding what gold spray paint to use.
Don’t forget to post an Instagram photo of tutorials you have tried and tag me @likehearted. I want to see what you all have been making!
Black Spray Paint (Left over from another project)
Tools:
Damp rag
Spray Bottle filled with water
Mercury Glass Steps:
Make sure you are in a well ventilated area.
Make sure the glass is clean and dry. The paint is going to go on the reserve side of whatever you are painting. In this case, the bottom of the shelf.
Lightly spray the glass with water.
Spray a layer of mirror paint. Let it dry for a few seconds.
Depending on your desired look, you can incorporate other colors, here I add gold and black for a more antiqued look. Spray the colors and dab with a damp cloth top get your desired effect.
Let it dry completely, if it is too transparent add another layer of mirror paint.
Thank you to my cousin Courtney for requesting this DIY tutorial! Courtney is finishing up her freshman year of college in North Carolina and her friends are moving out of the dorms in May. She wanted to know some easy and inexpensive ways to decorate her new apartment. I think a lot of college students already own a cork board, so in this video I’ll show you a few ideas on how to give it a face lift with paint, fabric and rope.
Leave a comment below or post a photo on instagram and tag @likehearted to show other ways you have re-purposed your cork board.
In honor of Earth Day, here are some easy, natural, inexpensive beauty products that you can create with ingredients you probably already have around your home. What better way could there be to prep your skin and hair for the warmer seasons ahead? Also, check out the video below to get ideas on how to make these products into gifts.
Directions: Mix together all ingredients in a small bowl. Apply a pea size portion to your lips and rub gently with your index finger. Rinse with warm water. Great prep before you apply a red lip!
Beach Hair Spray: 1 cup warm water+ 1 Tbs sea salt + 1 tbs hair gel + 1 tbs coconut oil
Directions: Mix all ingredients in measuring cup, pour into spray bottle, shake and spray generously onto hair. Tip: You may need to melt the coconut oil in order to get it to mix with the other ingredients. Place jar of coconut oil into bowl of hot water to get it to soften.
Lavender Bath Salts: 4 cups of Epson salt + 1/3 cup of dry milk + 5 drops of lavender oil
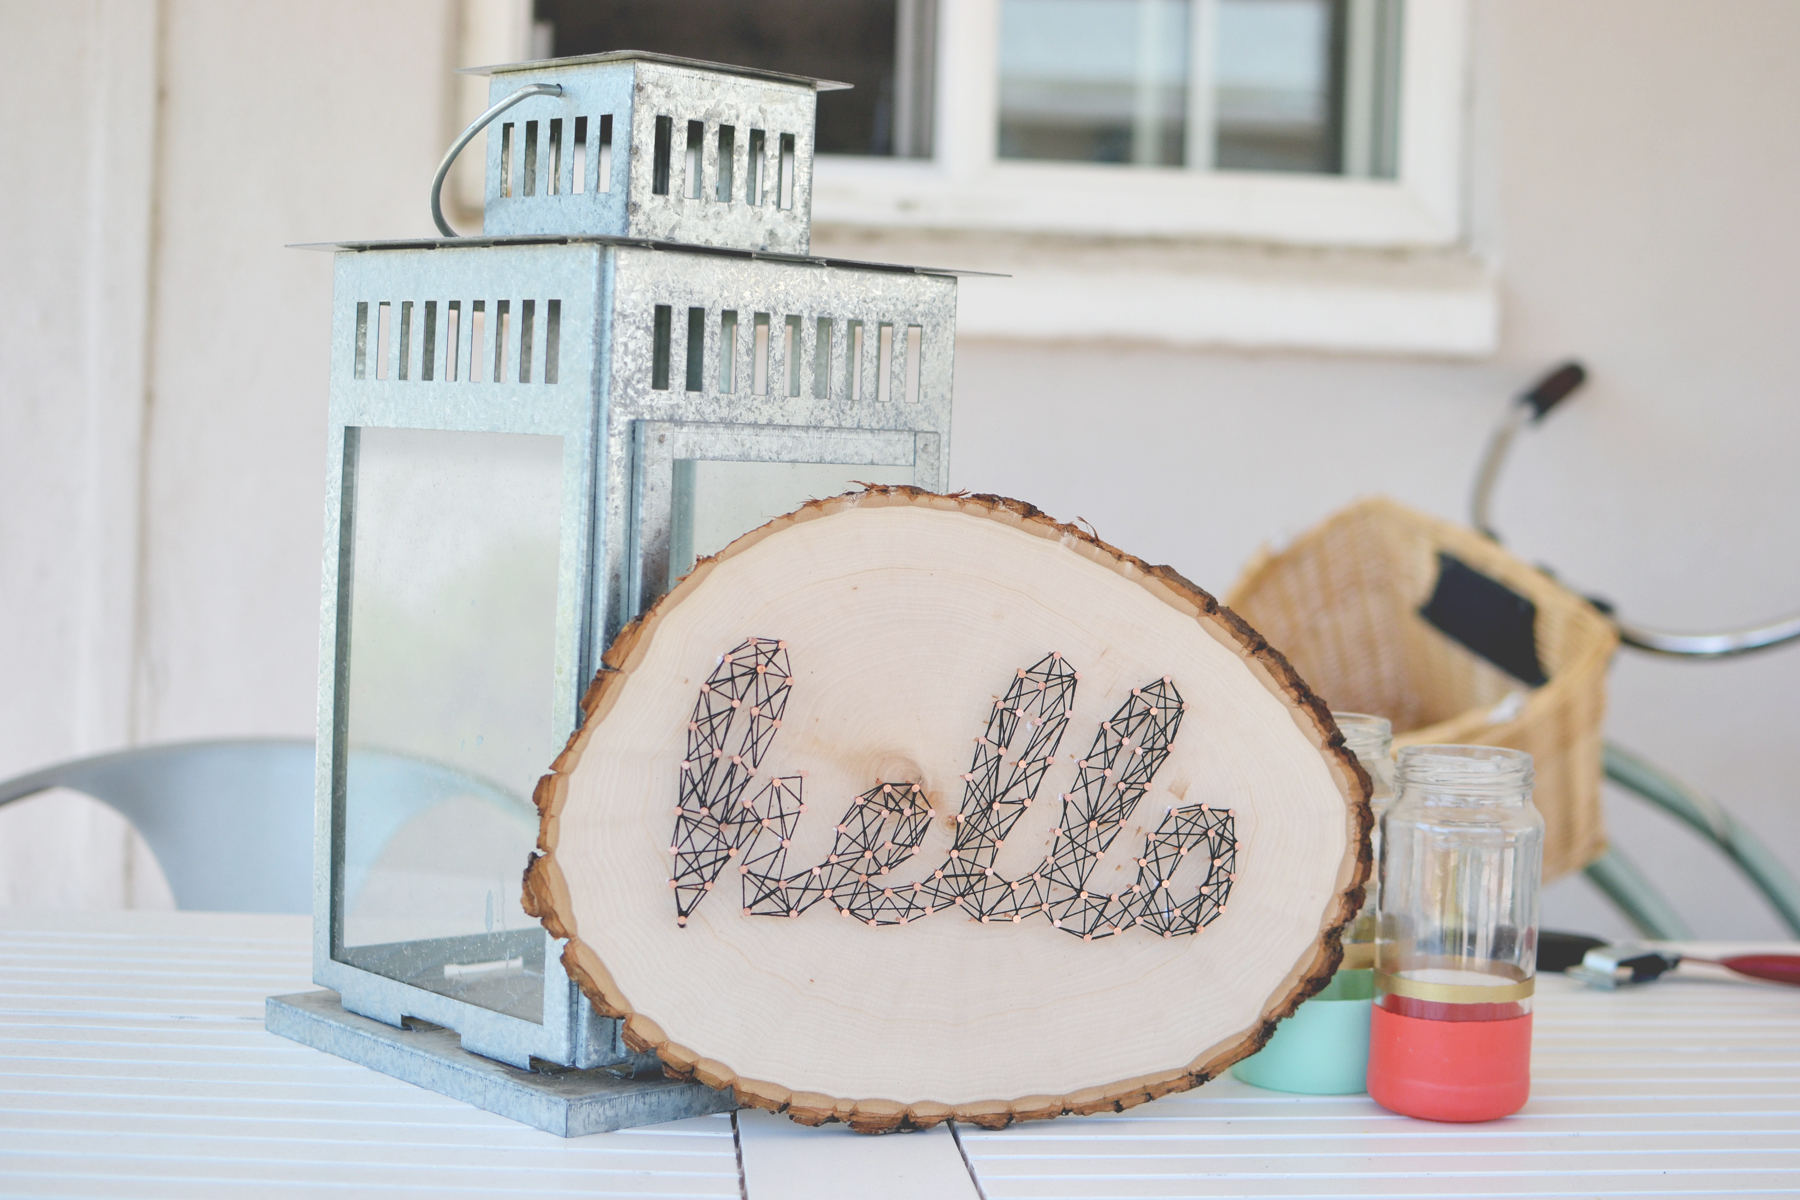
String art is popping up in a lot of different places lately. It first became popular as decorative art in the late 60′s, but I love the modern twists on it these days. This simple craft can easily be customized to make unique art for your home. If for some reason you don’t feel like tackling this project on your own, you can purchase the one I made in the video on my Etsy Store. But I would really love to see what you all create, so instagram a photo and tag @likehearted!
Also, want to send a thank you to The Gentlemen Ether for new music in the video!
Other creative ways to utilize the craft: decorative signage for a wedding, table numbers or even a name sign for a nursery.
Make a template on your computer of the word or shape you plan on using. I downloaded Pacifico and made the template in a word doc using a font size of 375.
Cut out the template and align on wood board, use scotch tape to keep it in place.
Begin to outline the word/shape with nails, placing them about 1/2” apart.
To start threading tie one end of the string to a nail, then outline the word/shape. Wrapping around the nail head as you go.
Tear away the paper template.
Start wrapping the string around the nails creating a zigzag pattern. Continue to do this until you have filled in the entire word/shape.
I have a ranch style house and the decor can be described as modern rustic, with the primary colors being gray and white. I love Restoration Hardware, but it is totally out of my budget, so I mostly refer to the store for just inspiration. A lot of their living and dining pieces come in a Grey Acacia Finish (pictured below) and since I enjoy refinishing furniture I tried to take a stab at recreating the RH look. I think it is a handy painting technique to know how to do if you like rustic, shabby chic, vintage styles.
Restoration Hardware Inspiration
Grey Acacia Finish
Monastery Dining Table
Weathered Oak Gallery
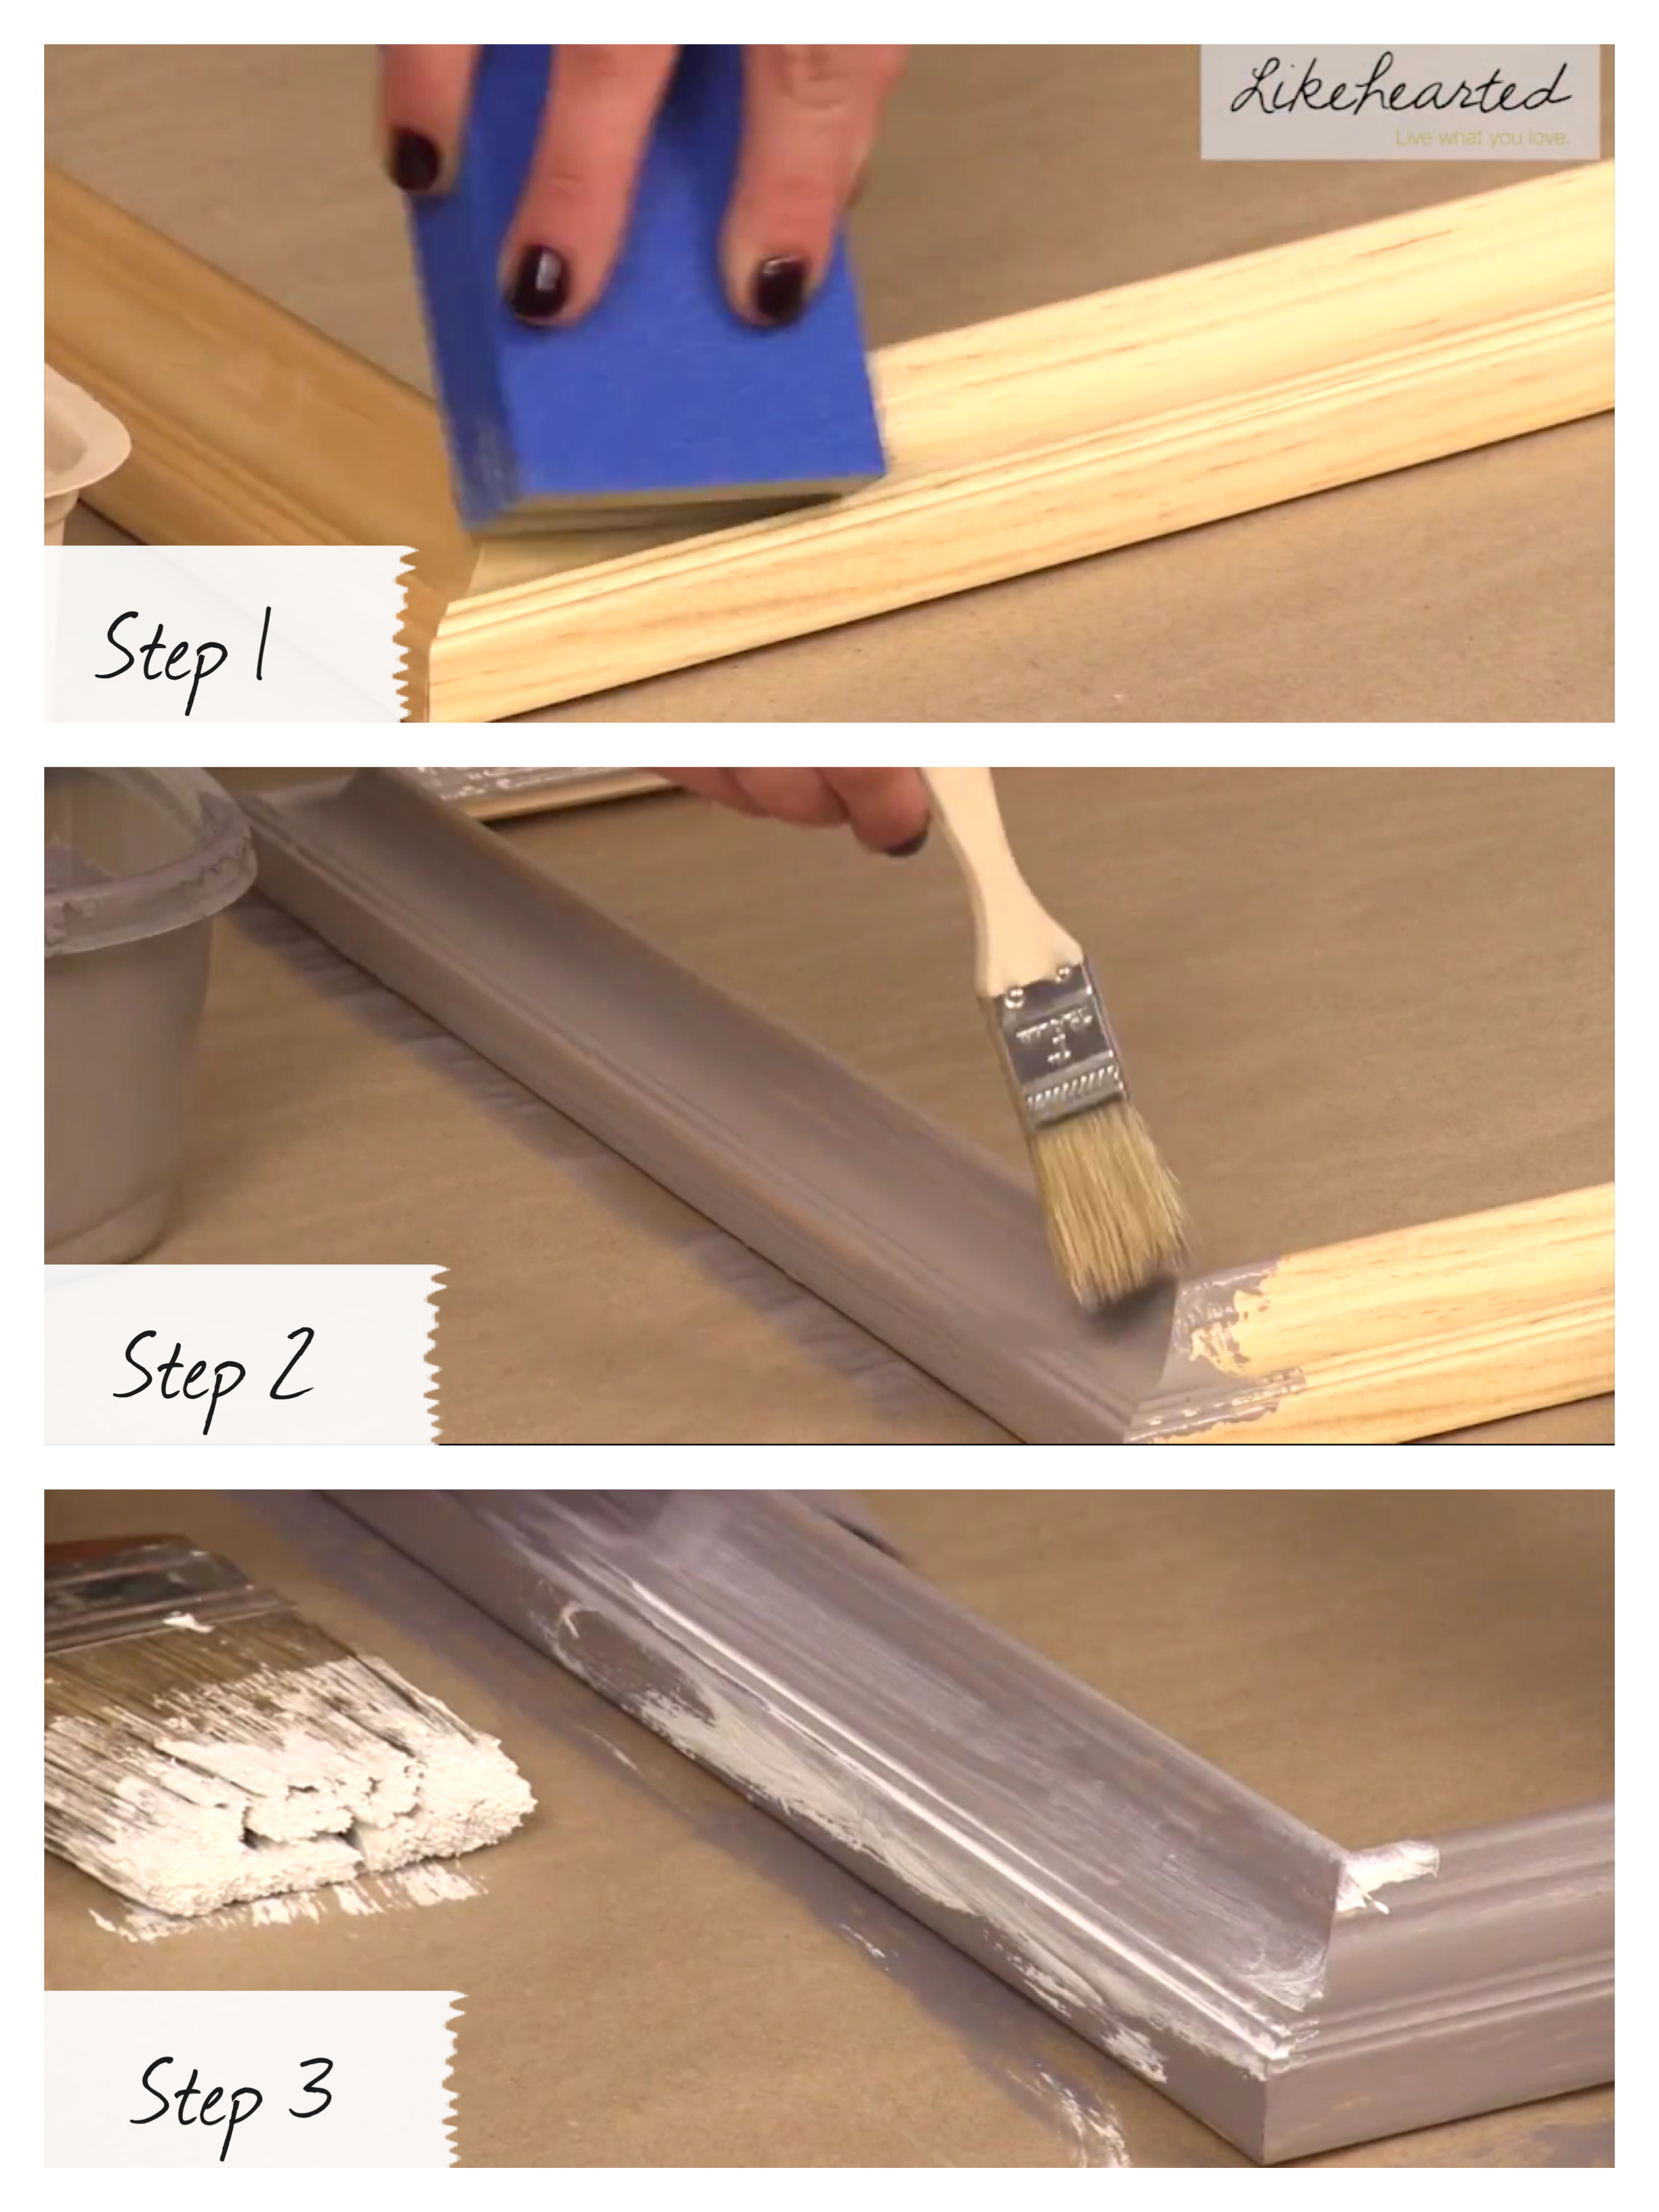
The best part about the graywash technique is that it can be used on any type of wood furniture. In the video I did it on a frame to create accessory displays. I’ll do another post of how to create the accessory displays with chicken wire or twine.
If needed sand the frame to take away any varnish.
To create the graywash – mix together 1 part gray paint and 1 part glaze.
Use a bristle (chip) brush apply the gray paint to the frame. Use a different dry bristle (chip) brush to remove excess paint. Keeping with the rustic look the paint doesn’t need to fully cover the frame, just depends on how much of the oak wood you want to show through. Personally, I didn’t want much of the light wood to show through. Let is dry and apply second layer if needed.
To really create the weathered look add a white glaze mixture: mix 1 part white paint to 1/4 part glaze. Using your regular paint brush paint on the white glaze mixture then remove excess with a damp rag. Continue this process until you achieve your desired look.
Anyone else watch the Academy Country Music awards last night? Carrie Underwood’s makeup that she wore during her performance was perfection, classic red lips with big full lashes. As part of my Beauty Series, I’m excited to show you how you can get the perfect false eyelashes in just 3 minutes, pair this with the red lips and winged eyeliner tutorial to recreate Carrie’s look.
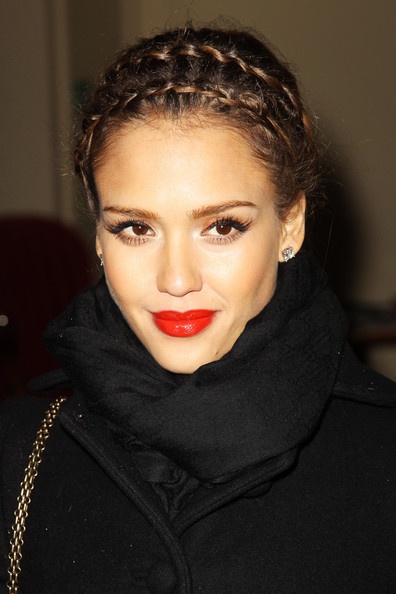
I love using the individual lashes, especially if you are a beginner they are easier to apply. For my look I used the Eylure Individual Lashes Combo Pack – 3 medium length lashes in the outer corners and 2 small length lashes in the middle (like the Jessica Alba picture).
Tip:If you have rounder eyes like me, focus the lashes on the outer corners to create length. If you have more almond shape eyes, place in the center, to create openness.
This past Wednesday I shot a series of tutorials on items to create for your home. I’m all about bargain shopping, recreating high end looks at affordable prices and giving a face lift to things you currently own. Hopefully you all will enjoy my ideas and it will give you inspiration to create something of your own. Subscribe to the channel to be one of the first to see the series, new videos up every Friday!
Mad Men has a new season premiering this Sunday and I couldn’t be more excited! It inspired me to do a series on beauty classics – red lips and winged eye liner. Red lips never go out of style but this season it’s all about a matte finish (just like how Christina Hendricks and Adele are wearing it). Also, try complementing the lip color with a red nail color that is 1 or 2 shades darker. Watch the video tutorial to learn how to keep those red lips lasting all night long.
Please SUBSCRIBE to the channel to see new videos every Friday- sign in with your gmail account and hit the “subscribe” button in the header. Share your comments below on other beauty, lifestyle or DIY tips you’d like to see!
Steps for Winged Eye Liner:
Start in the middle of the lid and draw your line to your outer corner. I did more of a subtle look, but you can extend the line out further for a more dramatic winged eyeliner.
Re-apply product to brush, starting the middle again and working your way to the inner corner.
Curl lashes and finish with coat of mascara.
Tips:
Make sure your elbow is on a steady surface.
Use a dashing method to draw the line and fill in the spots as you go.
Don’t start on the inner corner, you don’t know how much product is on the brush.
Steps for Long-Lasting Red Lips:
Fill in entire lips with liner.
Apply lipstick, pressing it into the lip, blend with a brush.
Blot with tissue.
Apply another layer of lipstick, pressing it into the lip.
Lightly dust on transparent powder (I used MAC’s translucent powder)
Apply another layer of lipstick and use liner to sharpen edges.
Tips:
Prep lips with a scrub, apply lip balm and let it set, do your normal foundation rountine, then wipe away excess lip balm before doing the steps above.
Skip steps 5-8 if using a long lasting lipstick like Covergirl lipperfection.
Add blush after you have applied the red lipstick.